
Configure Citrix Self Service Password Reset for StoreFront


Last week Citrix released their newest XenApp/XenDesktop 7.11 software version bundled with StoreFront 3.7. One of the software features benefits is the new SSPR (Self Service Password Reset), the service to unlock or reset the user accounts password without admin/helpdesk interaction trough the StoreFront webpage. The option was already available in StoreFront 3.5 (only with a active XenApp 6.5 farm), but it is now a independent feature and can work on his own with the SSPR version 1.0 software installed.
I’ve been waiting for a long time for a solution like this, and now it is integrated in Citrix Storefront and it’s also a free extra feature, when you have a valid Platinum subscription!

Software Requirement
- Citrix XenApp/XenDesktop 7.11 Platinum license (or higher)
- Citrix License server 11.13.1.2 (or higher)
- StoreFront version 3.7 (or higher)
- A internal or external certificate, SSPR works only withSSL
- Your StoreFront server URL needs to be SSL configured
- OS of at least Windows 2016, Windows 2012 R2, Windows 2008 R2
- Microsoft Windows Installer 2.0 or later
- Internet Information Services (IIS)
- ASP.NET 3.5/4.X
Most of the requirements are automatic installed with the SSPR wizard.
SSPR is supported with
- Citrix Receiver for Web
- Citrix Receiver for Windows
- Citrix Receiver for Linux
SSPR is not supported with
- Citrix Receiver for Mac
- Citrix Receiver for Chrome
- Mobile devices (not even with Receiver for Web)
- External use with NetScaler Gateway
Pre-steps before you start…
- Create a VM, or choose to install it upon the StoreFront server
- Create 2 new service accounts in Active Directory
- Data proxy account (like SVC-CTX-DATAPROXY) requires read and write access to the central store
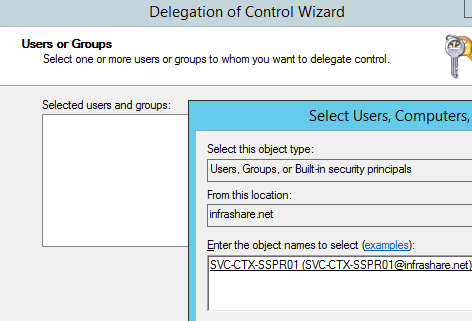
- Self-service account (like SVC-CTX-SSPR01) requires the following delegated AD rights:
Requires sufficient privileges to unlock and reset the password of the relevant users in User Configuration. The easiest way is to add the account to the Domain Admins group (if you do so, technically one service account is enough for both), but if that not fits your Security Policy, then you need to set the following Delegated rights to it: Start the Delegation wizard from Active Directory Users and Computers, do a right mouse click on the domain name.
In the Active Directory Delegation Permissions list, select the following check boxes and you’redone


Install and Configure the Self-Service-Password Reset software
Step 1: I prefer to install the DATASYNC (Centralstore) on a different location than the OS disk, so I attached a new virtual disknamed CITRIXSYNC and give the partition the letter D:\
Step 2: Create a folder CITRIXSYNC in the root of that D:\ partition
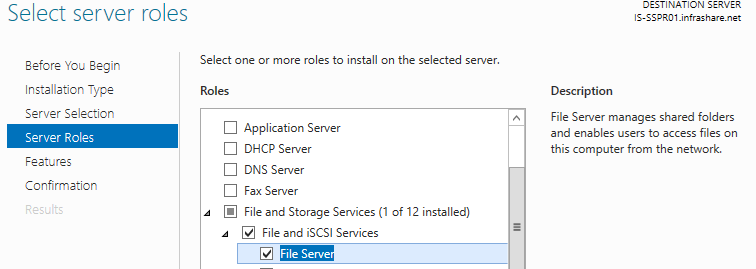
Step 3: Install the File Server role on the SSPR server, otherwise you cannot select encrypted data access for the folder
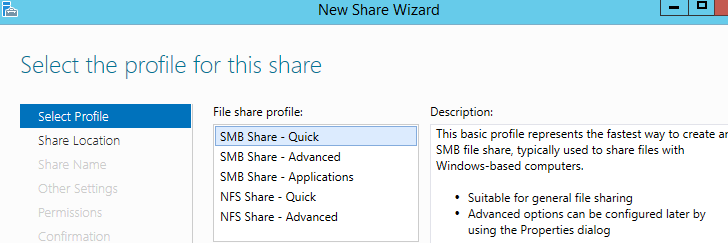
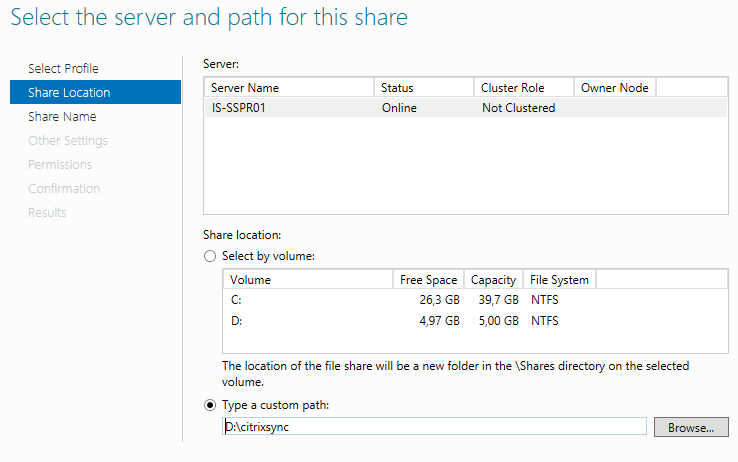
Step 4: Start the Server Manager from the Dashboard, open File and Storage Services and create a new share

Step 5: Choose for SMB Share – Quick
Step 6: Select Type a custom Path and a search for the earlier created DATASYNC folder
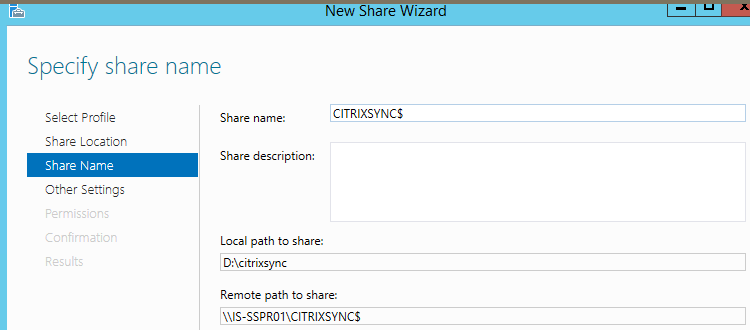
Step 7: Replace the lowercase name for uppercase (suggestion) and add the $ dollar sign to make it hidden
Step 8: Select Encrypt data access.
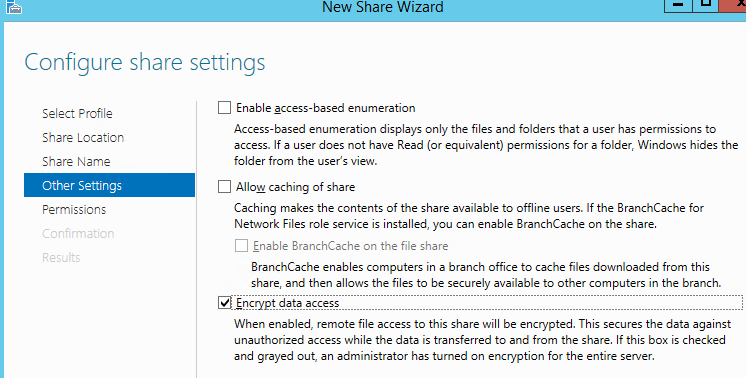
Select customize permissions.
Step 9: Select the share permissions, remove the Everyone entry and add the following permissions:
- Add Data Proxy Account with Full Control
- Add Local Administrators with Full Control
- Add Domain Admins with Full Control
- Add Network Service with read permission for local file share

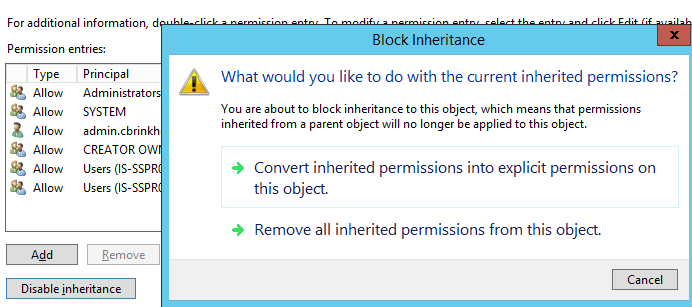
Step 10: Now select the Permissions tab (NTFS), click Disable inheritance and choose to Convert the permissions
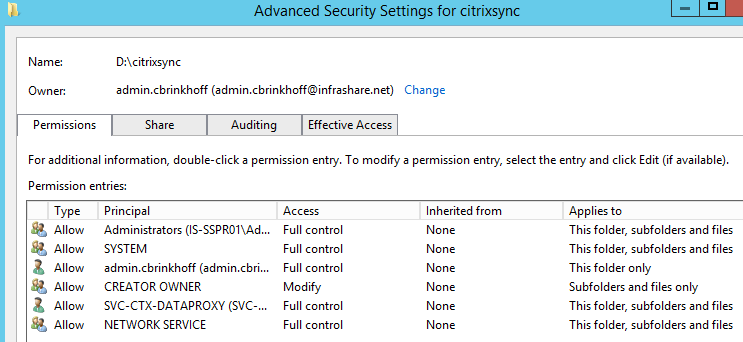
Step 11: Remove all users rights except CREATOR OWNER/Local Administrators/SYSTEM and add the Data Proxy Account with Full Control and again the Network Service with Read permission.
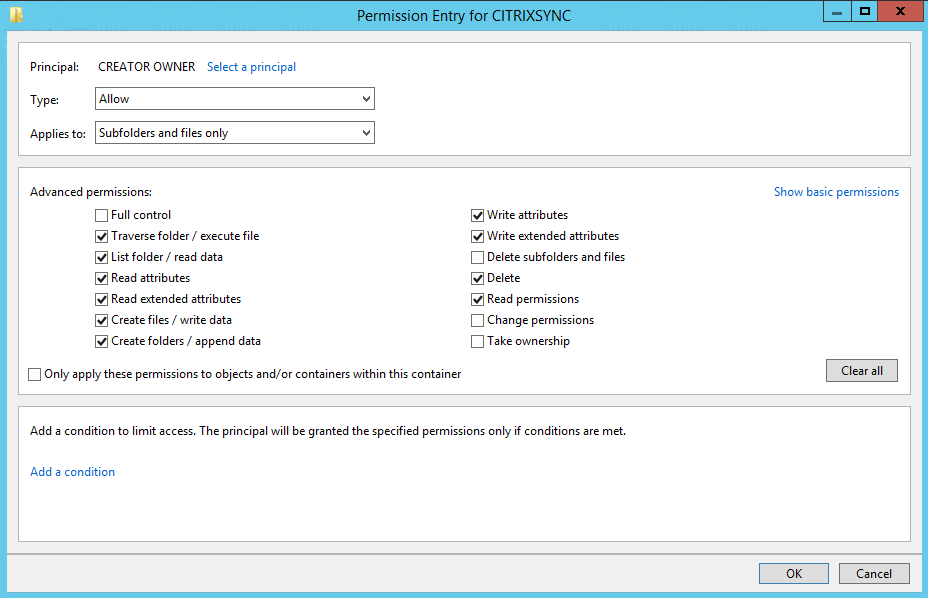
Step 13: Modify the CREATOR OWNER rights (to give the user permissions to the encrypted folder). Remove the Delete subfolders and files option, Change permissions and Take ownership rights entry
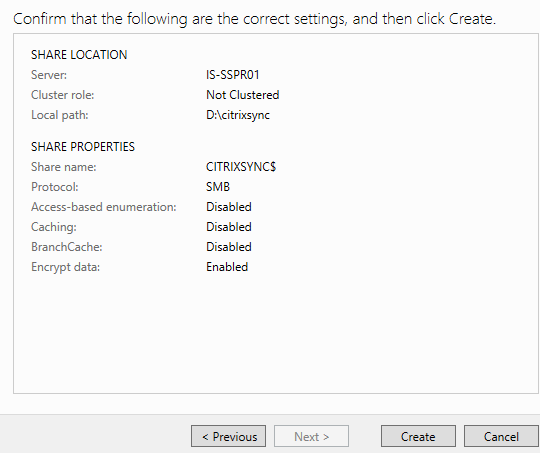
Step 14: Click next and if everything is setup correctly, click on create
Step 15: Create two subfolders under the CITRIXSYNC$ share folder: CentralStoreRoot and People and confirm that the rights are correct on that folder (inherit form DATASYNC)
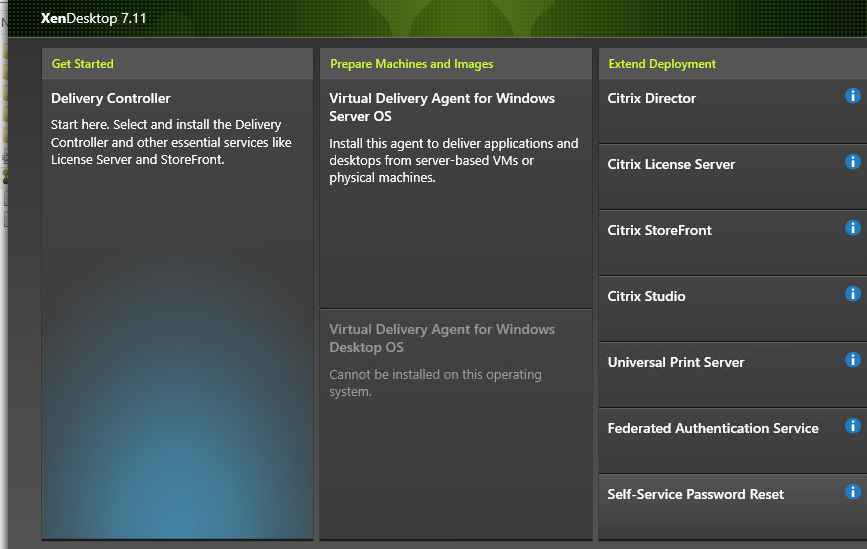
Step 16: Add the Citrix 7.11 Platinum ISO start the autorun installation and choose for Self-Service Password in the Extend Deployment section
Step 17: Click next on the option and setup the Firewall entry’s automatically
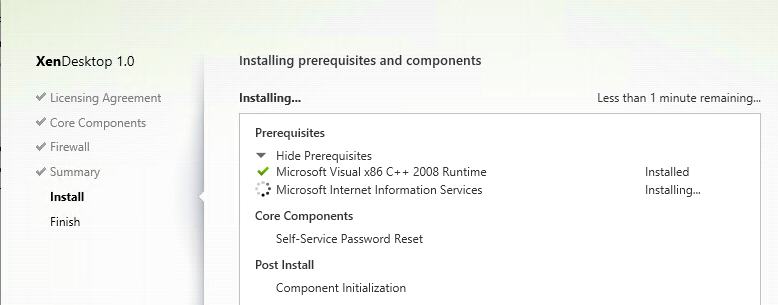
Step 18: Start the installation process, you will see in the Prerequisites that IIS is installed for you
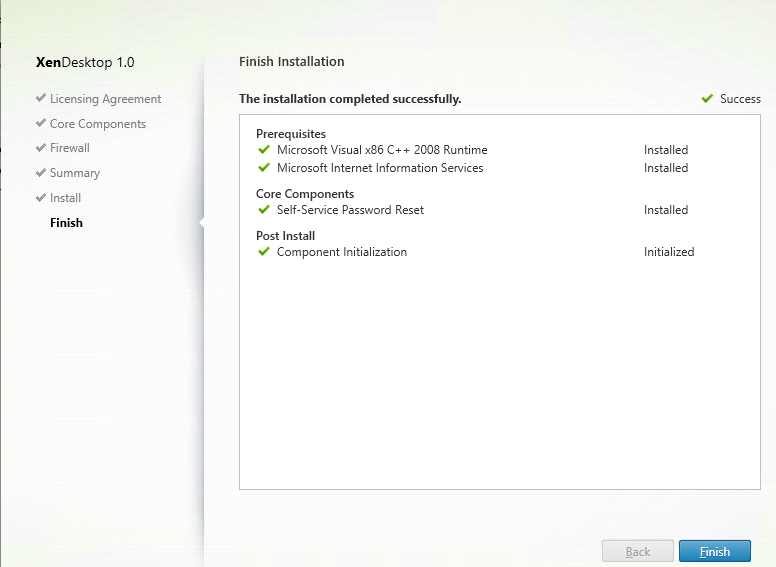
Step 19: Click finish after the process iscompleted
Step 20: Request an internal Web Server certificate from a RootCA with the full FQDN as Common Name (MMC->Add Snap-in->Computer->Certificates->Personal Store->Request New Certificate and choose for you internal Active Directory Root CA and fill in the common name and organization
Note: If you want to use something like http://passwordreset.domain.com/, instead of the servername, thanyou will need to change some registry settings to get it working, please check the troubleshoot section at the end of this blog

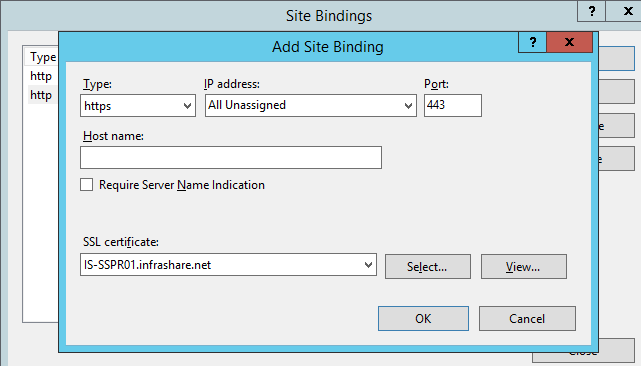
Step 21: Start Internet Information Services (IIS) Manager and add the requested SSL certificate to the Default Web Site Bindings
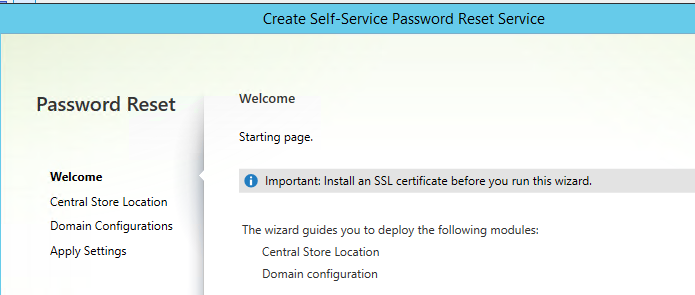
Step 22: Now the most important part of the configuration can begin, so lets start the Citrix Self-Service Password Reset Configuration from the start menu and choose for Service Configuration->New Service Configuration

Step 23: The setup reminds you ofadding the 443 binding in IIS.
Step 24: Enter the earlier hidden share location

Step 25: Select your domain and click on edit

Step 26: Enter the 2 service (pre-configured)service accounts
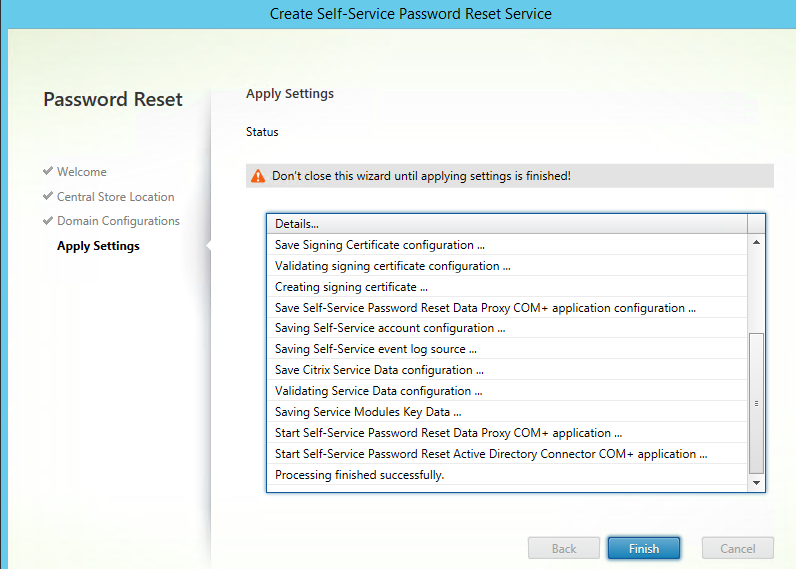
Step 27: Now click Apply Settings, and if all went ok, you will get an Processing finished successfully at the end of the details screen
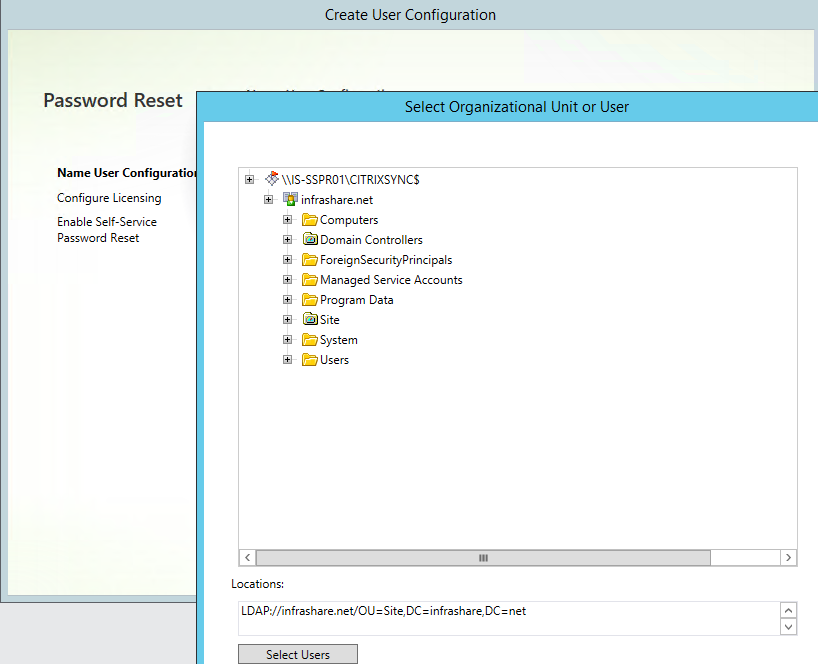
Step 28: Next step: Start the User Configuration->New User Configuration
Step 29: Setup a user configuration / how to giveyour users the possibility to use this Self Service functionality, I choose for an OU query, by setup the LDAP OU location. This means that all the users in OU Site can use the SSPR functionality, click next
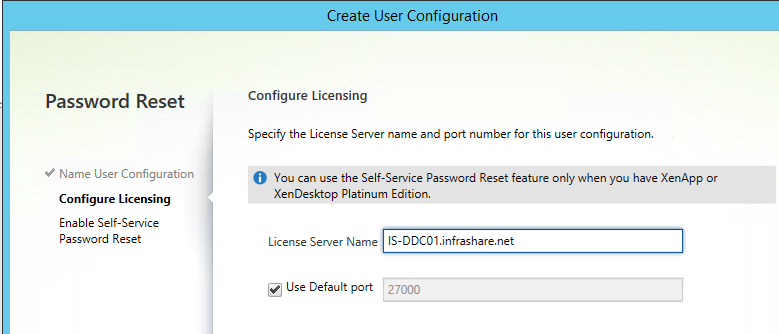
Step 30: Setup the FQDN of your license server and click next
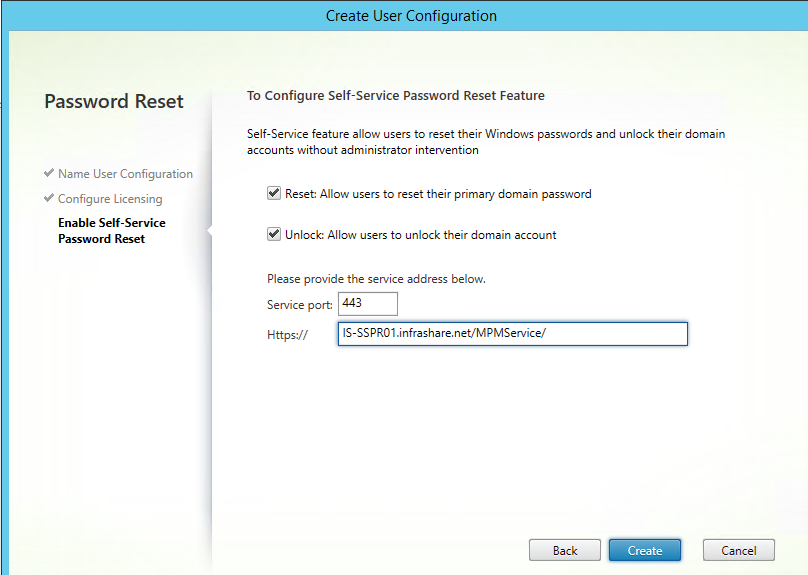
Step 31: Enable the settings that you want to use and enter the FQDN of the SSPR server (this is also the URL that needs to be setup in StoreFront), click on create
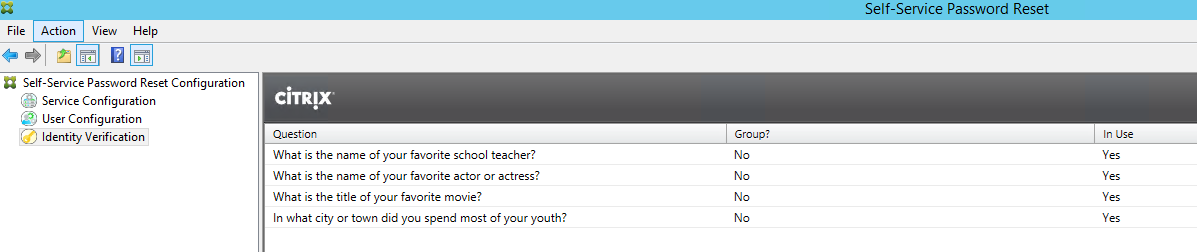
Step 32: This was the last step to get through the initial config of the Self Service Password reset process, in the Identity Verification section you can see the default questions and the possibility to change them if you want to
Step 33: The last step is to setup the MPM service link in your StoreFront (at least 3.5 or higher) Console. In my lab environment I used the latest version (at moment of writing 3.7) and start the StoreFront MMC Console
Step 34: Checkif your StoreFront URL is configured by using HTTPS, if not step 35 will be grayed out and unavailable to choose
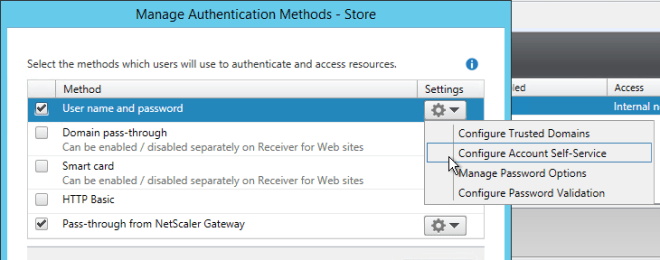
Step 35: Start the Manage Authentication Methods Option from the Stores Names Section, choose for Configure Account Self-Service.
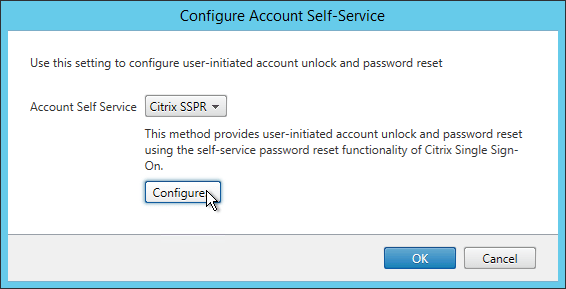
Step 36: Change the selection to Citrix SSPR, and click configure
Step 37: Fill in the FQDN of the MPM service URL and select the options you want to use and click Ok

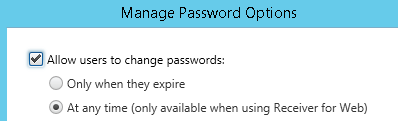
Note: Password reset is only available after the activation of; Manage Password Options, to Allow users to change password at any time.
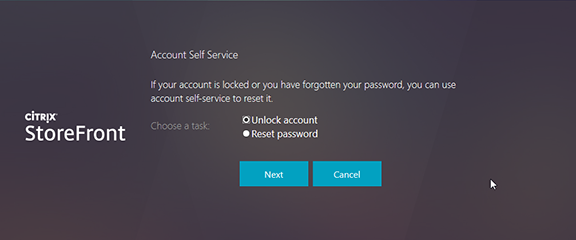
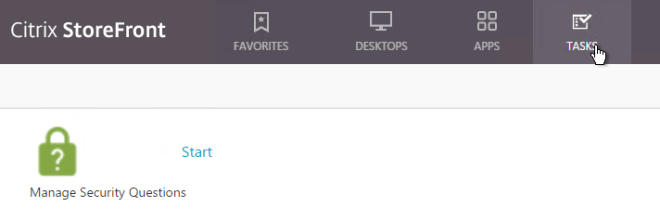
Step 38: With SSPR enabled, a new Tasks tab in StoreFront lets users enroll with SSPR. This is the same place where the users must set their secret answers for the secret questions.
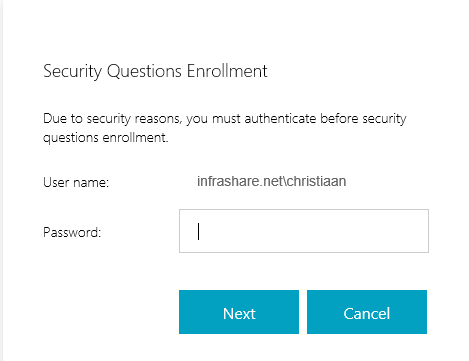
Step 39: First you need to authenticate again.
Step 40: Answer all the questions and you will get an confirmation screen
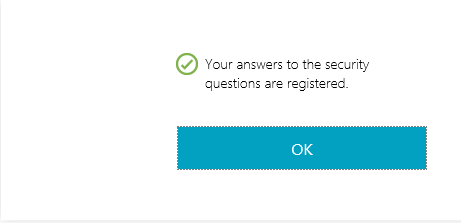
Step 41: Now you’re all set, and calling the Helpdesk for password resets or unlocking your account is no longer needed (if you don’t forget the answers 😉 )
Troubleshooting
- I found out that sometimes the SSPR functionality is not showing up on the StoreFront page. Because SSPR works with IIS, an iisreset command can solve this problem.
- Another one what can help is to re-enable the SSPR settings Authentication settings in StoreFront. If you have an cluster you need to do an propagate changes before the re-enable.
- If you are trying to setup a CIFS share by using a custom DNS alias instead of the servername.domain.com as CitrixSync shareand receivingerror :”Cannot access your service address”then you will need to disable strict name checking bychanging two registry keys that need to bedone on the server hosting the share. (Thanks to Darren Bennett for notice, at the comment section)
HKEY_LOCAL_MACHINE\SYSTEM\CurrentControlSet\Services\lanmanserver\parameters
Dword –> DisableStrictNameChecking
Value –> 1
KEY_LOCAL_MACHINE\SYSTEM\CurrentControlSet\Control\Lsa\MSV1_0
Multi-String Value –> BackConnectionHostNames
Value –> FQDN\DNS Alias