
Install and Configure XenDesktop 7.13, including Windows 10 (MCS) virtual desktop


As you probably know already, Citrix just released a new Current Release version of their XenDesktop/XenApp software last week. Just as every new version, it includes new features and all the fixes.
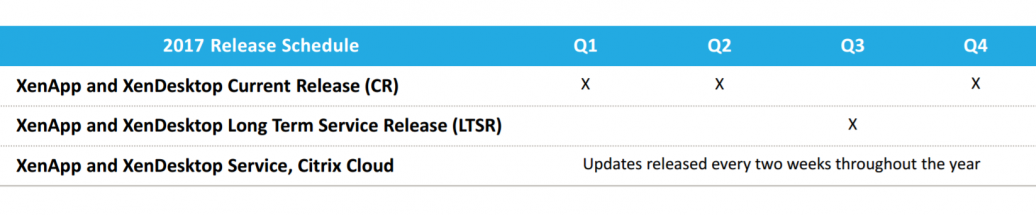
In last year, 2016, Citrix released over 4 new releases, what is pretty much. For 2017 Citrix will bring you 2 more current releases, what makes it 3 in total. This new version is the first to start for 2017 – Q1. The next release will be somewhere around Synergy. Citrix just released an schedule table where all the releases (Citrix Cloud/LTSR) are listed for this year 2017.
Not all the new 7.13 features are as innovated as always, but I took out 2 of them that I found innovated enough to highlight.
The first (In my opinion the greatest new – not exactly new, 7.12 was already in beta) feature, is the implementation of the new HDX Adaptive Transport Technology. A new network session transport Citrix protocol what is in full named; Enlightened Data Transport. The technology that is take place over UDP what reduces the amount of data that needs to be sent over the WAN network connection what also optimizes high latency sessions, including faster performance for printing and Drive Mapping data transfers. This new technology reduces the network traffic bandwidth by up to 60%!
Nowadays, companies are more focusing on full Cloud desktops environments, with example – XenDesktop and XenApp Essentials is coming your way – I think it is just a matter of time that EDT become more popular. The technology also become more and more important when customers are migrating to cloud environments, when network latency or bandwidth limitations can cause session performance issue’s.
One other minor new feature I would like to mention you is the return of the idle time user status, the session status that you probably know from the older AppConsole, when XenApp 6.5 was still in place. Again, after LHC, the next feature that is reintroduced from XenApp 6.5 to FMA. To find the session idle status, Citrix added the Application Instances option to the Director, that can be found at the Filters option. The option also provides an advanced filter – to do your troubleshooting faster for an selection of users at the same time – the filter will be saved, even when you log back on. This feature is only usable for RDS environments(XenApp) only. For activate the collection of information, you first need to upgrade all your Citrix components to 7.13 to be able to read out this information.
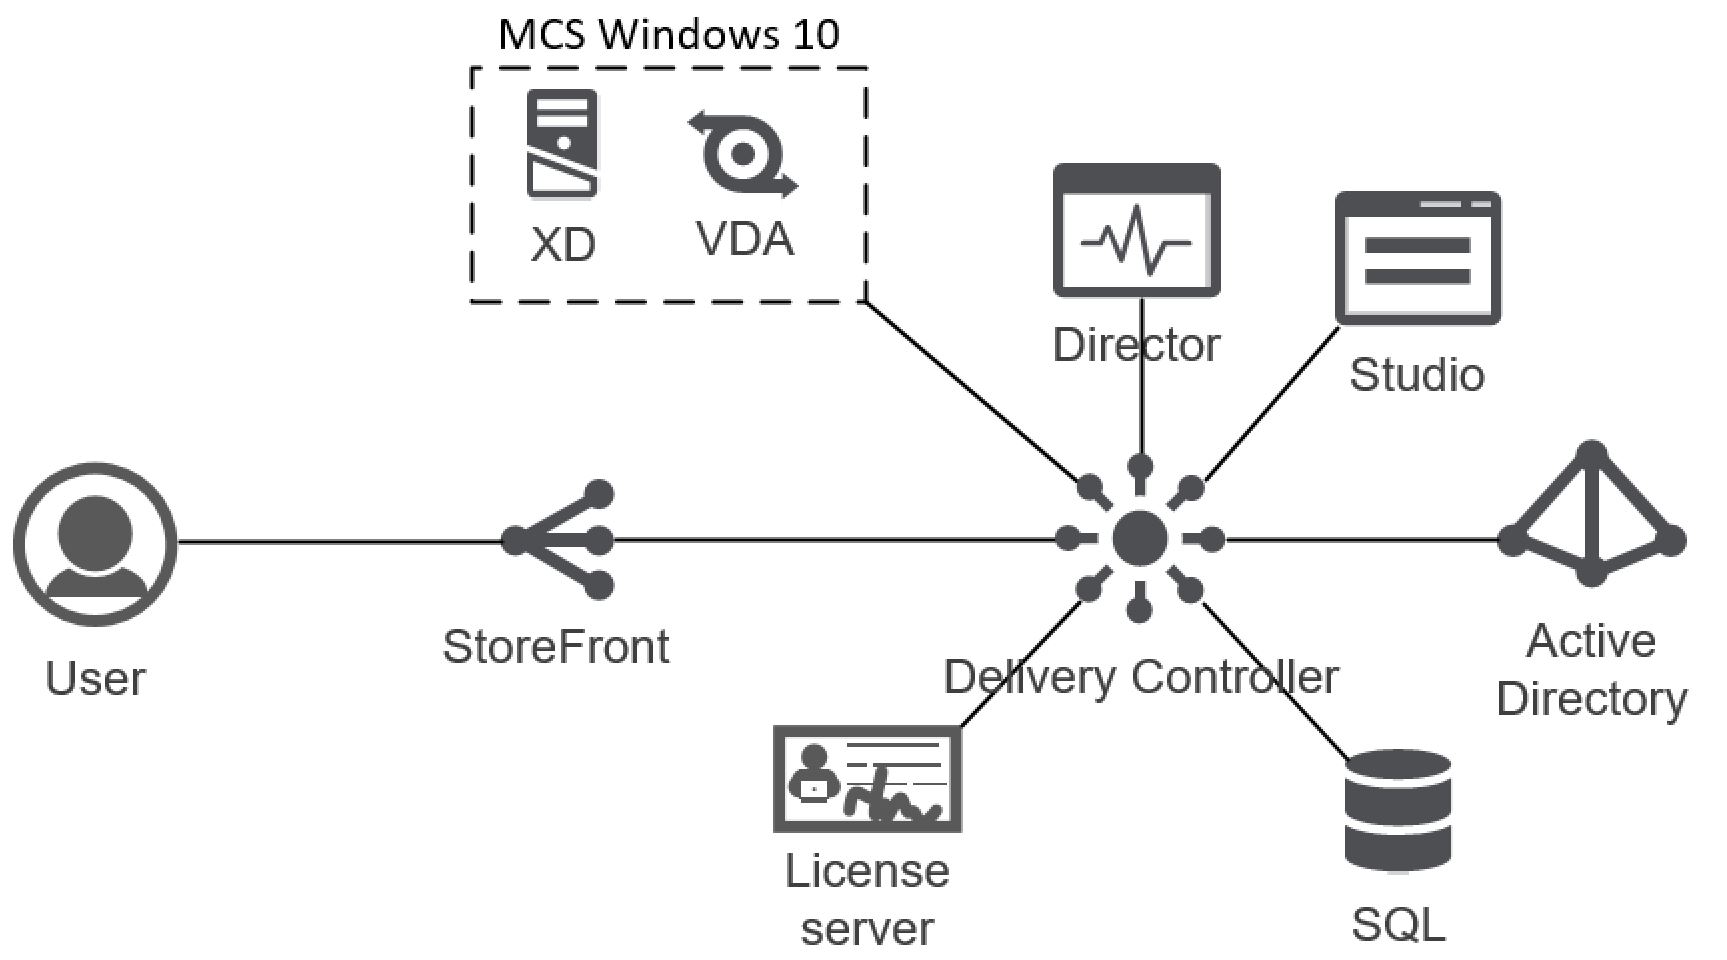
In this blog article I will provide you in a step-by-step guide how you can deploy Citrix XenDesktop 7.13, including the configuration of Windows 10 as Static persistent VDI.
Enjoy reading and please feel free to leave an comment at the end of this blog!
All the other new features:
- High-end professional graphics for VDI with AMD GPUs
- Improved performance and scalability with Intel Iris Pro Graphics
- Deliver seamless published Linux applications to users on any device
- Extended support for specialty drawing tablets in XenApp
- Simplified single sign-on integration directly from StoreFront – SAML
- Streamlined setup of multiple NetScaler Gateway deployments
- Reduce network and infrastructure impact with improved VDA registration
- Provisioning Services now handling Linux server VDAs
- All XenServer features now available for all XenApp and XenDesktop customers
- New high-availability options for Session Recording deployments (Platinum only)
- Greater scalability and new language options for the SCOM Management Packs (Platinum only)
Requirements:
- Separate StoreFront Server (I wrote an separate blog for StoreFront 3.9 – please check this link)
- Pre-installed server with Windows Server 2008R2, 2012 or 2016 for the Desktop Delivery installation (I used Server 2016)
- Minimum 4 vCPU – 5 GB ram
- Minimum of SQL Server 2008 R2 SP2 or higher
- VMware ESX 5 or higher, including vCenter
- Active Directory Domain
- Citrix License server version 11.14 or higher, including a valid Subscription Advantage or Software maintenance license for XenDesktop (or a trial license, request here)
Installation of the Desktop Controller
Step 1: First we need to download the XenDesktop 7.13 ISO from the MyCitrix website / or download the trial here
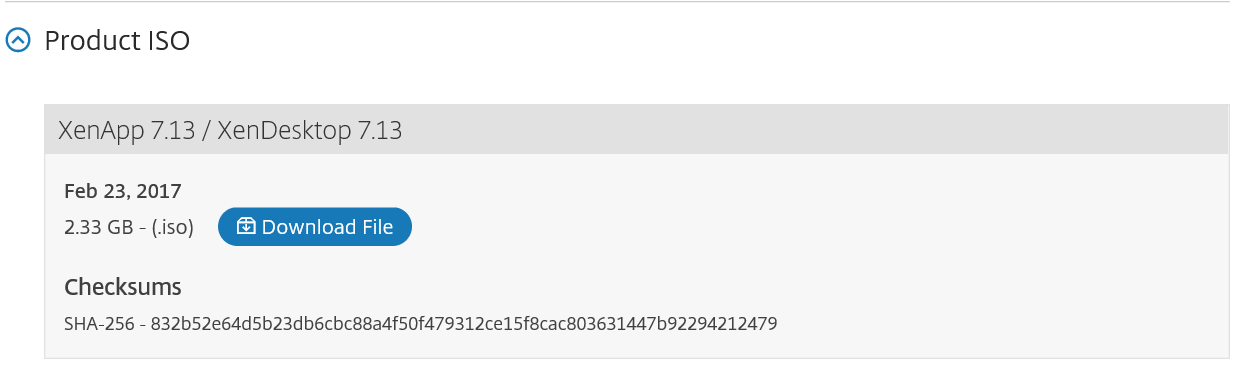
Step 2: Attach the ISO file to your Desktop Controller to start AutoSelect.exe installer and choose for XenDesktop
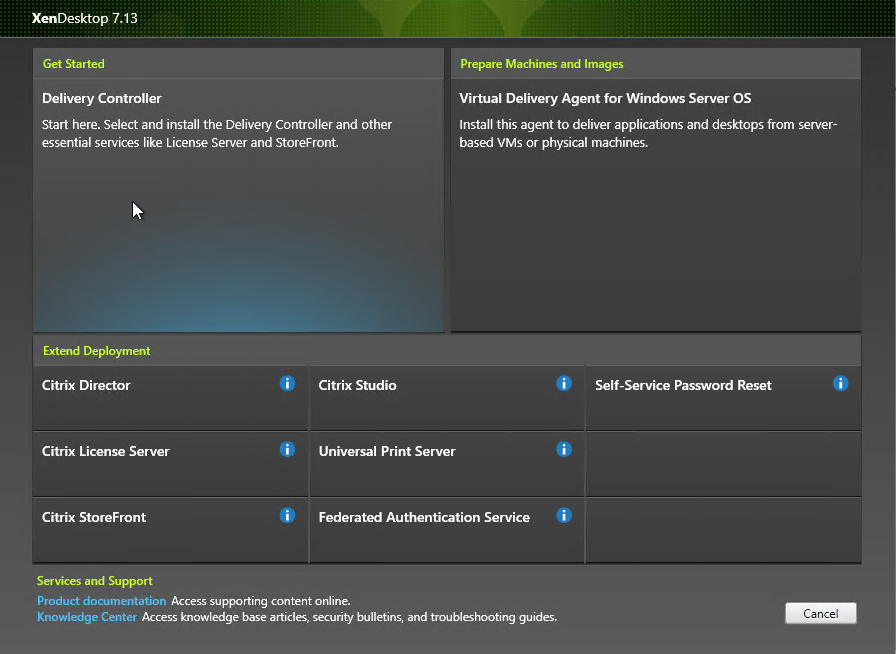
Step 3:Choose for the option – Delivery Controller
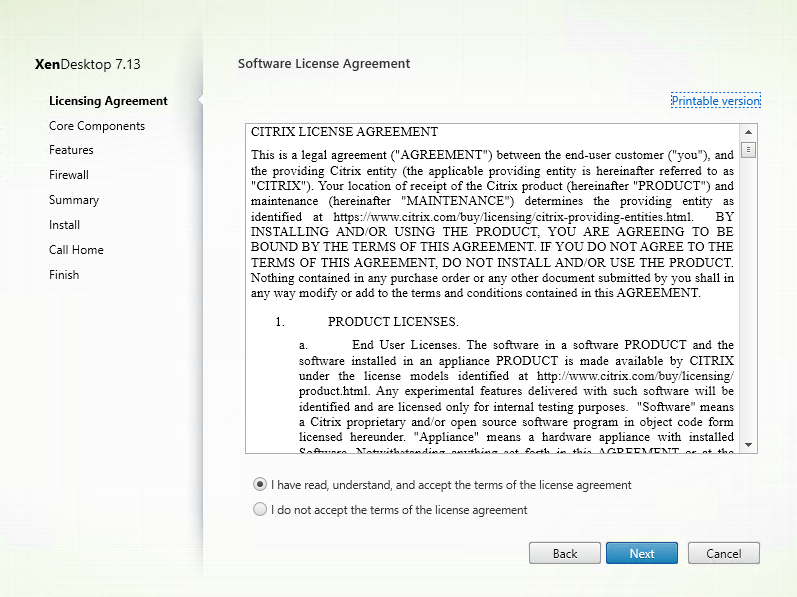
Step 4: Accept the License agreement, click on next
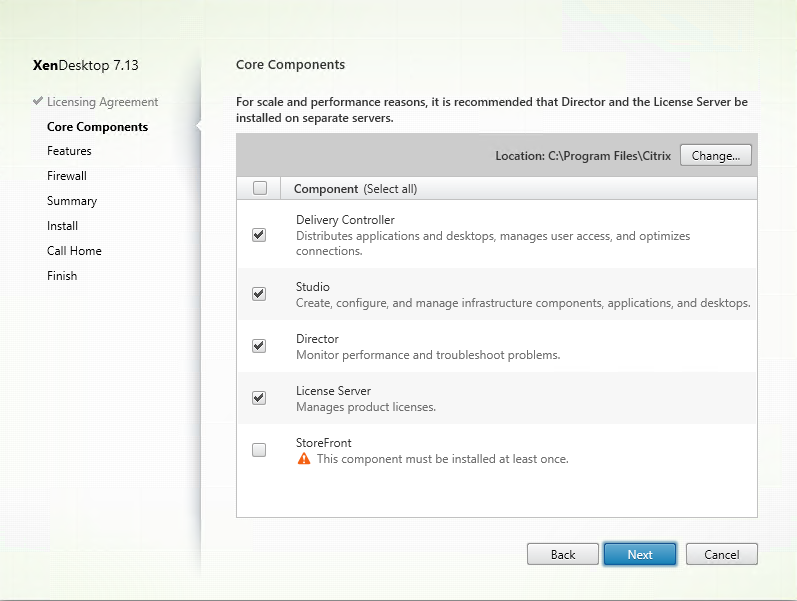
Step 5: Untick the StoreFront checkbox – let all the others be default – Click on Next
Note: If your haven’t any separate StoreFront server available, please check my other blog.
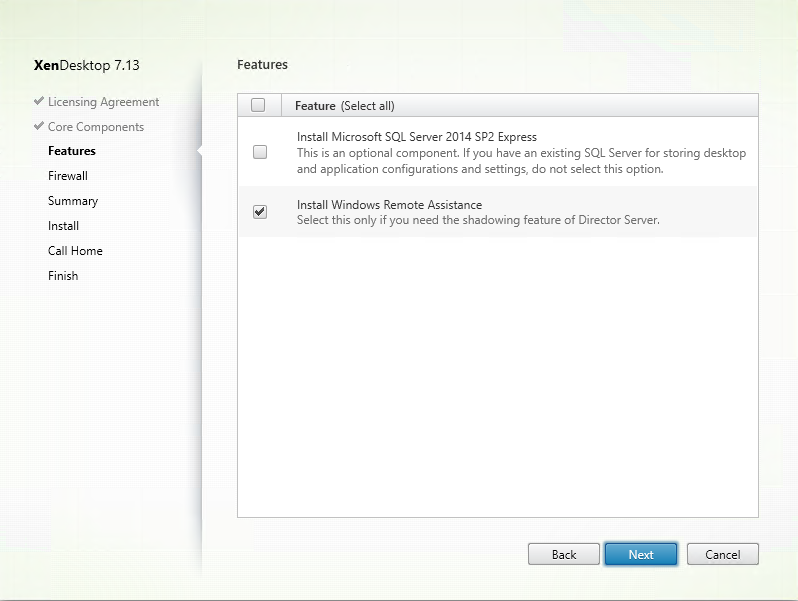
Step 6: For this blog article, I make use of an central SQL server – if you haven’t got this, you can select Microsoft SQL Server 2014 Express. Let the Remote Assistance be checked, if you want to provide users to be shadowed their session through the Citrix Director. Click on Next
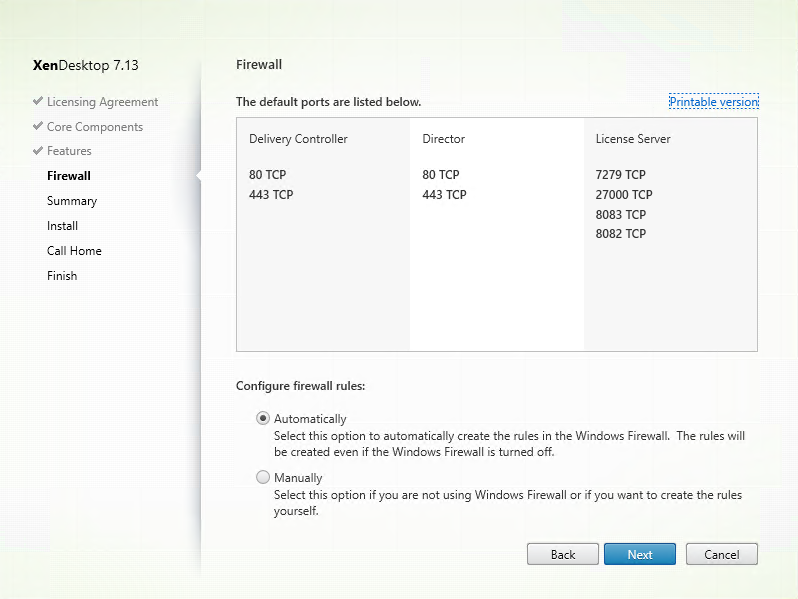
Step 7: Let all of these option default – click on Next
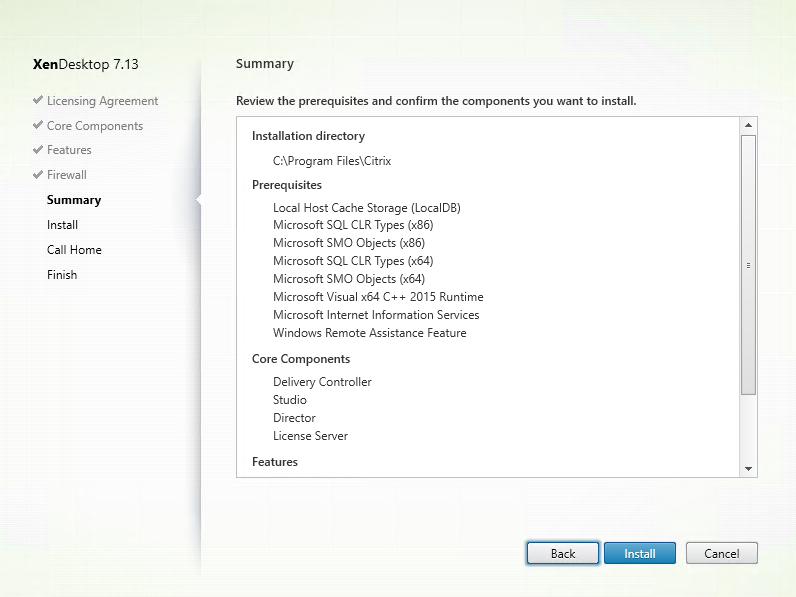
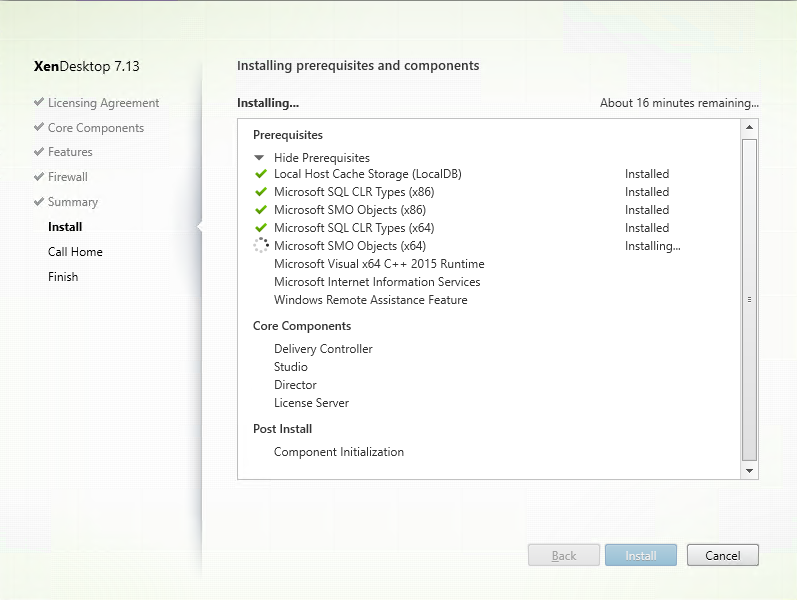
Step 8: Please check the summary – click on install to start the installation
The installation will now take place for about 5 – 16 minutes…
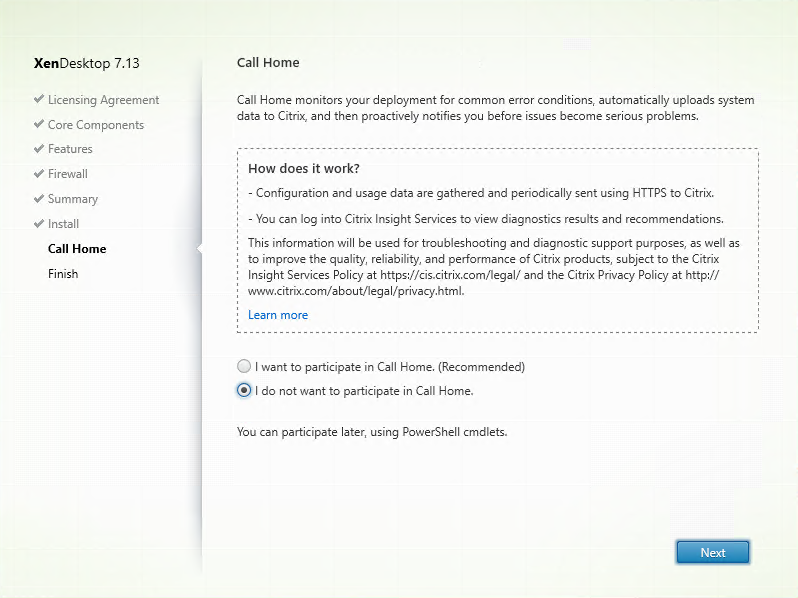
Step 9: For production environments I advise to participate in Call Home – for this article it isn’t important, so I choose for – I do not want to participate in Call Home. Click on Next
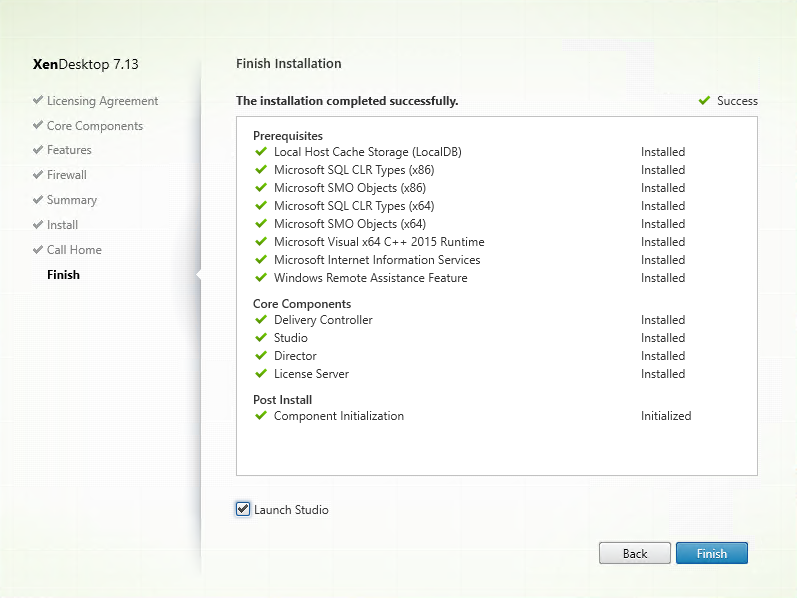
Step 10: All the installations has proceeded successfully, click on Finish to start the Citrix Studio
Configuring the Citrix XenDesktop site
Step 11: Choose for the first option – Deliver application and desktop to your users

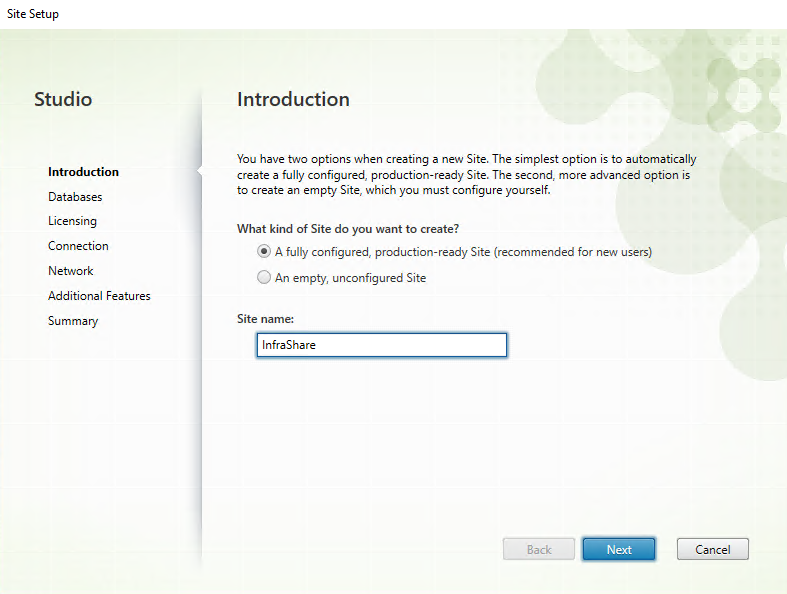
Step 12: Enter your Site name for your deployment – I will use InfraShare – but of course you can make this your own, Click next
Step 13: Choose your database names, you can make this your own – select the SQL database location for place in your database, click on next
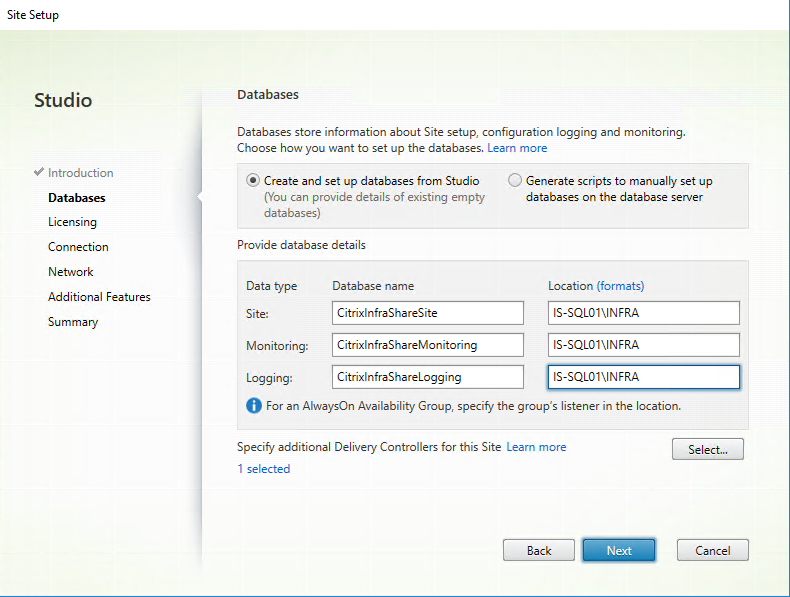
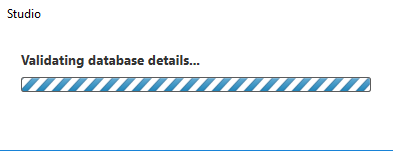
Database connection is being validated…
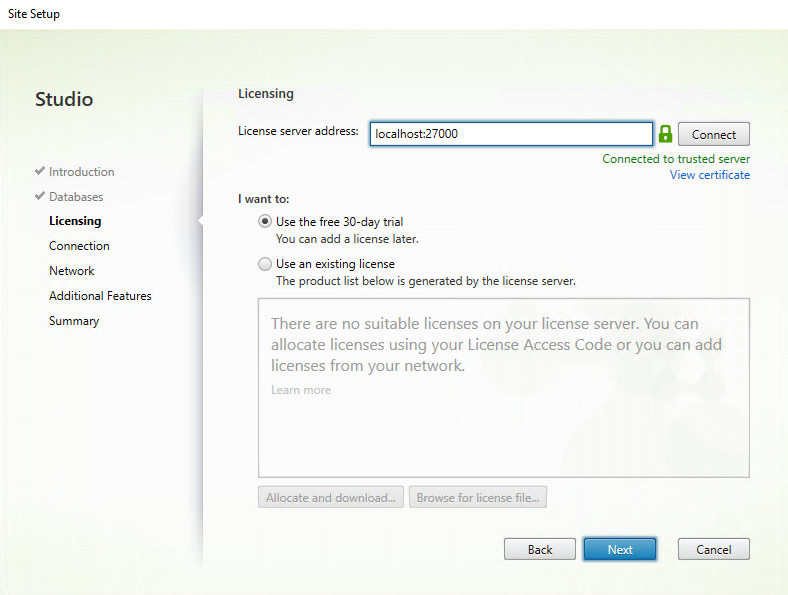
Step 14: We installed the license server on this server, so let the server address be local, if you have existing licenses, please add them and click on Next
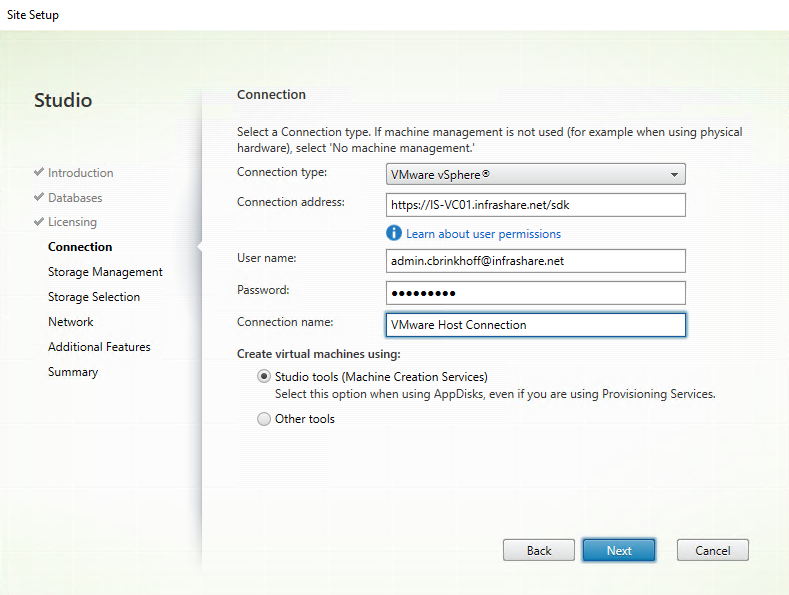
Setup the VMware host Connection
Step 15: To activate the Machine catalog based on VMware, we need to provide a VMware vCenter connection. Click on next to confirm the connection
Connection address: https://You’re vCenter address/sdk
Username: Username@christiaanbrinkhoff.comdomain serviceaccount with administrator rights on vCenter cluster
Password: Password
Connection name: VMware Host Connection
Trust the vCenter certificate – click on Ok

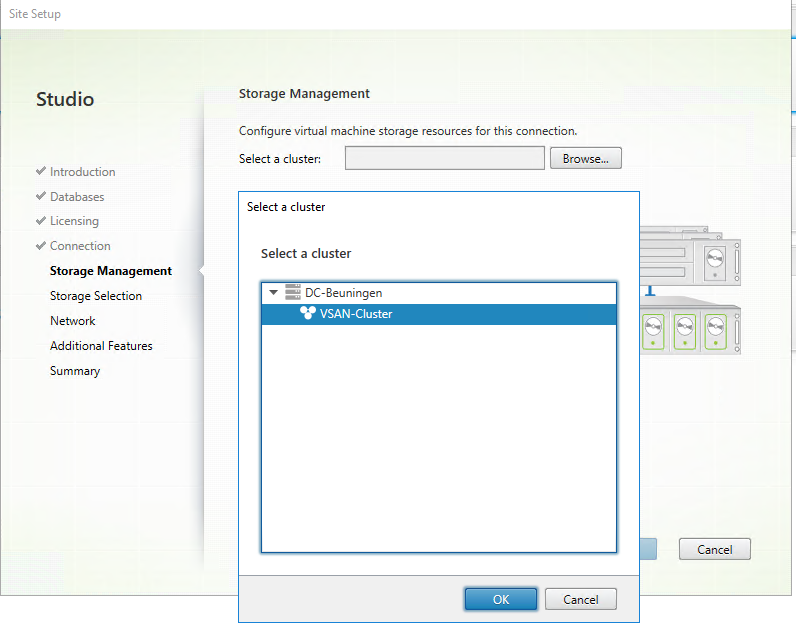
Step 16: Select the cluster to locate your Windows 10 master image – deployment. Click on Ok
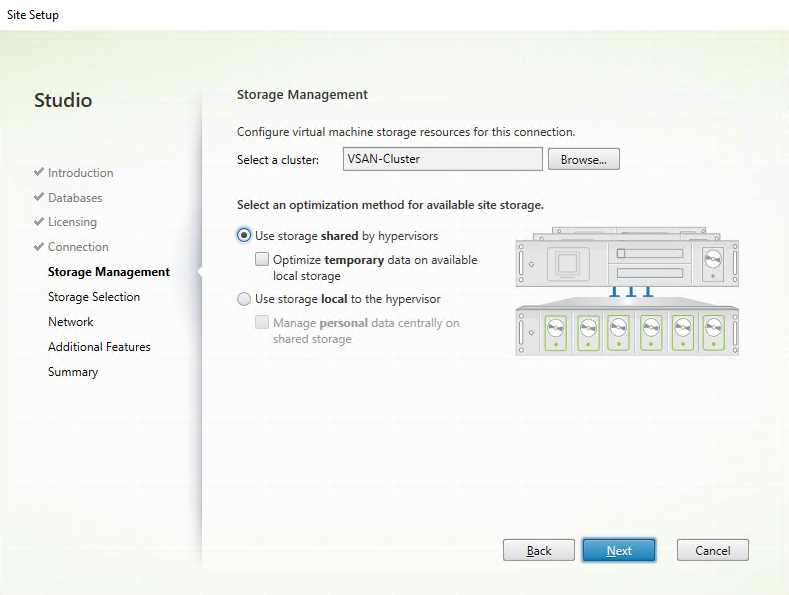
Step 17: Select the – use storage Shares by hypervisors – option and click on ext
Note: If you have local storage available on your hypervisors, that is even faster than your shared storage, you can activate the second option – Optimize temporary data on available local storage – to give an better performance. Like Citrix provisioning can write directly into your Memory, MCS also can, please check out this article for more information
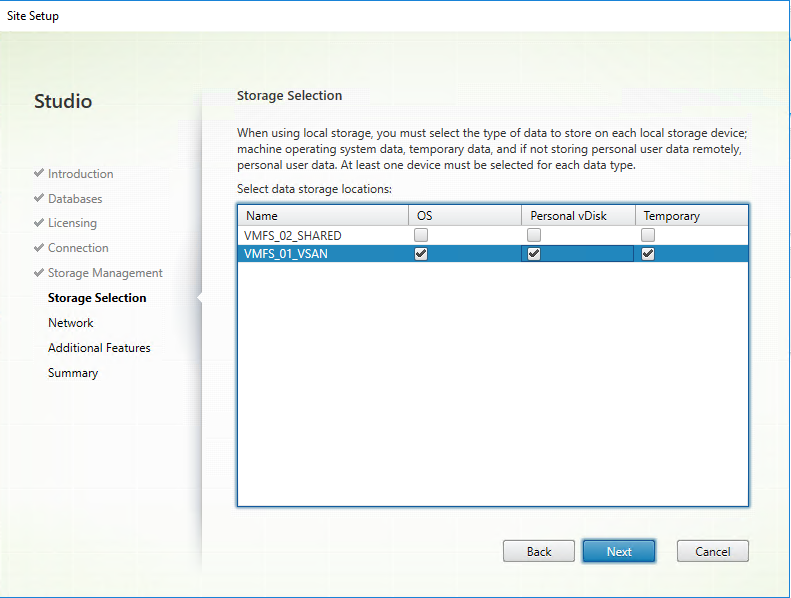
Step 18: Select the datastore location where to put your machine in, click on next
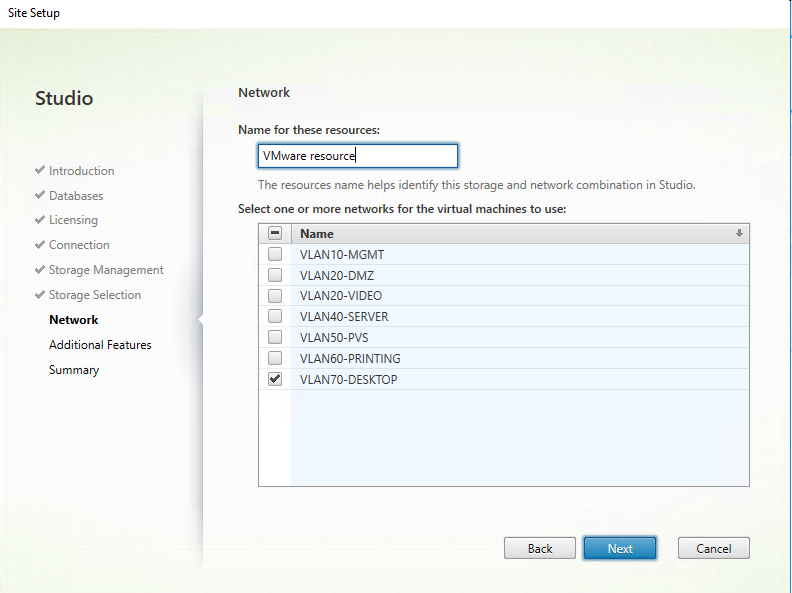
Step 19: Give in a name for the Resource and select the VMware vSwitch network to place your Virtual Desktops in by default. Click on next
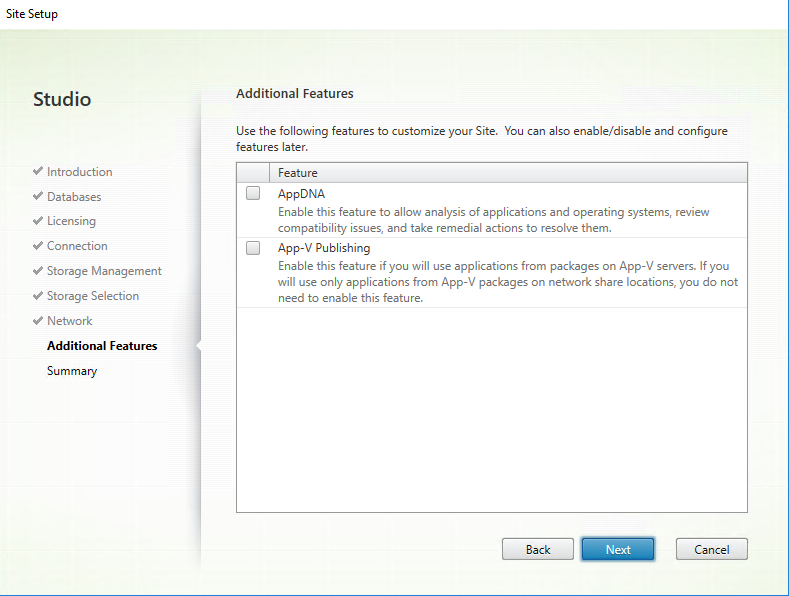
Step 20: These option can be left default – unchecked – click next
Step 21: Please check all the settings, if ok, then click on Finish to start the deployment
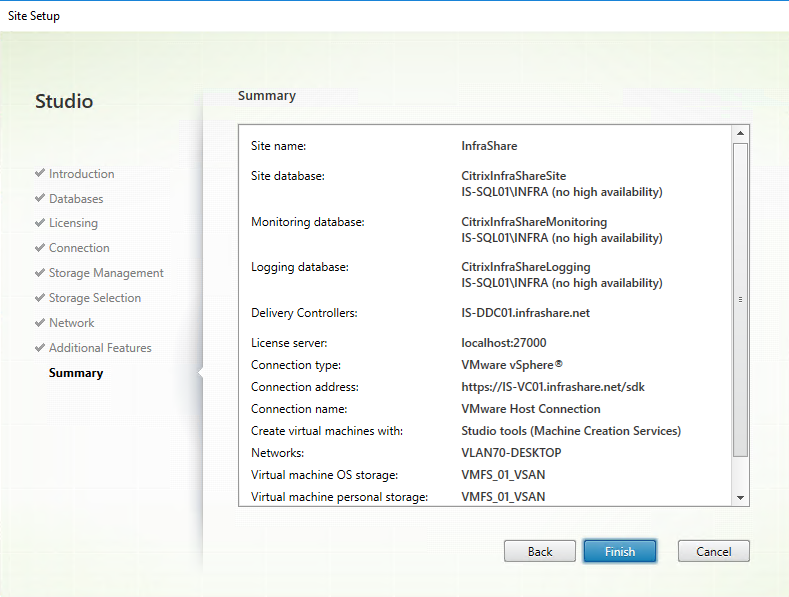
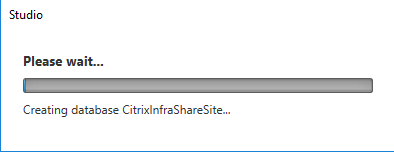
The Site configuration is now taking place, when these are finished we start with the VDA configuration part
Create the new Windows 10 master image
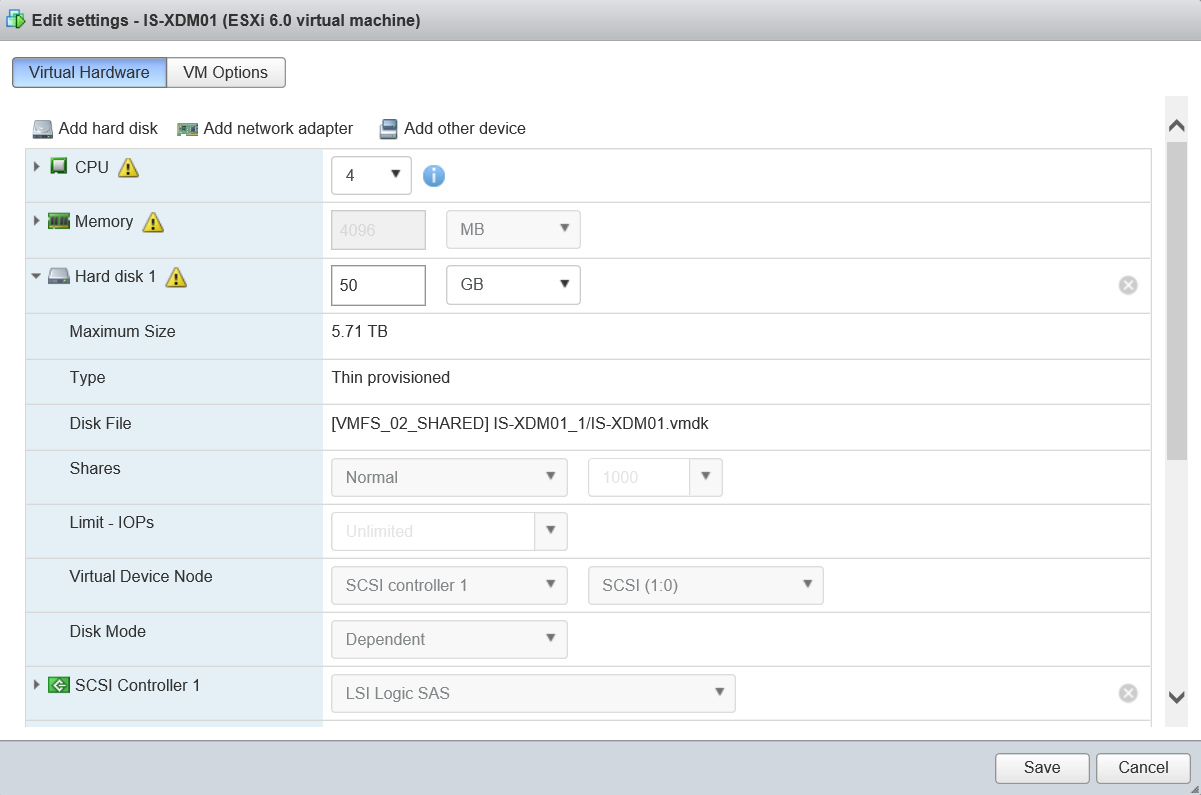
We first need to pre-install a Windows 10 Virtual Machine VDA (Virtual Desktop Agent) with the following specification(for medium to heavy usage users).
To figure out what the best settings are for your environment, please check out the Citrix VDI handbook
Computername: IS-XDM01 (can be random – I use XDM for XenDesktop Master)
OS: Windows 10Pro or Enterprise ( update 1607)
Joined Domain: your domain
VMSettings: 4GB RAM – 2 vCPU (4 vCPU for heavy users) – 50 GB Hard disk
Other settings: RDP enabled / VMware tools installed
Install the Citrix VDA
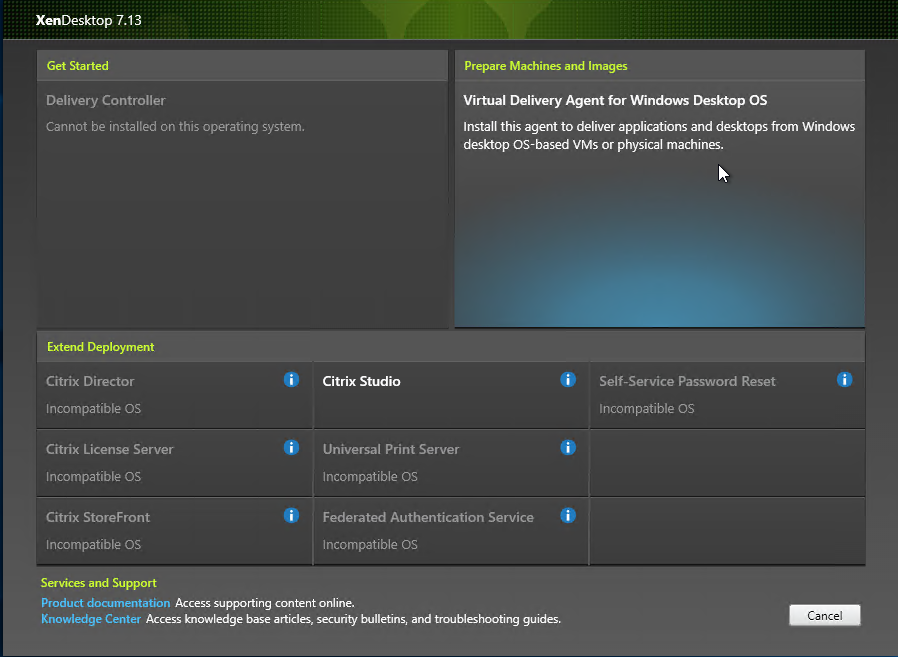
Step 22: Log in to the Windows 10 desktop, mount the Citrix 7.13 ISO and run the Autoselect.exe again
Step 23: Choose for the option XenDesktop

Step 24: Select the option – Virtual Delivery Agent for Windows Desktop OS
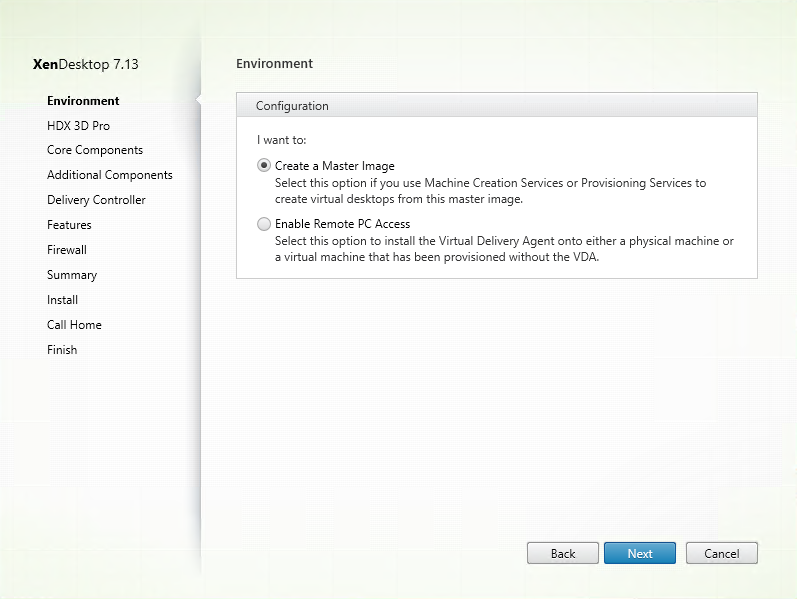
Step 25: Select the option – Create a Master Image – Click next
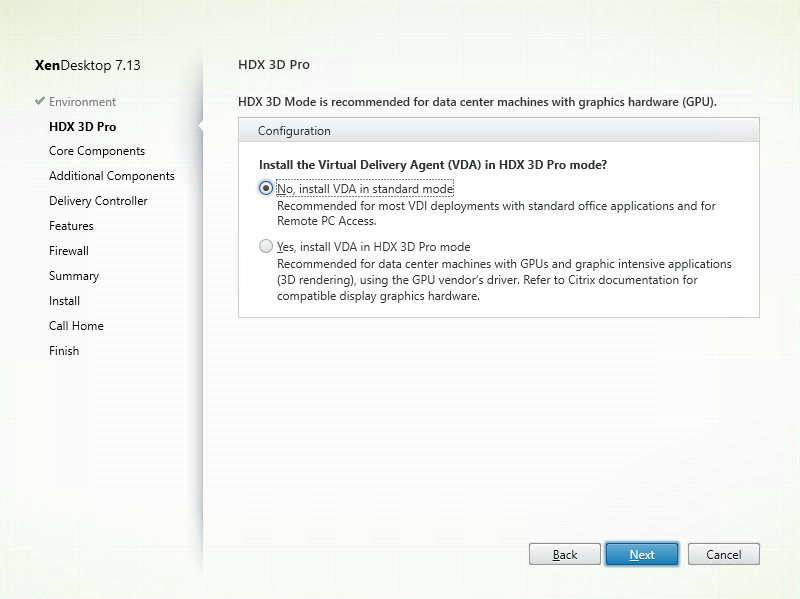
Step 26: Select the option – No, install VDA in standard mode – click on ext
Note: When u make need to create heavy user desktops, like CADCAM VDI’s for 3D rendering with vGPU graphical cards – like the NVidia GRID card, you then must choose for Yes
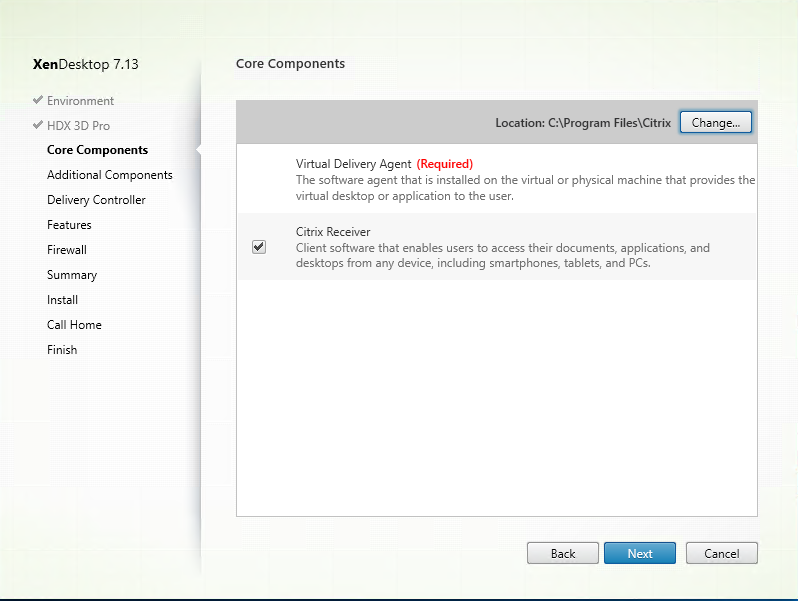
Step 27: Let these settings be default – click on next
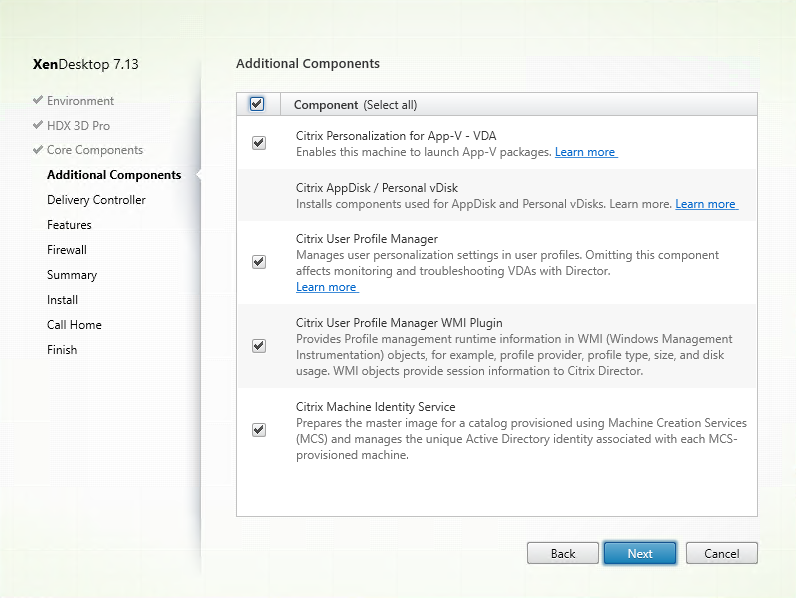
Step 28: Let these settings also be default – click on next
Step 29: Enter your Desktop Controller Address (FQDN), Click on the test button and when receiving the green check, click on the Add button. Click on next

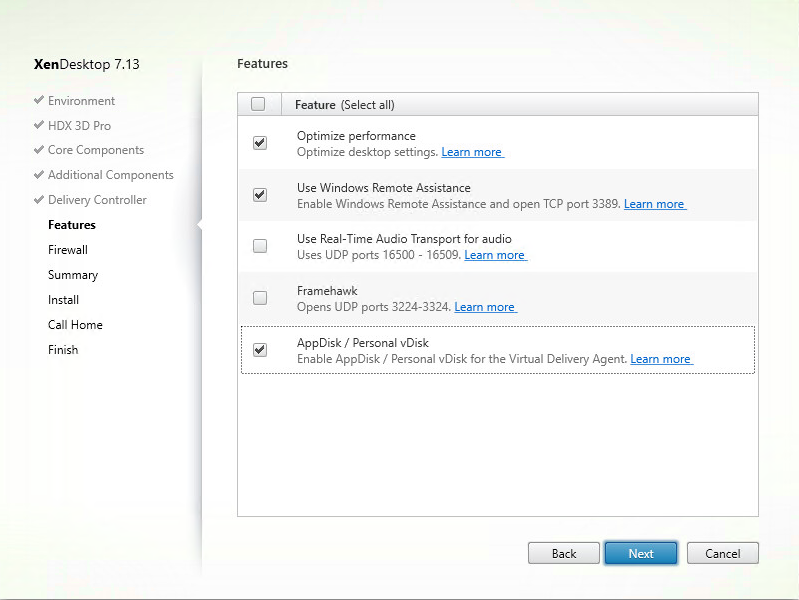
Optimize the OS master image
Step 30: Check the Optimize performance for proceeding the OS Optimizer tool, check the Remote Assistance option to provide Session shadowing through the Director – activate the Personal vDisk option to enable the creation of an Persistent Static VDI Desktop in the next steps. Click on Next
When checking the OS Optimizer tool option – the steps in this article are being proceeded. Make sure that you are aware of them in case you need one of them for application purposes, like (disabling) Windows Search.
For a more in-dept tuning of Windows 10, I recommend the following articles by Rob Beekmans:
http://robbeekmans.net/euc/tuning-microsoft-windows-10-vdi-part-1-creating-virtual-machine/
Step 31: Let the Firewall rules be set automatically, click on next

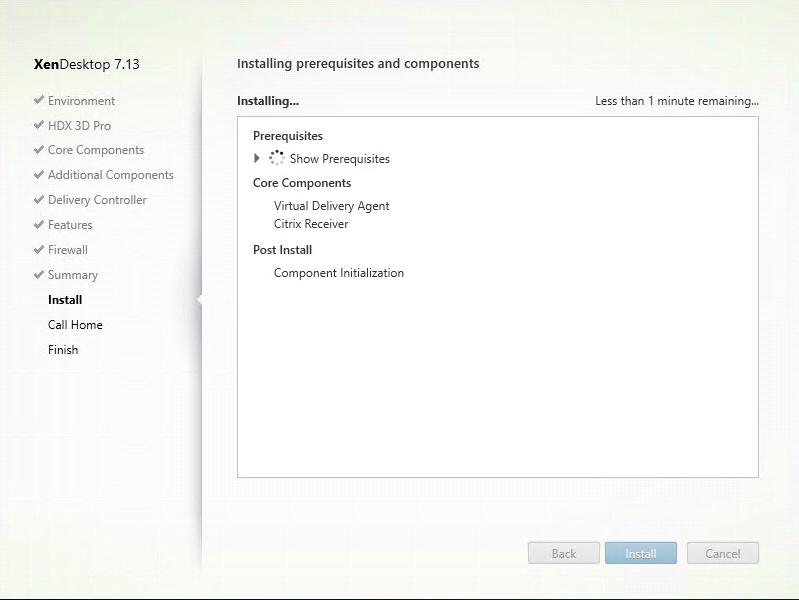
Step 32: Check the summary page and click on install when all the settings are correct
The Windows 10 – VDA installation process is proceeding…
Step 33: For production I advise to choose Participate Call Home – for this article I choose to do not – Click Next

Step 34: Click finish when all the checkmarks are green, to restart your XenDesktop – VDI master Virtual Machine afterwards

Step 35: You are now be able to install all of your applications, like Office 2016 Professional, Antivirus or UEM (WEM/RES/AppSense) tooling agents (if they aren’t virtualized in App-V already) in the Master image before starting the creation of the Machine Catalog.
Make sure you shut down your Master image before starting the Machine Catalog Enrollment!
Create the new Windows 10 MCS Machine Catalog
Step 36: We now need to switch back to our Delivery Controller and start the Desktop Studio console to create a new Machine Catalog based on the just created Windows 10 master image.
Choose for step 2 – Machine Catalogs

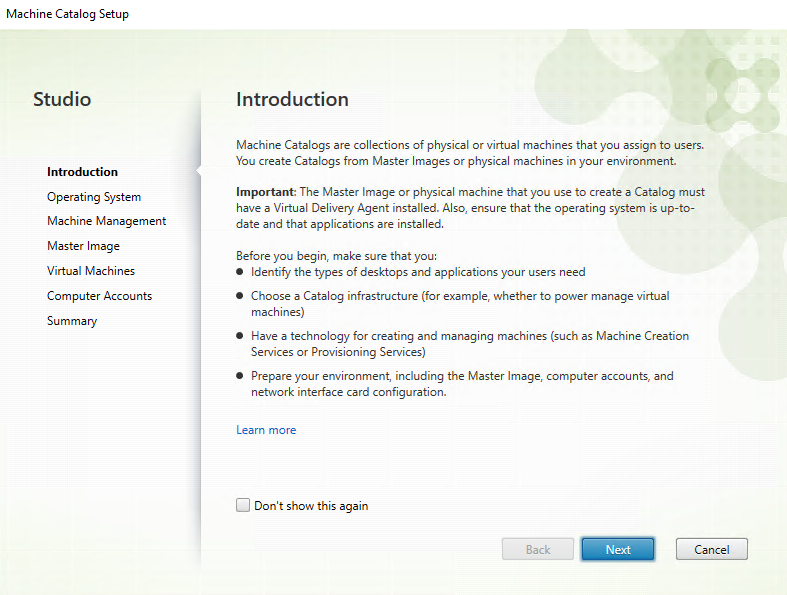
Step 37: Click Next on the introduction screen
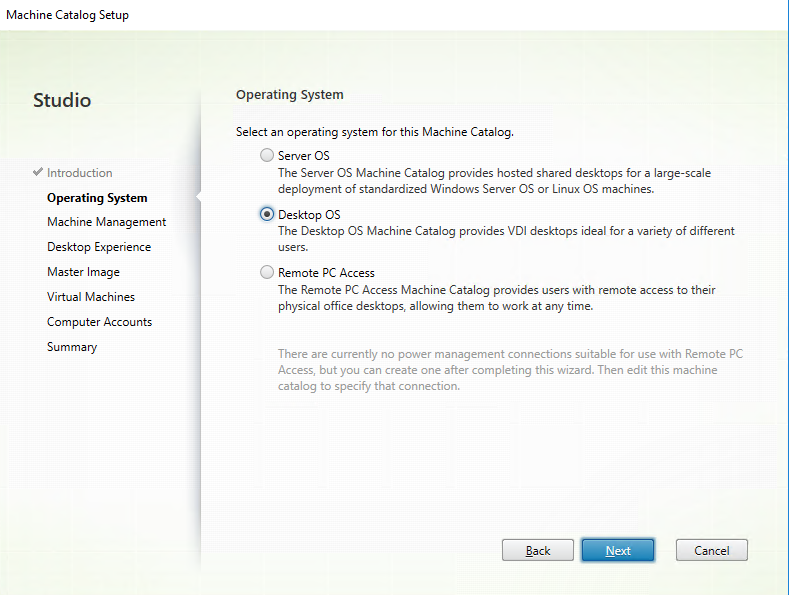
Step 38: Select the Desktop Operating System – click on Next
Step 38: Make sure the option – Power Managed and Citrix Machine Creation Services (MCS) – is checked, click on Next

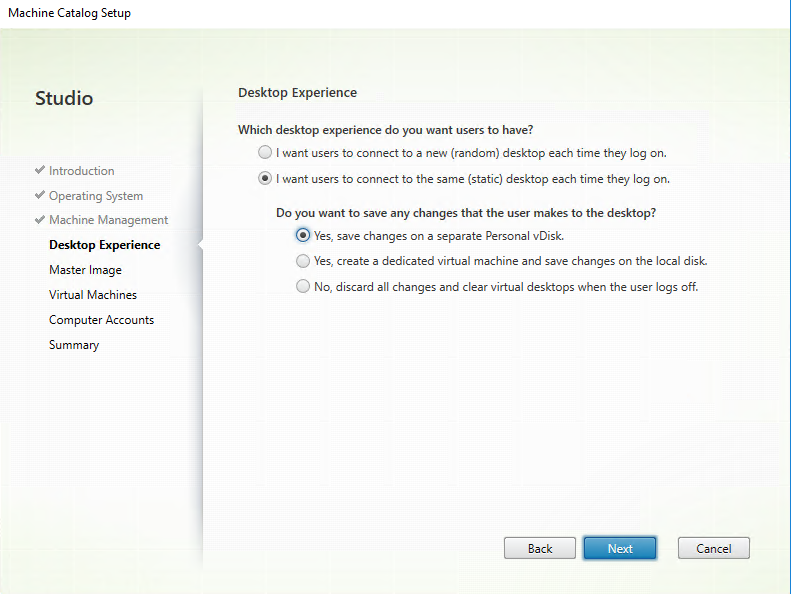
Step 39: As we are going to create persistent VDI’s that are static assigned – we need to choose for –Static and Yes, save changes on a separate Personal vDisk. Click next
Note: During the deployment process – there will be an separate persistent disk attached to your VDI Virtual Machine, on this disk will be the users personal settings/files and installation files. To keep the changes even after an reboot. Please check out this official Citrix article for more information
The Personal vDisk gives you more flexibility in cleaning the desktop, you can run the Personal vDisk clean-up from the Citrix Director – User settings. Afterwards the machine will be set to the “factory” default. When you want to be sure that your delta disk is overall the same in size, and more flexibility in the clean-up process, this is your way to go. One thing that you must keep in mind is that the Personal vDisk will be attached as extra disk upon the delta disk, so this means extra storage consumption!
As alternative, you can also choose to activate the – Yes, create a dedicated virtual machine and save changes on the local disk – option. It will make the static VDI also persistent, by making your Delta disk writable. When you want to perform an total disk clean-up, the total VDI has to be re-created then. The changes are being applied to your delta (OS) disk, what makes this solution lower in storage consumption.
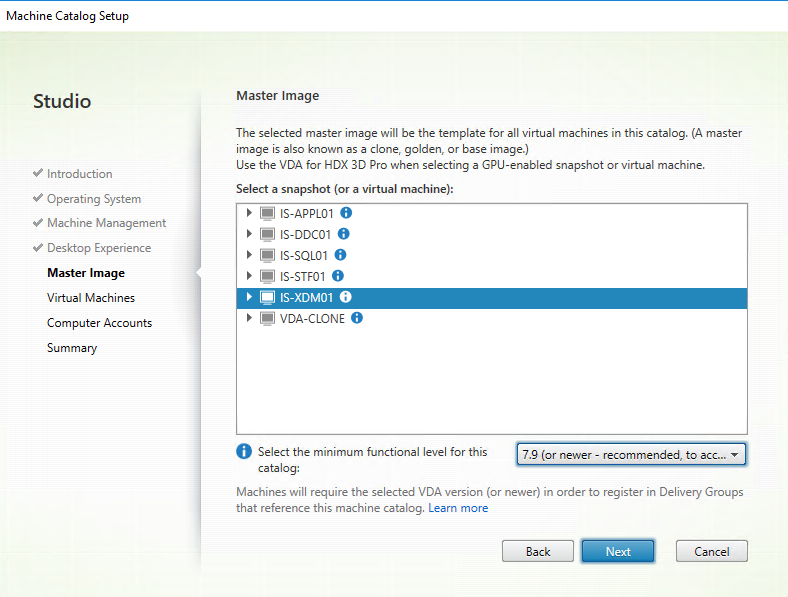
Step 40: Select the just created Master image – click next
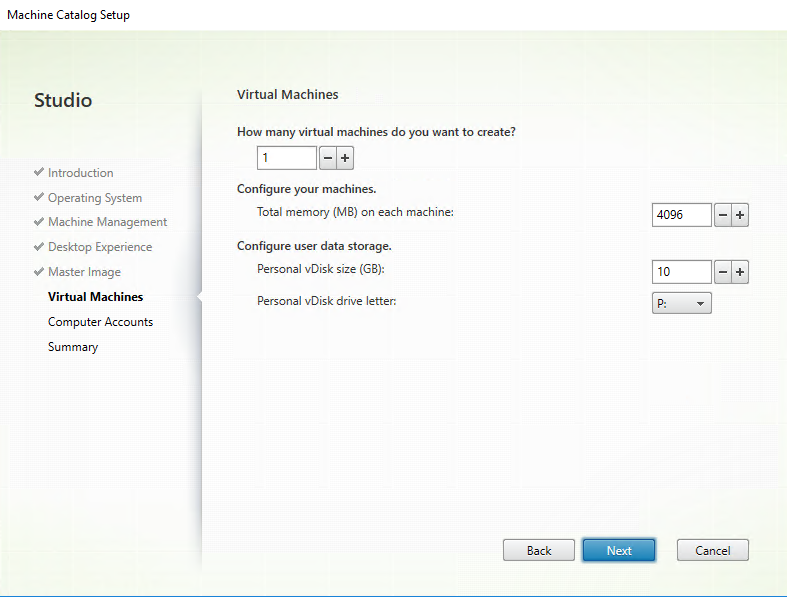
Step 41: Select the amount machines and memory that you want to provide to your VDI’s – select the size of your personal vDisk and assign a drive letter P: – Click ext
Step 42: Select an naming convention for your XenDesktop machine deployment – select an default Active Directory location – click Next

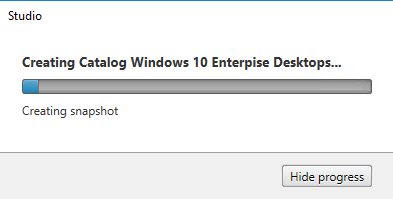
Step 43: Name the Machine Catalog to like – Windows 10 <OS VERSION> Desktops – click on Finish to start the MCS machine deployment procedure

The deployment/enrollment of the Desktops is now in progress…
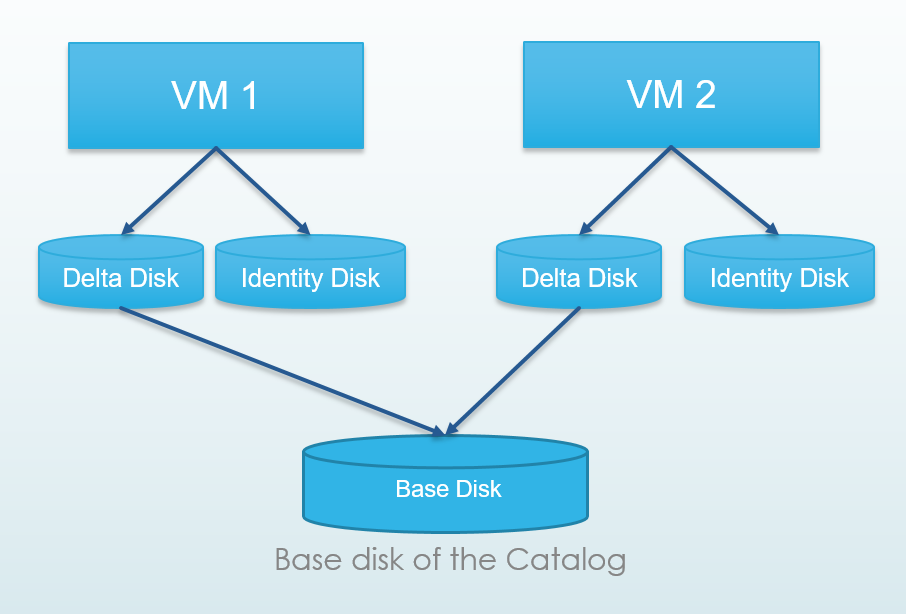
You can check the creation status of the Base Disk in VMware

When the deployment process is finished, the machines get assigned 2 disks; an Identity Disk – that provides all the Active Directory identity information, like the Computer account password – and – an Delta disk (or called diference disk in earlier notes), what acts as OS disk, that holds all the delta files that are being pulled from the base disk. The Base disk can be found on the datastore and will be an exact copy of the OS disk of your master image. This method is more disk I/O intensive, because all the delta changes must be copied from the base disk. This method is called fast-clone.
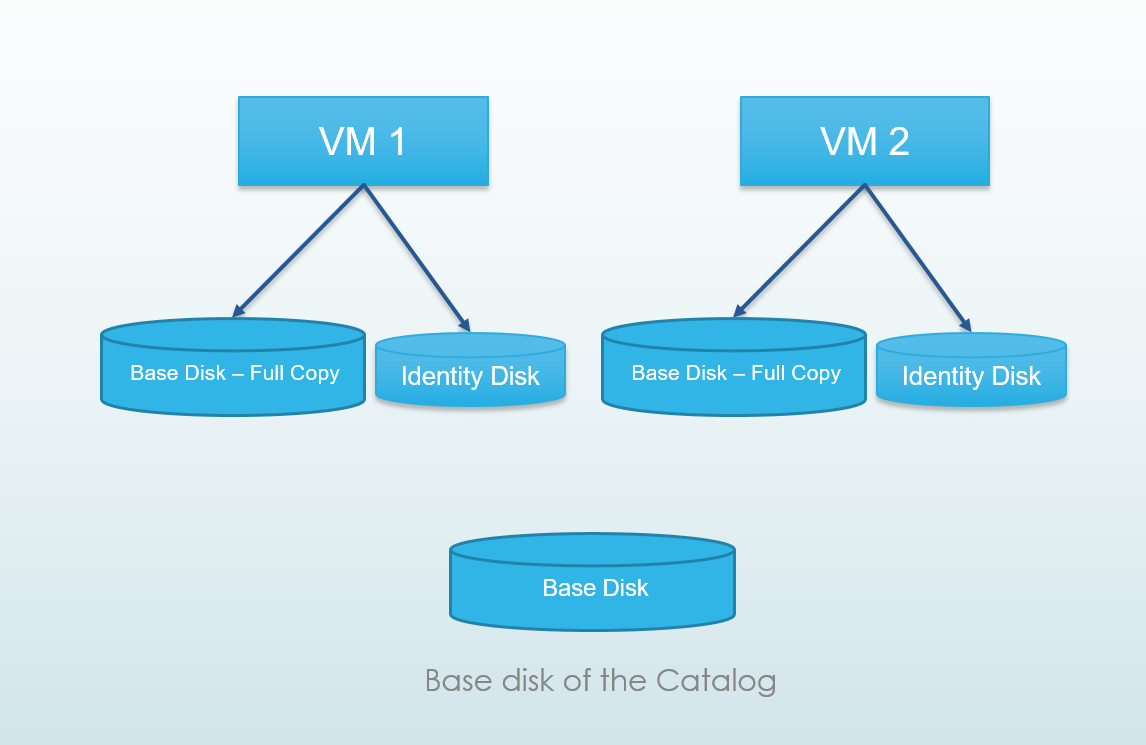
Since the introduction of XenDesktop/XenApp 7.11 Citrix added an new method, called Full-clone to their MCS imaging strategy. An new copy mode method to deploy your MCS machines, what attaches an full copy of the base disk to the machine, what makes the machine independent, but increases the storage usage needs. If you’re environment is all-flash SSD storage, this new method can increase your performance. For Hyper-converged environments, the Full-Clone feature is definitely one to remember for sure! Check out this official Citrix article about the full-clone method.
Configure the Delivery Group
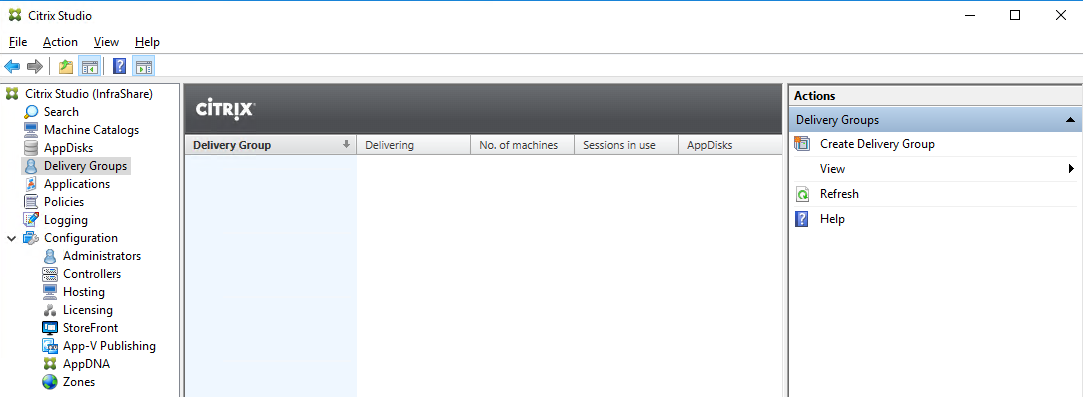
Step 44:Open the Delivery Group option in the menu, click on Create Delivery Group
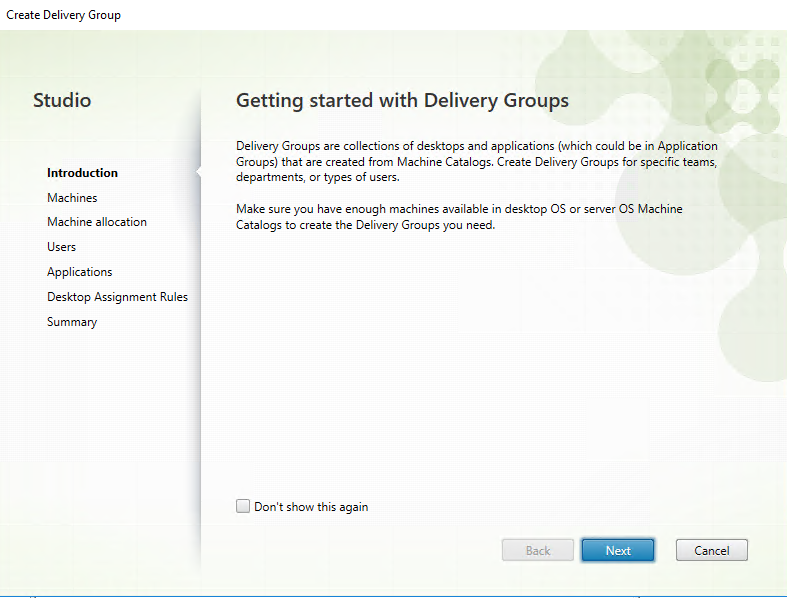
Step 45: On the intro screen, click next
Step 46: Increase the amount of desktops you need to add to the Delivery Group, click on next
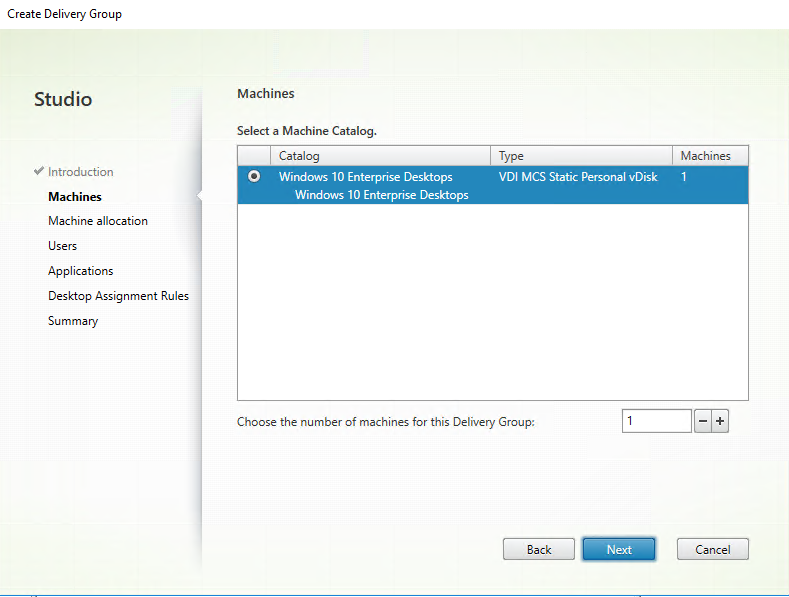
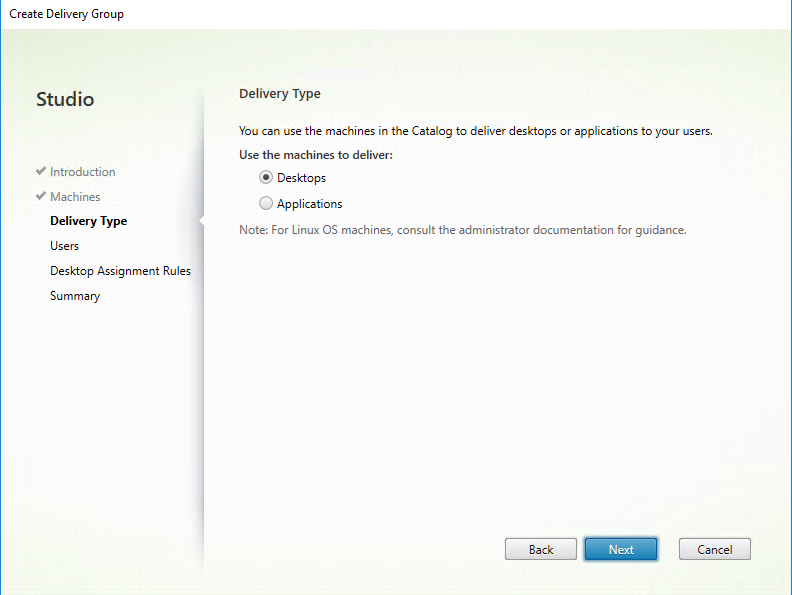
Step 47: Select the Desktops option, click on ext
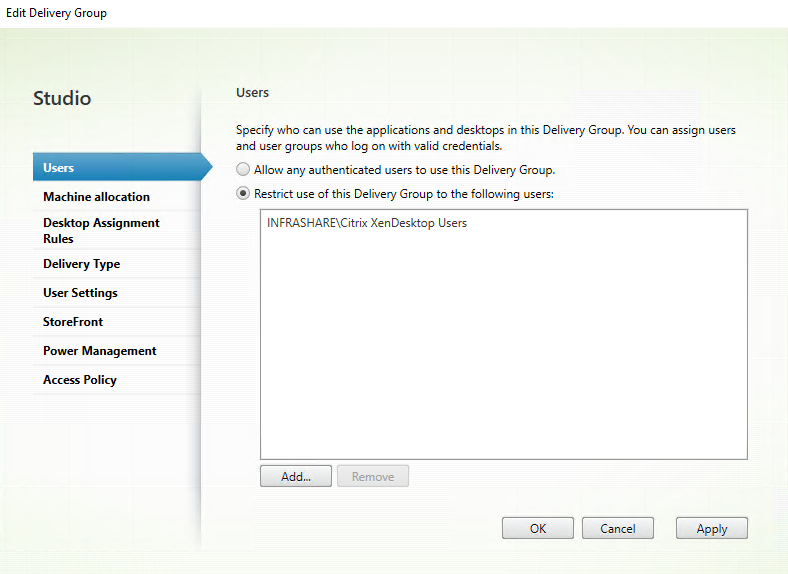
Step 48: Restrict access to the VDI’s by check the – restrict use of this Delivery Group – option and add the Group that need to have access to the Delivery Group. Click on next
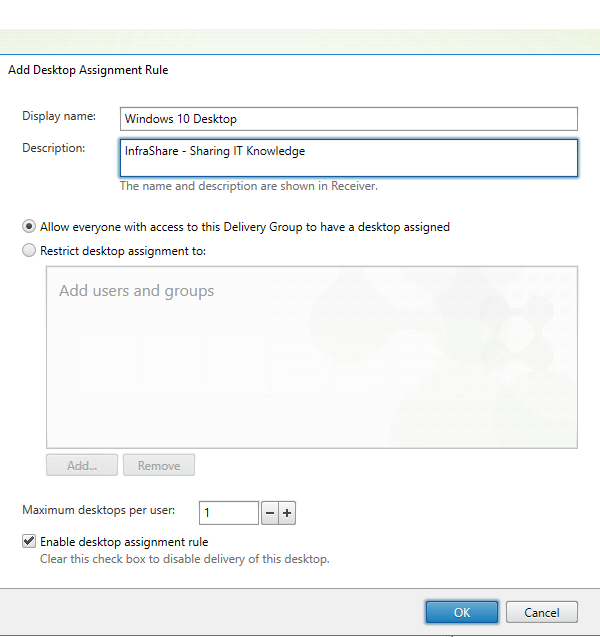
Step 49: Click on Add

Step 50: Fill in a display name for the desktop – the name that users will be seeing in StoreFront. Let all the other settings be default, click on Ok and Next in the previous screen
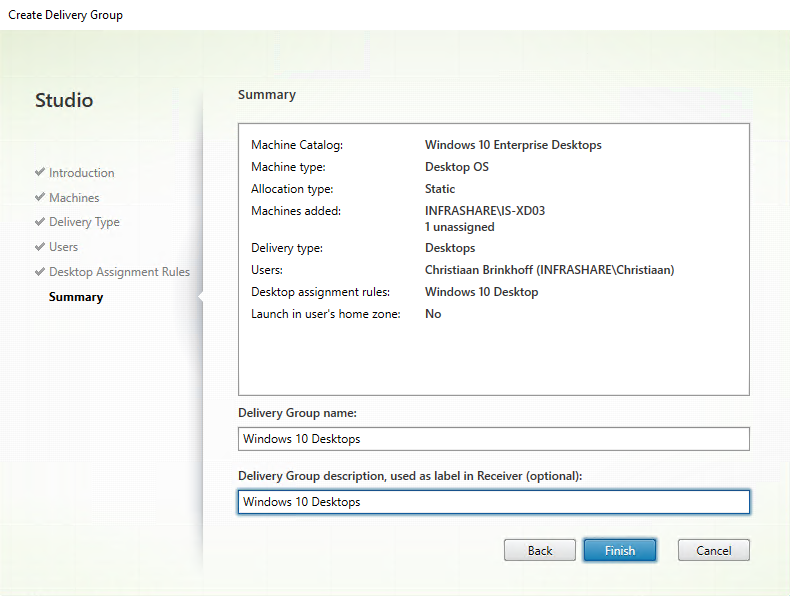
Step 51: Please check all the settings at the summary field – fill in an name for the Delivery group and click on Finish to Add the new Delivery Group
The Delivery Group is added successful, now boot up the VDI’s to see they will get the status registered…
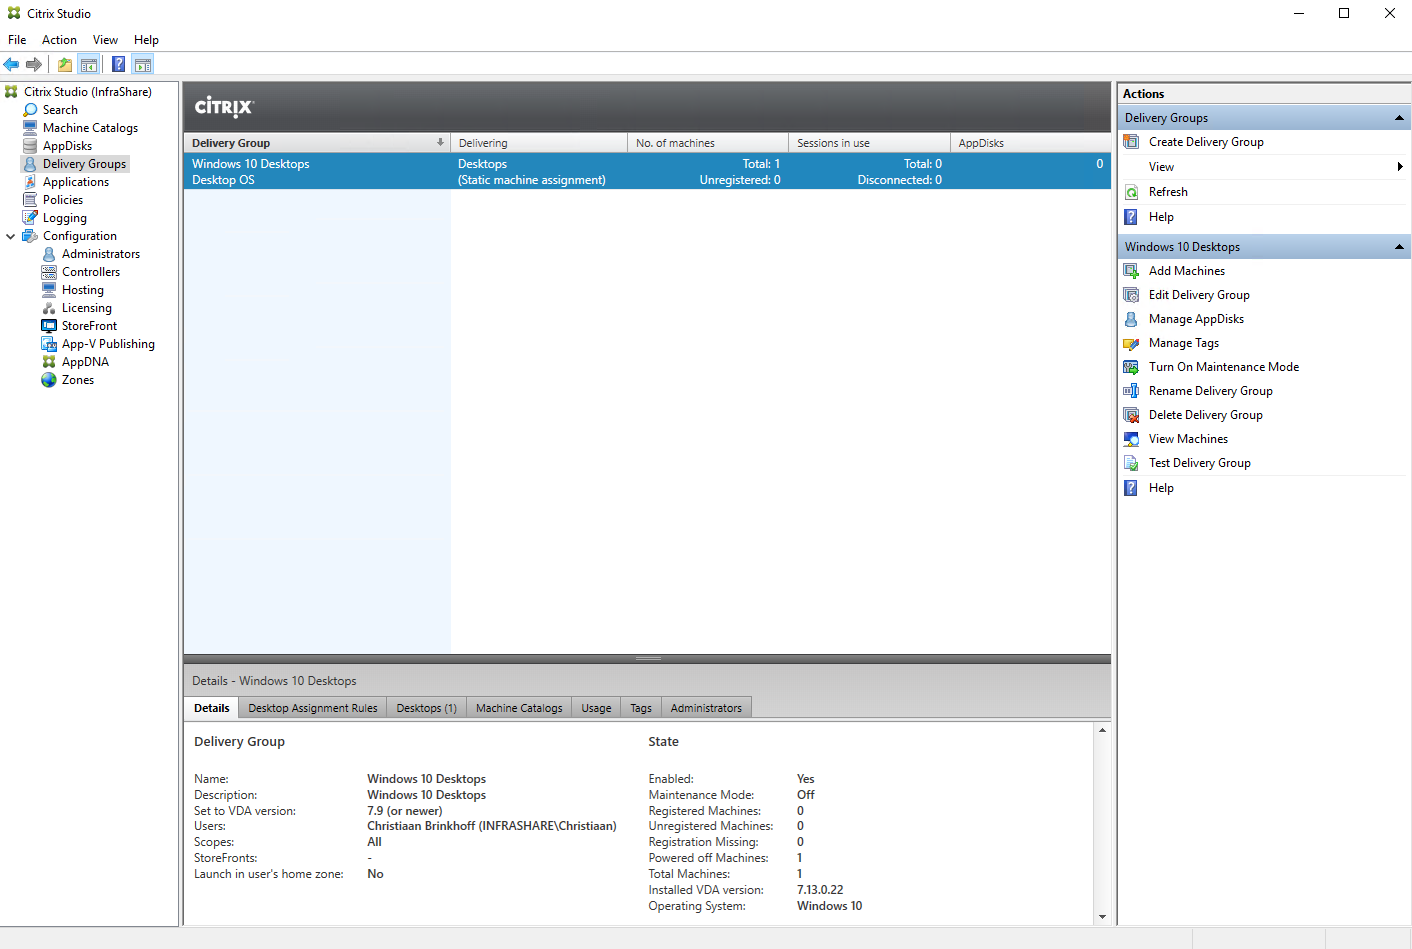
Step 52: Click on the Delivery Group to open the XenDesktop OS Machine list to check if the machine VDA did get registered. If so, we now need to click on the – change user – option in the right menu, so we can make the VDI Desktop static to an user
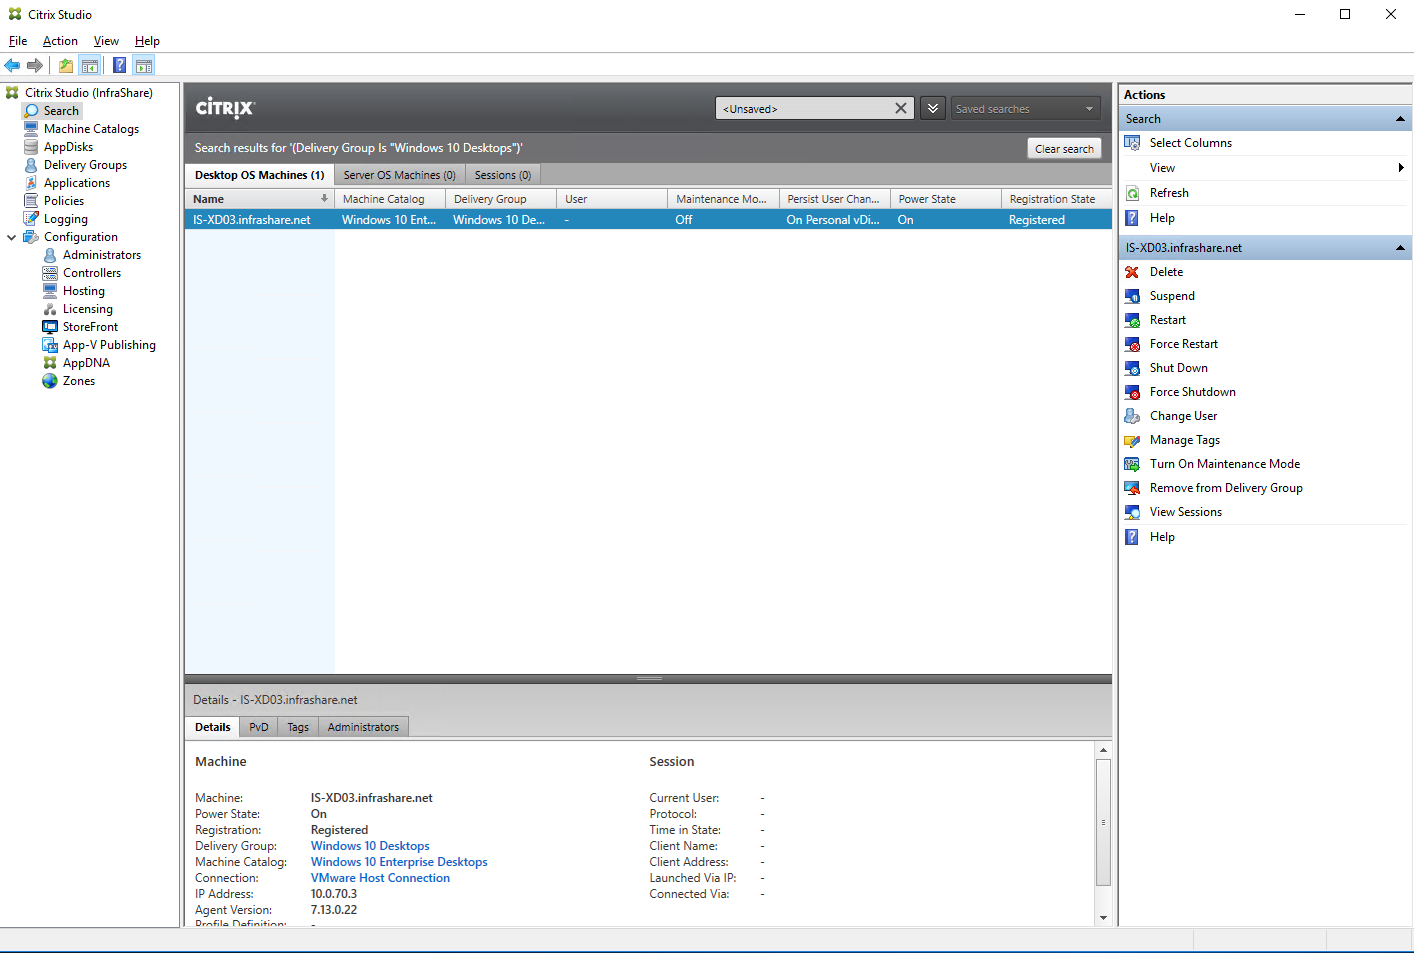
Step 53: Just click on the add button and select the user that must be attached to the VDI Desktop and click on Ok

When all of these steps are done right, the status must be registered like the picture below.

Configure StoreFront
Step 54: Open the StoreFront Console and click on the Manage Delivery Controllers option

Step 55: Click on the Add button
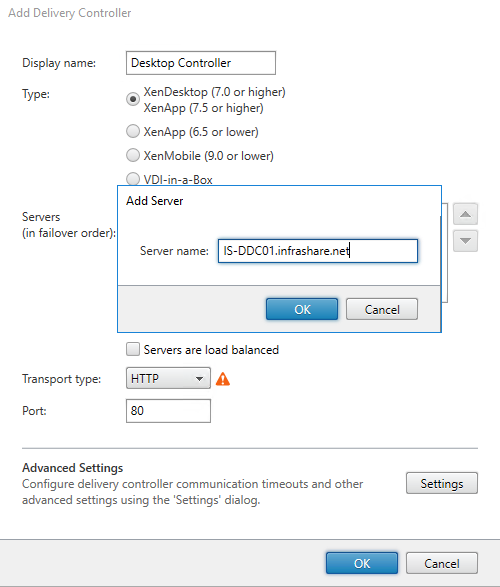
Step 56: Fill in an name your Display name, click on the add button to provide the FQDN of the Delivery controller(s) and select HTTP and port 80 as transport type. Click 3 times on the Ok button when finished
Note: When u want to configure the transport port on SSL-encrypted, you first need to add an valid certificate to the server an add them to the IIS Default Website, afterwards you can change the port. If you forget the IIS part, no desktops will be provided to you when logging in to StoreFront!
Test the new Citrix 7.13 environment
Step 57: Log in to your StoreFront portal – by entering the StoreFront web address
Step 58: Open the Desktops and click on the – Windows 10 Desktops – icon

Desktop is Connecting…
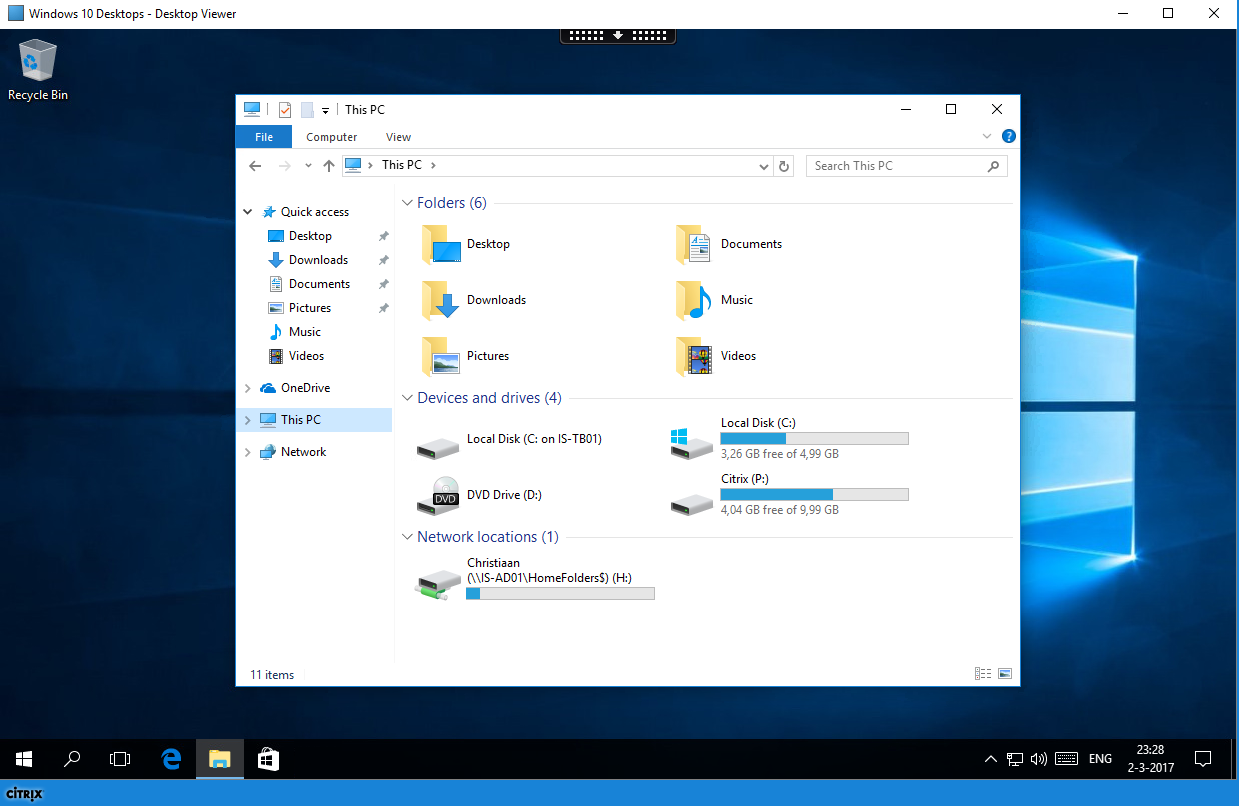
And yes, the configuration works properly – the desktop launched successful!!

The personal vDisk did get applied correctly, so you’re new desktop is ready to use!
Troubleshooting
- When installing the agent it says that you need KB2919355 (CTX220340) installed. There are a few other patches for download under this KB. When trying to install KB2919355-x64 it says that its not applicable, but all the other patches install. The Agent does not prompt about missing KB2919355 anymore but does fail the install.
Resolution: If when trying to install KB2919355 states its not applicable, then KB2975061 needs to be installed first. Once this is installed then KB2919355 will install successfully along with the other patches and the Agent will also install successfully (Please check this Citrix Discussion).
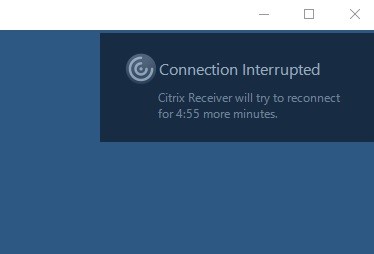
- “Connection Interrupted” error message displayed at logoff
Citrix is investigating the issue with customers who have reported this (please check CTX221206 to stay informed).