
Manage the Citrix HDX Ready Pi – Workspace HUB – to start your high-performance N-Series Virtual Apps – XenApp – Desktops in Azure


About one year ago, at Synergy 2016, Citrix and ViewSonic announced the HDX Ready Pi. The low-cost Citrix endpoint, what can be used to launch your XenApp and XenDesktop virtual apps and Desktop. It is based on the Raspberry Pi version 3 hardware and it performs just like a normal thin client – but only now from a low-cost price of 89,- dollar – what is a huge difference compare to the normal WES8 or IoT Windows 10 based thin clients that are now on the market for an average of 3 times more money, what results in (low TCO) saving large amounts of money (up to 60-80%). It provides also an easy way of shipment, management and replacement, what not only results in the decreasing your company’s hardware costs, but also in management tasks!
I hear you thinking, how about the high-performance HDX 3D Pro desktops, do they also run great on the Ready Pi? I can answer that question with a big Yes, the Pi supports offloading and hardware acceleration all through the built-in SoC (system-on-chip) Quad core ARM hardware processor.
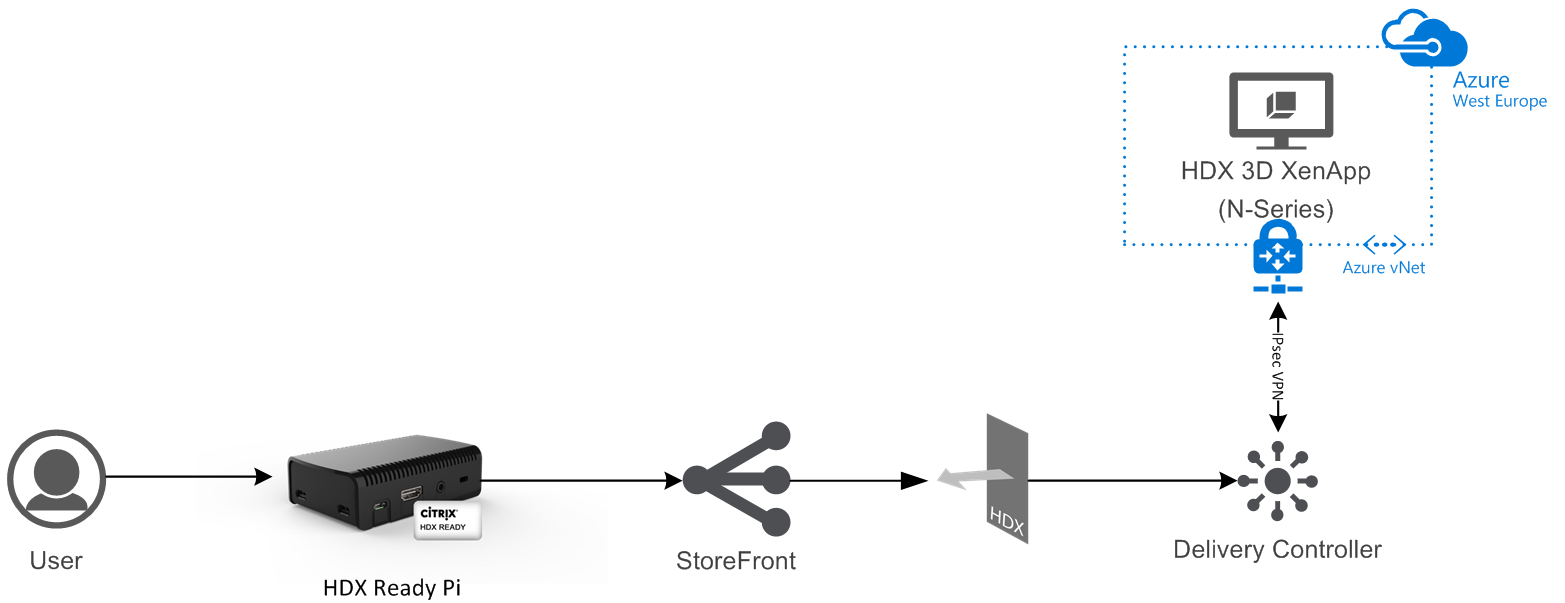
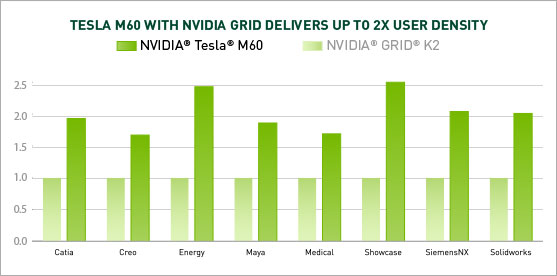
For this article, I’ve setup a Windows Server 2016 XenApp server in Microsoft Azure (West Europe), based on the N-Series for providing the HDX (NVIDIA TESLA vGPU) performance. In this article I will show you how to configure a Azure N-Series NV6 High Performance XenApp Desktop in Azure, based on Windows Server 2016 and afterwards I walk you through the manage and configure process of the Citrix HDX Ready Pi, using the ViewSonic Device Manager software!
At the end of this article I posted a video – to get a real impression of the HDX Pi Performance!
All the HDX Ready Pi Features
- Free to use (ViewSonic) Device Manager included, for proceeding remote firmware updates, remote configuration and DHCP tagging for plug and play deployment
- The HDX Ready Pi has a Kensington Lock slot (anti-theft) mount included in case
- Solid Raspberry Pi case, without the option to take out the SD Card
- The device pre-installed (SD Card already inside), you only need to configure the StoreFront settings afterwards
- Digital HDMI output supports displays up to 1920 x 1200
- Support for Wi-Fi and RJ45 networks
- 4 USB 2.0 ports for your Keyboard and Mouse
- Easy to transfer or to take to your home office to provide Remote Access
- Supports for StoreFront and also the (legacy) Web interface
- AC Adapter included
For all the technical hardware specifications, please check out the ViewSonic website
Requirements
For this article I’ve used the following services to provide the test setup
-
- Azure subscription
- Pre-configured Azure Networking
- IPsec VPN tunnel to Microsoft Azure
- N-Series (NV6) Virtual Machine with Server 2016 Datacenter
- Citrix XenApp/XenDesktop 7.13 site environment
- StoreFront 3.9
- Azure subscription
Azure HDX Pro Virtual Machine setup in Azure
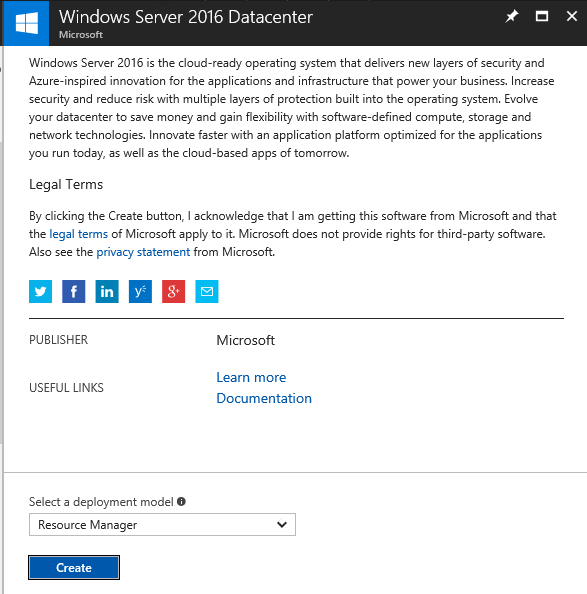
Step 1: Select the Windows Server 2016 Virtual Machine in Azure
Note: The N-Series are only available for the Windows Server Virtual Machines
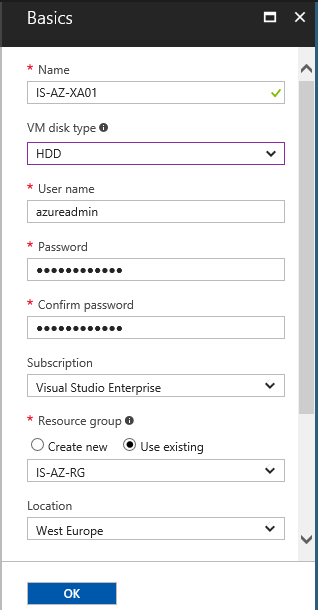
Step 2: Fill in the VM Name, Disk type, subscription, Local Administrator and resource group and click Ok
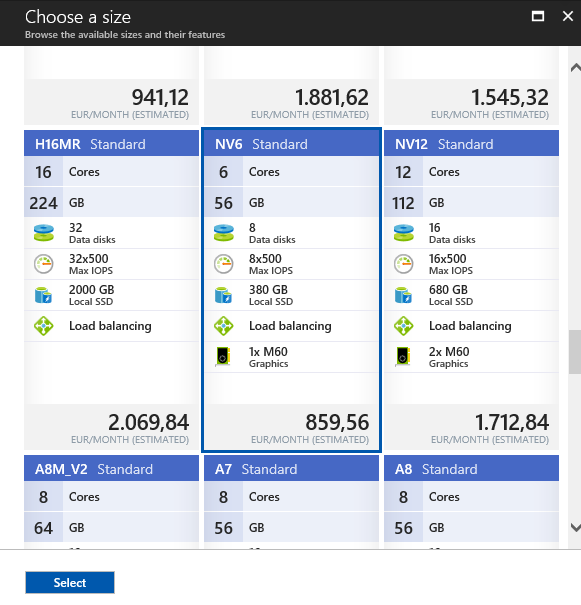
Step 3: Choose a N-Series Machine size, for this article I select the use NV6 Standard – After the deployment, we need to install the Nvidia GRID software to activate the M60 vGPU graphics card
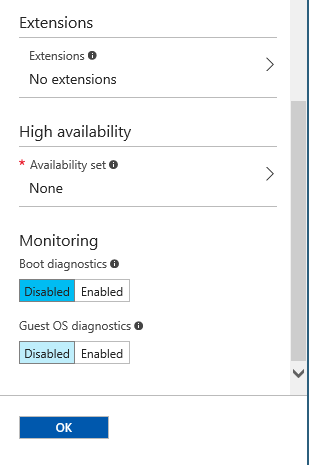
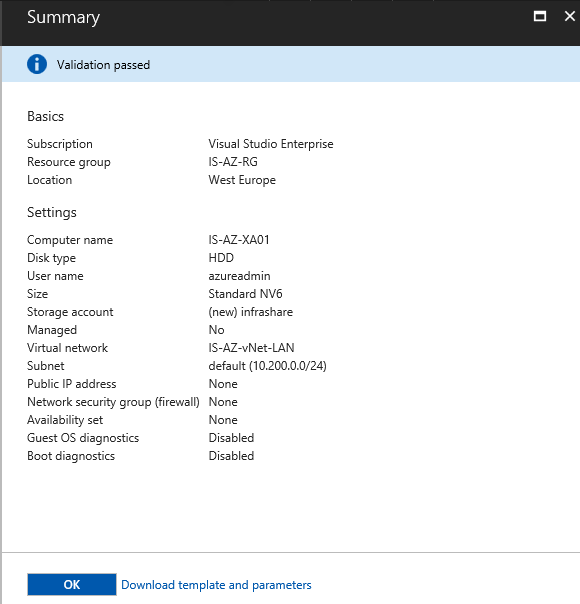
Step 4: Fill in the required settings, click on Ok
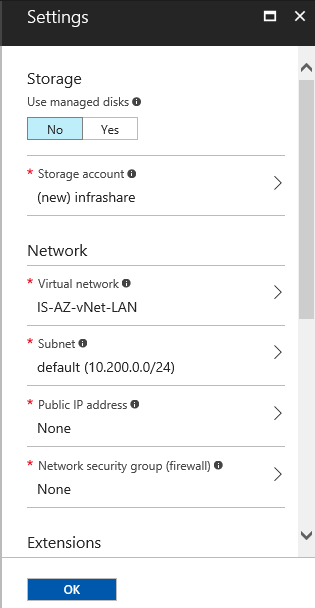
Confirm all the settings in the summary – click on Ok to start the deployment
Prepare the Windows Server 2016 VDA GPU
I don’t get through the full VDA installation part, just because this will be very straight forward. Please check out from step 26 – 38 of my other blog if you are not familiar with those steps.
After the VDA installation, you must install the M60 drivers in the image to activate and take full advantage of the GPU. The installation files can be found here:
NVIDIA TESLA drivers for NV VMs (Tesla M60)
https://go.microsoft.com/fwlink/?linkid=836843
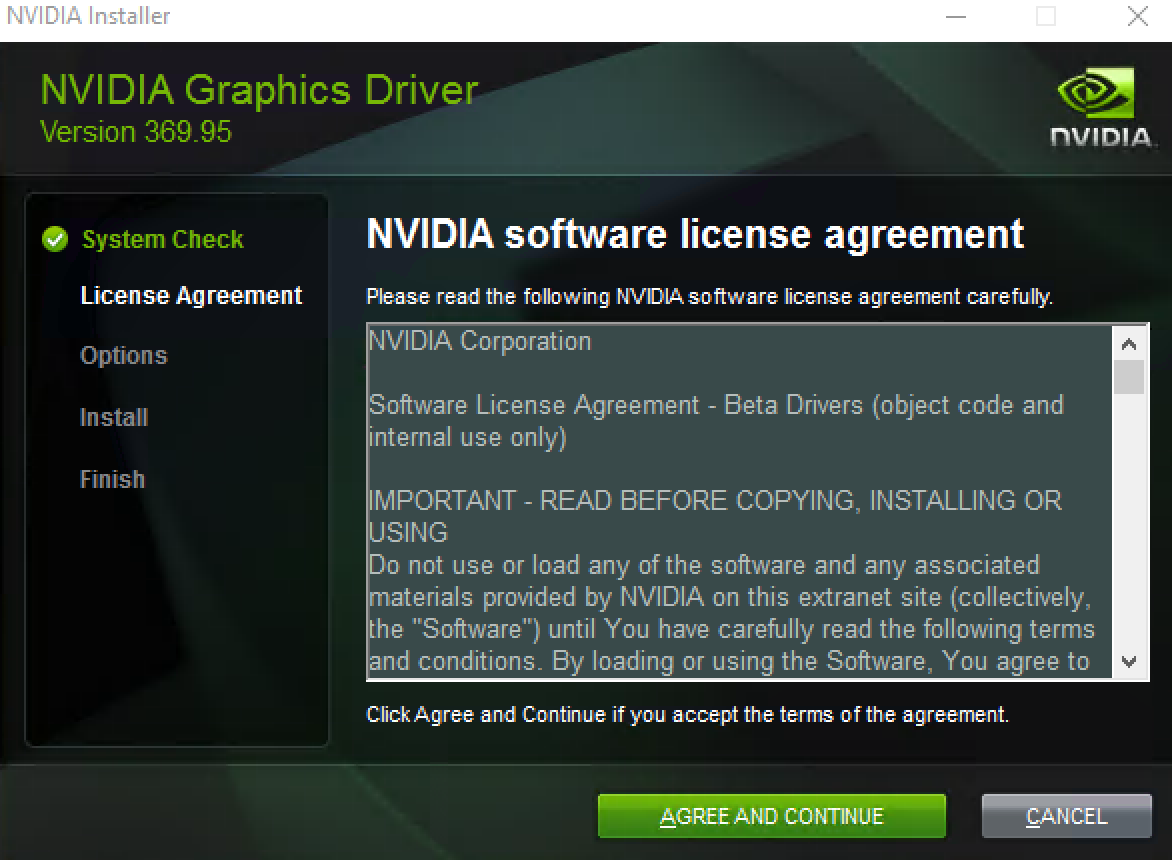
Step 5: Start the Setup.exe and click on the – Agree and Continue – button
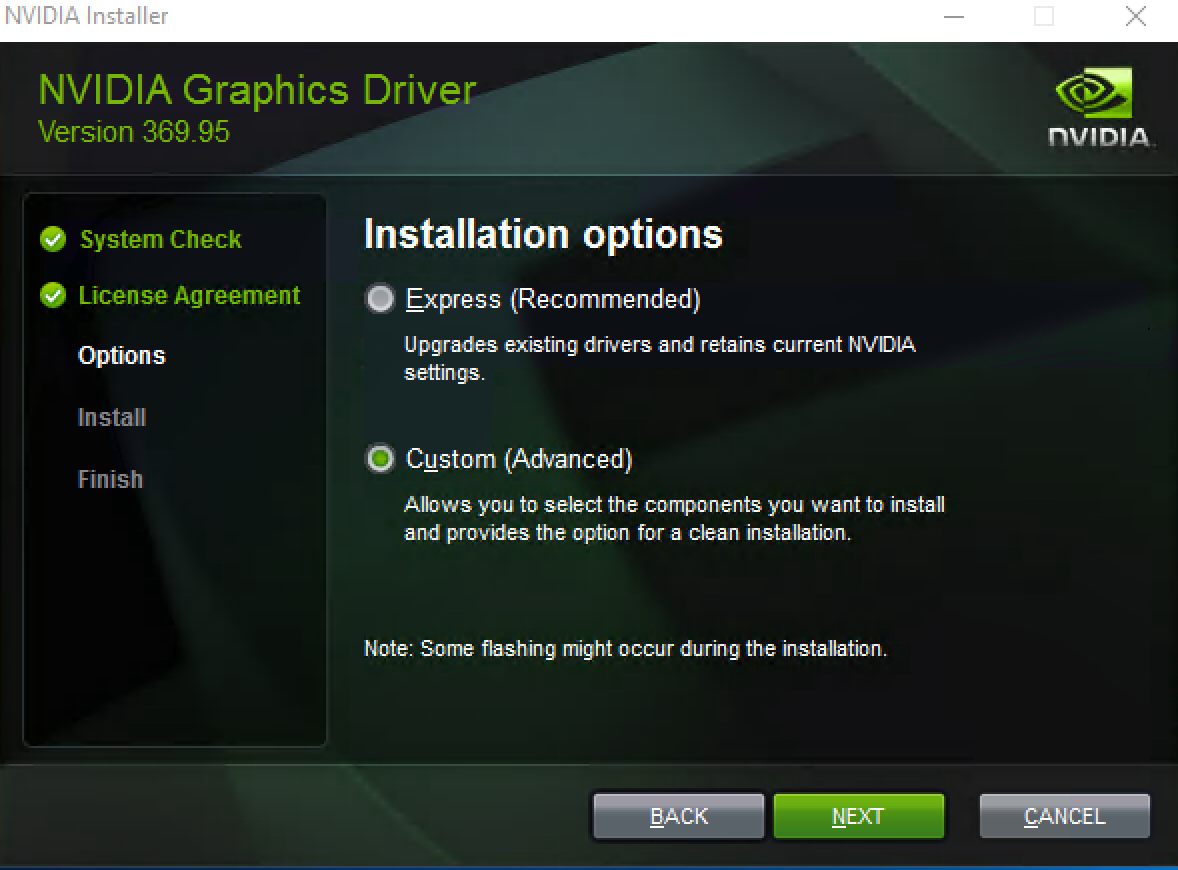
Step 6: Select the Custom option – click on Next
Step 7: Select the – Perform a clean installation – option and click on Next

Installation in progress…

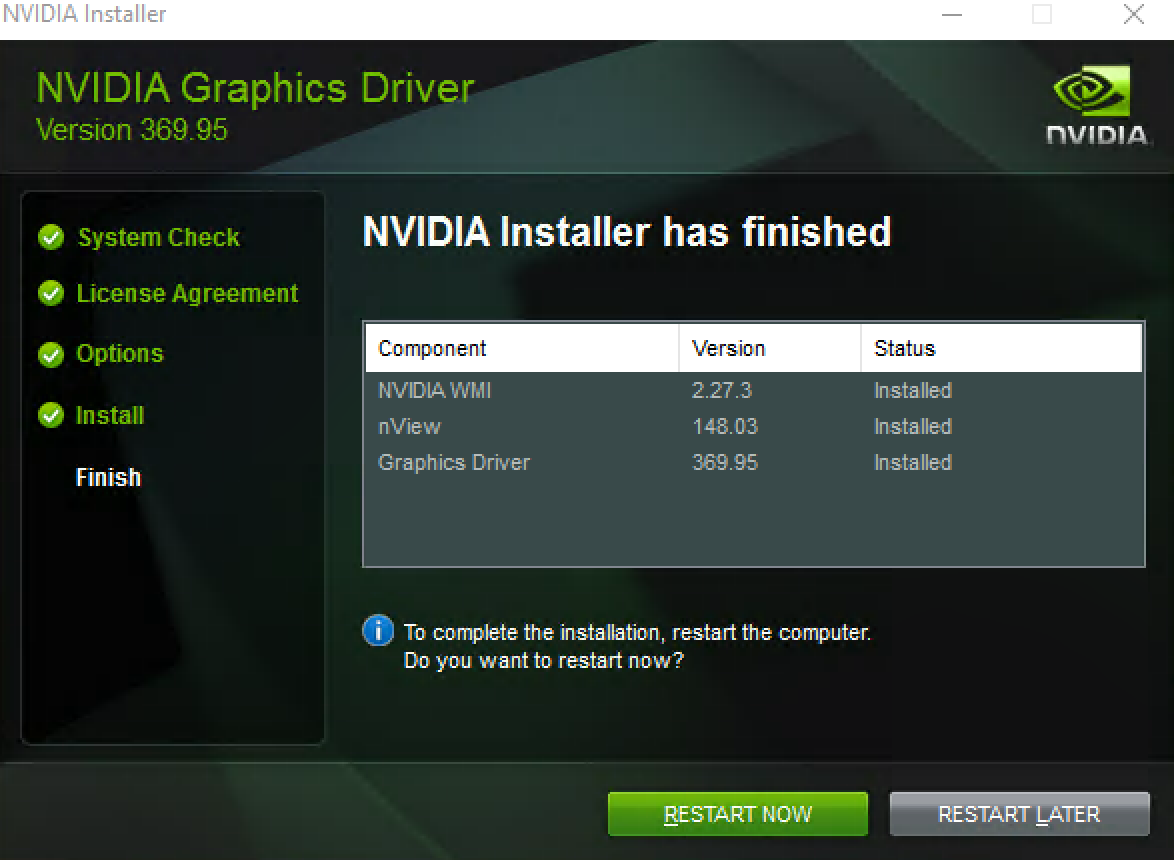
Step 8: Install the device Drivers software – click on Install

When the installation is finished, perform a restart to activate the new driver software
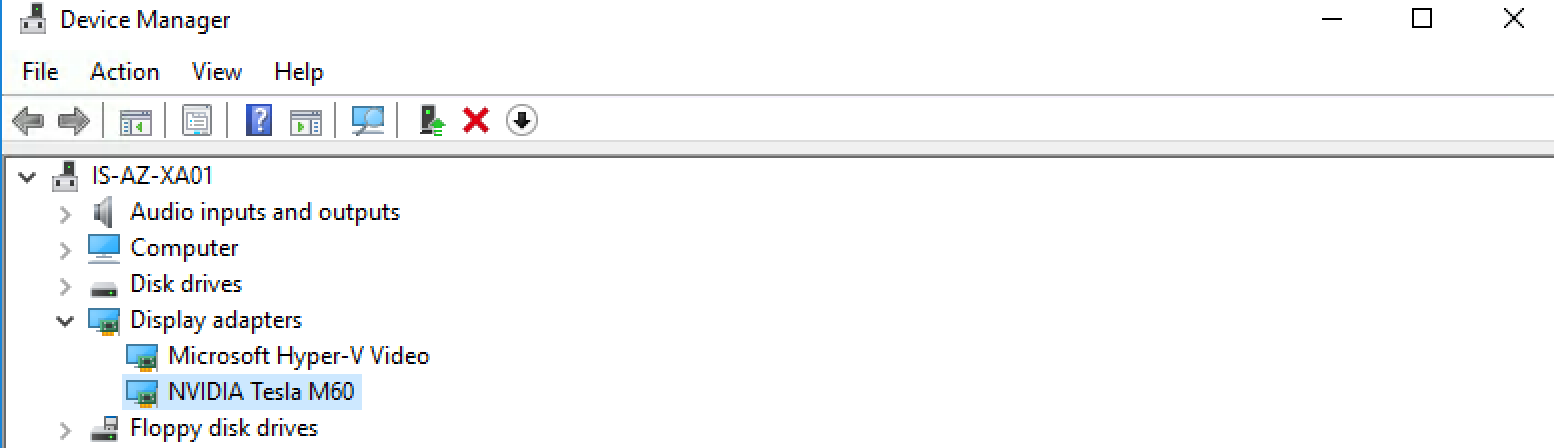
Step 9: Once the restart is finished, open the device manager console to check of the driver installed correctly. If the NVIDIA Tesla M60 display adapter is installed properly, then your good to go.
Note: I skipped the Delivery Group setup part – when you are not familiar doing this – please check one of my other XenDesktop or XenApp How-To configuration blogs.
Prepare the HDX Ready Pi through the central Management software(VDM)
Step 10: First download the ViewSonic Device Manager (VDM) software from the website and install it on a (separate) management server. The software will perform a broadcasting over the same network to discover the HDX Ready Pi’s.
Another option is to discover all the devices through several custom DHCP option. This can be useful when u use multiple VLANs.
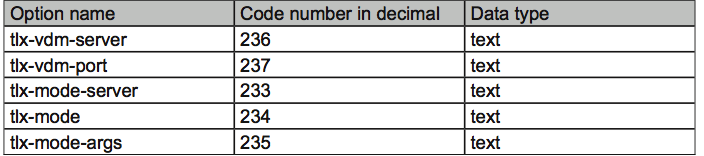
Check out this official manual, subject 7 to get more information configuring this through DHCP
Note: There is also a possibly to setup the device locally, without the use of the VDM software. When starting the Ri device for the first time, please press on ALT+F4 to get to the local configuration screen.

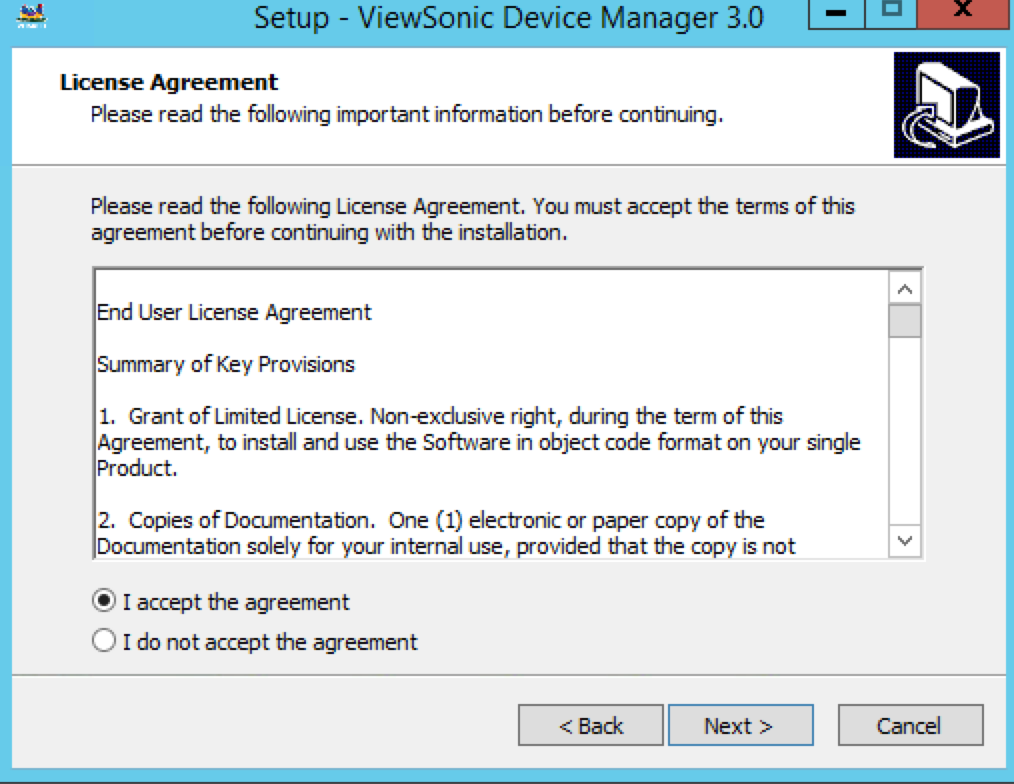
Accept the license terms
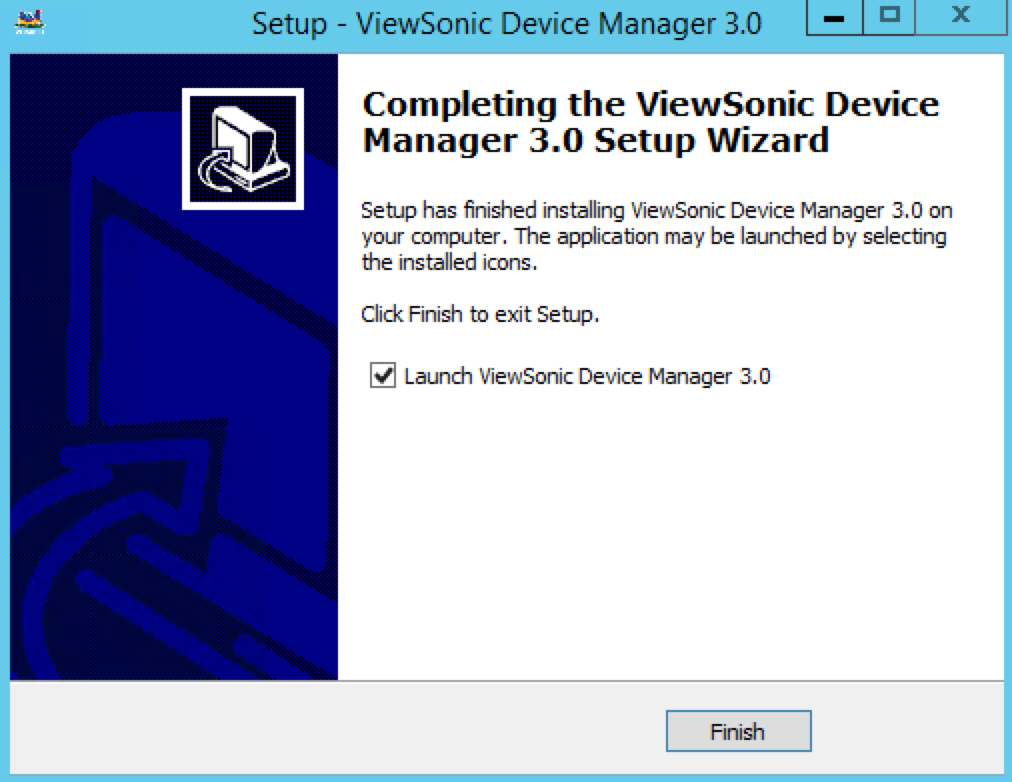
Step 11: Select the – Launch the VDM software – click Finish
Select the Columns to display in the VDM device list – I selected MAC Address as extra option, click on save
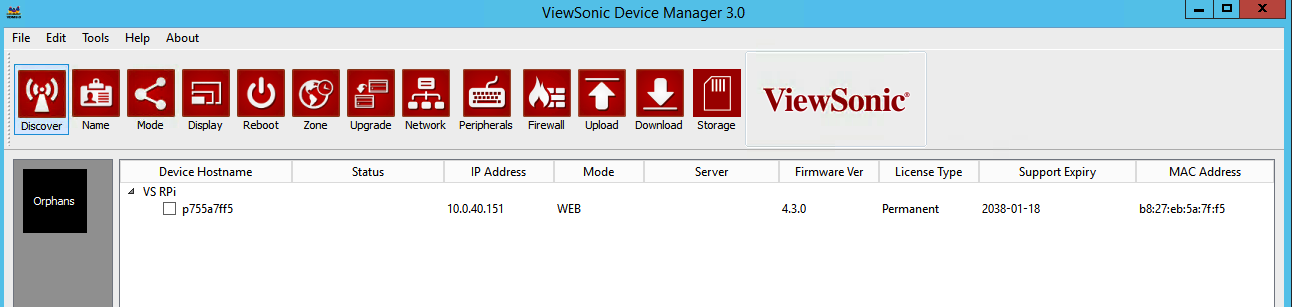
Step 12: When the ViewSonic Device Manager opens, click on the Discover button to search for devices. As you see, my Pi device is already found! The setting will be pushed immediately after the confirmation.
Note: The HDX Ready Pi needs to be in the same network subnet as the VDM server, just because of the use of broadcasting, there can’t be interaction between different VLANS. Configured the discovery process by using the DHCP option method, when this is not possible in your network.
The device setup can be done though the following menu option – I will explain them all:

Discover: Discover your (new) devices / start the broadcast
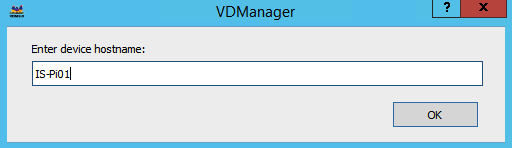
Name: Change the hostname/netbios name of your device
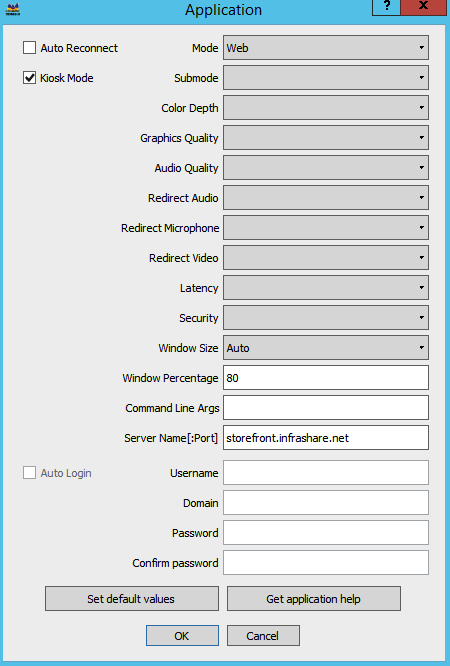
Mode: The actual Protocol settings menu, the place where all the server settings for Citrix must be done – You can configure Citrix in 2 methods: 1: fill in the domain credentials of the user to activate (native) SSO to the session. Fill in the servername (FQDN StoreFront Address) Desktop name (Delivery Group; Desktop display name) in the Command Line Argument to start the correct desktop (required for the auto logon option)
2: I suggest you to use this option; Web – and point the server address to your StoreFront page. Chrome will then be started in Kiosk mode and the StoreFront page is showed to you. So the endpoint is also prepared to be shared with other users and not bundled to one physical user, for providing more flexibility!
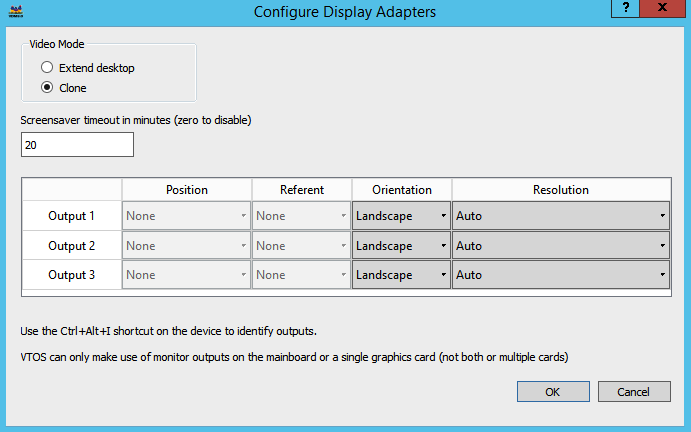
Display: Display and screensaver settings
Reboot: Option to reboot multiple devices
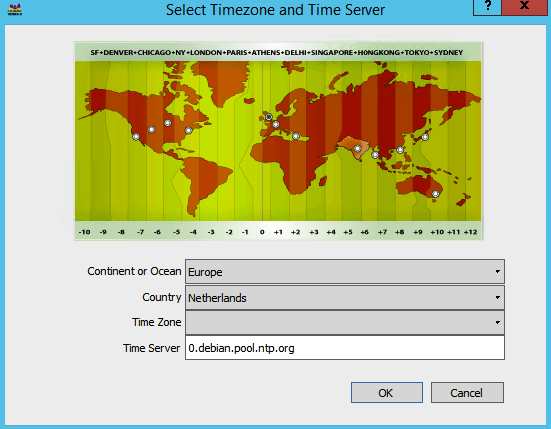
Zone: Time and zone settings
Upgrade: Firmware option upgrade possibility
Upgrade: Firmware option upgrade possibility
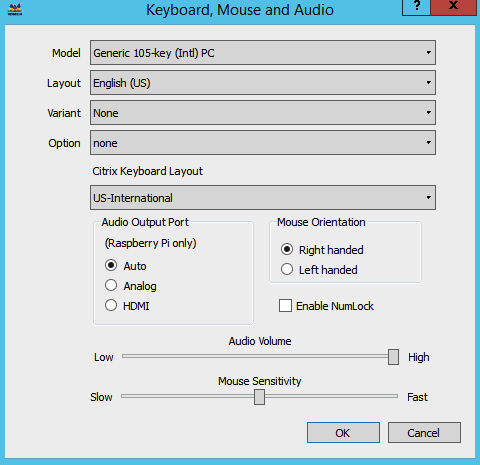
Peripherals: Personalization of keyboard and mouse sensitivity, and sound output settings
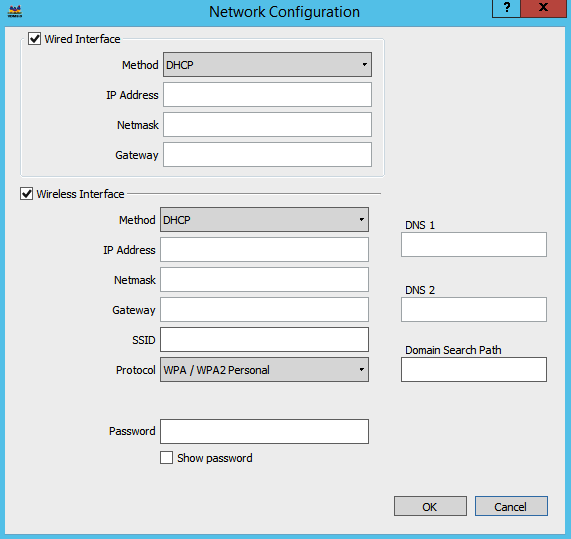
Network: Setup the Wired and Wireless network settings of the Device, can be setup static if you prefer doing this.
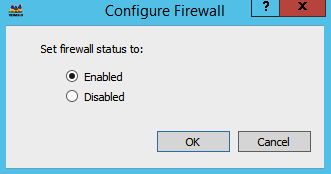
Firewall: Configure the firewall of the endpoint
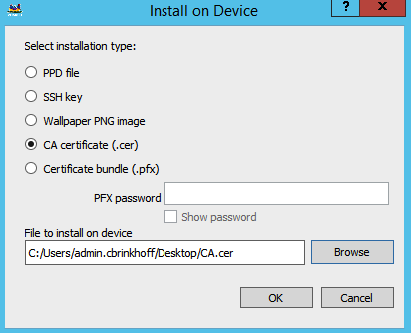
Upload: Upload files, for example RootCA certificates or wallpapers. RootCA must be uploaded when your StoreFront is used over SSL!
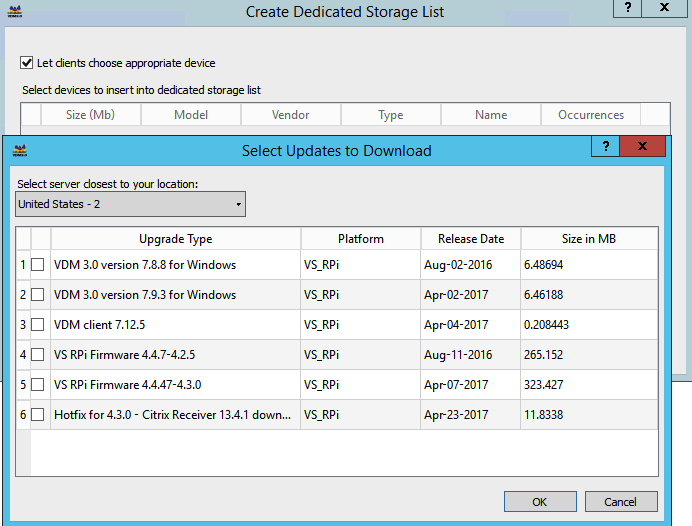
Download: Download new firmware/updates for your endpoints
When finished – my device looks like this in the VDM console

And this is the HDX Ready Pi logon screen!

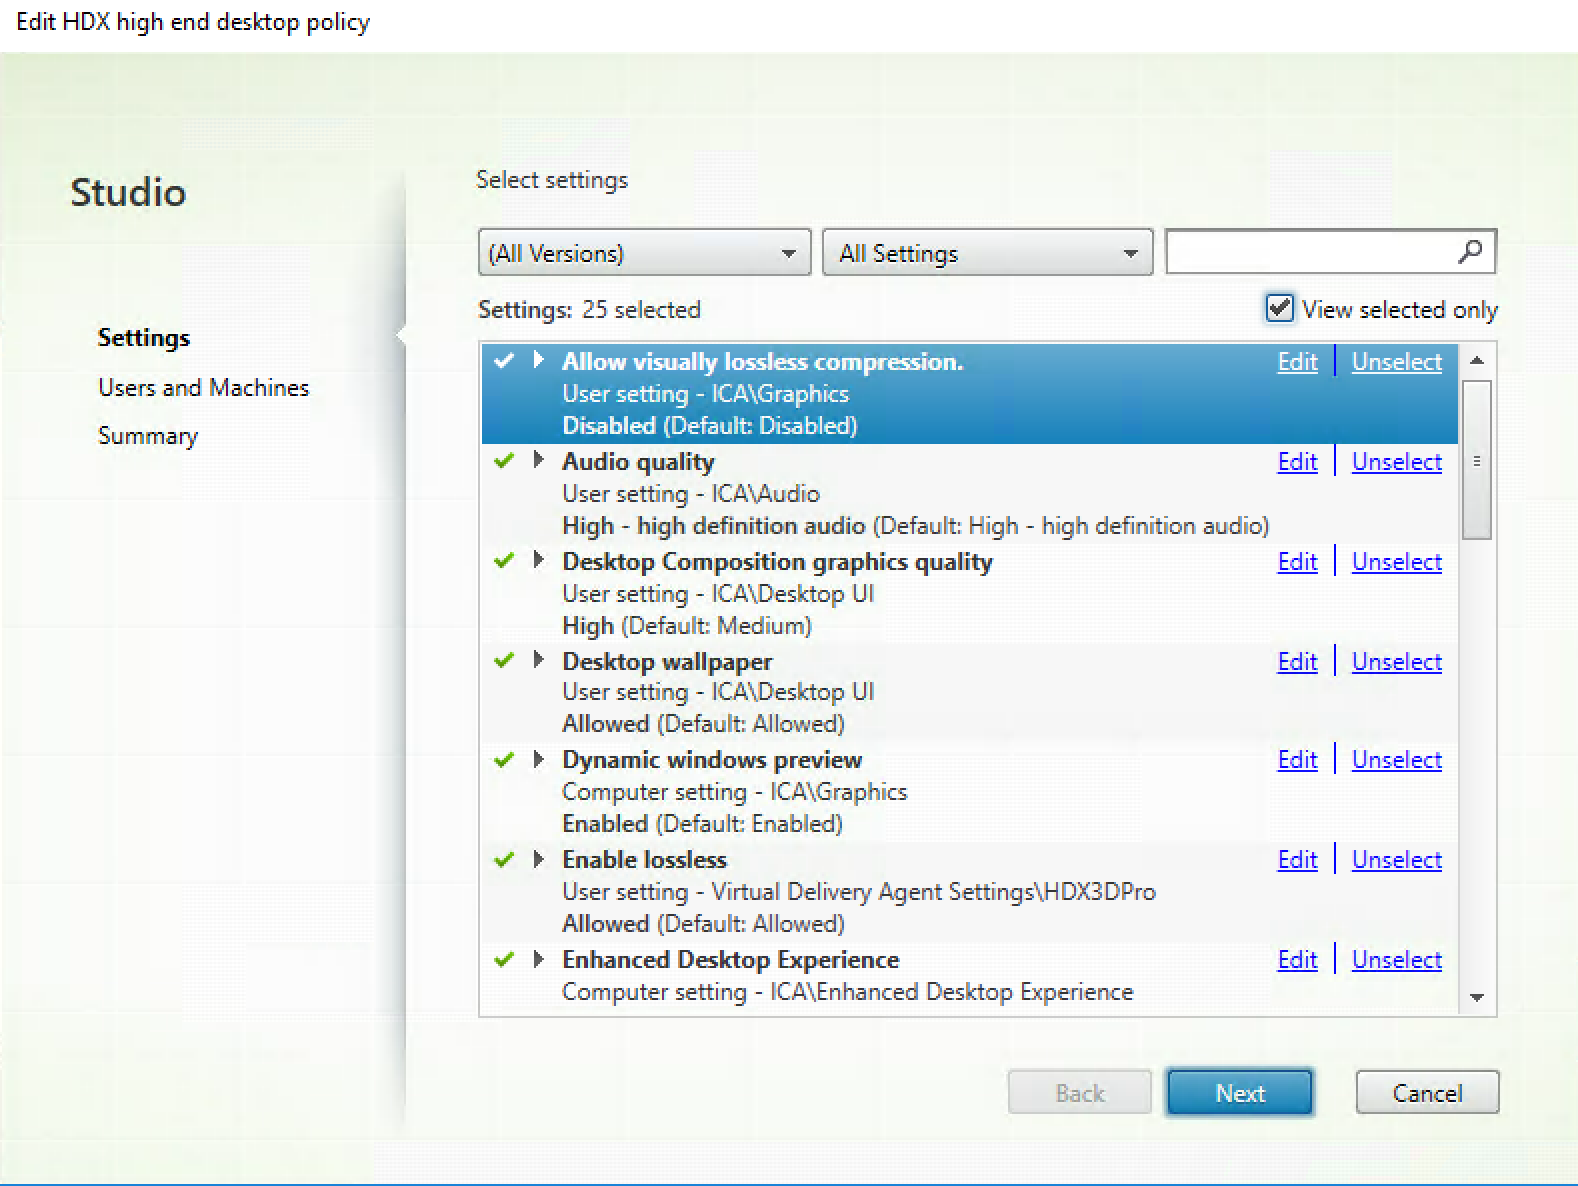
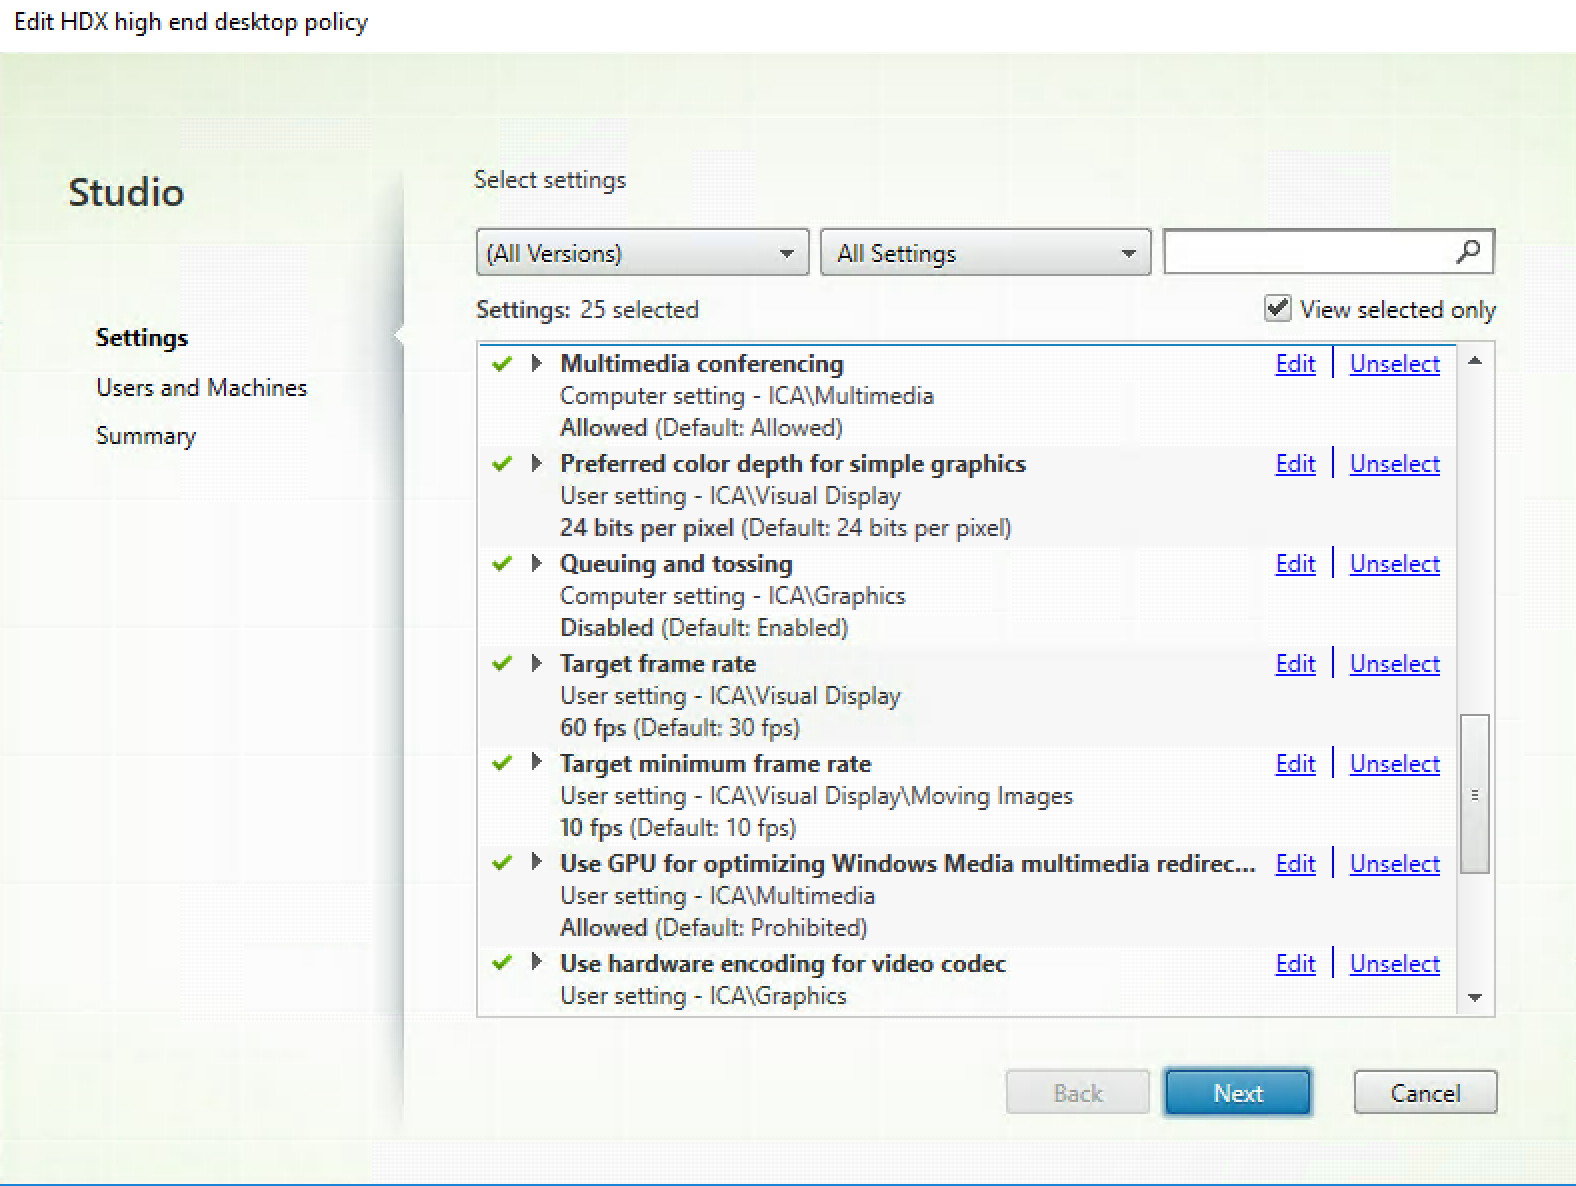
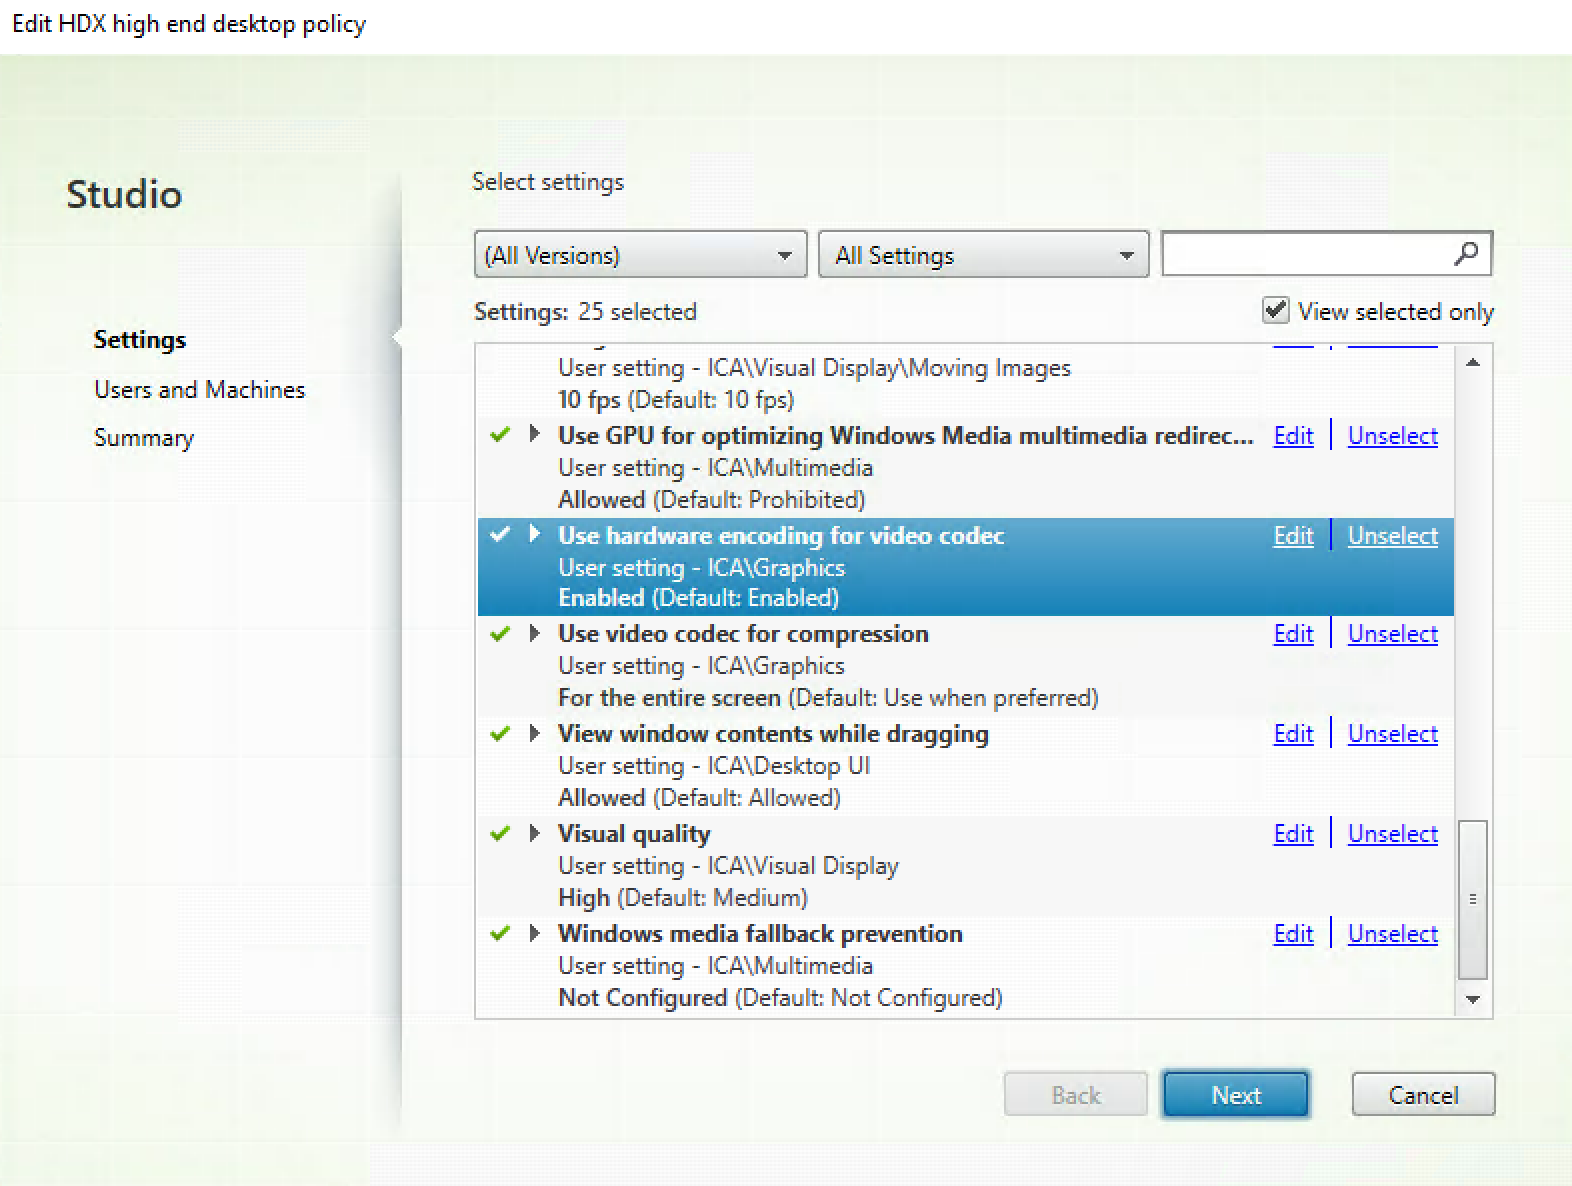
Configure the Citrix HDX policies
To get the best performance out of the High End N-Series Virtual Machine I configured the following Policy settings that get applied to will be filtered based on the created Delivery Group.
All the Policies that I configured:

Test results
In this video you can see how the N-Series desktop performs upon a Citrix HDX Ready Pi endpoint client, enjoy!
Testing tools
I used the following testing tools:
- Heaven Benchmark 4
- Car Visualizer (HTML 5)
- Citrix Connection Quality Indicator