How to configure Citrix Workspace Environment Management 4.x for Virtual Apps and Desktops – XenApp or XenDesktop, including NetScaler Broker Load Balancing


Citrix announced a new version of their own User Environment Management software called, Citrix Workspace Management – or WEM in short, At Synergy. As you probably know – Citrix acquired Norskale VUEM last year September and renamed it to Citrix Workspace Environment Manager. Read the whole announcement article here.
WEM is a user environment management tool, that is free included in the Enterprise and Platinum license stack of Citrix. Still looking for a UEM tool and already use Citrix? Stop searching and start implementing Citrix Workspace Environment manager. Next, to the great logon and application performance – it’s also low in TCO (total cost of ownership) costs – the manager would love it too!
The tool provides all the advanced user management options, that the most expensive vendors (Ivanti/RES) also providing. Some configuration items are – for example, application Shortcuts, Map Virtual Drive, Set/Create/Delete Registry entries, Printers configuration – User Map Network Printers through agent console, Map Network drives, Ports – Map Client Port (example LPT1, COM), INI file – Creation/Modify INI file ,External Tasks – VBS/CMD scripts execution, File System Operation – Create/Copy/Move/ Delete File/Folder operations, User DSN – Creation of DSN Environment Variable – Set Environment variable and the configuration of file extensions / File Associations.
Note: WEM 4.6 now also supports StoreFront Published Apps integration in the Start Menu. Community Expert James Kindon wrote a great article on this topic, check it out here.
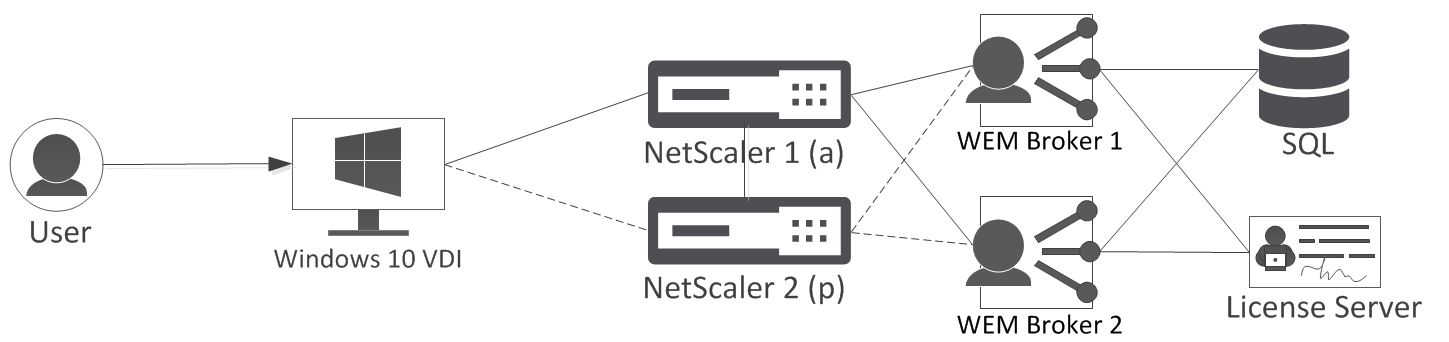
In this article, I’ll configure 2 separate WEM Brokers which will be installed on Windows Server 2016 – to provide high availability – which will be activated on the NetScalers for providing the broker load balancing and management service groups. The endpoint agent will be installed on a Windows 10 XenDesktop 7.14 VDI. The SQL database server is based on SQL 2014 Enterprise (mirroring or clustering preferred, to avoid SPOF risks) and my Citrix License server holds v11.14 and is also installed on Windows Server 2016.
At the end of this article, I posted an video of the logon performance of WEM – just to get an own impression how fast it can be!
Table of Contents
Click on the title to get forwarded in the article:
- Install the WEM Broker server(s)
- Import Recommended Optimizations / settings from template
- Process management – Configure Process Block and Whitelisting
- Configure Actions – Applications
- Configure Policies and Profiles
- How to setup delegation – WEM Administrators
- Activate Citrix Profile Management
- User agent – The user is able to configure?
- Monitoring
- Troubleshooting
- Demo Video – see it yourself
Did you know?
- The tool is free to use for XenApp and XenDesktop Enterprise and Platinum (valid) licenses! Need a trial? Request it over here.
- It is supported for larger Enterprise environments, 3,000 connected users per Broker server.
- It provides a great System Optimization integration, what results in Fast Logon and logoff times, CPU spike management (slow performance on 100% CPU will be history), Memory management – apps will be lower in consuming RAM, I/O management priority possible and process management (avoids, for example Ransomwareexecutables before they actually run). All of those improvements, will eventually results in a higher user density in your environment!
- Advanced monitoring reports are included, to read out daily logon times and user trend reports.
- The tool doesn’t replace or delivers any kind of integrated profiling services, when u are configuring WEM for a roaming multi-user environment, for example XenApp or non-persistant VDI, you still need to activate a profile solution. I will cover the configuration steps for Citrix Profile Management later on in this article.
- The desktop configuration of WEM will be downloaded to the client when the user logs on and will put the latest one in the cache. If the broker(s) is down, the latest configuration available will still be published to the machine, from the cache location.
- If you are using a non-persistent environment, based on Provisioning services for example. Change then the caching location manually to the WriteCache location, by using the following installation command:
Citrix Workspace Environment Management Agent v4.04.00.00 Setup.exe /v"AgentCacheAlternateLocation=\"D:\WEMCache\" AgentServiceUseNonPersistentCompliantHistory=\"1\""
- When u choose to install WEM, you will notice that most of the installation files are still named Norskale. As you may be knowing, Citrix acquired the company Norskale last year. The reason why the name is still active is just because time. Changing the name means a lot of testing, what would be delayed the release. What I’ve also heard is that the WEM console will integrated in a later time with the Citrix consoles, for example Director and Studio.
- Make sure that your existing XenApp or XenDesktop license is from eligibility date: May 17, 2017, otherwise you get a license validation error, when connect the WEM broker configuration.

- The biggest advantage in logon duration time will be possible, because all the configuration will be applied after the initial logon process – when a user normally logs on to the desktop, for example group policy’s preferences or other computer or user policies are applied through the Windows Logon process (the never ending spinning icon, that says please wait for the user profile). The WEM software will apply all of those settings after the logon process and will apply those settings when the green WEM splash screen is loading. Just because WEM does this in an optimized procedure, the logon speed can be decreased by up to 60% of a native desktop!
Check the video that I posted at the far end of this article!
Requirements
- Valid XenApp or XenDesktop Enterprise license (Customer Success Services / Software Maintenance eligibility date: May 17, 2017)
- Valid XenApp or XenDesktop Platinum license (Customer Success Services / Software Maintenance eligibility date: May 17, 2017)
- Citrix License Server v11.14
- Microsoft SQL Server 2008 R2 or later
- Microsoft Framework .NET 4.5.2
Note: All the other required features will be installed automatically during the installation
Supported Operating systems for WEM Infrastructure Services
- Windows Server 2008 R2
- Windows Server 2012
- Windows Server 2012 R2
- Windows Server 2016
System Requirements for WEM Infrastructure servers
- 4 vCPUs, 8 GB RAM (for up to 3,000 connected users)
Supported endpoint devices / Agent Host
- Windows XP SP3 32-bit and 64-bit
- Windows Vista SP1 32-bit and 64-bit
- Windows 7 32-bit and 64-bit
- Windows 8.x 32-bit and 64-bit
- Windows 10 32-bit and 64-bit
- Windows Server 2003 32-bit and 64-bit*
- Windows Server 2003 R2 32-bit and 64-bit*
- Windows Server 2008*
- Windows Server 2008 R2*
- Windows Server 2012*
- Windows Server 2012 R2*
- Windows Server 2016*
Note: * The Transformer feature is not supported on server operating systems. The transformer option sets the WEM agent in Kiosk mode, so user will only be able to launch applications through icons.
Install theWEM Broker server(s)
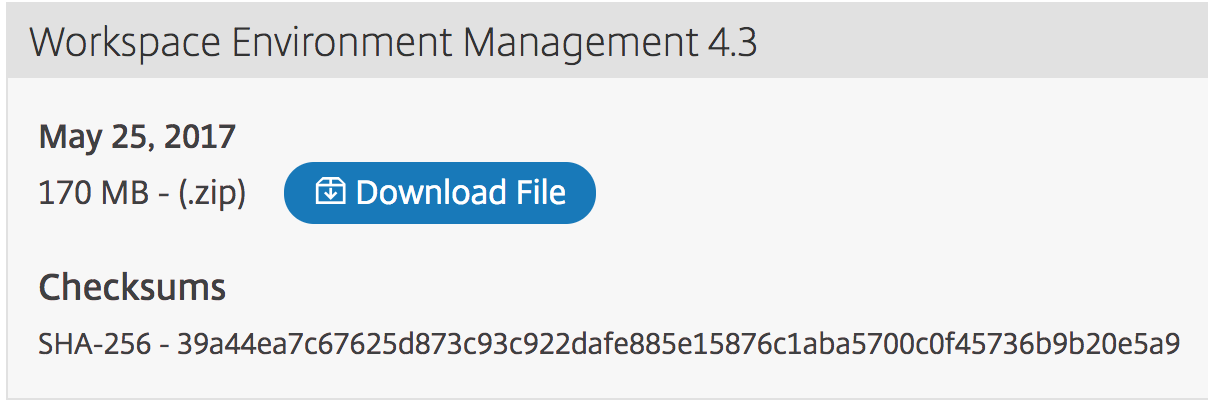
Pre-step: Download the Workspace Environment Manager through the following link:
Save the software on a share location, so you can simply get access through the network.
Note: It is not possible to request a trial of WEM through the Citrix website, like u normally can for all the products. Although, there is a Podio form now, request it over here!
As alternative, you can also request the XenApp and XenDesktop trial, that will include a valid Platinum license that is needed to use WEM.
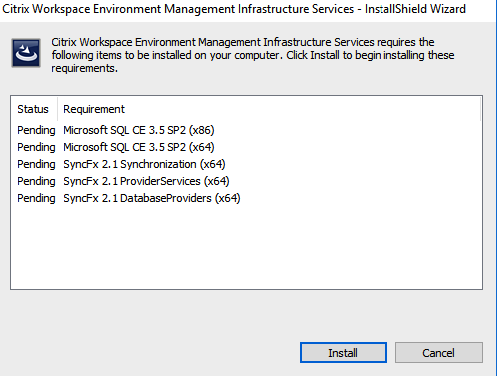
Step 1: log on to your first Broker (for me, this will be the IS-WEMB01) server and Launch the Citrix Workspace Environment Management Infrastructure Services v4.03.00.00 Setup.exe – Click on Install

Note: All the pre-required features will be installed automatically
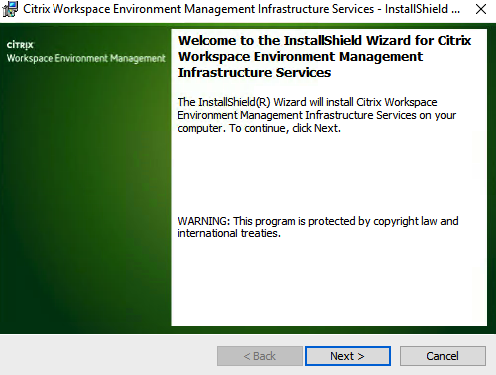
Step 2: Click on Next
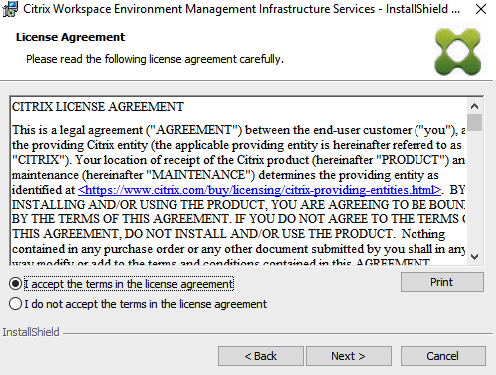
Step 3: Accept the license terms – Click on Next
Step 4: Fill in your company information – Click on Next

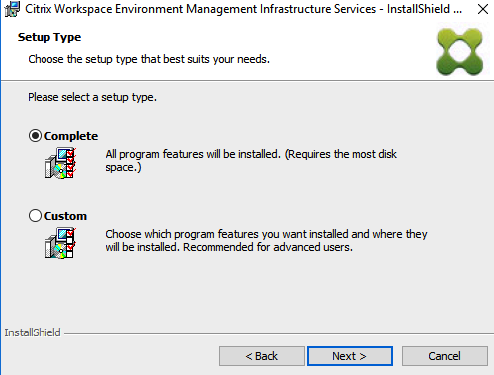
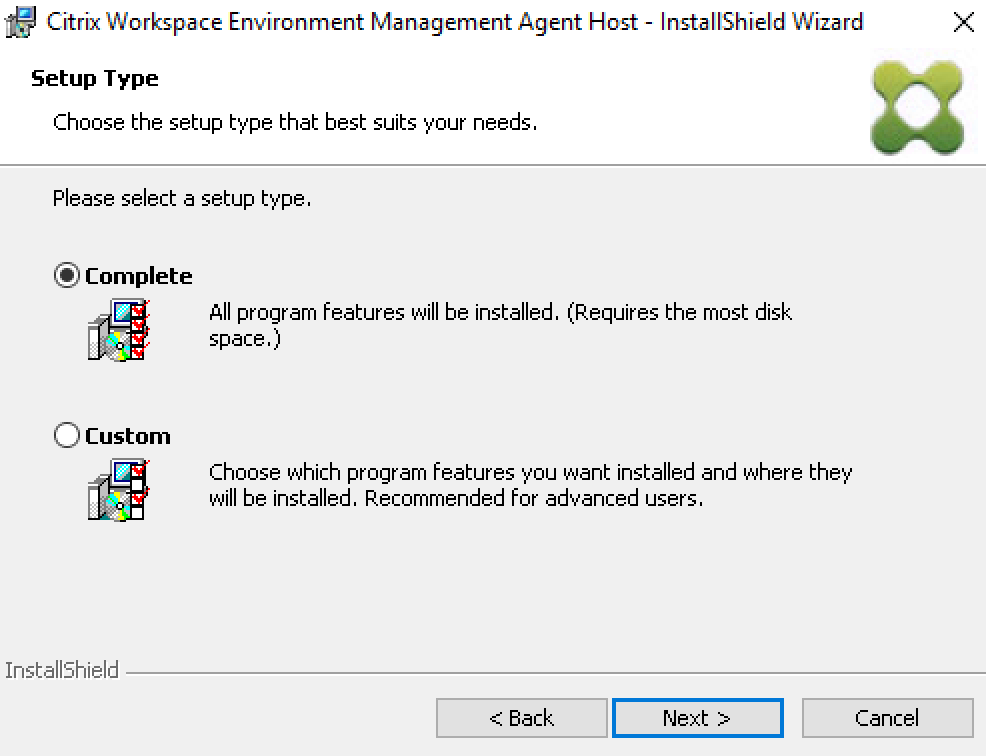
Step 5: We are installing the full Management Infrastructure Services software, so make sure – Complete – is selected – Click on Next
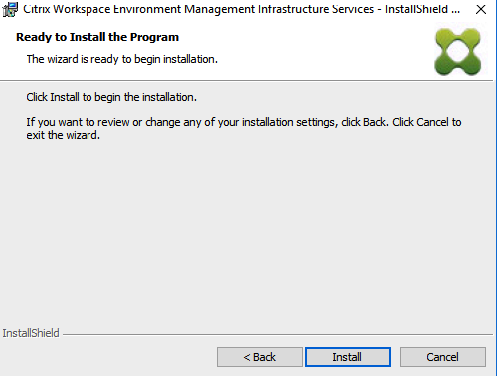
Step 6: To confirm and start the installation – Click on Install
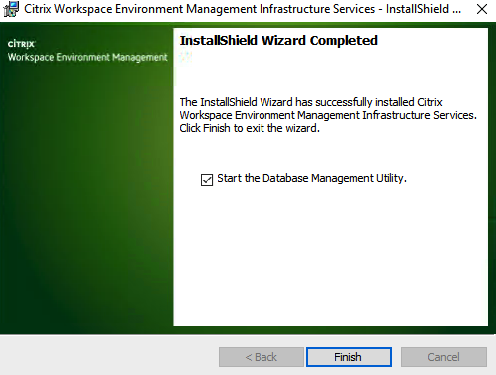
When all the installation steps performed, the following Installation completed screen comes around. Click on Finish to start the Database Management Utility
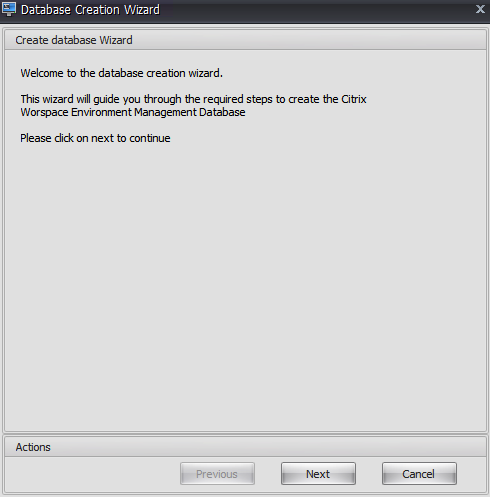
Step 7: Click on the option – Create Database – in the Database Management menu

Click on Next
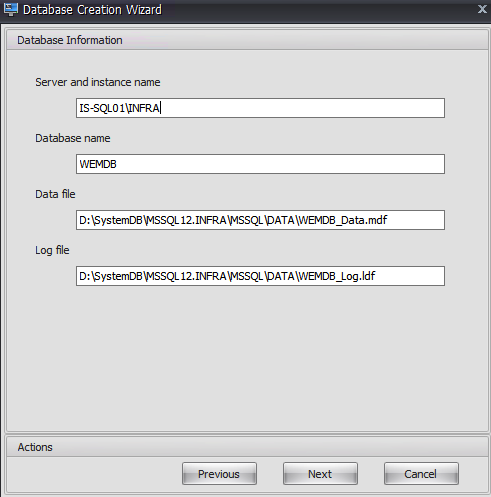
Step 8: Enter in all the requested SQL Database information, I named my Database – WEBDM – Click on Next
Note: The wizard automatically connects through your SQL server and searches for the right physical database installation source location
Step 9: Make sure that u are logged on as a user that had DBCreate or sysadmin right on the SQL instance, or fill in the database user manually, for example sa. I just use the administrator user, that already have the correct proper rights – click on Next

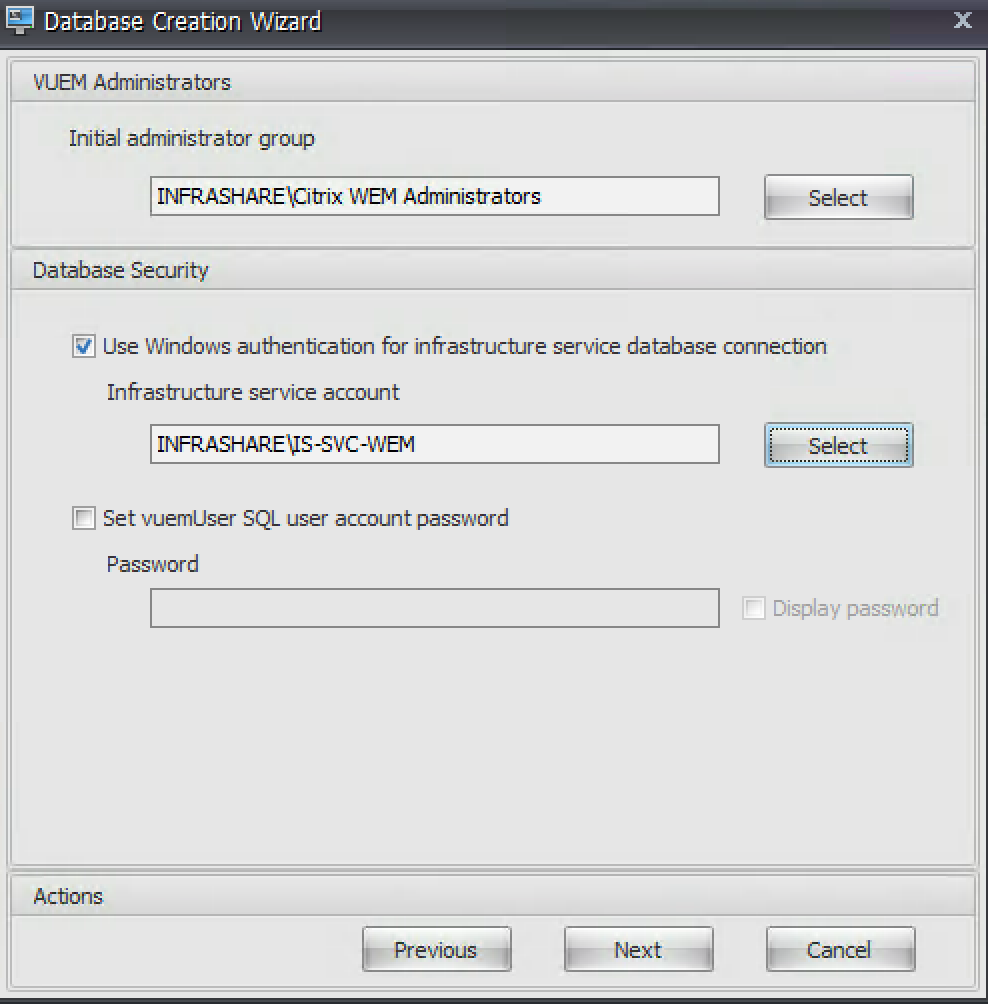
Step 10: Enter a WEM administrators Group, for providing access through the Management Console. Give in a serviceaccount name, to start the broker service as a domain user. Click on Next
Note: The service account must be in the local Administrators group on the Broker server(s), and when the database security option is selected, the database expects the infrastructure service to connect to it using a Windows account. The Windows account you select must not already have a login on the SQL instance. In other words, you cannot use the same Windows account to run the infrastructure service as you used to create the database.
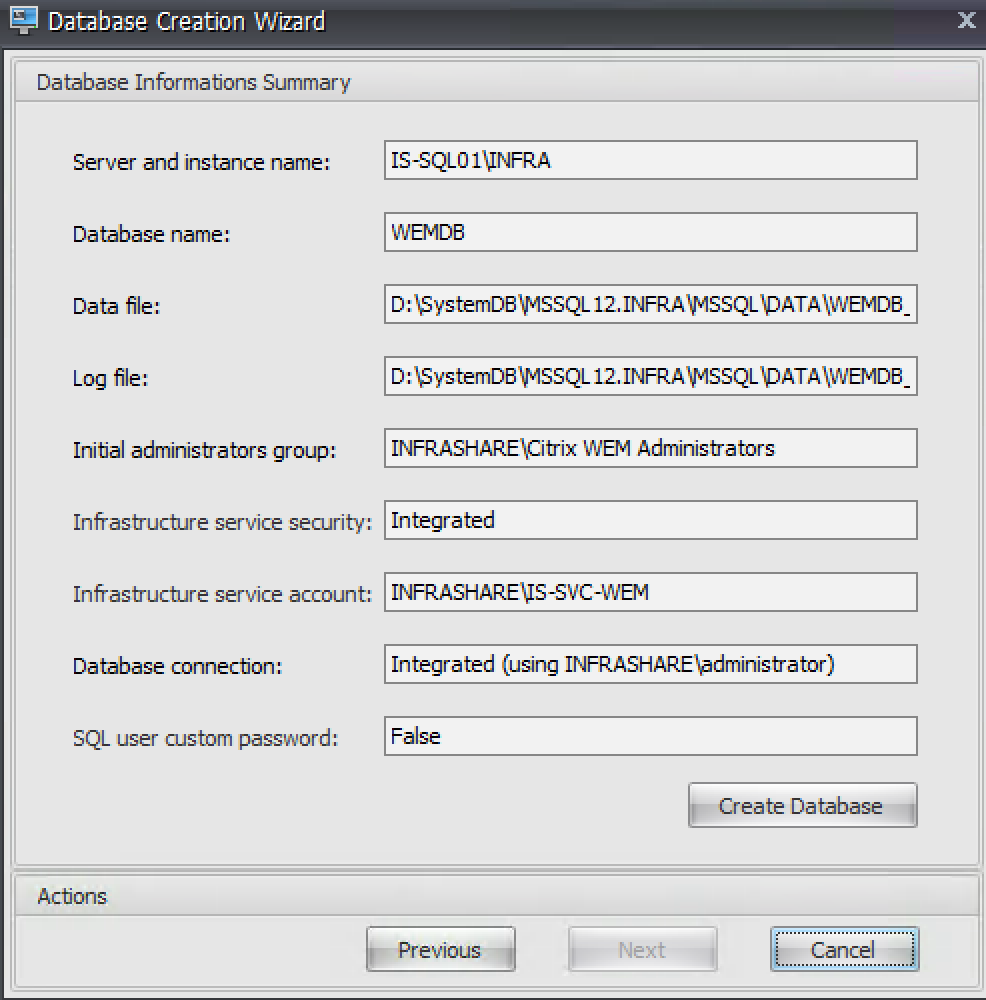
Step 11: Check if all the settings are correct, if Ok – Click on the – Create Database – button
The database and rights are being setup…

When all the steps are performed successful – you receive the following confirmation pop-up screen.
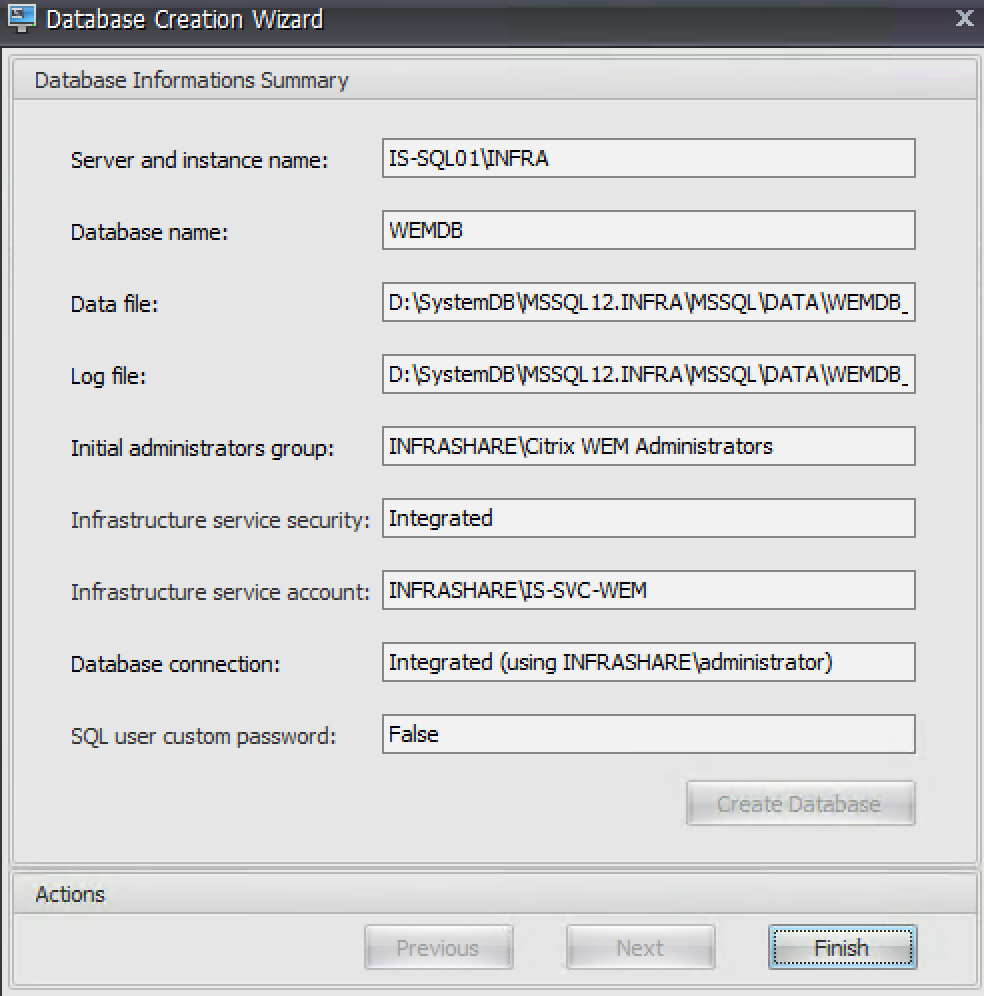
Step 12: Click on Finish in the summary screen to close the database utility setup wizard
Start the Citrix WEM Broker Service Configuration
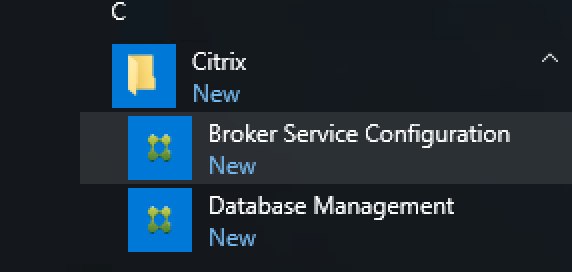
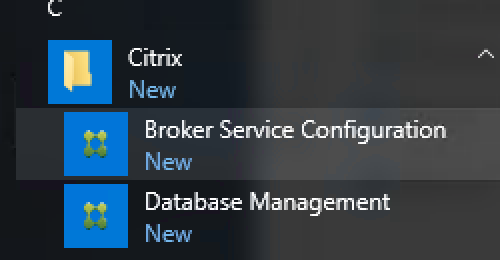
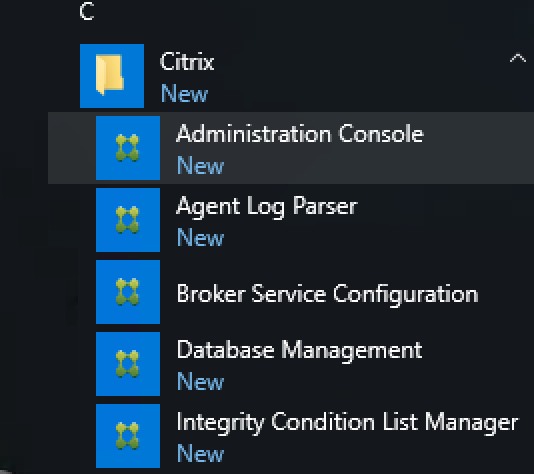
Step 13: Start the – Broker Service Configuration – from the startmenu
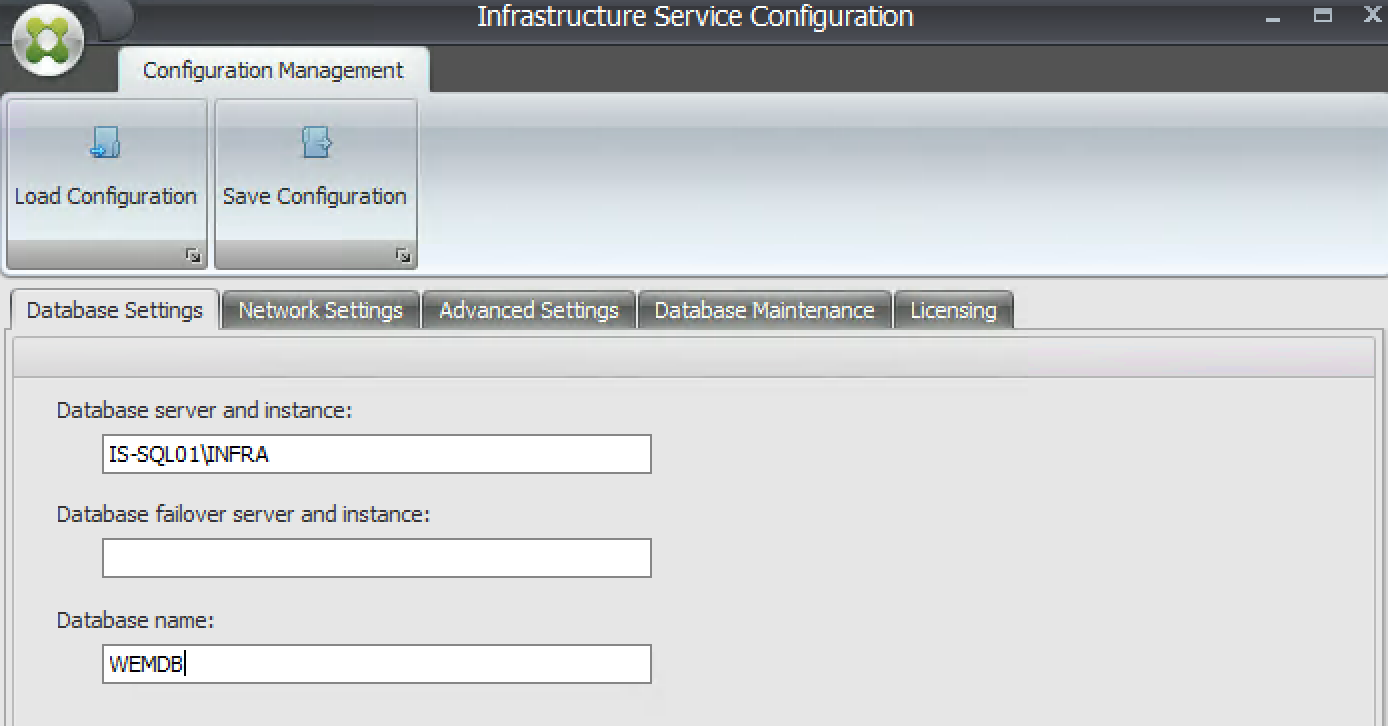
Step 14: Give in the Database servername, the instance and the Database name that we create earlier.
Note: Using a SQL Mirroring database setup, fill in the – Database failover server and instance name. Click on the – Advanced Settings – tab afterwards
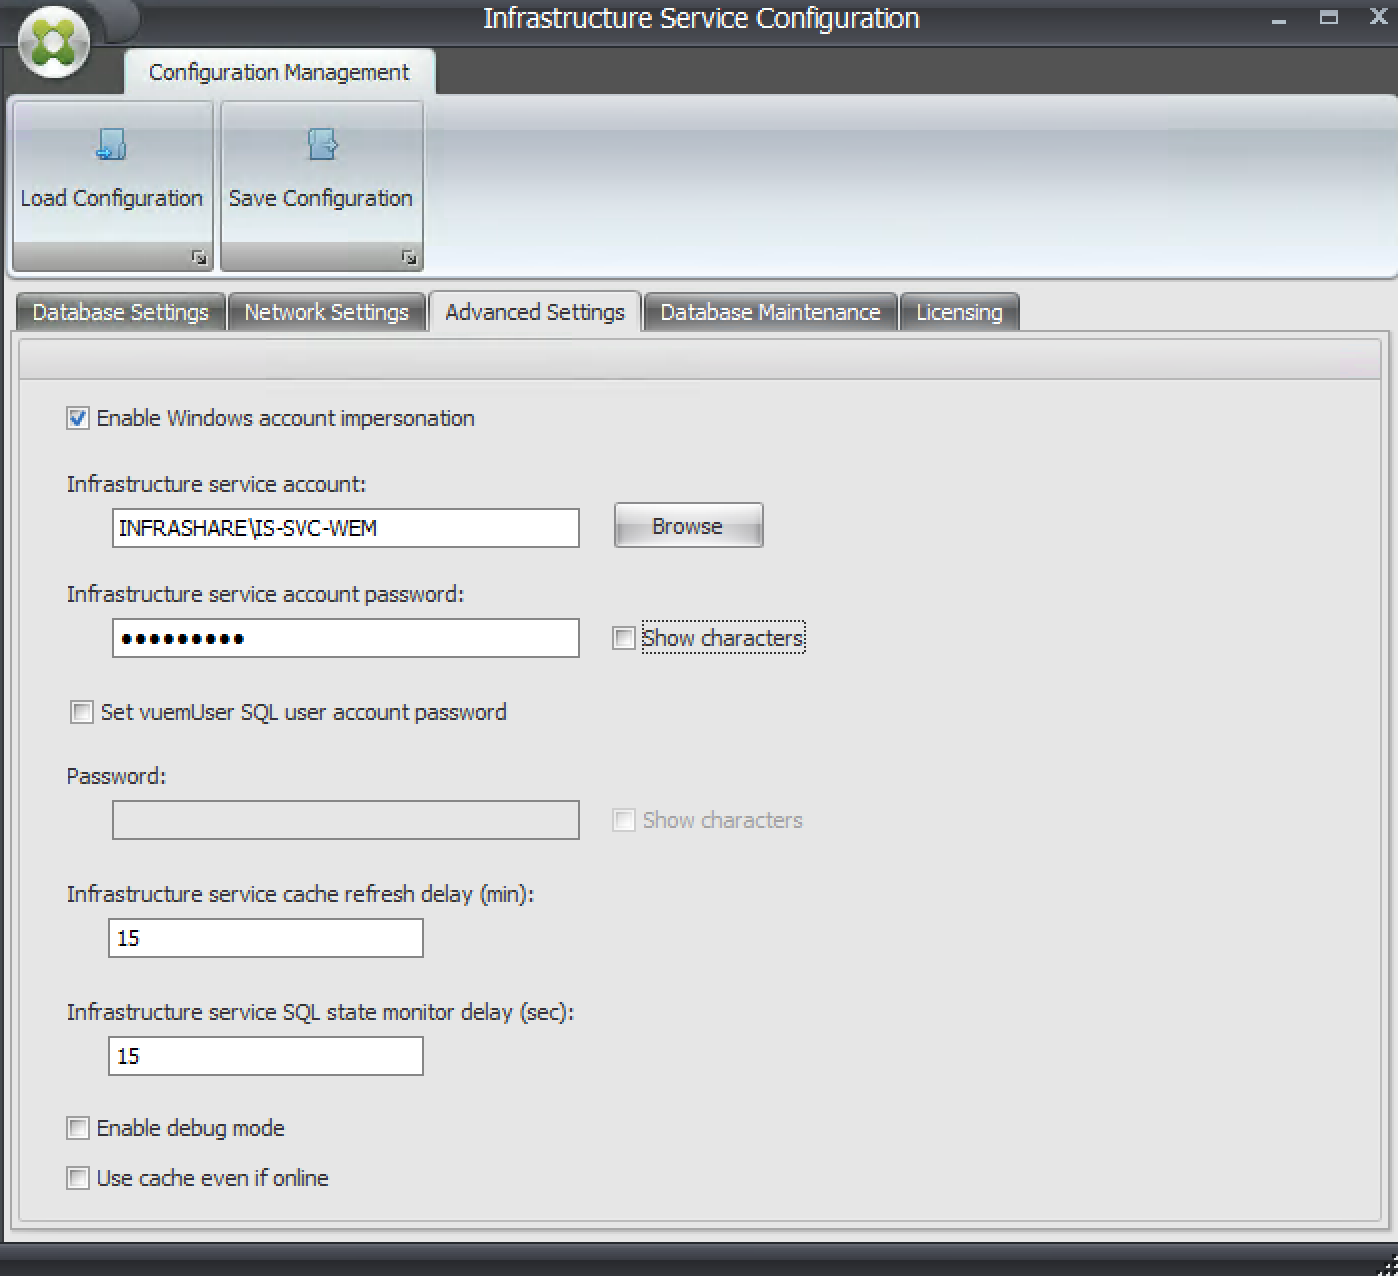
Step 15: Enter in the earlier created WEM service account and password – let all the other settings be default – Click on the – Licensing – tab afterwards
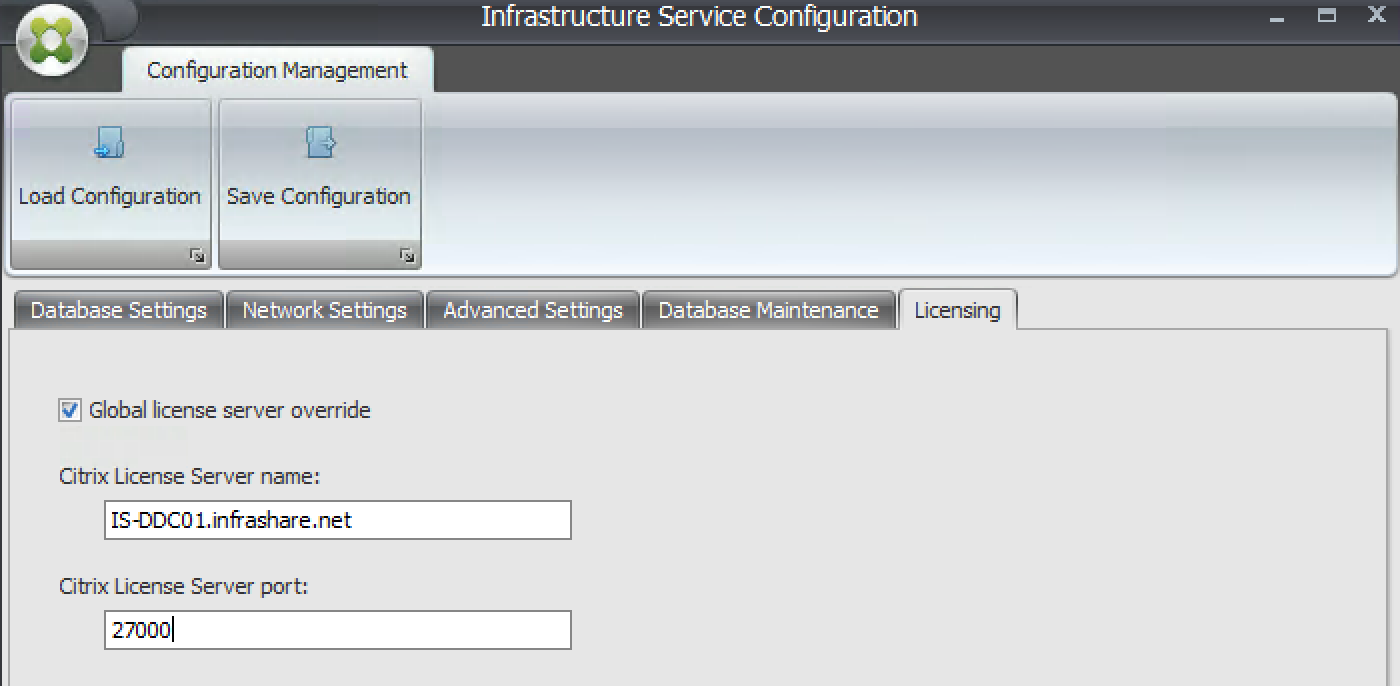
Step 16: Select the – Global license server override – option and fill in the FQDN name of your Citrix License server. Let the port default on 27000, or change the port when you have a custom port in use. Click on the – Save Configuration – button afterwards
Click on the – Yes – button

Step 17:Because the just created domain service account does not contain any rights for this specific service name, a relationship has to be configured between a known account in the AD environment and the Citrix WEM SPN (Service Principal Name).
When the Broker server boots, Citrix WEM service will start and provide a computer kerberos ticket , which will ask AD to validate this ticket. That’s why Citrix WEM SPN has to be configured properly with a known AD account.
To provide this, open an command prompt, by entering CMD and run the following command:
setspn –u –s Norskale/BrokerService <ServiceAccountName>
For example, in my case this would be: setspn –u –s Norskale/BrokerService IS-SVC-WEM

Install the WEMManagement Console
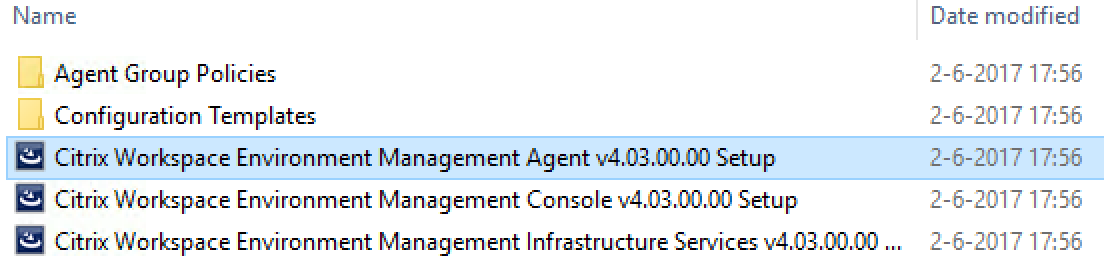
Step 18: Go back to the network location, where you put all the installation files and start now the Citrix Workspace Environment Management Console v4.03.00.00 Setup.exe

Click on Next
Step 19: Accept the license terms, Click on Next
Step 20: Enter the requested information, Click on Next
Step 21: Choose for the Complete Installation – Click on Next
Click on Install
Click on Finish
Configure the secondary WEM server
Step 22: To setup the secondary WEM Broker server, logon to the WEMB02 server and perform the earlier steps 1 – 6 again.
Step 23: After performing the steps – open the – Broker Service Configuration – shortcut from the startmenu
Step 24: Fill in all the – Database Settings – Advanced Settings – Licensing – as you did in the earlier steps and click on Save Configuration afterwards

Again, click on the – Yes – button
Step 25: Install the Management Console to finish the setup of the secondary server

Setup the NetScaler Load Balancer(s) VIP’s
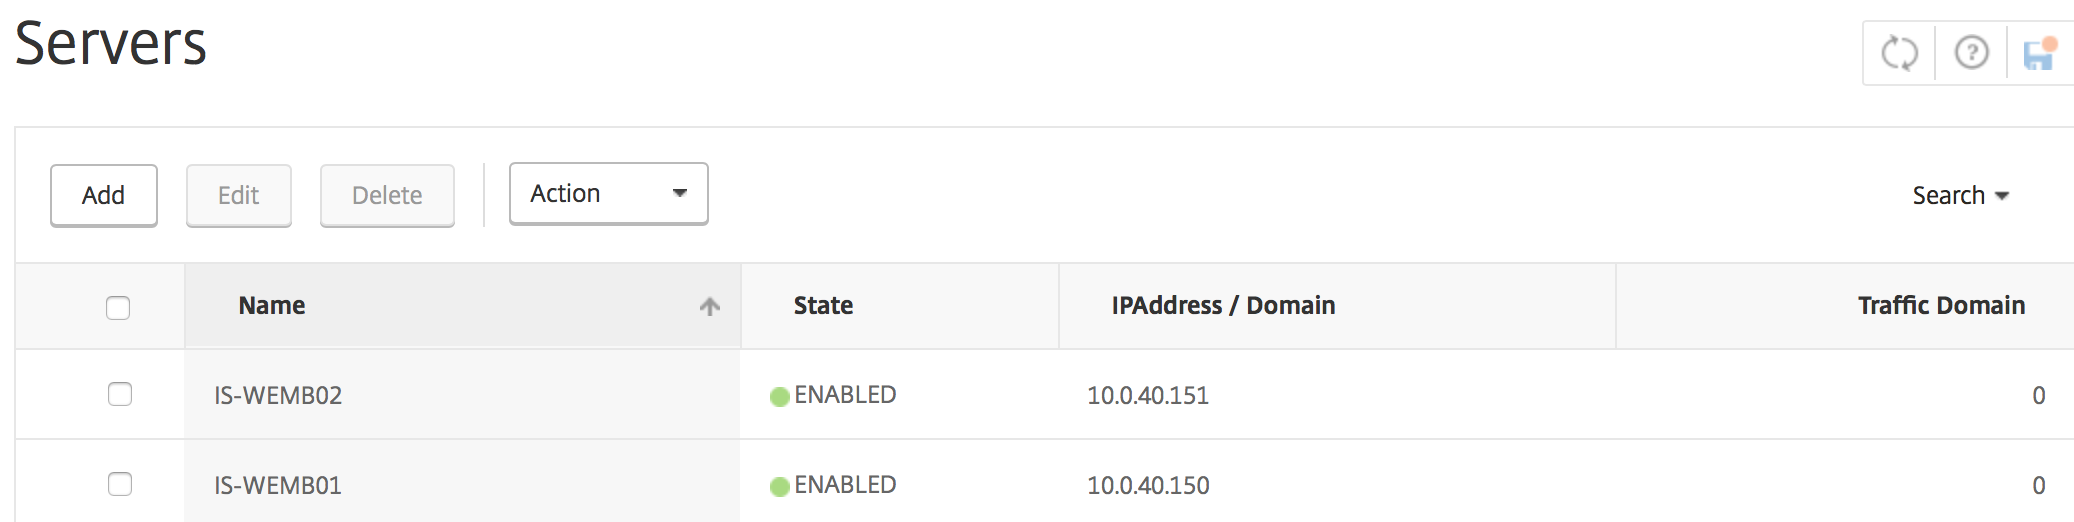
Step 26: Log on to your NetScaler Management portal, go to Traffic Management -> Load Balancing -> Servers and Create 2 new server object for the WEMB01 and WEMB02 server. Fill in a custom name, enter the IP Address of the server(s)
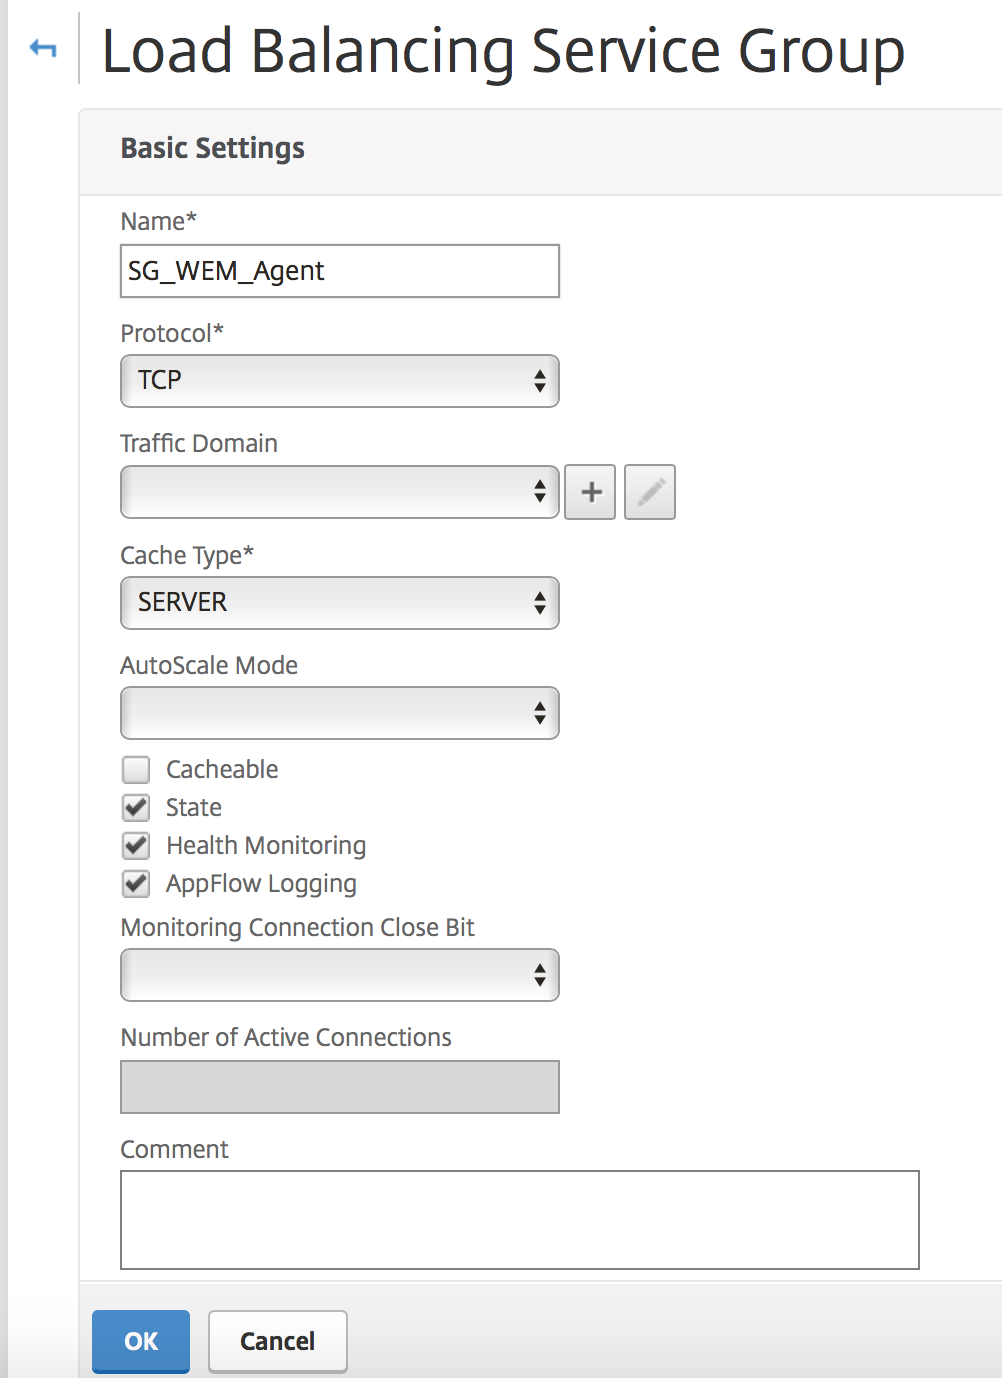
Step 27: Create a new Service Group for the agent’s connection, click on Ok
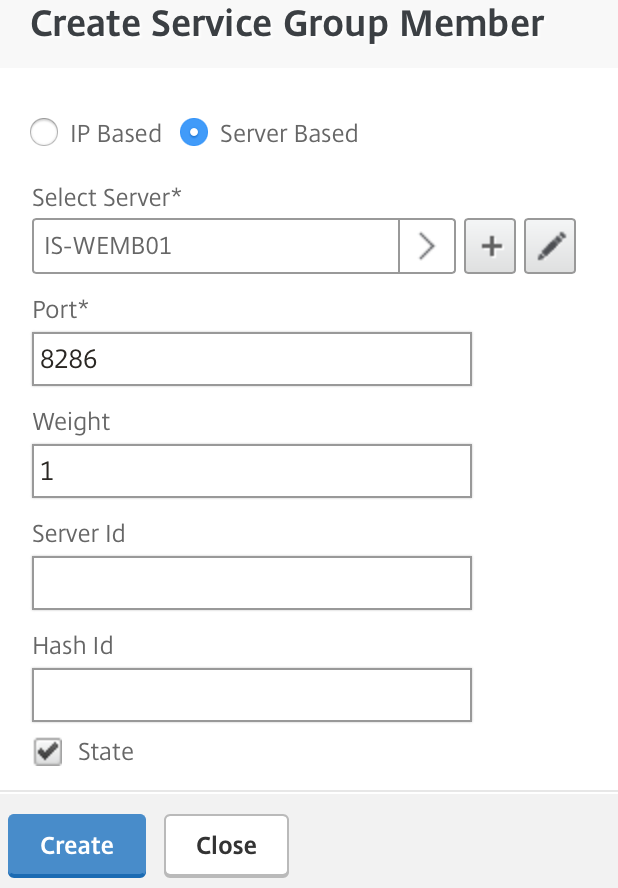
Step 28: Add both of the Server objects (WEM01 and WEM02), with the 8286 agent port and click on Create
The Binding status must be looking like this…

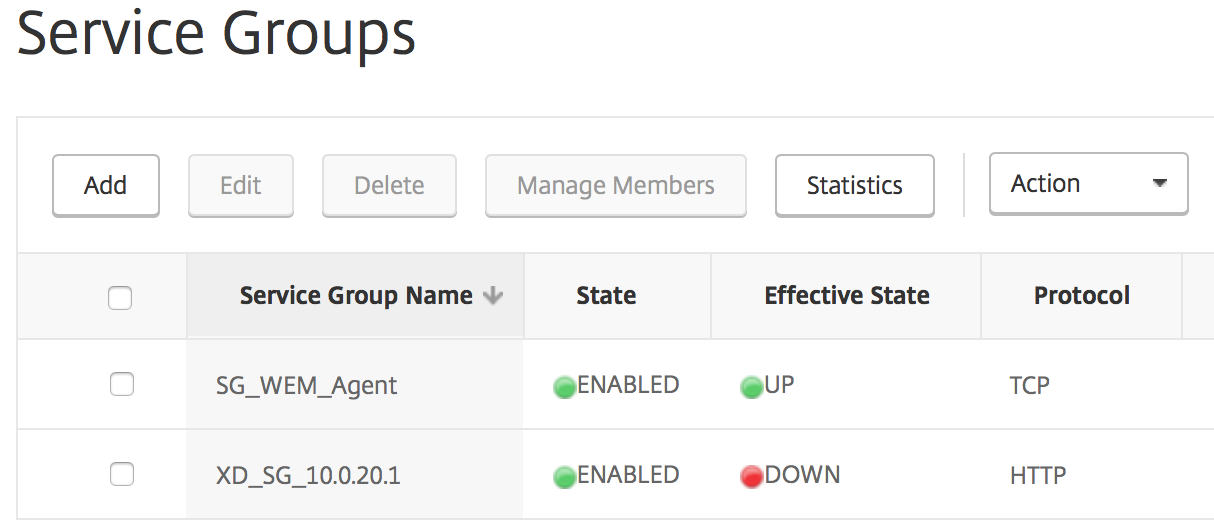
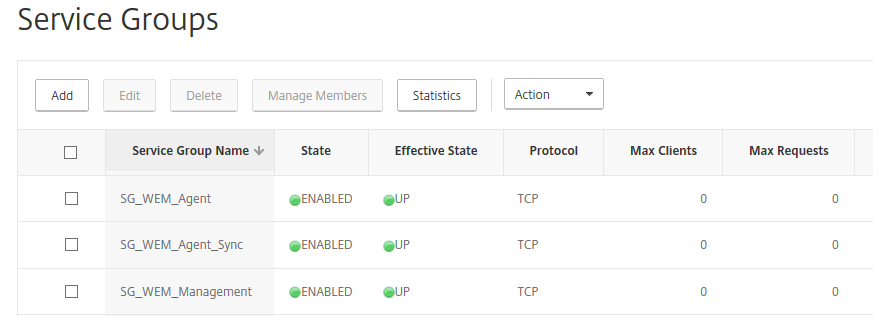
Step 29: Make sure that the Service Group has the state – Enabled
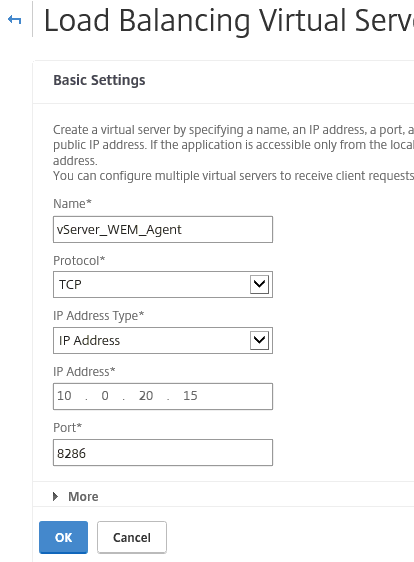
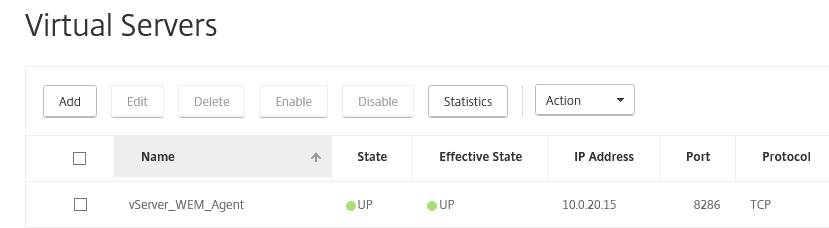
Step 30: Create the actual Load Balancer vServer
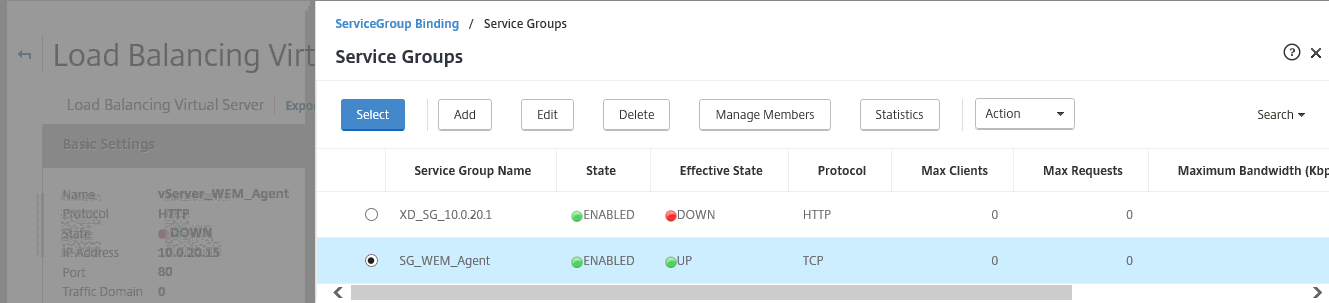
Attach the Service Group
Check if the vServer has the status UP
Repeat the same steps (Service Group and vServer) for the other services – Broker Agent Cache Synchronization service – TCP port 8285, WEM Monitoring TCP port 8287 and Management TCP port 8284, so you eventually will have these 2 Service Groups and vServers:

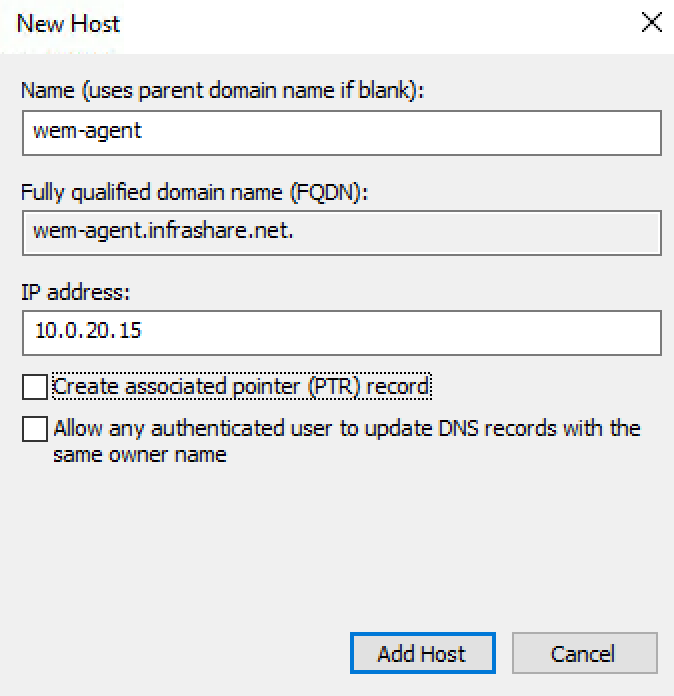
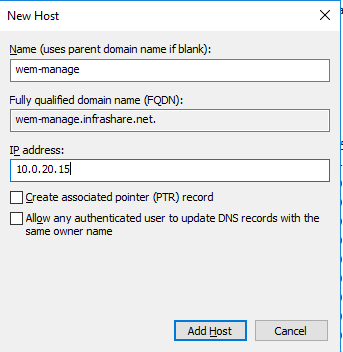
At last – create 1 internal DNS A records, that you can point to the IP Address of the vServers, easier to remember when configure the agent in the next steps.
For the agent connection:
For the management connection:
Configure and install the WEM Agent software
Step 30: First, we need to upload the .admx keys, that can be found / are delivered when downloading the WEM installation files (folder name: Agent Group Policies), to the local Active Directory Group Policy Location -> C:\Windows\PolicyDefinitions or the central policy location -> \\FQDN\SYSVOL\FQDN\policies
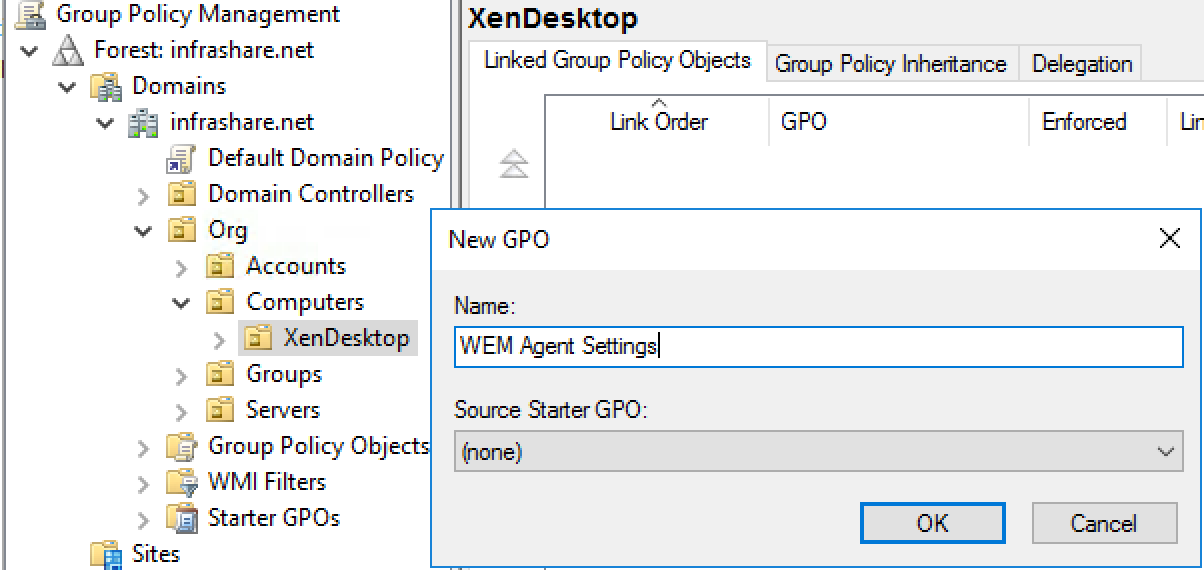
Step 31: Create a new Group Policy and link it on the OU location of your XenApp and/or XenDesktops Computer Accounts
Step 32: Open the Policy and go to Computer Configuration -> Administrative templates -> Classic Administrative Templates -> Citrix -> Workspace Environment Manager -> Agent Host Configuration – and setup the following policies – to make sure the agent connects to the WEM Broker server. All the other settings can be left default

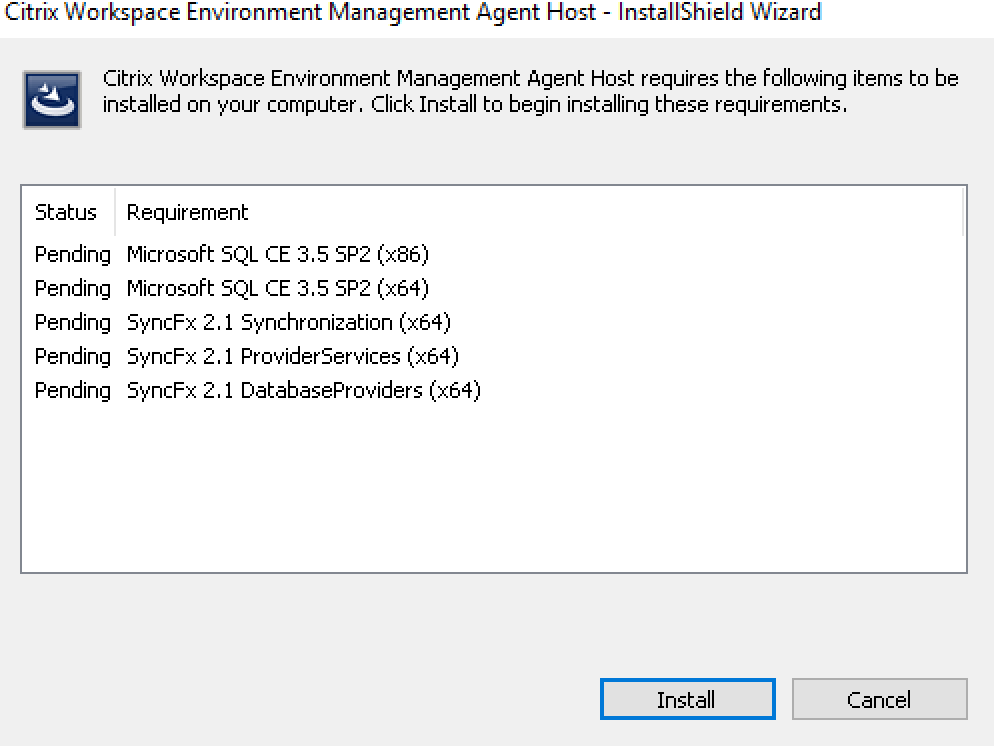
Step 33: Install the agent by using the – Citrix Workspace Environment Management Agent v4.03.00.00 setup.exe
All the required components will automatically be installed
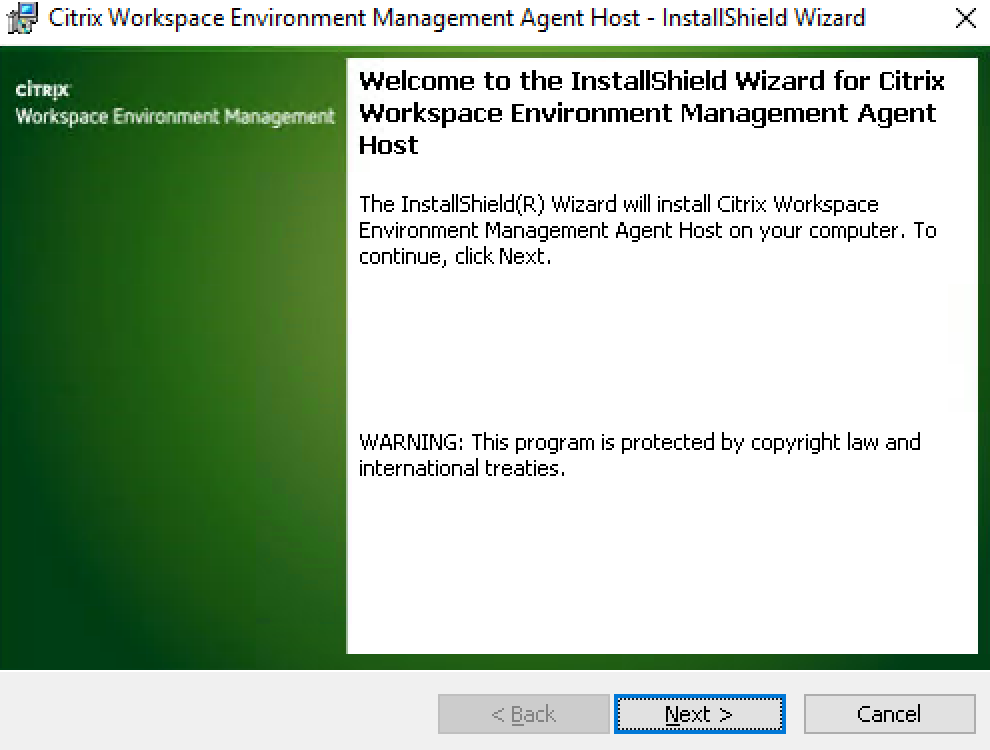
Click on Next
Accept the license terms – Click Next
Choose for Complete – Click Next and Click Install to start the installation
The setup wizard is completed
Run the following – How to configure Citrix Workspace Environment Manager 4.3, including a High Available Broker setup using NetScaler Load Balancing – command in CMD to make sure the latest policy will be applied.
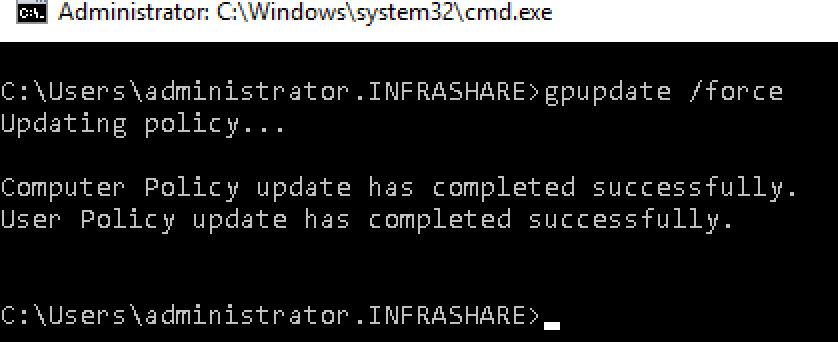
Check if the policy did get applied properly by searching in the following regkey location: HKLM => Software => Policies => Norskale => Agent Host

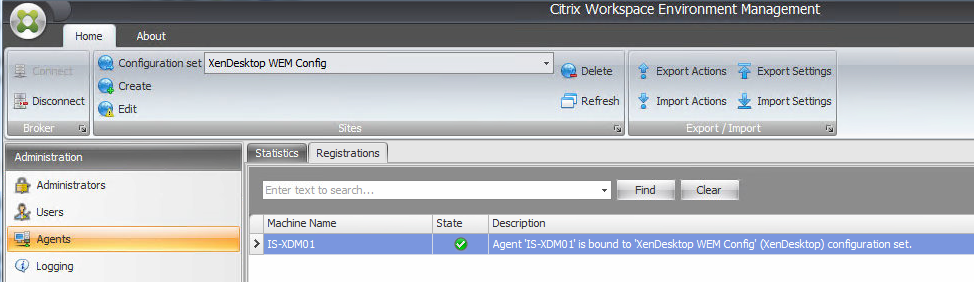
Step 34: Switch back to the WEM Broker server and start the Administration Console from the Start Menu
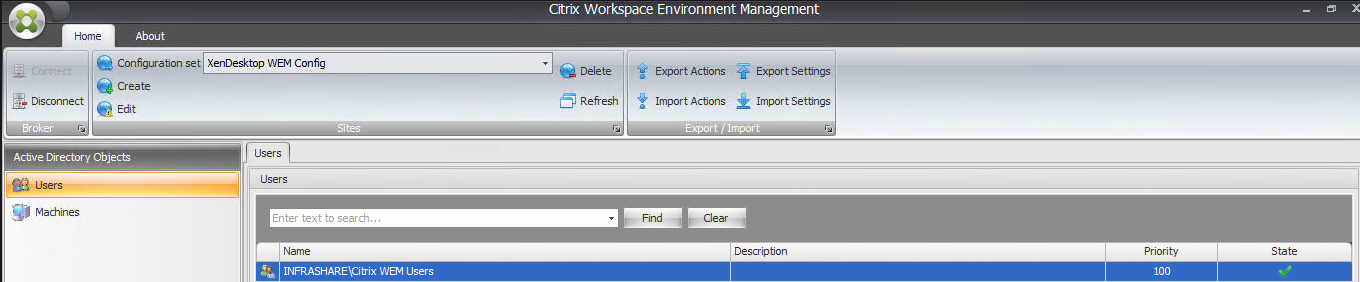
Step 35: Connect to one of your Broker Servers, based on the DNS name that we pointed to the NetScaler Management vServer, make sure u are logged on as a user that is member of the Administrators group. Click Connect

Step 36: Go to – Administration – click on – Agents – and on the – Registrations tab – Check if you Agent is detected successful.

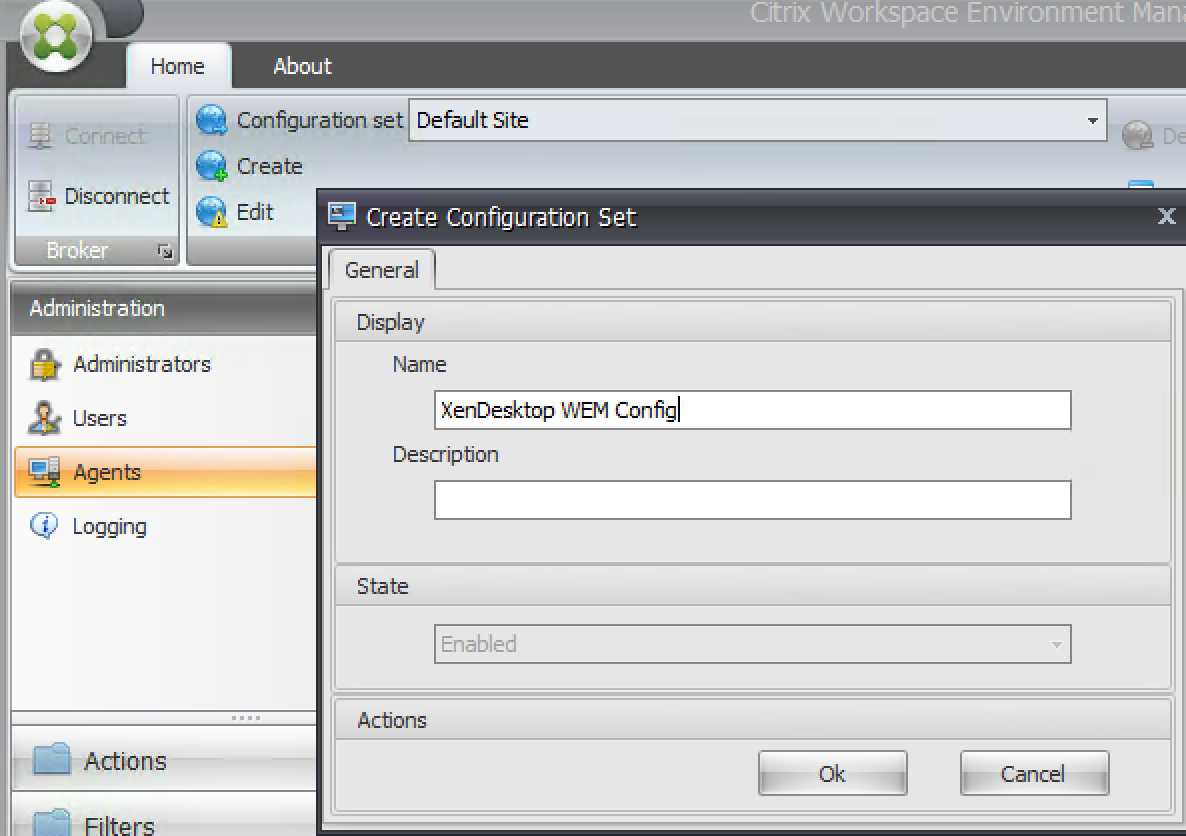
Step 37: There is no Configuration set bounded, create one first in the upper menu banner – Click on Create and give in a name and Click on Ok to save
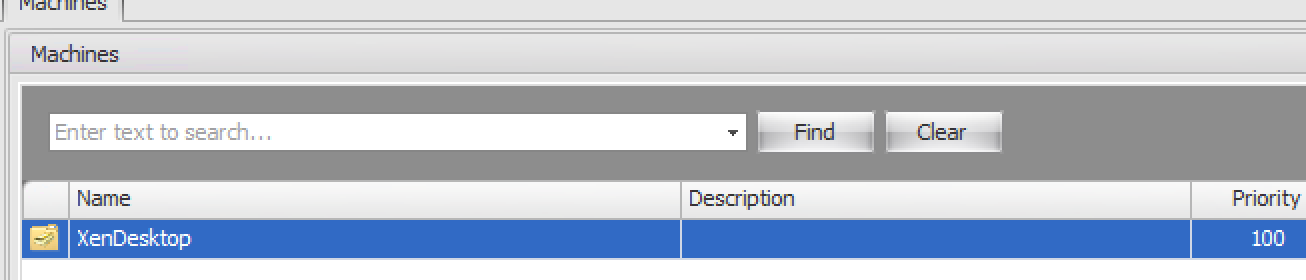
Step 38: Attach the created config to the agent, filtered on OU. We need to go to the – Active Directory Objects– Machines – Add OU and select the agent’s source OU
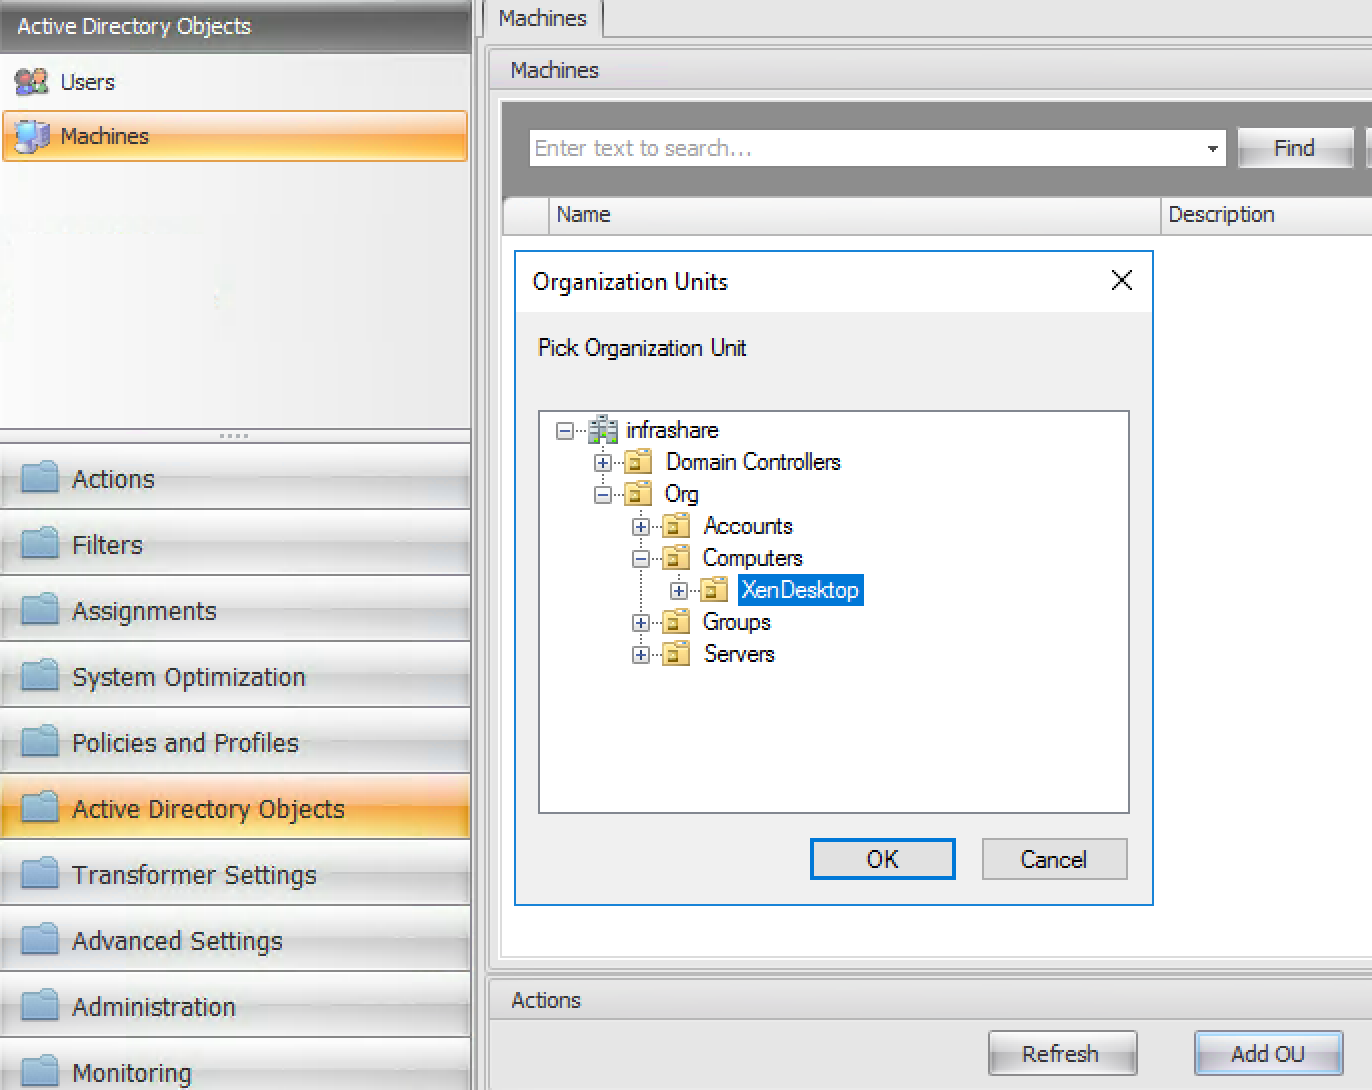
Click on Ok to save
Run the following command to refresh the configuration on the Agent Desktop
AgentCacheUtility.exe -RefreshCache -BrokerName servername
Afterwards, we must get the following result back – after refreshing
Import Recommended optimizations / settings from template
Citrix delivers an subset of templates in the .zip file of WEM, what holds a subset of imports improvements to several components, for example – System Optimization, Agent Configuration and System Monitoring Settings. I advise you to import at those, to start with a good default pre-set of settings, before you start customizing.
Template files are located in the Configuration Templates folder:
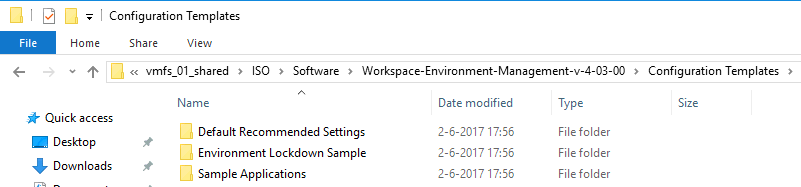
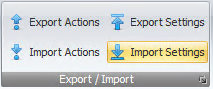
Step 39: To start the import of the System Optimization, Agent Configuration and System Monitoring Settings – open the WEM Management Console and click on the Import Settings option in the upper menu
Click on Next

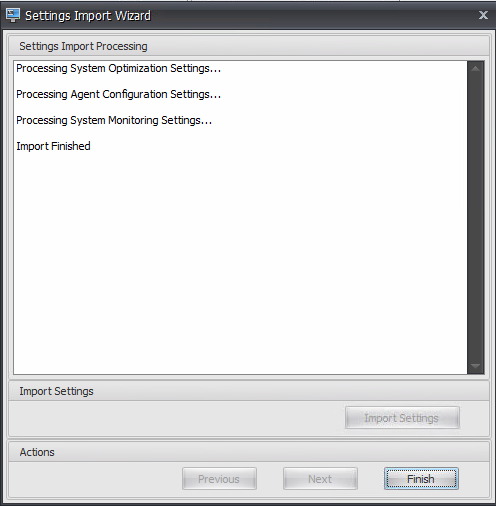
Step 41: Browse to the Template folder location and choose for the – Default Recommended Settings – folder and select the following types: System Optimization, Agent Configuration and System Monitoring Settings. Click on Next
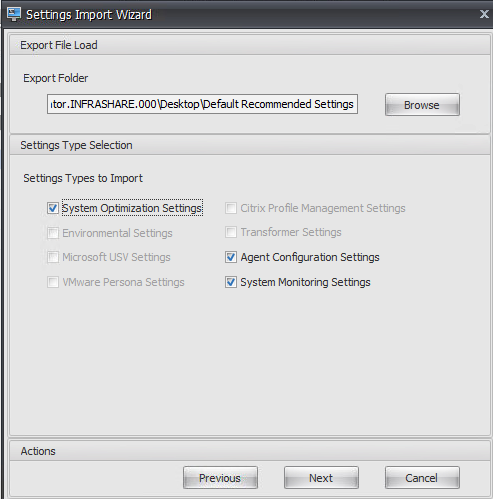
Click on the – Import Settings – button

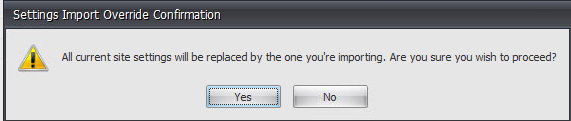
Click on the – Yes– button
All the Settings are imported successfully – Click on Finish
Configure Custom Optimizations – CPU Management
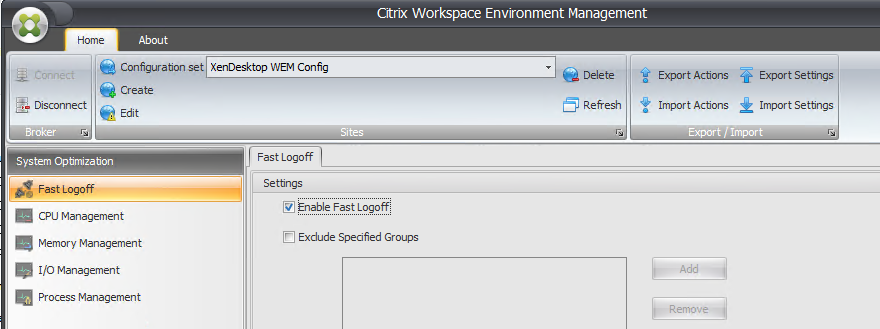
Step 42: Enable the Fast logoff settings – your session will be disconnected and WEM will perform the logoff process on the background.
CPU Management Settings explained – WEM agent will monitor any process (by PID).
If one process starts to consume more than 25% [1] ofall CPU during 30 [2] seconds, WEM agent will take decision to downgrade process priority during 180 [3] seconds. This decision will continue as long as the process is consuming more than 25% of CPU.

Step 43: Change [2] 30 seconds to 15 seconds, and click Apply button

This checkbox enables the Agent to use algorithms to recognize user processes and put them in a higher priority, giving the best performance available for end users.

Same explanation, but for IO optimizations, in Windows I/O queue list
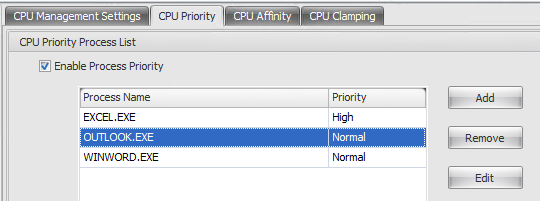
CPU priority – When u want to provide a listing in priority, for example – your environment runs at 100% and your users still need to use Excel? Give in all the processes to make sure your primary company application still can run in case of a CPU spike scenario
Configure Custom Optimizations – Memory Management
Step 44: Select Memory management menu option
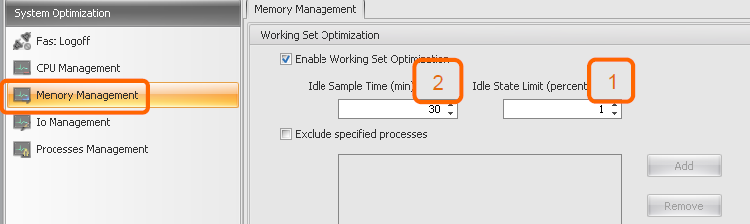
RAM optimization, analyze “idle” process – CPU activity below 1% [1] during 30 [2] min, in this example – and provides to Windows a process list to optimize. No driver, no application incompatibility. Change [2] 30 minutes to 5 minutes, and click Apply button
“Exclude” checkbox will help to exclude specific processes from the RAM optimization list, such as anti-virus, and avoid errors in Norskale event viewer or false-positive alerts in AV console.
Source: Lab-Course WEM @christiaanbrinkhoff.com Synergy 2017
Step 45: Click on the – IO Management – menu option
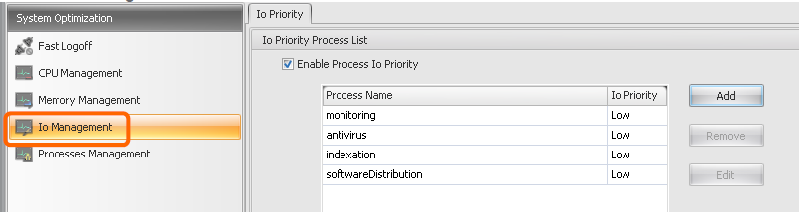
Priority management explained – It is a best practice to set the name of the process responsible for monitoring, antivirus, indexation and software distribution and storage bandwidth. This list requires a *.exe filename.

Do not forget to click on Apply button in case you make any changes
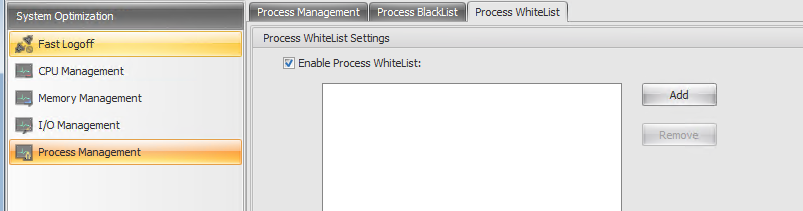
Process management – Configure Process Block and Whitelisting
To avoid Cryptoware virussen, it can be usefull to block processes that are unwarranted, for example a custom.exe. To protect your workspace better – WEM provides a process block and whitelisting service, so users are only able to start approved executables before they start.
Step 46: Click on the – Process Management – menu option – select the – Enable Process Management – option

Step 47: Add the processes that need to be blocked to the list. All the other processes will then be allowed to start.
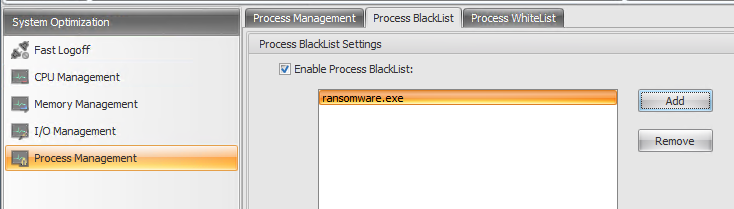
I suggest to use the – Process Whitelist – option, this works in the other way. All the Allowed Processes will be able to start – all the others will be blocked
Configure Actions – Applications
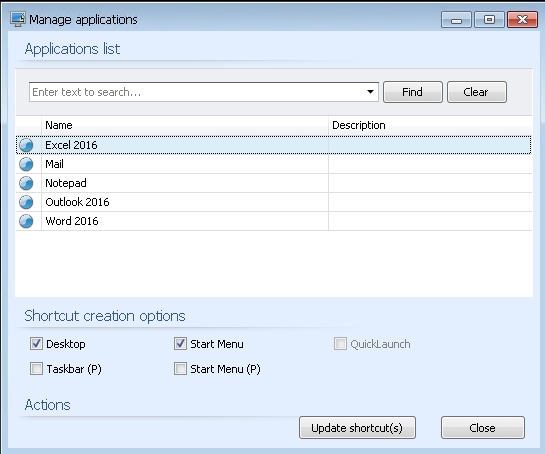
At this menu, you are able to create Menu Start icons and filter them on security groups. Build and create the Menu Start folder structure, by using the Start Menu view – click on Add Application to add program shortcuts/executables.
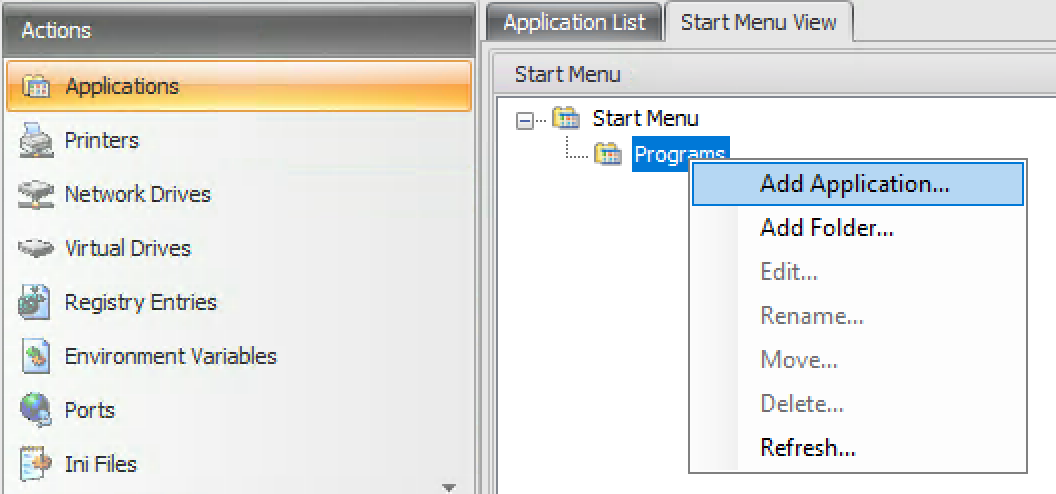
One example for Notepad, select path to change the Start Menu location

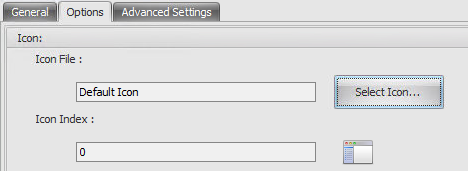
Change the icon on the Options tab
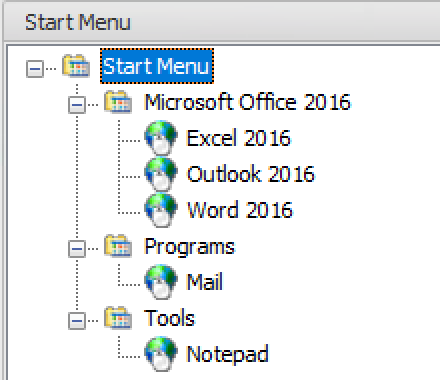
For example, I just added some dummy applications
Configure Actions – Drive Mappings
Step 48: Open the – Network Drives -menu option and click on Add
![]()
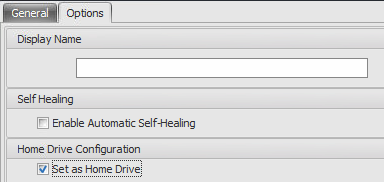
Step 49: Enter a display name for the share and add the target UNC path
Repeat those steps for all the network drives you need to add, for example the user’s HomeFolder location. Don’t forget to enable the – Set as Home Drive – option, when adding the HomeFolder location.

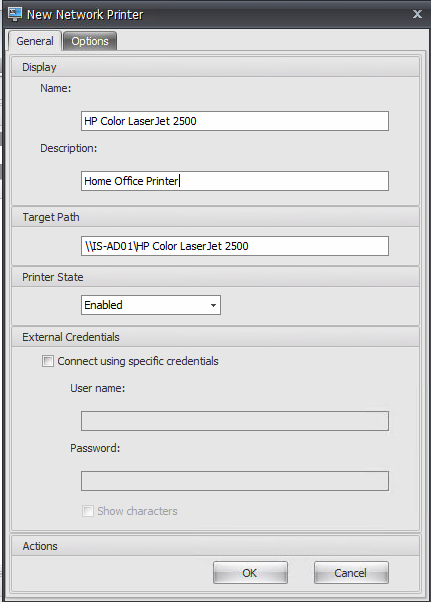
Step 50: Open the – Printers -menu option and click on Add

Step 51: Fill in a display name for the Printer and the share location – Click on Ok to save
Configure WEM Users Filter Group for Actions
When a user log on to a XenApp or XenDesktop machine, action settings will not be applied to all the users that logs on to that specific machine. To activate this, you can apply filters based on username or security group. For this article, I created the – Citrix WEM Users – security group and added all my Citrix users to that group.
Step 52: Open the – Active Directory Objects – menu option and click on the Add button

The group is added…
Assign the Actions to users – based on group filtering
Step 53: Now need to assign all the actions to the just attached Active Directory Group. To do so, open the – Assignments – option in the menu and click double on the group name

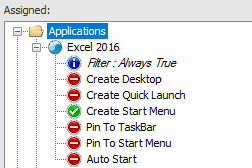
Step 54: Select the available action that u want to activate/bundle to the security group and click on the arrow > to place it in the Assigned section.
Application
Set the Filter for Application to Always true

Change the Application shortcut locations when needed…
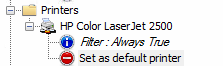
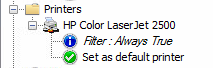
Printers
Set the Filter for printers to Always true
Click on the – Set as default printer – option to set the printer as default
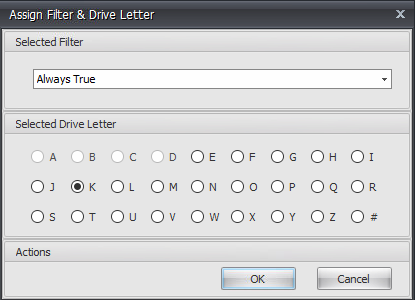
Drives
Set the filter also to Always true and Assign a letter to the network drive/location
Note: If you need to separate application, for example – not all my users need to get Office Outlook assigned. Just create a new (application) security group and assign the application to that group. Don’t forget to remove the application from the default group.

Nakivo is an affordable Hyper-V backup and VMware backup solution.
Configure Policies and Profiles
To set default policies to customize your workplace environment, WEM provides some useful out of the box settings that can simply be set by checkmarks. I will cover the most important settings:
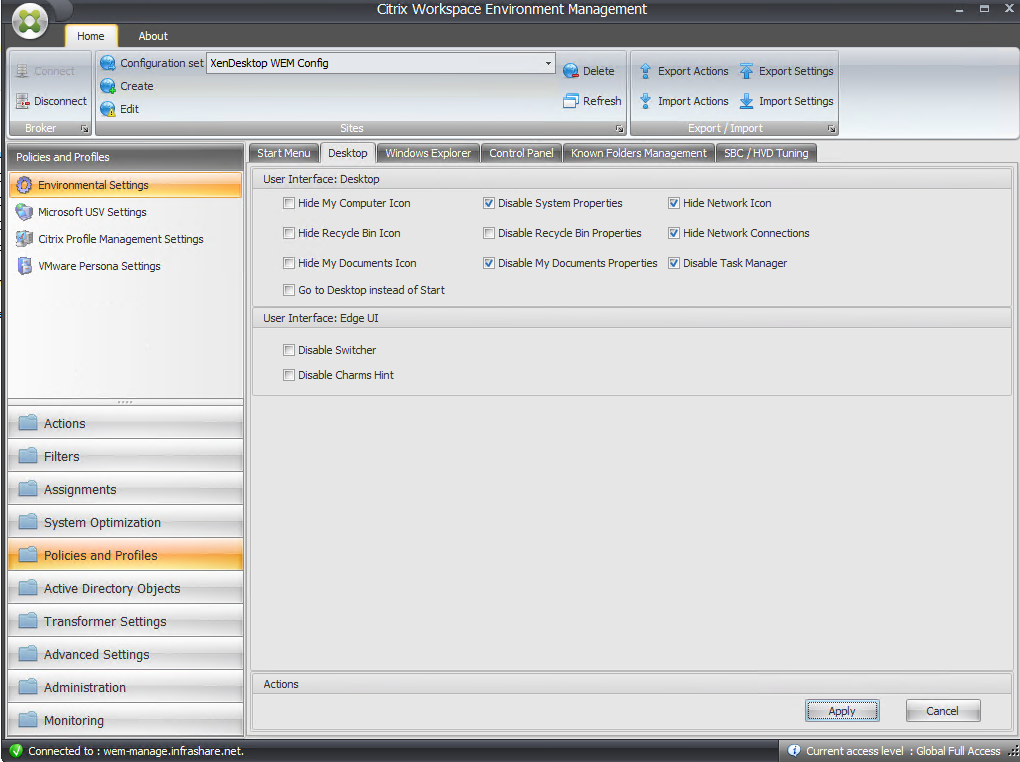
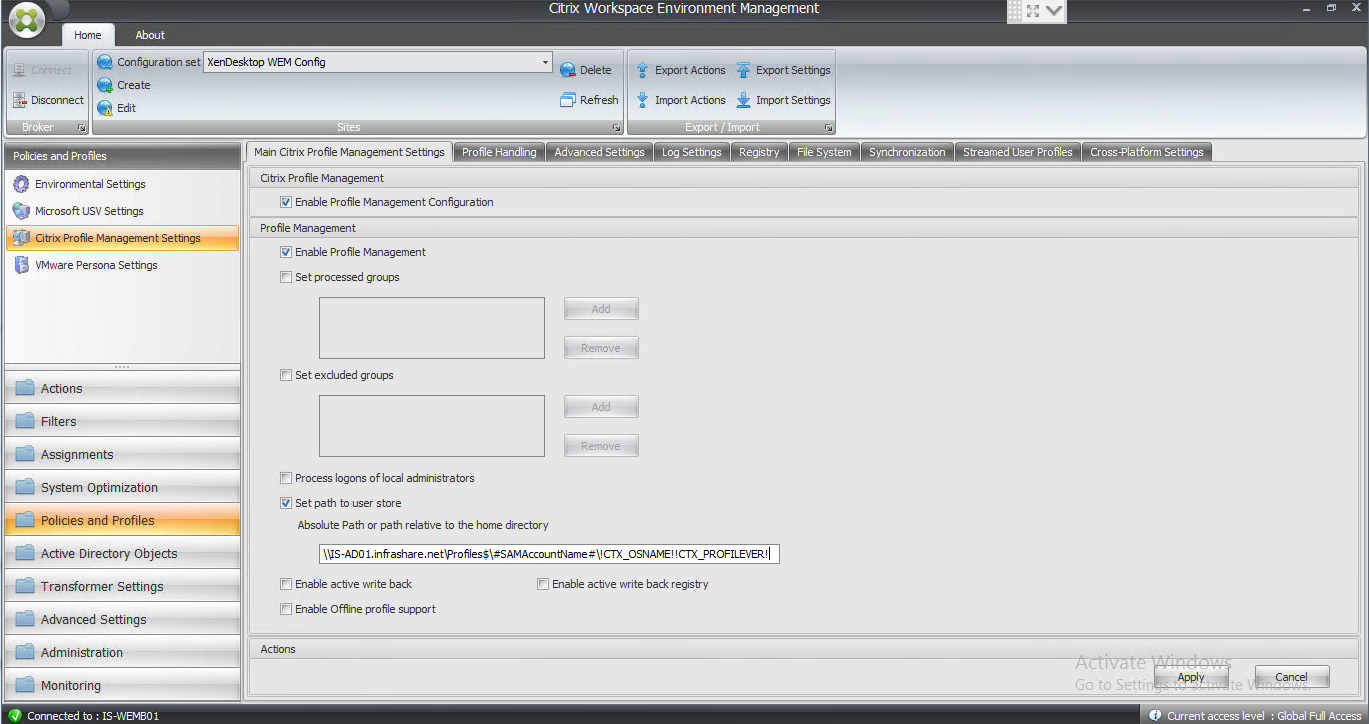
Step 55: Open the policies and profiles option – select all the settings that you want to use/block – click on Apply

Desktop settings – take over the settings from the picture
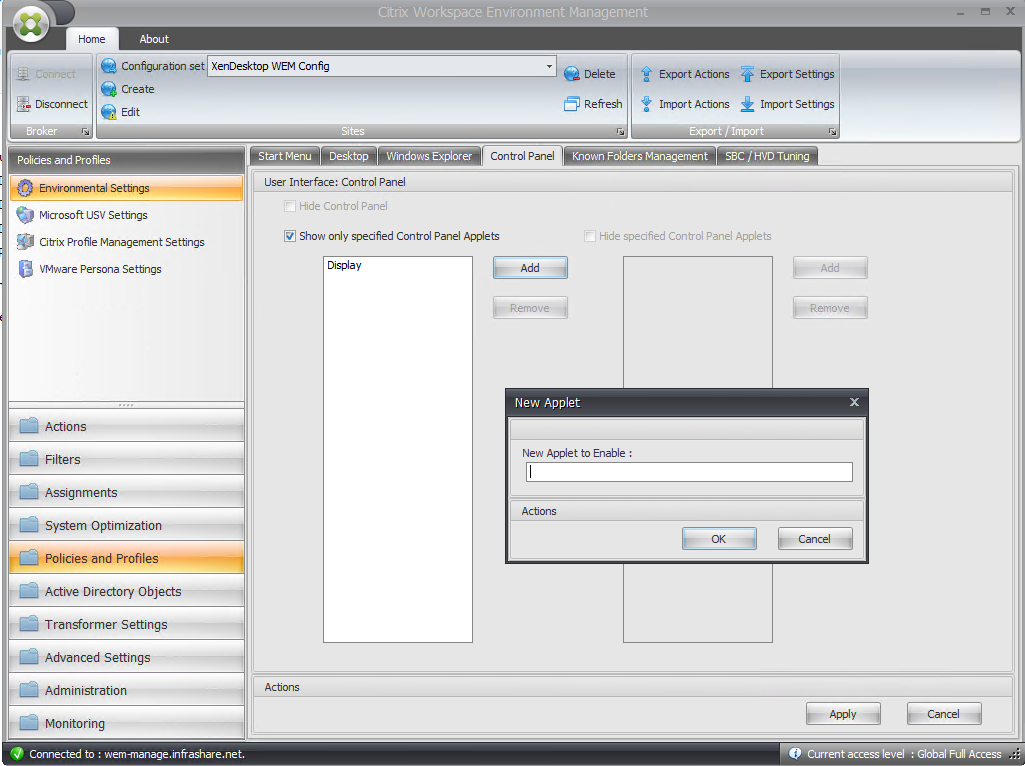
Control Panel items – add them manually – click on Apply
Run the following command to refresh the configuration on the Agent Desktop
AgentCacheUtility.exe -RefreshCache -BrokerName servername
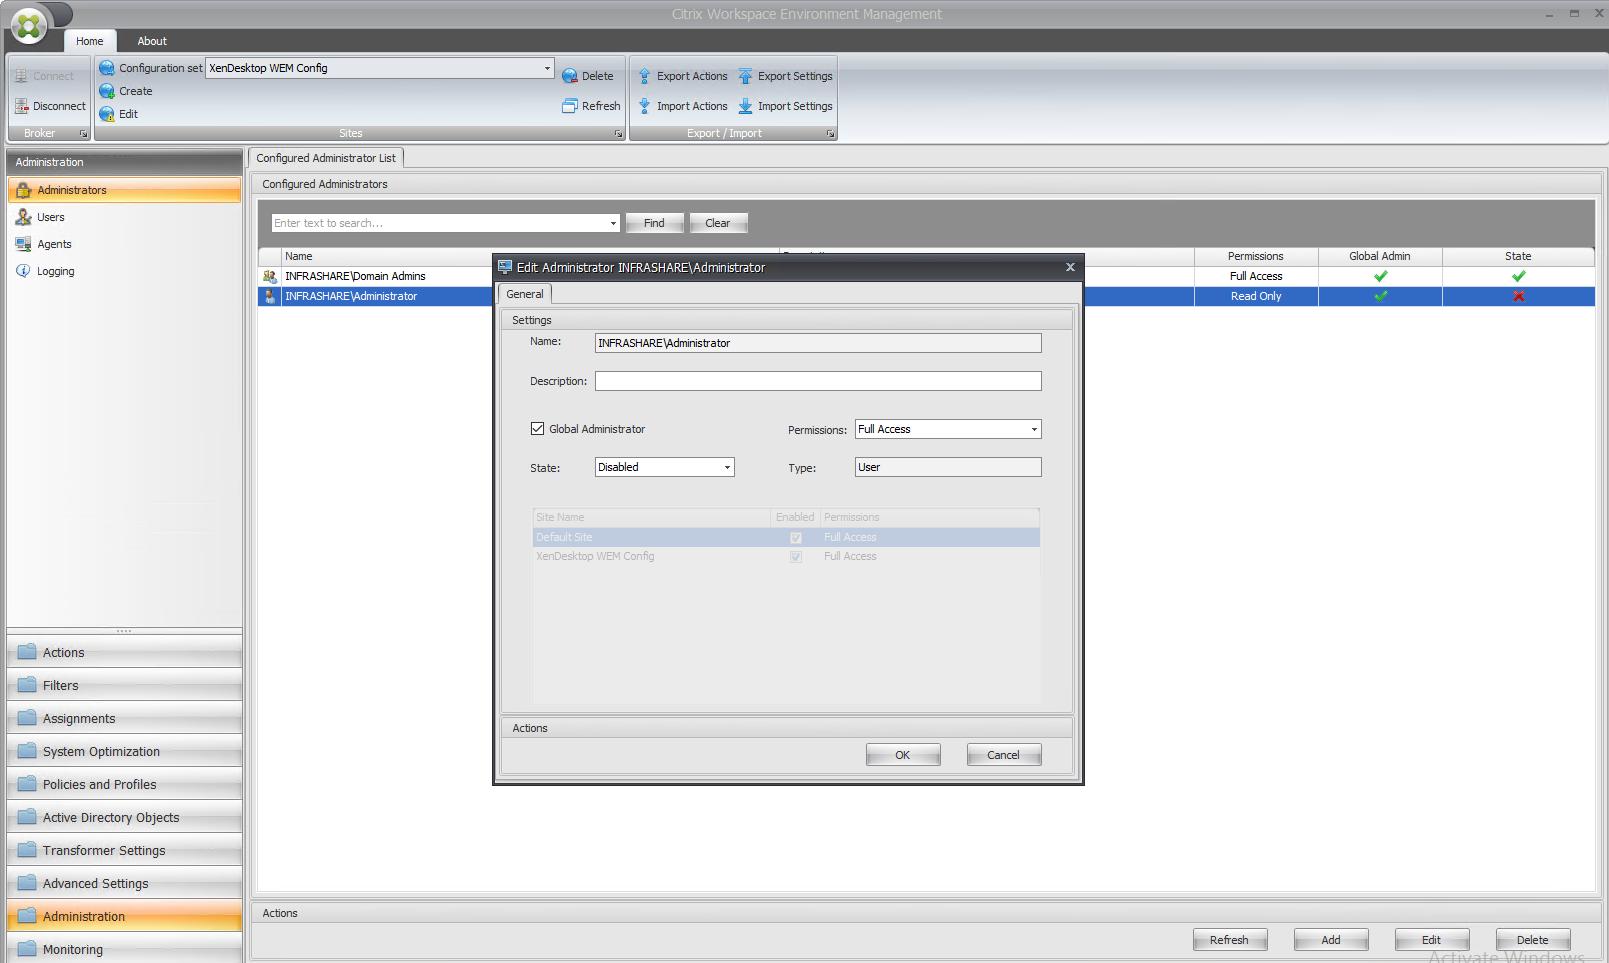
Configure Delegation – WEM Administrators
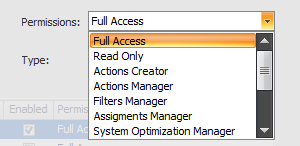
At the administration menu option – you can add several groups and users that need to have access to the WEM Management Console. You can provide a sort of RBAC role in permissions. Search for the group or user and define the Permission group. Click on Apply to save the settings
Activate Citrix Profile Management
Going to implement WEM on a non-persistant pooled VDI environment or XenApp environment? Then you need to activate activate a profiling service, for example the Citrix Profile Management Service. WEM delivers it out of the box and integrated in the WEM Management Console.
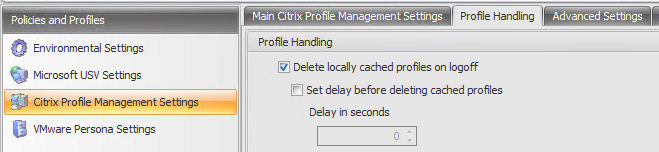
Don’t forget to enable the – Delete locally cached profiles on logoff – setting. Click on Apply
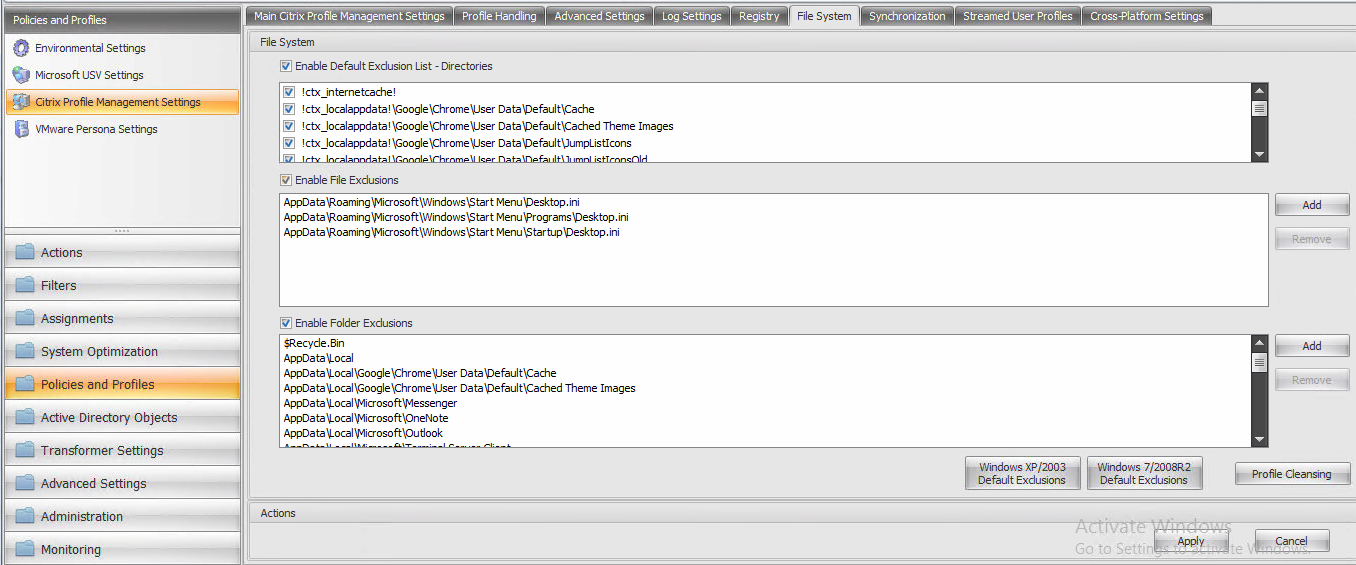
Configure the folder exclusions – for this article I used the default exclusions that are integration. Click on Apply
User agent – The user is able to configure?
The user is able to start the following configuration items from their taskbar WEM Agent
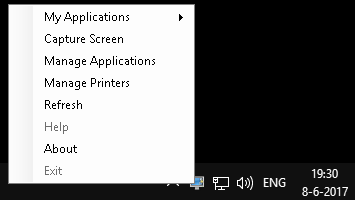
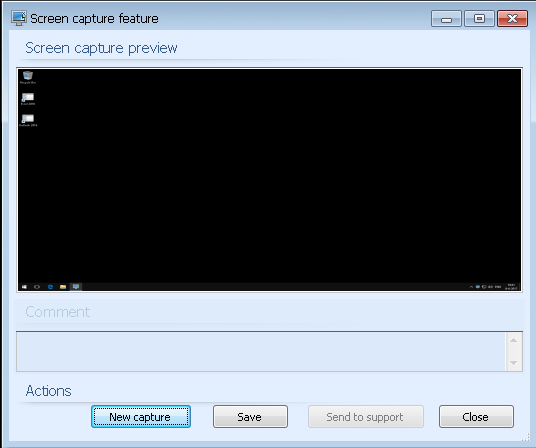
Create Screenshot – upload it to a central location
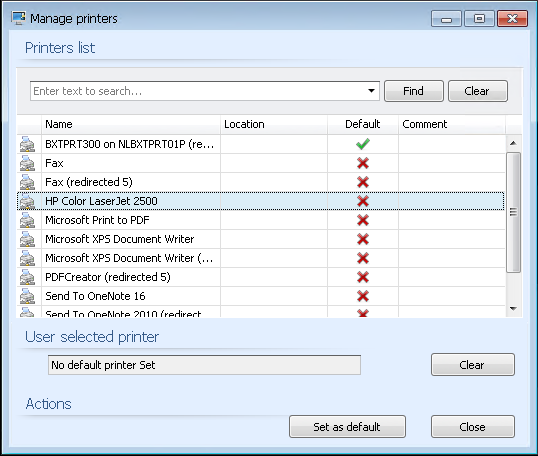
Change the default printer
Create shortcuts of application on different locations
Users complain about high logon durations, or just want to check the results of your logon optimizations settings? Go to monitoring in de left menu, click on daily report to check out all the user logon information you need.

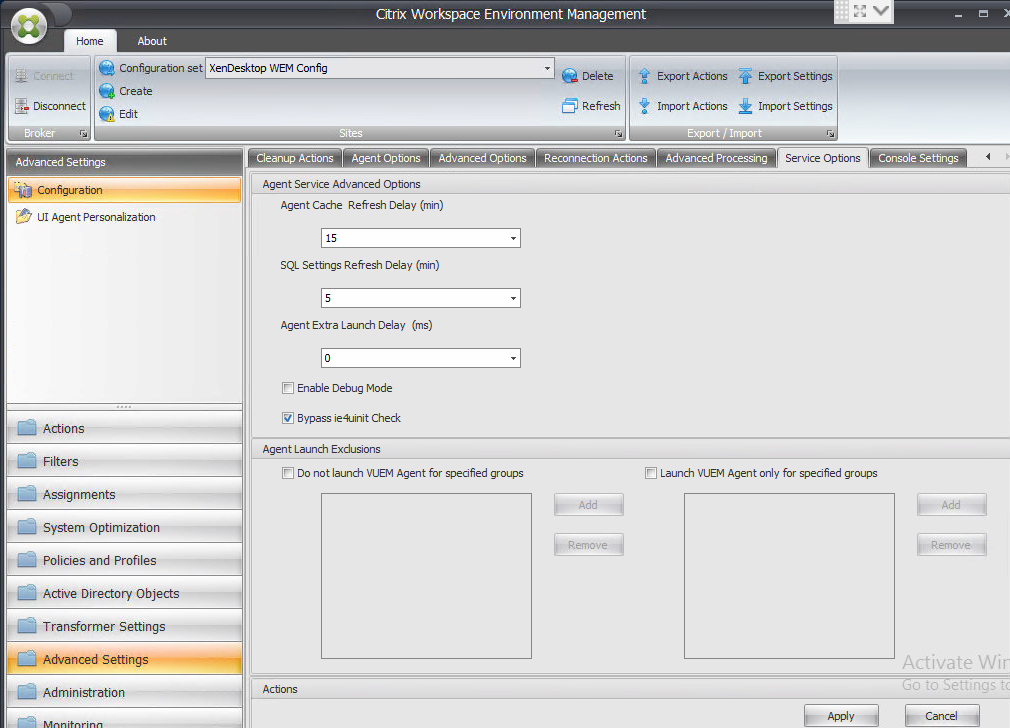
1. Agent and WEM splash screen is automatically staring after 1 or 2 minutes after the user logon. Checkmark the – Bypass ie4unit Check – setting to solve this!
 2. When you have problems with the agent configurations, for example – some settings will not deploy – or the synchronization isn’t working properly?
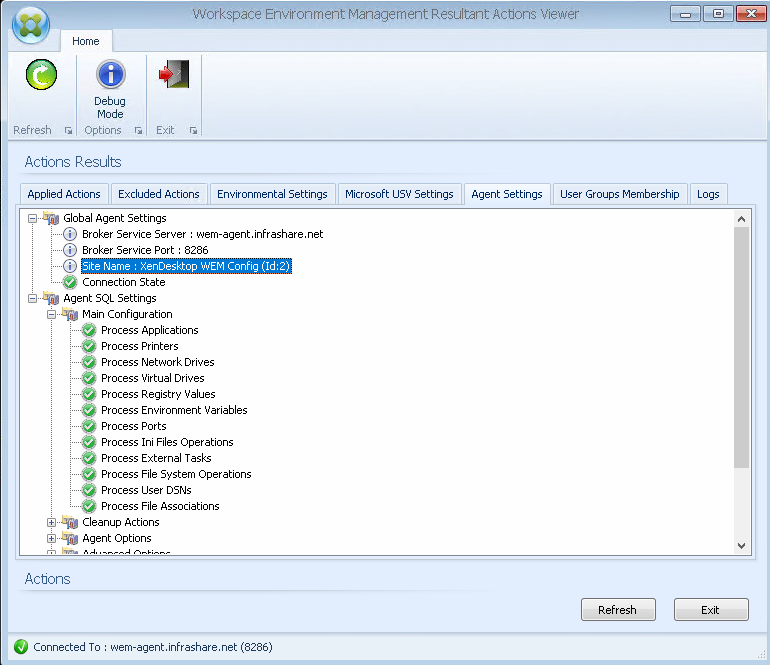
Check out the VUEMRSAV.exe tool, that can be found in the following location at the endpoint.
C:\Program Files (x86)\Norskale\Norskale Agent Host\ VUEMRSAV.exe
It provides all the applied information and logs for troubleshooting. The Agent Settings tab can be used to see if the right Site Configuration is attached and the connect is made properly.
3. Receive error “Server sent back a fault indicating it is too busy to process the request” and the WEM Agent fails to connect to the Broker Service?
Solution: Stop the Norskale Infrastructure Service, then open the “Norskale Broker Service.exe.config” configuration file in the broker installation directory and locate the following two lines:
<serviceBehaviors>
<behavior name=””>
Add the following line immediately below the <behavior name=””> tag:
<serviceThrottling maxConcurrentCalls=”2000″ maxConcurrentSessions=”2000″ maxConcurrentInstances=”2000″/>
Save these changes, then restart the Citrix WEM Broker Service.
Read the whole support article here
4. Intermittent crashes of the Norskale Broker Service?
Solution: Private fix will be available through Citrix Support
Video – Get an own impression of the logon duration