
Configure Citrix Cloud Virtual Apps and Desktops – XenApp and XenDesktop Service using Managed Disks and Citrix Optimizer in Azure


In addition to one of my previous blogs about Smart Scale, that I’ve posted 2 weeks ago. I already wrote about the advantages of Smart Tools: Smart Scale. I’ll now would like to share my insights on the XenApp and XenDesktop service from the Citrix Cloud. This will be a blog series of 4 articles in total.
But first let’s start with a short introduction…
In today’s world, where many companies searching for their upcoming Public Cloud strategies. The most common and stable Datacenter platform at this moment is definitely the Microsoft Azure Cloud. With 100+ datacenters locations around the globe, with 120.000 new customers each month and part of the top 3 networks in the world – it is the best and most reliable datacenter.
Citrix delivers 3 types of Workspace Solutions out their own Cloud, named Citrix Cloud, XenApp and XenDesktop Essentials are delivered through the Azure Marketplace and the XenApp and XenDesktops Service is being sold directly from the Citrix Cloud. Also with the new Cloud-first strategy, we will see more future releases of those in the near feature, but Cloud-First doesn’t mean Cloud Only for Citrix. Expect all the innovations on the Cloud, that are currently released, such as the Managed Disks improvements, also on XenApp and XenDesktop 7.16 or higher!
Furthermore, Citrix also gives companies the possibility to migrate/transition their on-premises environment to the Citrix Cloud by using so called trade-up programs, where you can convert on-premises Enterprise or Platinum licenses to Citrix Cloud: XenApp and XenDesktop Service Platinum licenses. For the record, this program is only possible for the full-blown Service solution, and cannot be used for the other solutions in Azure, such as XenApp and XenDesktop Essentials. If you are interested in this trade-up program, please contact your Citrix representative or Sales Manager.
In this article, you’ll get everything to know about the XA and XD Service, just to get confident enough to start building yourself! And like almost all the Citrix Cloud products, it’s really easy to implement…
Hot of the press Cloud news: Looking for XenApp Essentials instead of the XenApp and XenDesktop Service? XenApp Essentials now supports Azure Active Directory integration for user authentication! The feature is still in preview, and only for XenApp Essentials. With all the improvements that are take place at the moment, I’m expect it won’t take long to have this also integrated with XenDesktop Essentials and XenApp and XenDesktop Service (covered in this article). See this Citrix Blogs article for more information!
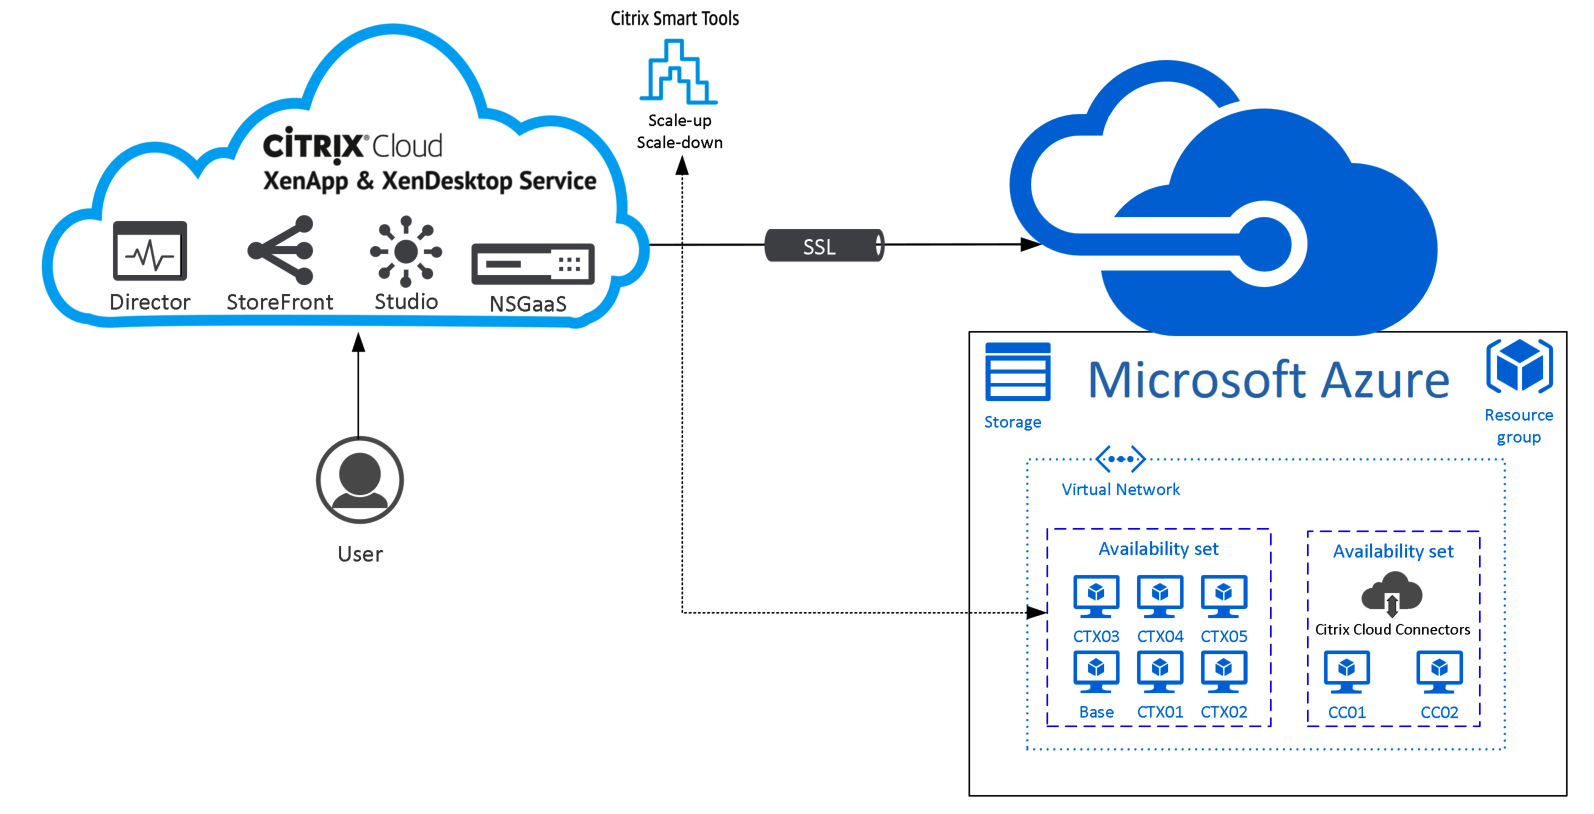
Table of Contents
Click on the title to get forwarded in the article:
- Enrollment of the Citrix Cloud Server(s)
- Base image / VDA setup in Azure
- Configure Azure Resource Manager Host Connection
- Activate Hosted StoreFront
- Activate NetScaler Gateway-As-a-Service (NGaaS)
Previous articles that I wrote around the Citrix Cloud, that you might found interesting to read as well:
- How to configure a BYOL NetScaler VPX in Azure for XenDesktop Essentials and XenApp and XenDesktop Service from Citrix Cloud
- How to configure Citrix XenApp Essentials in Microsoft Azure, including Azure Active Directory authentication to Citrix Cloud
- How to use Citrix Smart Tools – Smart Scale to reduce your XenApp and XenDesktop on Azure Cloud resource costs
Did you know that…
- Citrix releases all the new features first to the Citrix Cloud, since they introduce the Cloud-First release strategy?
- You need an Enterprise Agreement in Azure for Windows 10 VDI’s?
- The configuration steps in this article, for XenApp and XenDesktop Service are almost the same steps as for XenDesktop Essentials?
- The Citrix Cloud formerly was knowing by the name Citrix Workspace Cloud, which they changed in 05/18/2016?
- XenApp Essentials now supports Azure Active Directory integration for user authentication! The feature is still in preview, and only for XenApp Essentials. With all the improvements that are take place at the moment, I’m expecting that it won’t take long to have this also integrated with XenDesktop Essentials and XenApp and XenDesktop Service (covered in this article). See this Citrix Blogs article for more information!
- NetScaler Gateway Service, or also known as NGaaS is included in the license. Just to provide external access to the Citrix Cloud platform?
- You aren’t able to customize the theme or activate secondary authentication, what is a limitation of the Service.
- You have the possibility to use your own StoreFront server.
- You can use your own NetScaler (Bring-your-Own-License) version. When choosing to configure yourself, you have almost all the features available, such as sec. authentication, RADIUS, Azure MFA, GSLB and Rewrite Policies. (Note: You’ll need an own StoreFront server to configure this)
- Azure Managed Disks are now also supported to choose for IaaS in Microsoft Azure!
- Since last week, your also able to deploy Azure IaaS resources through the Machine Catalog process in the Azure datacenter in Germany (PREVIEW).
- The Citrix Microsoft Azure Engineering team just provided some big performance upgrades around the Machine Creation Services / Machine Catalog maintenance process. Read more later on in this article on this specific topic.
- Citrix gives the possibility to convert / translate existing (on-premises) XenApp and XenDesktop Enterprise and Platinum license to Citrix Cloud XenApp and XenDesktop Service (Platinum) licenses, through the, so called – trade-up programs.
- Azure just released a new resources sizing, named as the B-series. Much cheaper machines, including SSD support! See this link for more info!
- You can save out Public Cloud / Microsoft Azure resource cost, by using the Smart Tools: Smart Scale feature. See one of my earlier blogs to get to know this nice solution.
- Microsoft just released the Azure Migrate Service (PREVIEW) on their Ignite event, which can help customers to migrate their on-premises VMware and Hyper-V workloads to Azure! See the following link for more information!
- XenApp and XenDesktop outages and maintenance events are listed on the Citrix Cloud Service Health Dashboard at status.cloud.com – This page displays service status and incidents in real-time for all Citrix Cloud services.
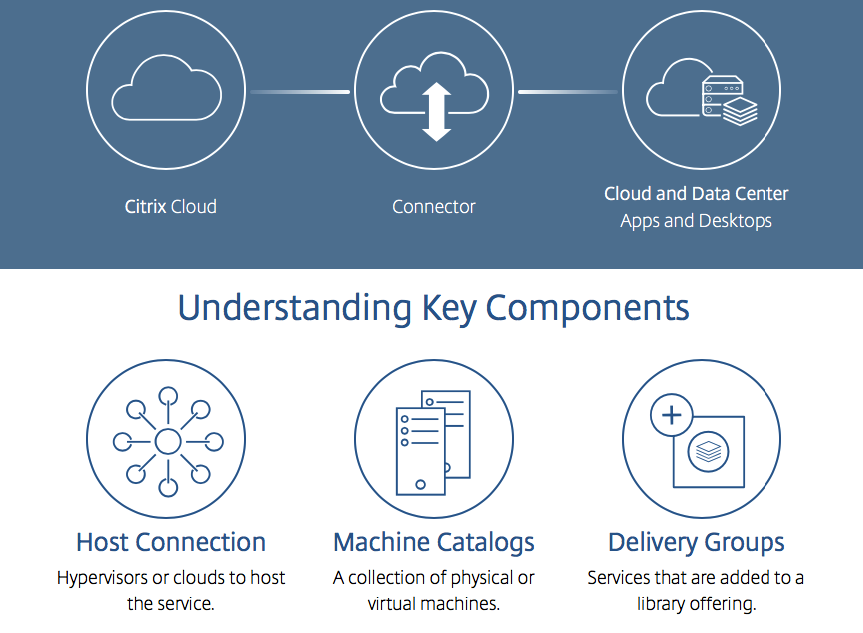
- To provision virtual machines that deliver applications and desktops, you can use:
- Machine Creation Services: The MCS technology is built into Studio and is accessed automatically through the Citrix Cloud Console. MCS creates copies of a master image to create and provision VMs.
- Provisioning Services: The PVS technology streams a master image to user devices. PVS doesn’t require a hypervisor, so you can provision physical machines.
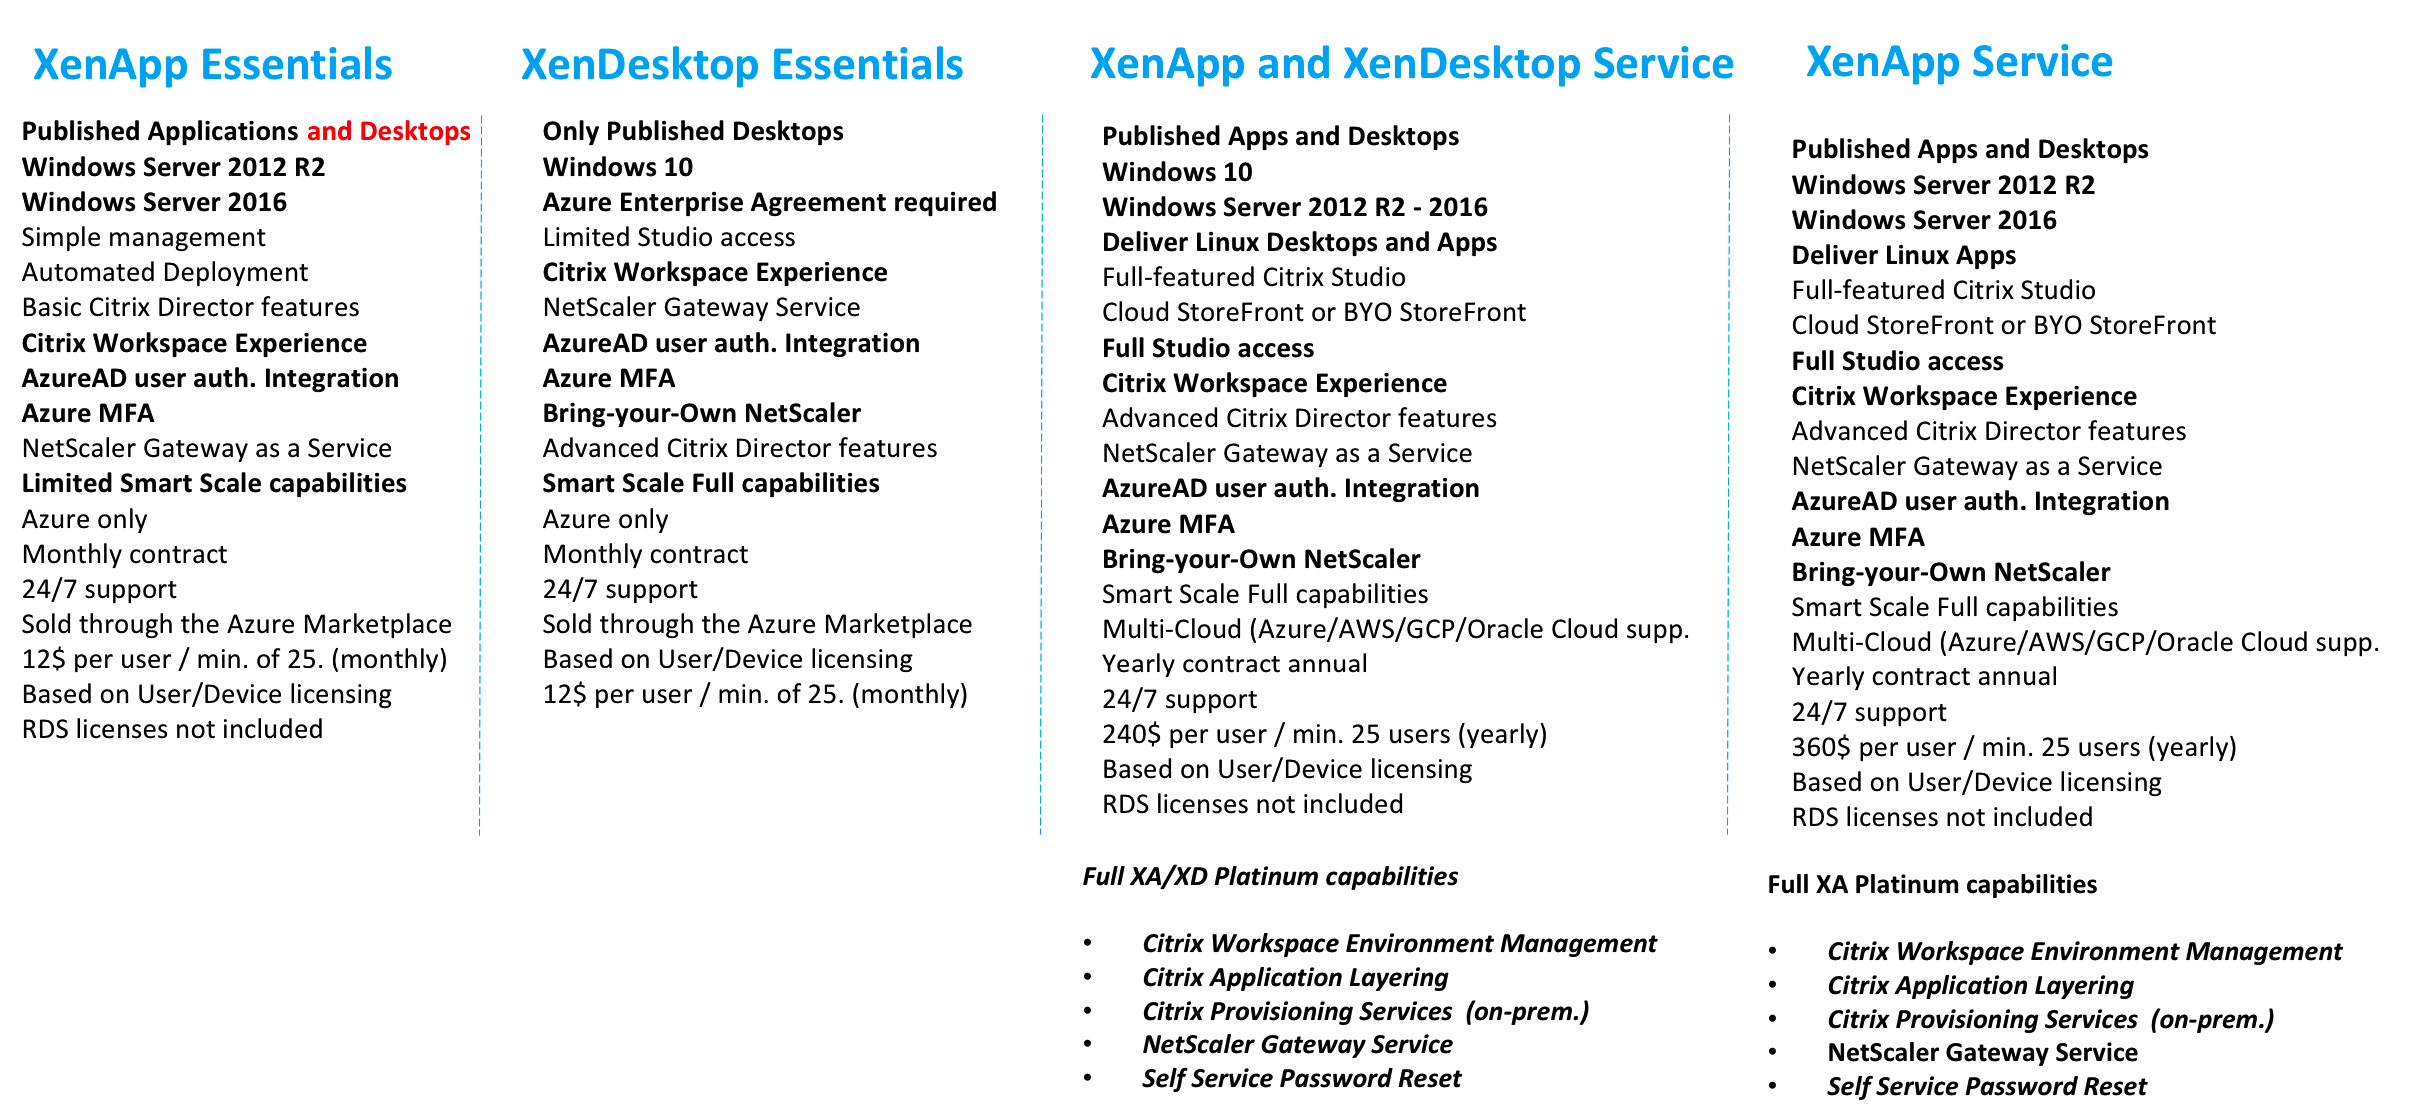
Citrix Cloud Workspaces comparison
I’d used the following feature comparison list in one of my earlier presentations, which shows all the most important features. All delivered by the Citrix Cloud, and the first 2 are purchasable from the Azure Marketplace!
Note: Keep in mind that you’ll have almost the same full Platinum features capabilities with the XenApp and XenDesktop Service, such as App Layering, Citrix Workspace Environment Management and the Self-Service Password Reset functionality. When you have a large Enterprise environment, I’ll definitely recommend you too look at the XA XD Service and the trade-up programs.
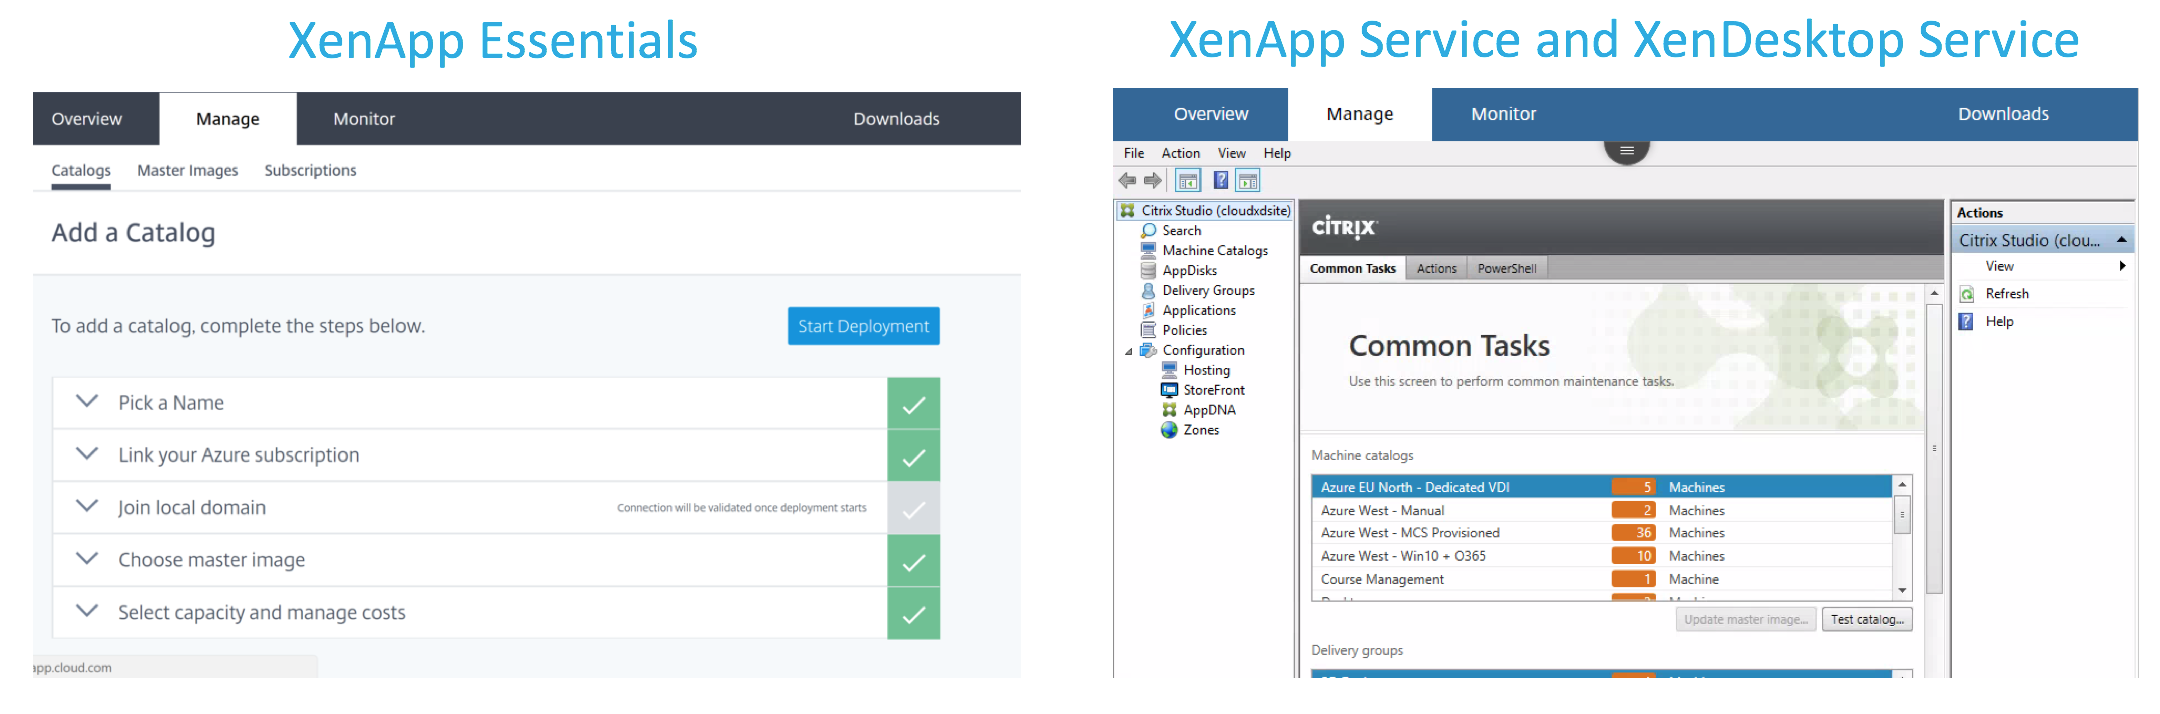
Compare the different Consoles
Compare to the on-premises version or the XenApp and XenDesktop Citrix Cloud service, the possibilities are limited. You cannot see the licensing option, and for XenDesktop Essentials the Applications option will also be gone.
Platform improvements
Prasanna did a great Citrix on Azure improvement announcement at the begin of September. Prasanna is the Director of engineering – Microsoft Azure Solutions, so all the cool improvements are in lead of him.

One of them is the Machine Catalog Management tasks / Provisioning Speed improvements of using Citrix on Azure.
See the picture below for all the impressive new numbers!
 Azure Managed Disk support
Hot of the press news is the Citrix Cloud support for Azure Managed Disks. With this alternative storage solution in Microsoft Azure, you have much lower limitations active and also optimisations on performance for your environment.
- Faster provisioning time
- Scalable elastic storage / dynamically expandable storage
- No IOPS limitations anymore
Note: Managed Disks are not in preview mode anymore, so it’s ready for production!
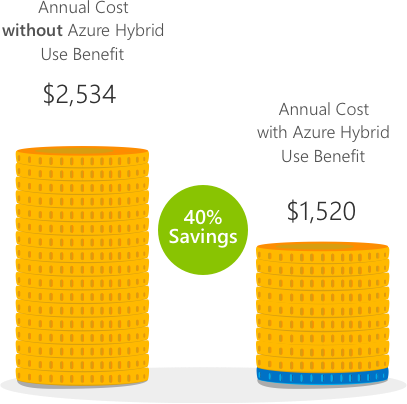
Azure Hybrid Use Benefit (HUB) program
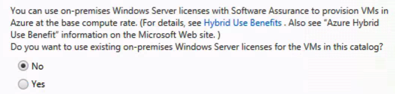
The Azure Hybrid Use Benefit program lets Enterprise Agreement customers, who are already owning Windows Server Licenses with Software Assurance, make use of their own licenses in Microsoft Azure Infrastructure-As-a-Service (IaaS). Normally, the license costs are included in the resource costs. Furthermore, this result is a resource costs saving of up to 40 % on annual basis.
Note: Detect them by name [HUB] in the marketplace. You can also activate the HUB capabilities during the Machine Catalog configuration process!
Citrix Cloud Connector
The only method to connect from the Citrix Cloud to your own resources, wherever it it’s a Public Cloud, like Microsoft Azure or just on-premises locations – is to connect them with by using the Citrix Cloud connector, or also called the Edge servers and/or Delivery Controller Proxys.
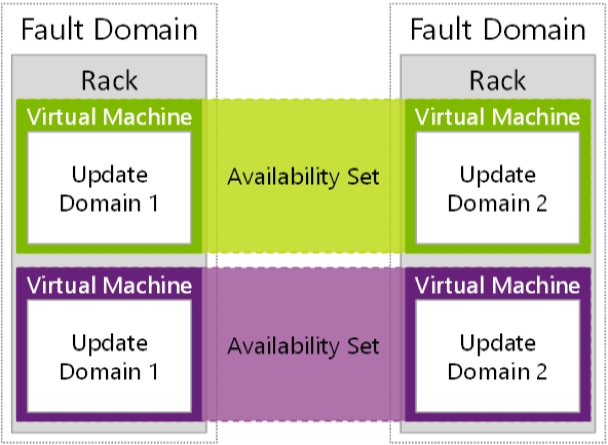
To provide High Availability in the connection to your services, just deploy 2 servers in your environment with both the Citrix Cloud Connector software installed.
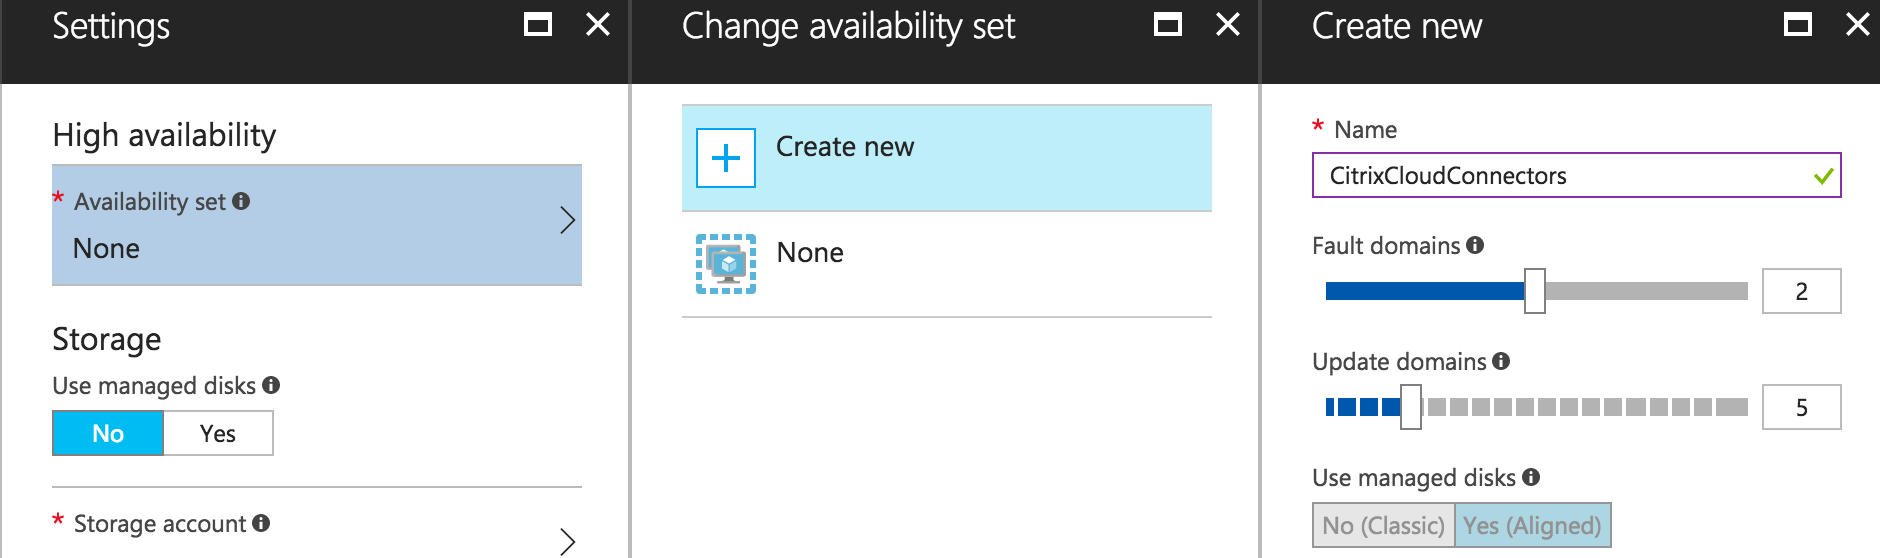
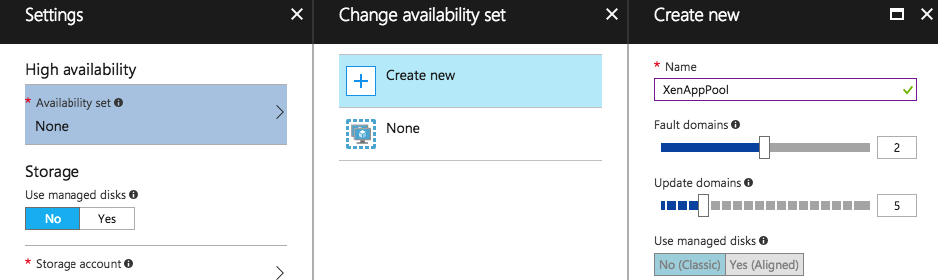
When you plan to connect the environment to Azure, please make sure to place both of the Citrix Cloud Connector servers in the same Availability set, with at least 2 fault domains and 2 update domains activated. This ensures you that if there are problems in the Azure datacenters, one of the servers is not activate on the same server rack unit (fault domain, and when they release updates, both servers are now proceeded at the same time (update domain).
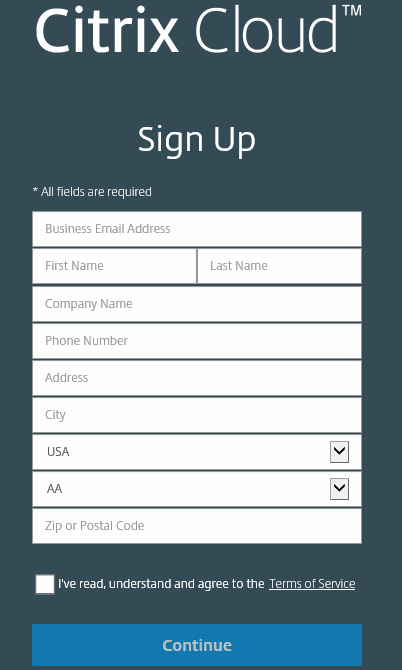
Register for a Citrix Cloud account
Pre-step: To get started, you first need to create a Citrix Cloud account, which can be requested through the following url – onboarding.cloud.com
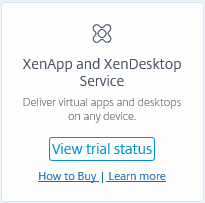
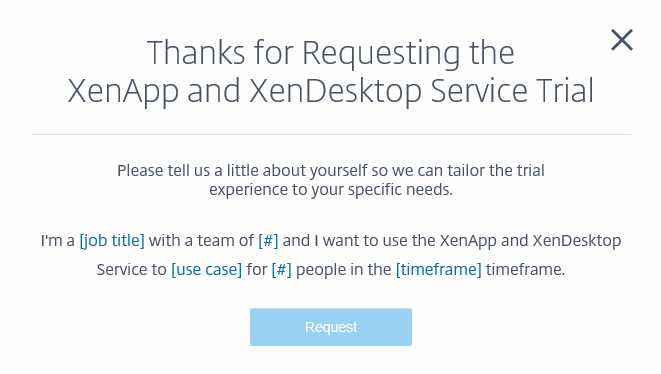
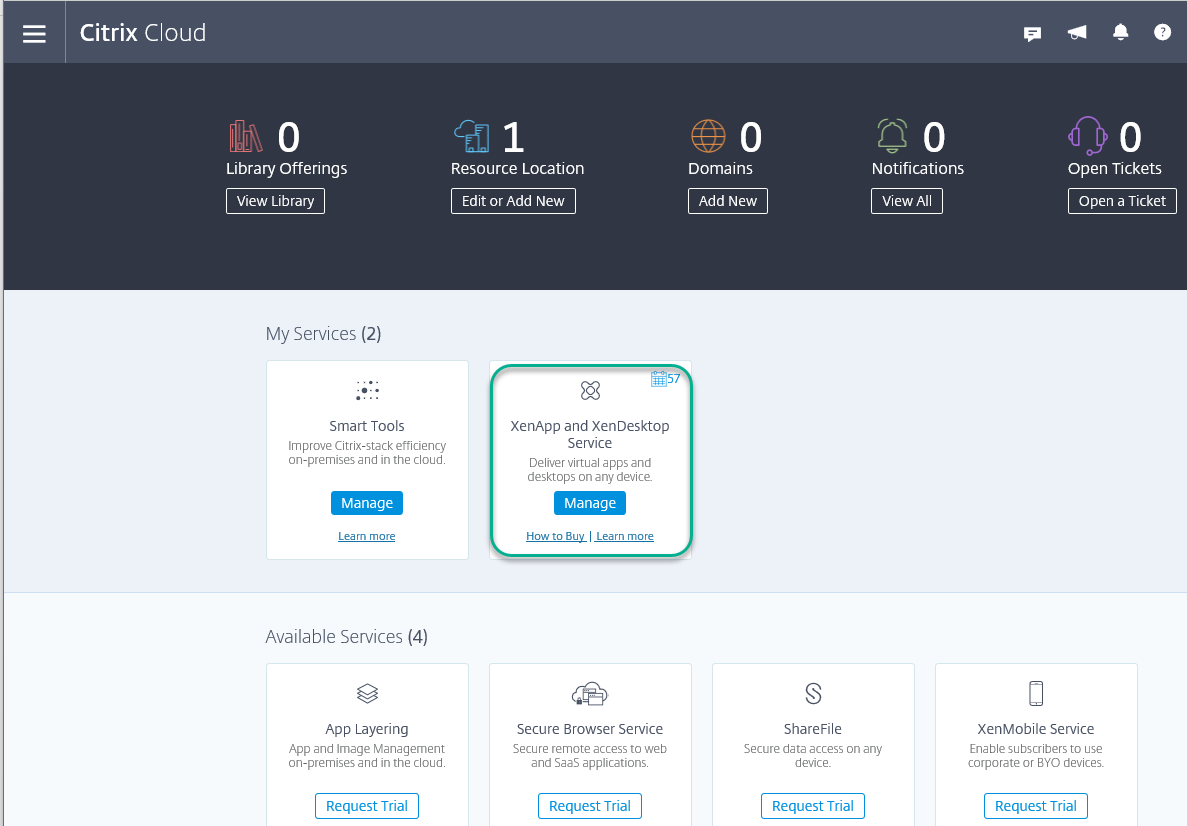
Request the – XenApp and XenDesktop Service – in dashboard landing screen.
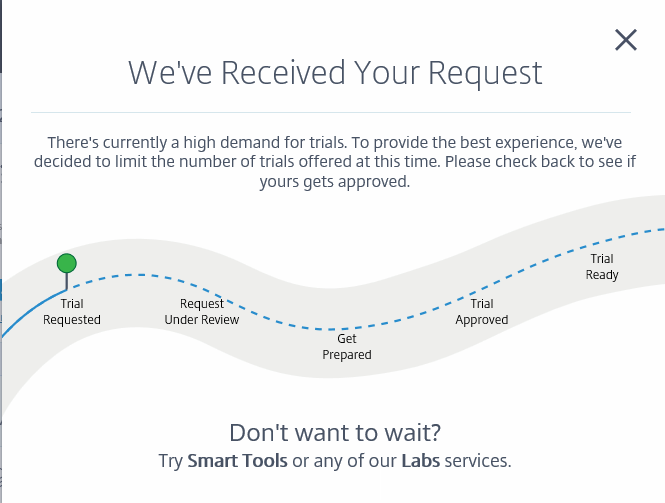
Click on – Request Trial

Click on view trial status
Enroll the Citrix Cloud Connector server(s)
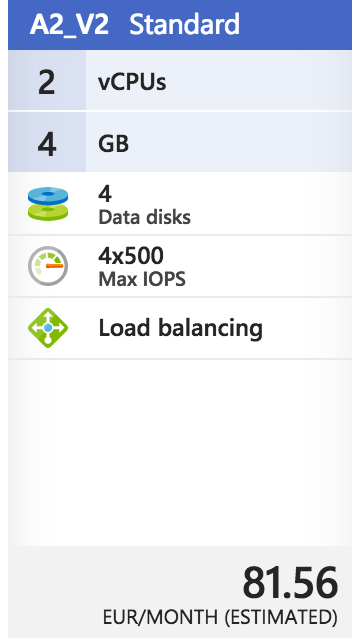
To connect your VDA’s in Microsoft Azure, you need to install at least one Citrix Cloud Connector server in Azure, to connect the VDA’s to the Citrix Studio in XenApp and XenDesktop Service.
Note: There is no need for SSD premium storage for this type of machine. Just to save out costs, make use of a Basic Resource size, such as A2_v2.
Make sure to place (when u install 2) the Citrix Cloud servers in the same Availability Set.
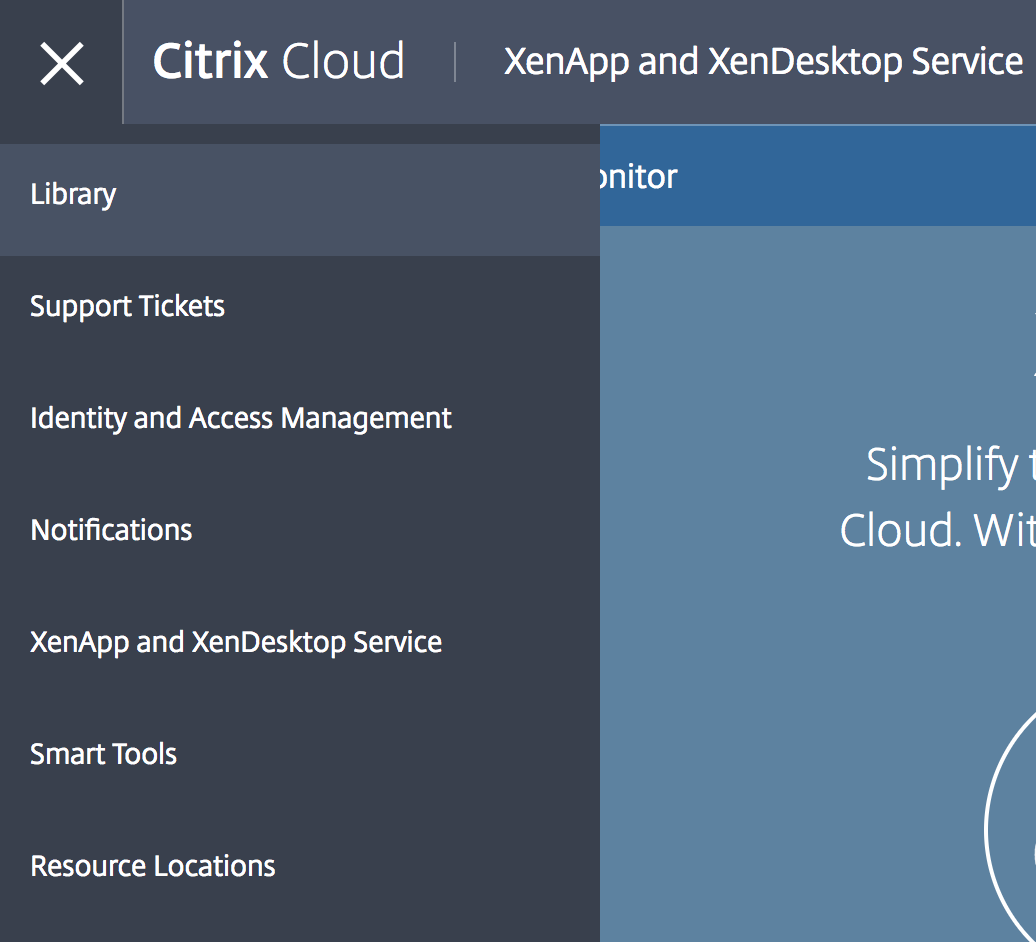
Login to the Citrix Cloud and open the hamburger menu in the left upper-corner, and click on Resource locations
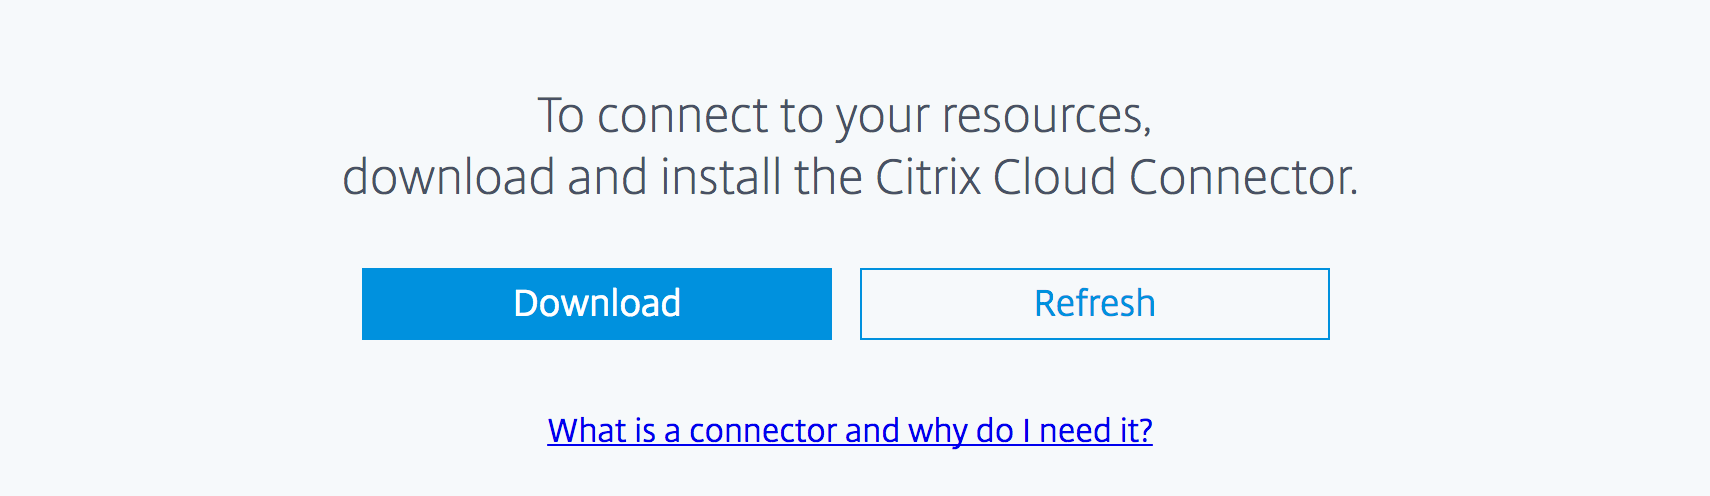
Click on download and save the file (cwcconnector.exe) somewhere on the Citrix Cloud servers in Azure, the installation needs (of course) to be run from that machine.
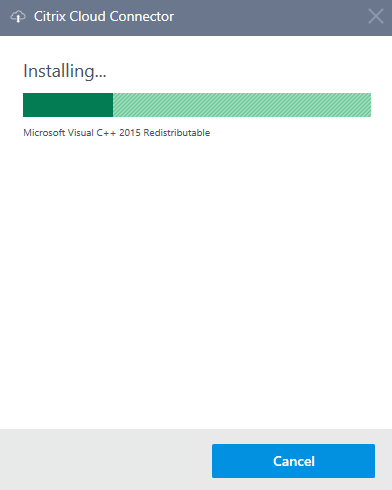
Install the Citrix Cloud Connector software on the Servers in Azure, first sign in with your Citrix Cloud Account. The installation process will start directly afterwards…
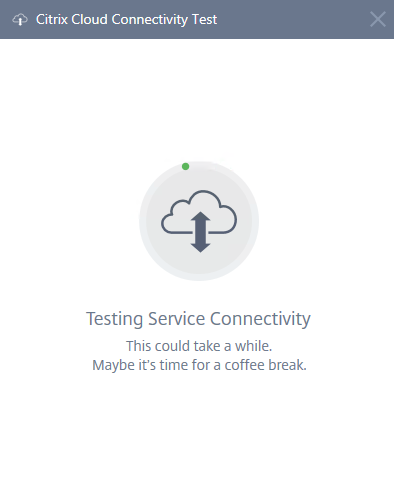
Testing the Connection…
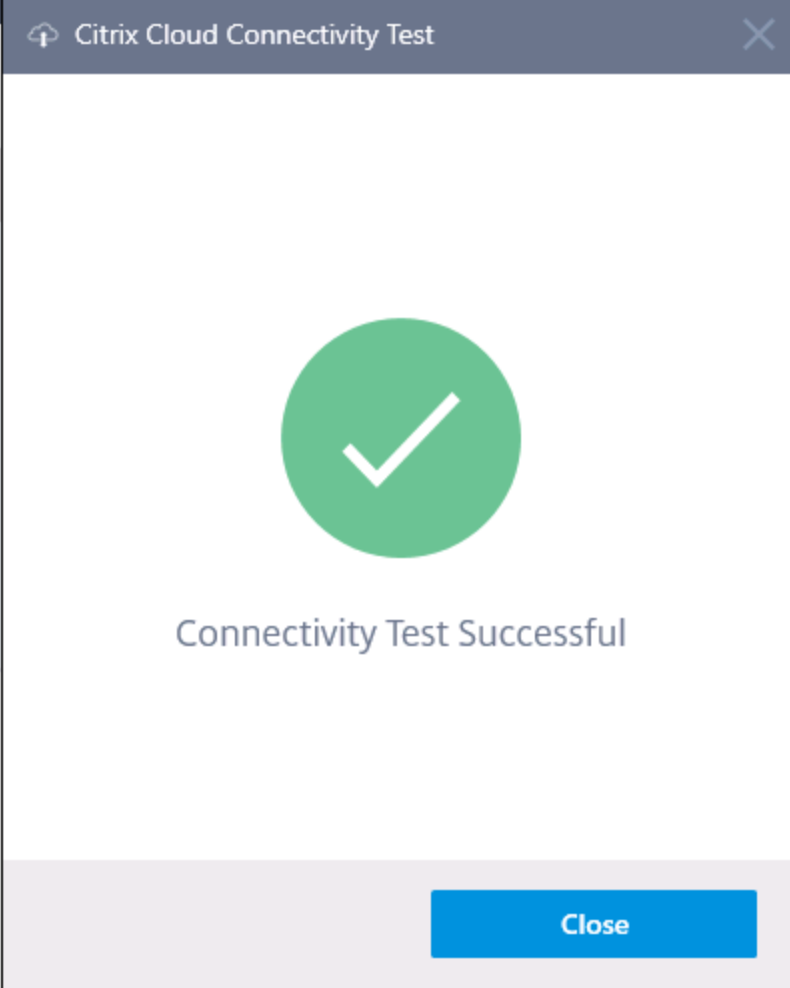
Connection successfully verified, click on Close
Click on refresh All
![]()
The new resource location must now be added to the list
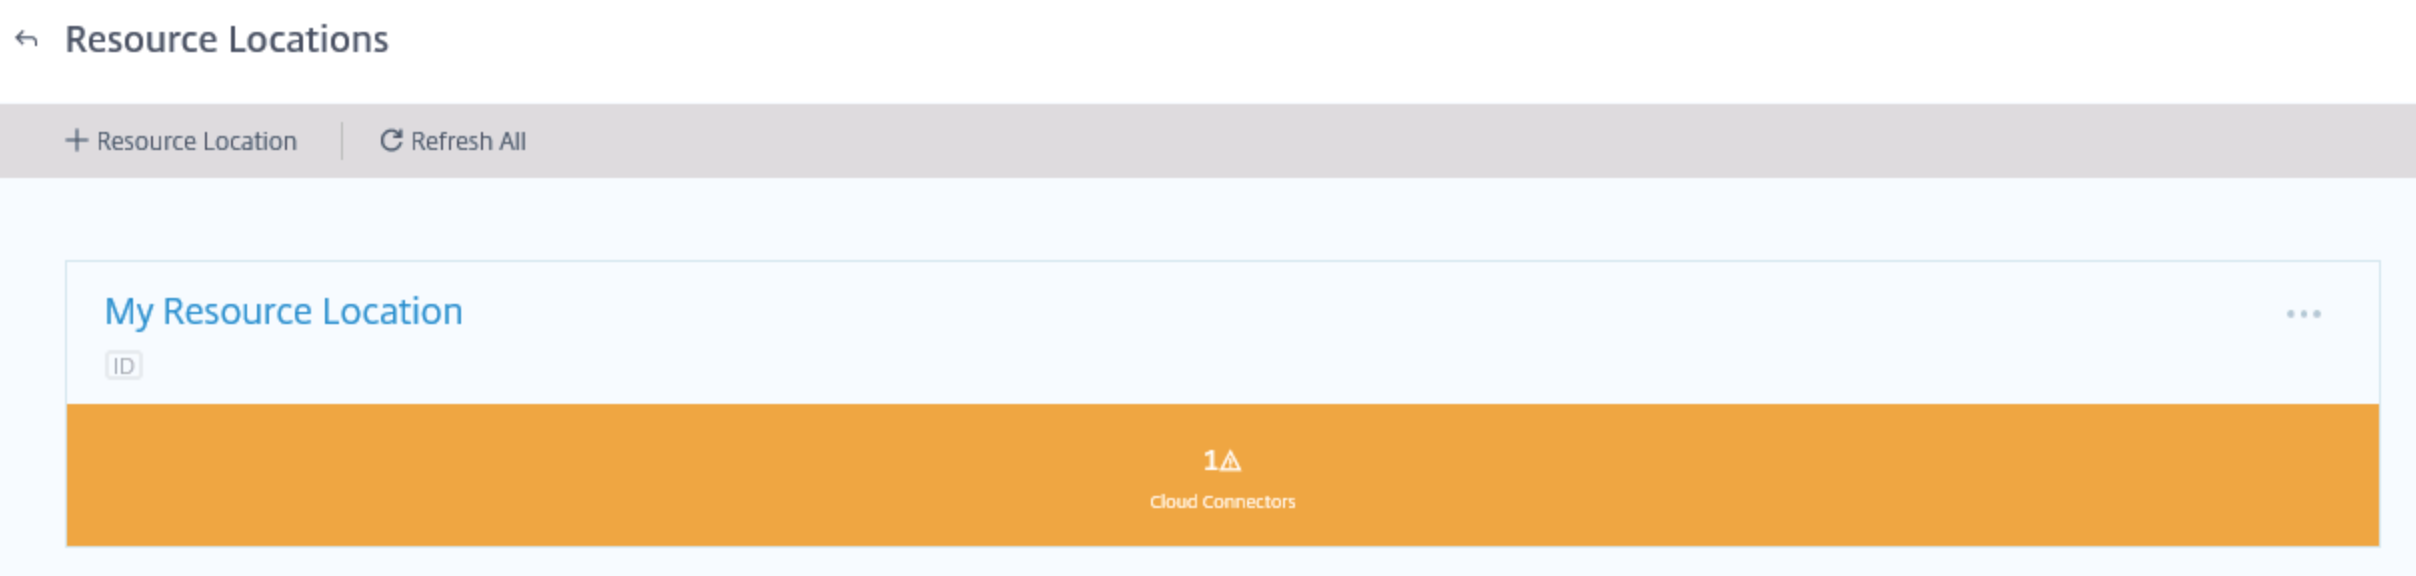
Note: The yellow / orange mark is active because there is only one Citrix Cloud Connector active. When you install another Citrix Cloud server in Azure, the warning would disappear.

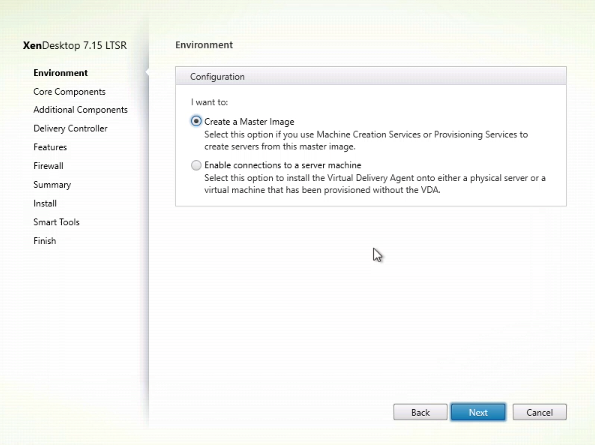
Enroll and Configure the Base Image
First, we need to enrol a Base Image in Microsoft Azure, which we need to use for the Machine Catalog configuration / Machine Creation imaging enrolment process.
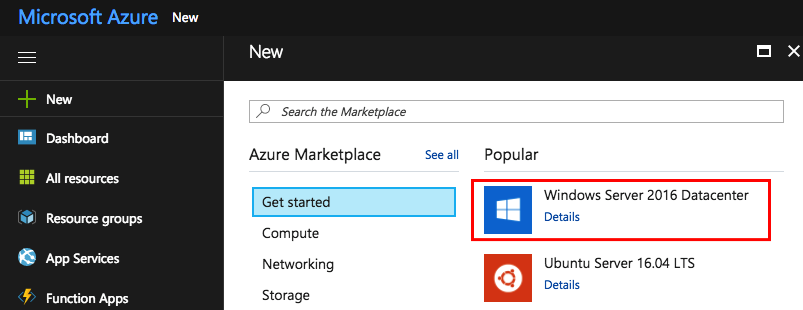
Open the Marketplace and Choose the IaaS Operating System Virtual Machine. I’ll use Windows Server 2016 for this article.
Enter the required information
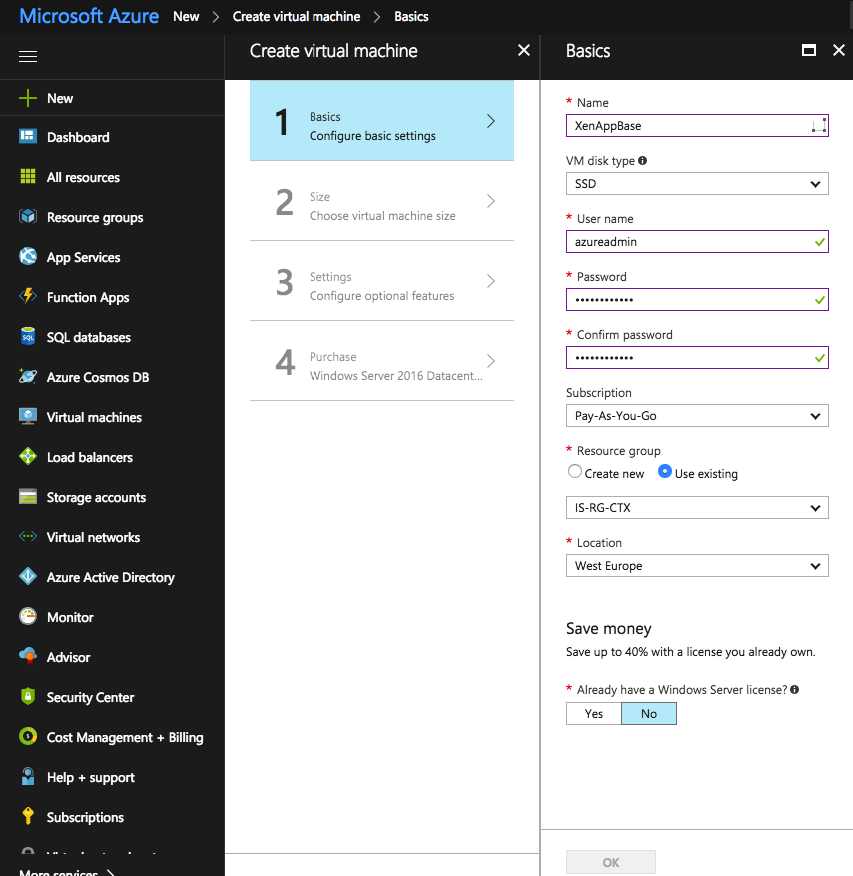
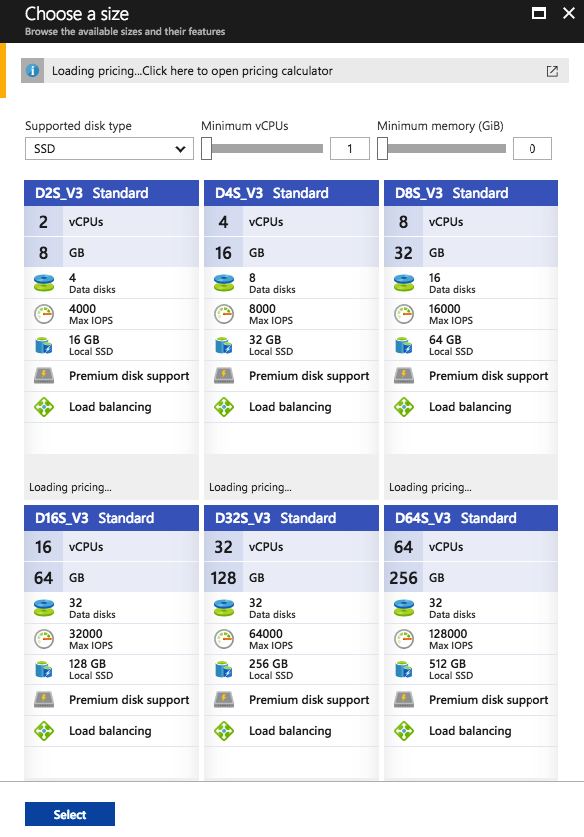
Choose a Virtual Machine sizing
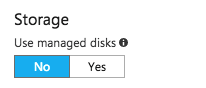
Make sure to set the Managed Disks setting to No
Click on the High Available option to create the earlier mentioned Availability Set – Create new
Finalize the enrollment process, connect through RDP to the Base Image and prepare the Base Image with the Latest VDA software (7.15 at moment of writing).
Note: Make sure to add a Public IP to the Virtual Machine when you haven’t got a Hybrid connection to Azure, such as a NetScaler SD-WAN, IPsec or ExpressRoute.
Choose for Let Machine Creation Services do it automatically
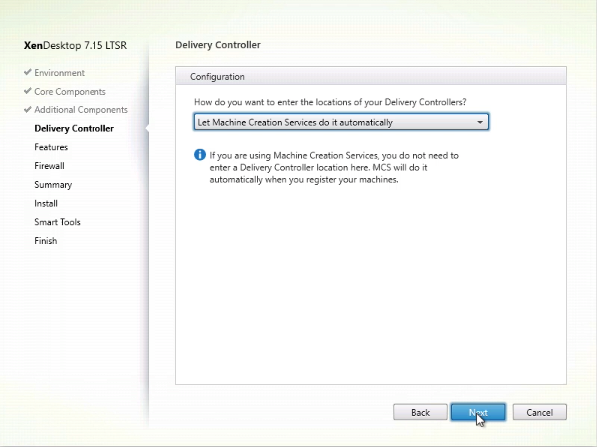
Proceed the VDA installation steps as your own Business needs.
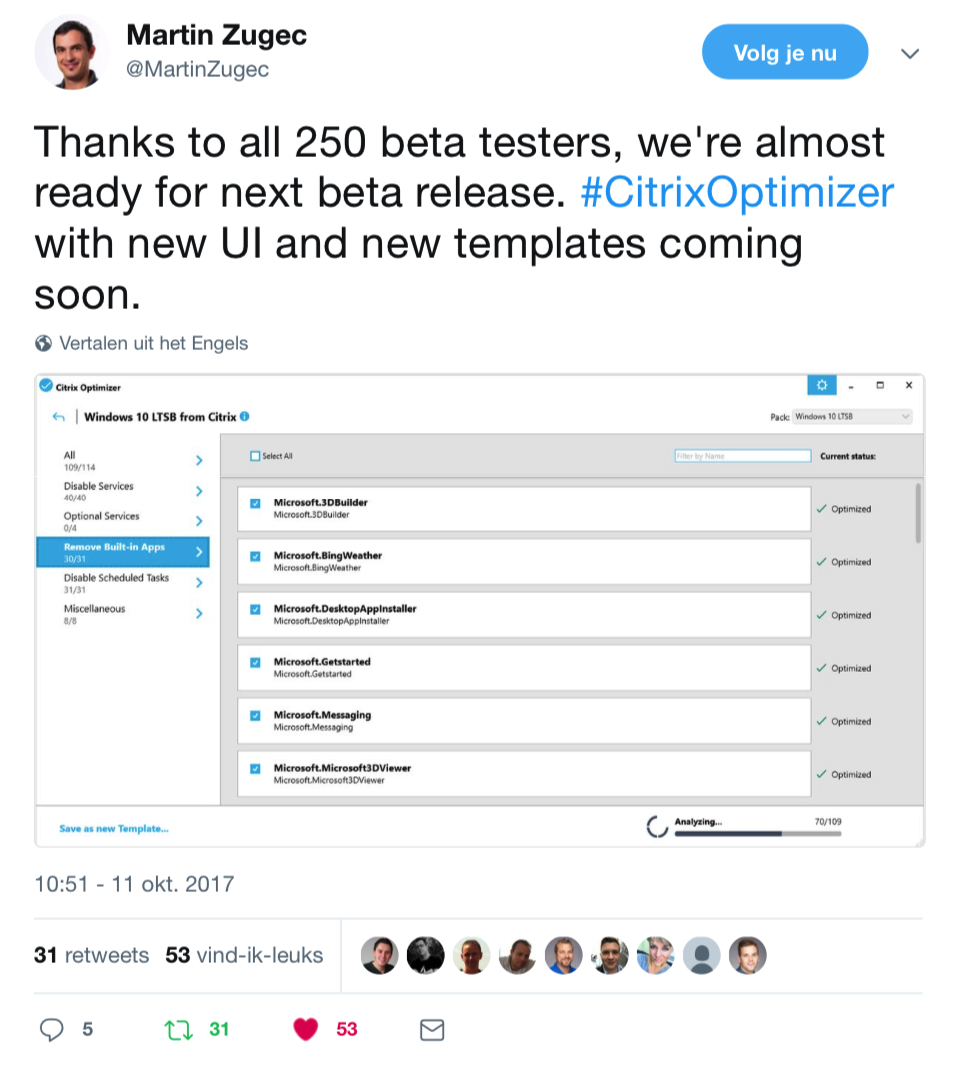
Increase User Density with the Citrix Optimizer
Citrix has released an alternative to the VMware OS Optimization Tool which is called Citrix Optimizer during Synergy 2017.
The Citrix Optimizer, which is currently still in Beta, is a great PowerShell tool that helps Citrix Architects and Consultants optimize their VDA’s Operating Systems. The tool can be used for Desktop or Server OS’s and delivers standard templates to Optimise your Workspace!
Note: Martin Zugec is the (great) creator / maker of this tool and he just announced on Twitter that a new release is on his way, including a new improved GUI console! Just keep tracking the https://support.citrix.com/article/CTX224676 Citrix support page!
Proceed the following steps in the Base image / VDA Virtual Machine
Download the Citrix Optimizer software through the following link
https://support.citrix.com/article/CTX224676
Open the Citrix Optimizer as Administrator (in the UI folder)

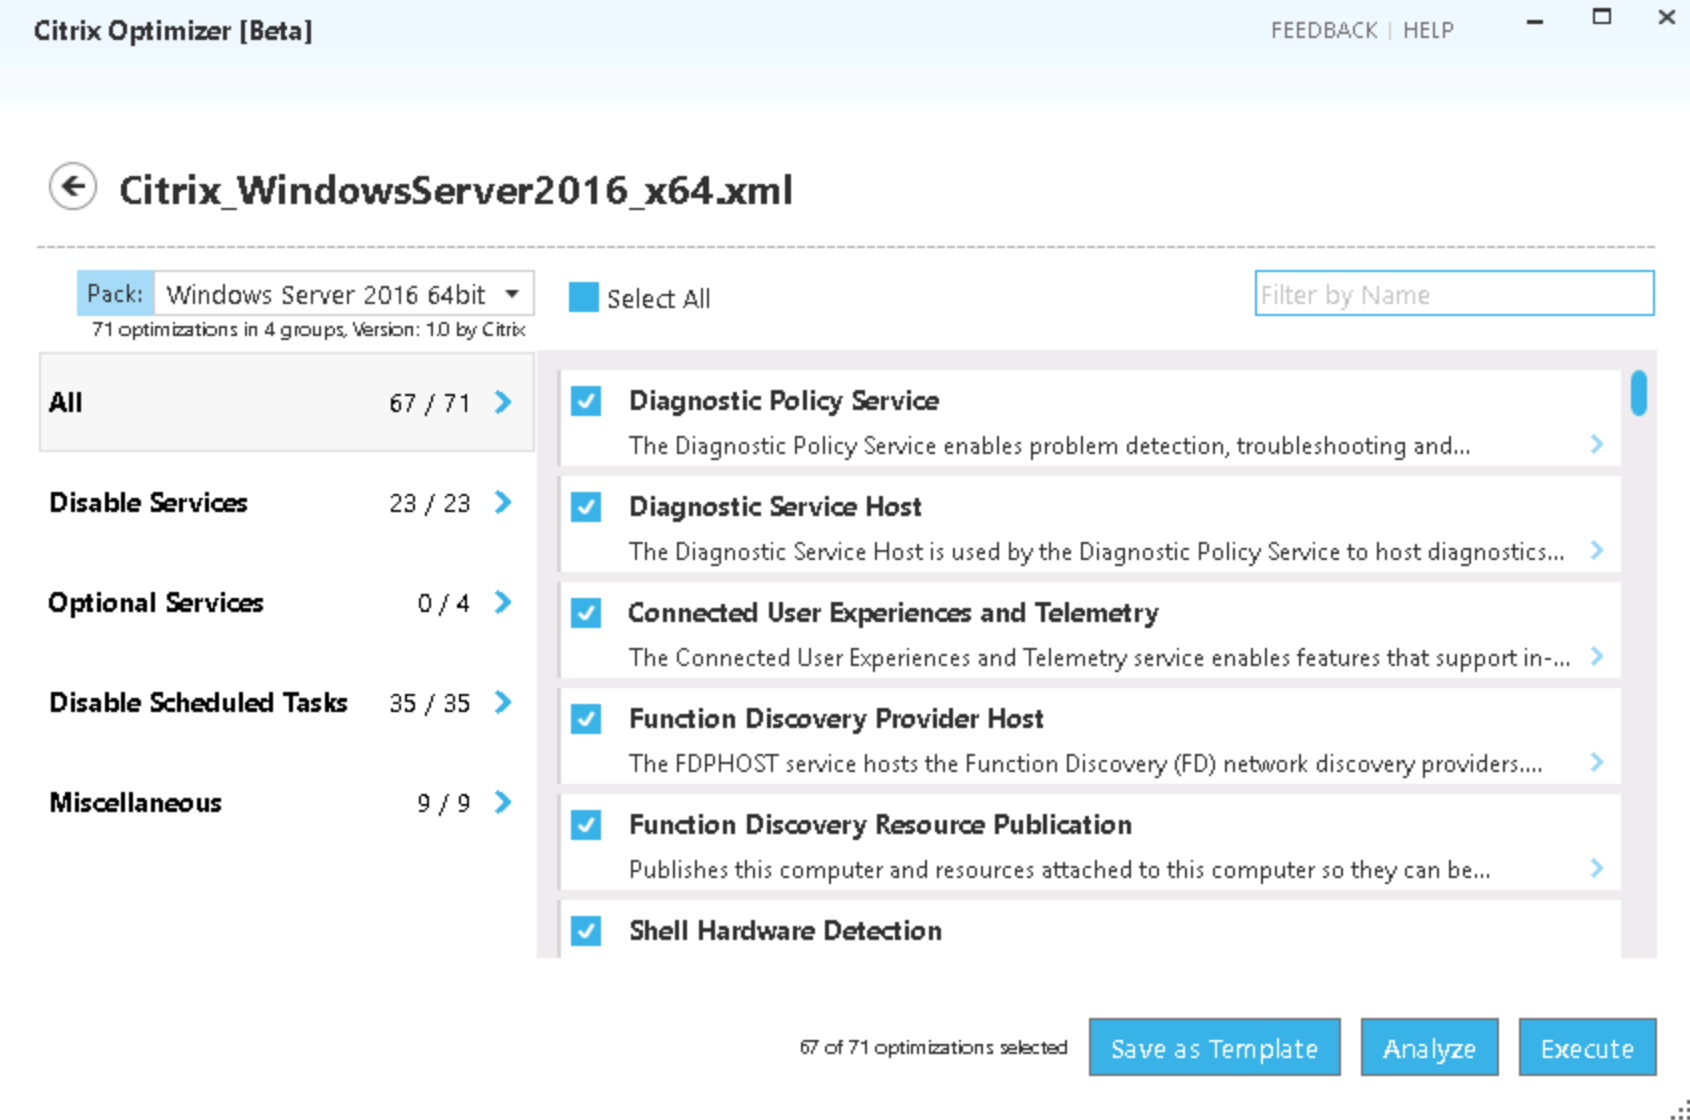
Select the Operating System XML by your own needs
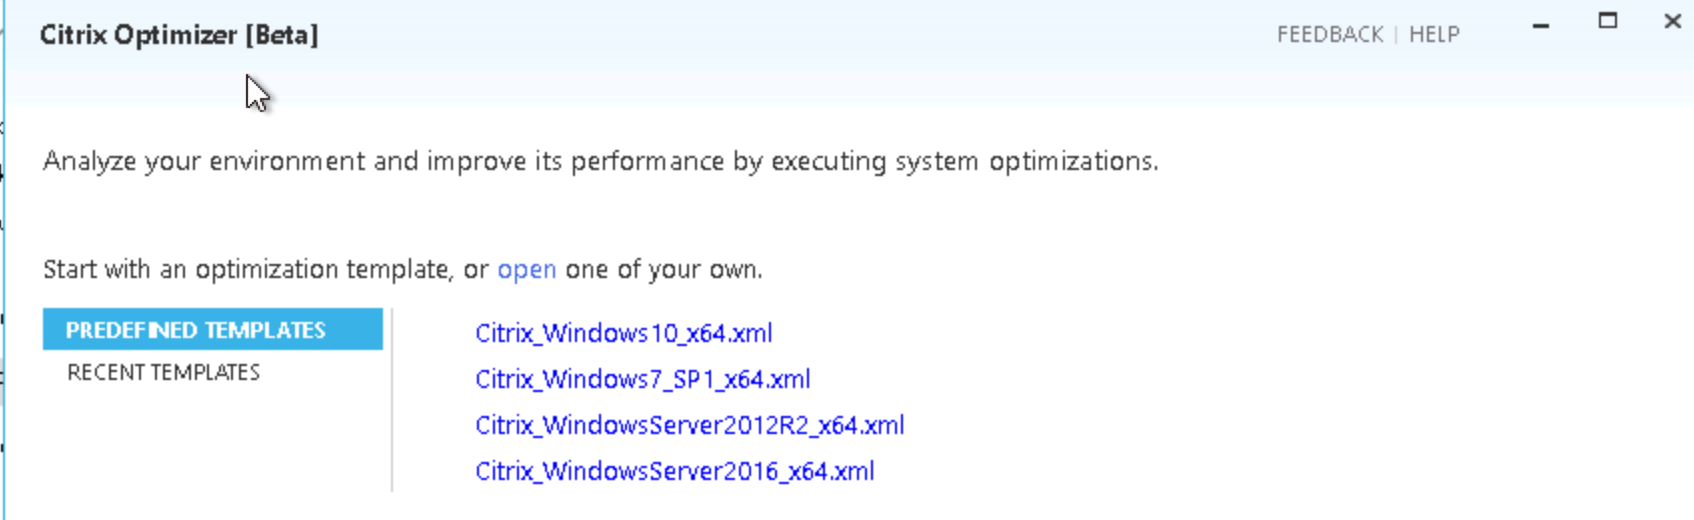
Check all the services, when all the services are checked. Click on Analyze and Execute
Note: Make sure that you pre-check the availability of the services. Some application are depending on some of those services, such as the Windows Search Service and the VSS Write for your backup solution.
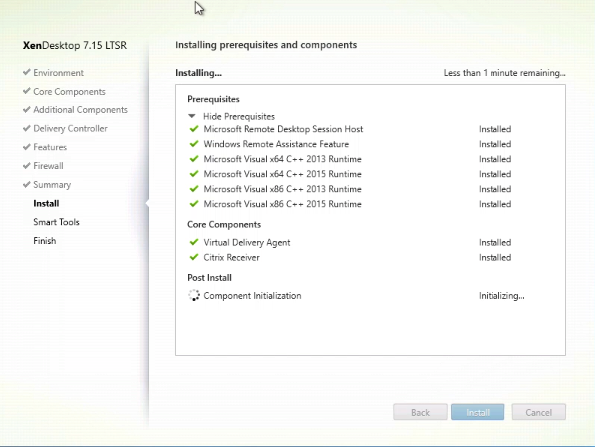
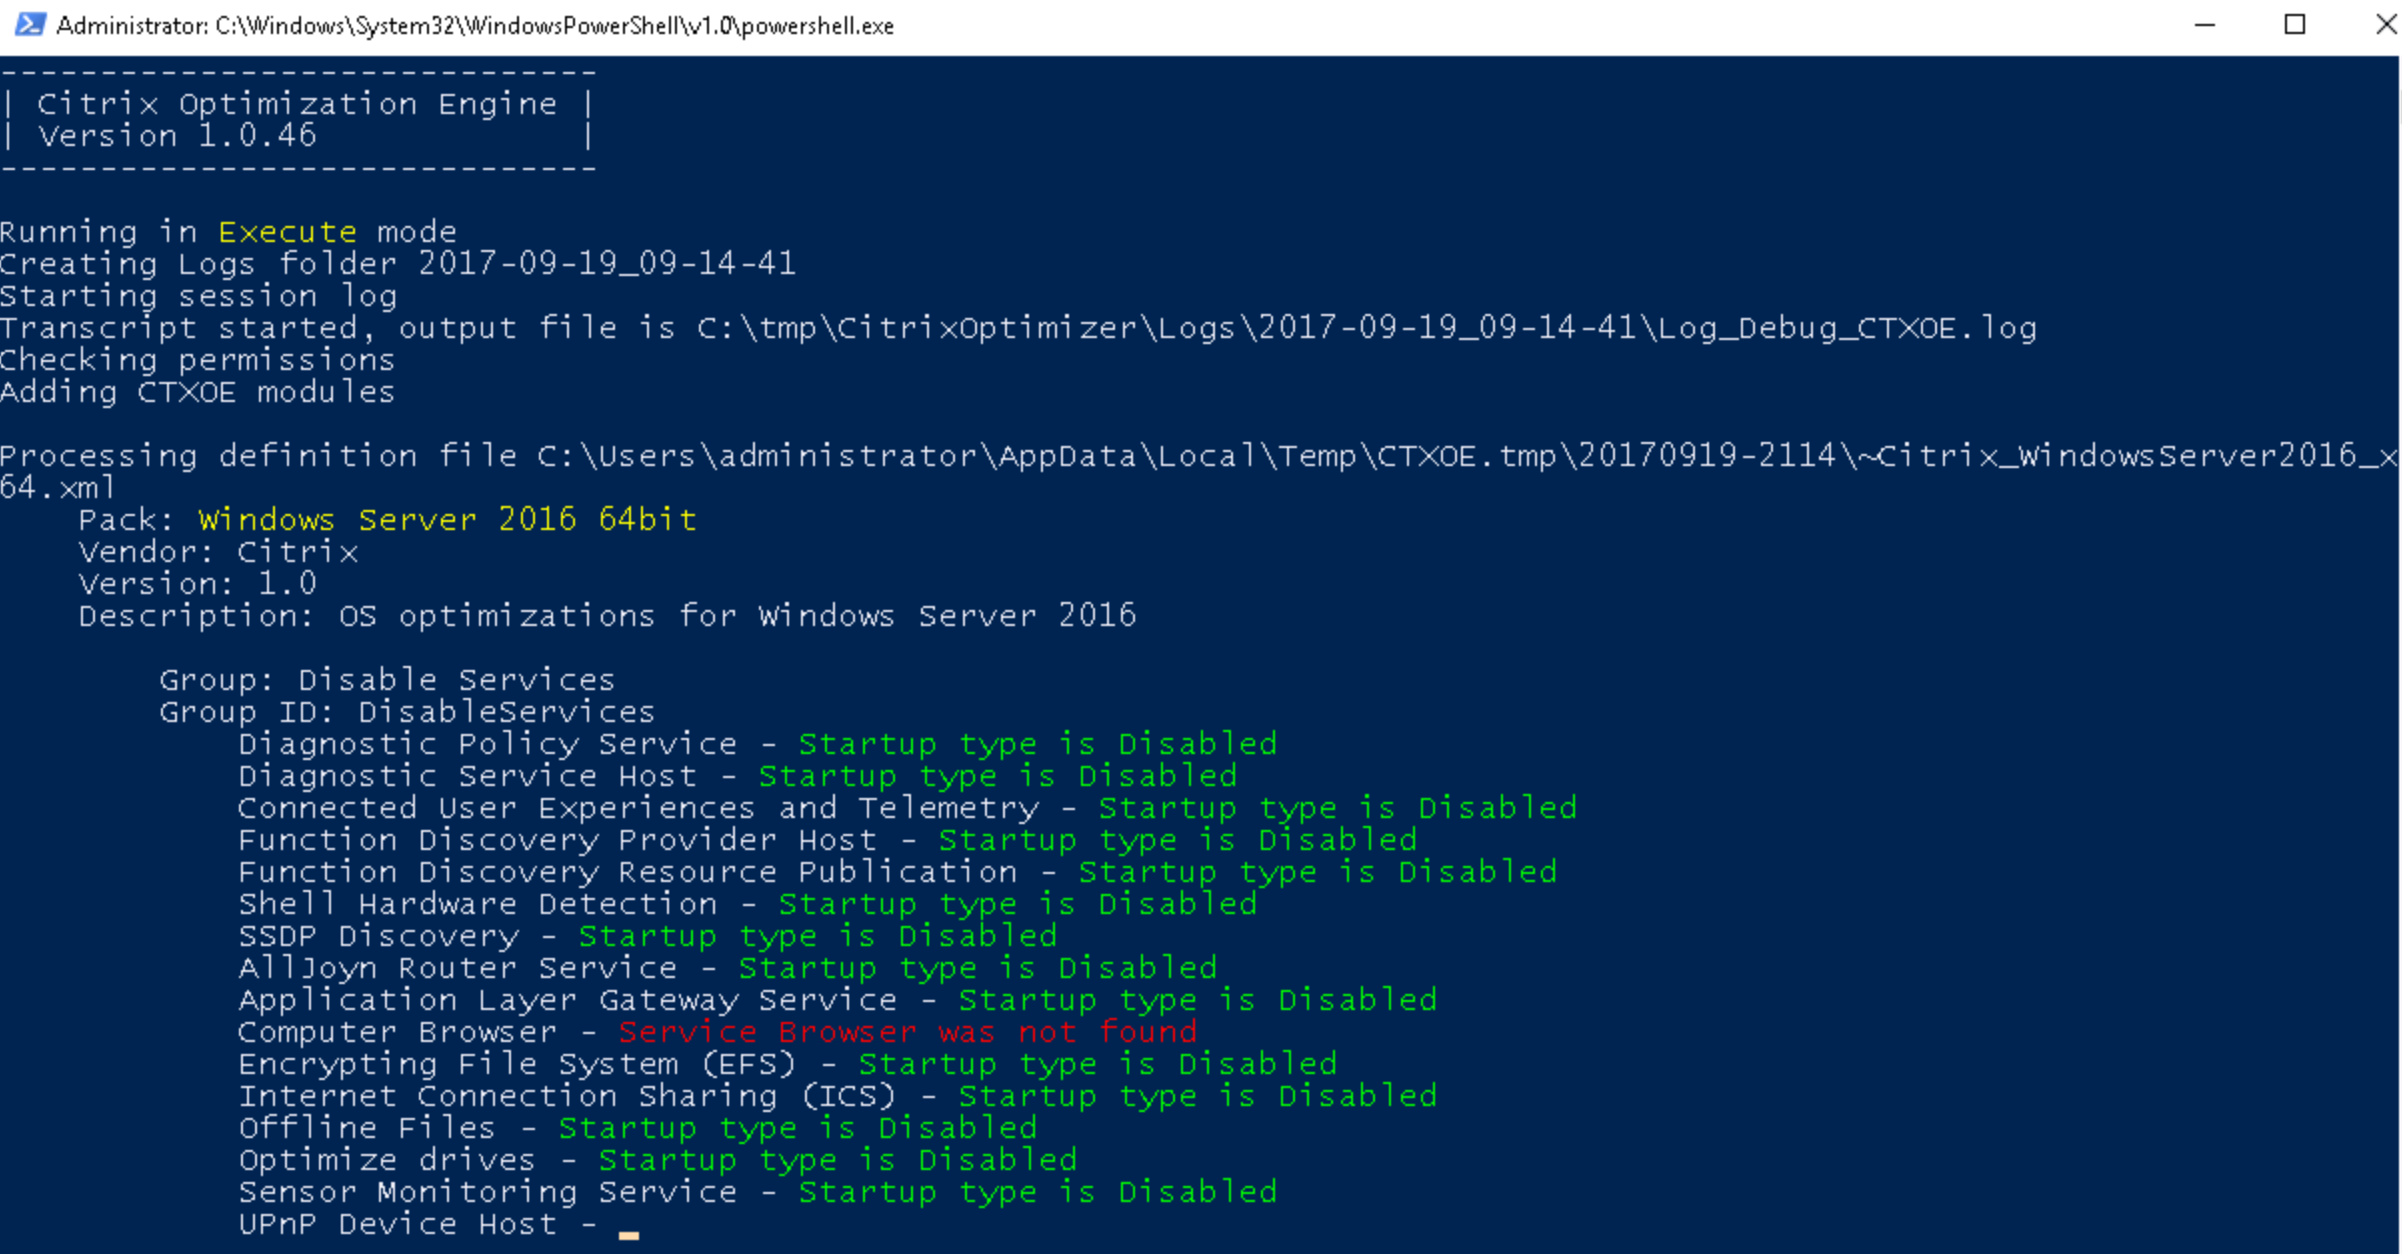
The script is executing
Now you need to install all your company application, or Microsoft Office applications. When you finalize the base image, please switch back to the Azure Portal and open the Virtual Machine properties of the Base image.
Shut–down the Base Image and make sure the Virtual Machine has the Status Stopped (deallocated)

Enroll the XenApp And XenDesktop environment
Now we can start with the actual enrollment process in the Citrix Studio, please follow the next steps:
Open again the Citrix Cloud, through direct link -> https://xenapp.cloud.com/
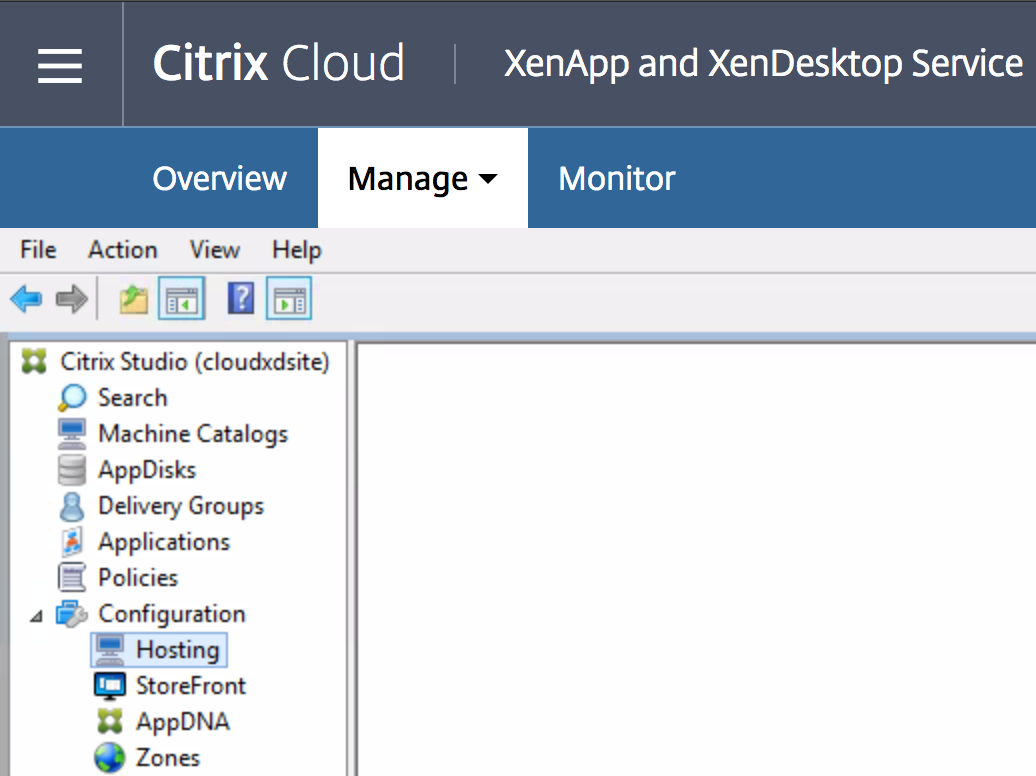
Click on the Manage button
Click on Manage Service

Configure the Azure Resource Manager Host Connection
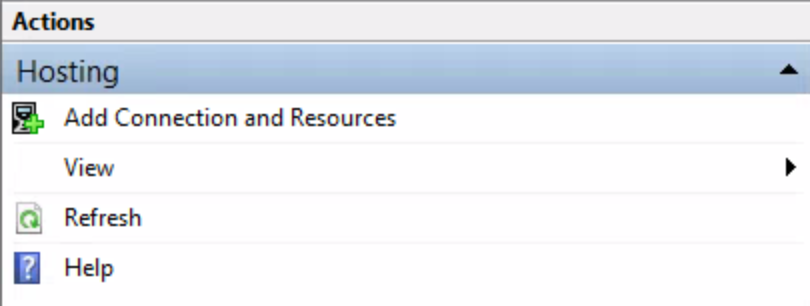
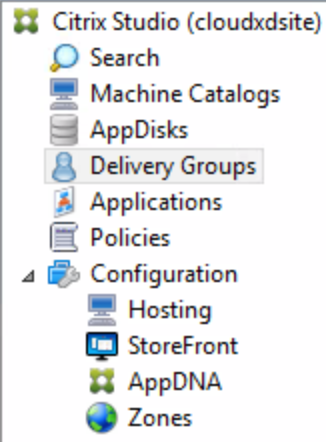
Click on Hosting in the Studio menu
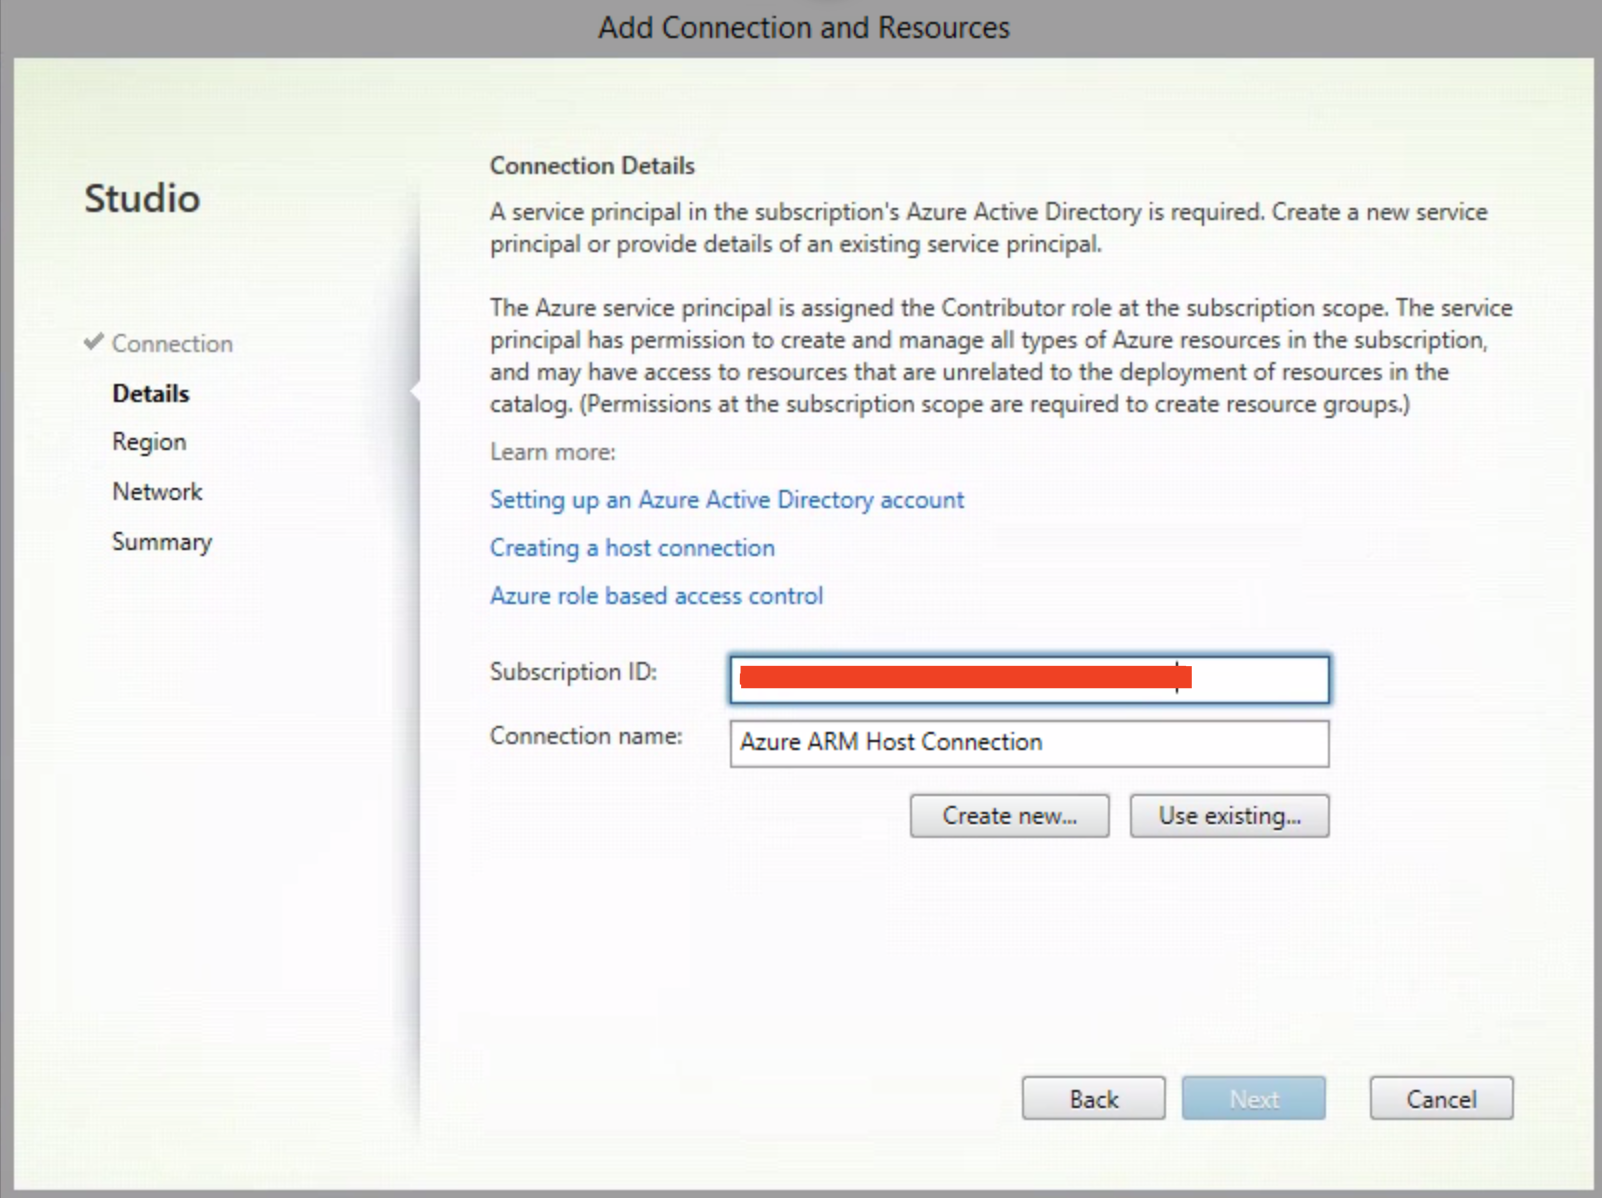
Click on Add Connection and Resources
Choose for Microsoft Azure as Connection type, and Azure Global as Azure environment.
Note: Here you can see that US Government is also supported (PREVIEW) now and the Azure datacenter will become support soon!

Enter in the Azure Subscription ID and a name for the Connection.

Note: You can find the Azure Subscription ID in the Azure menu under the option Subscriptions.

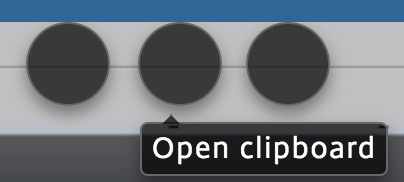
Use the (HTML5 Receiver) integrated Clipboard option to paste the ID
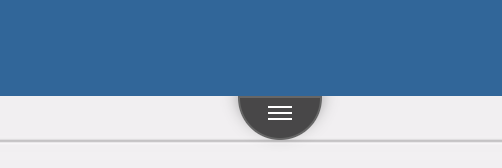
Choose for Clipboard
Paste the ID and Click on Update
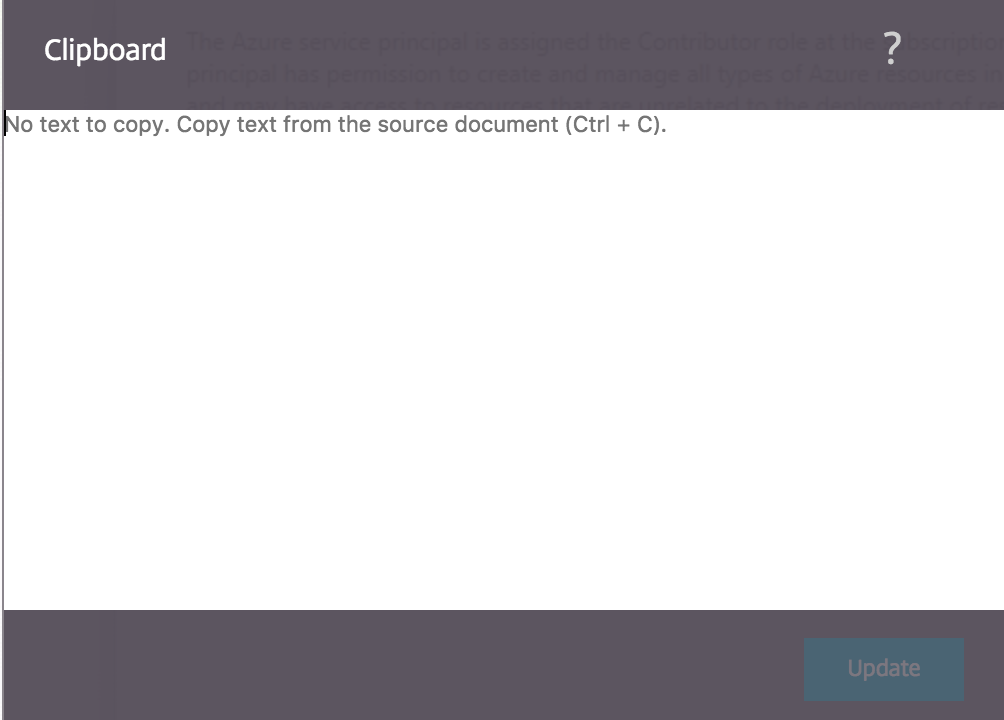
Paste the ID and Click on Create New
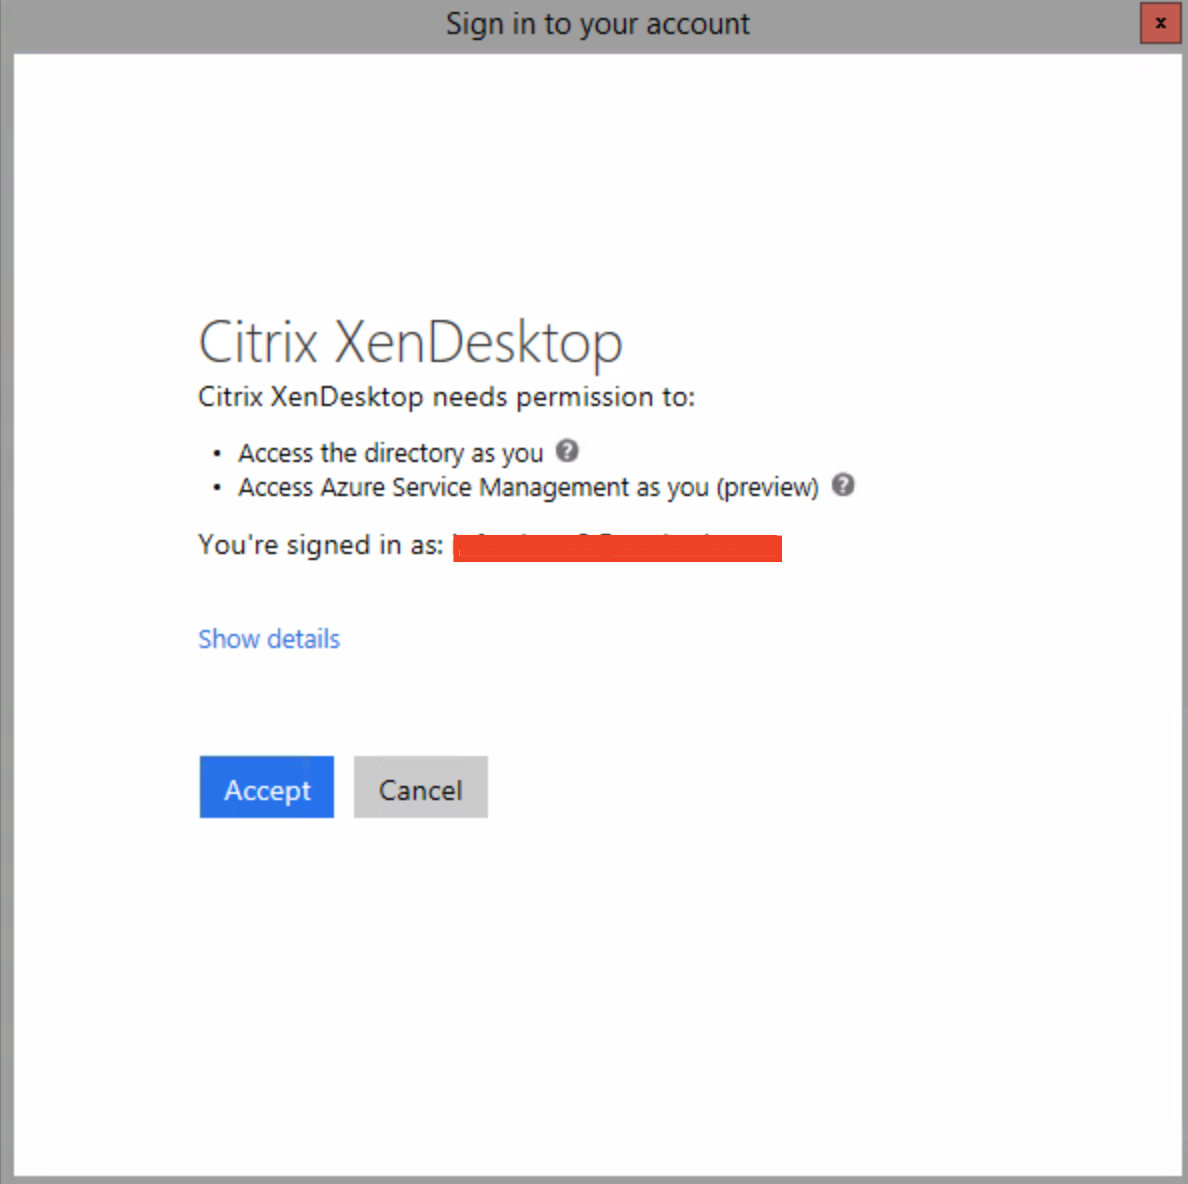
Enter in the Azure Global Administrator account credentials to create the Azure subscription link.
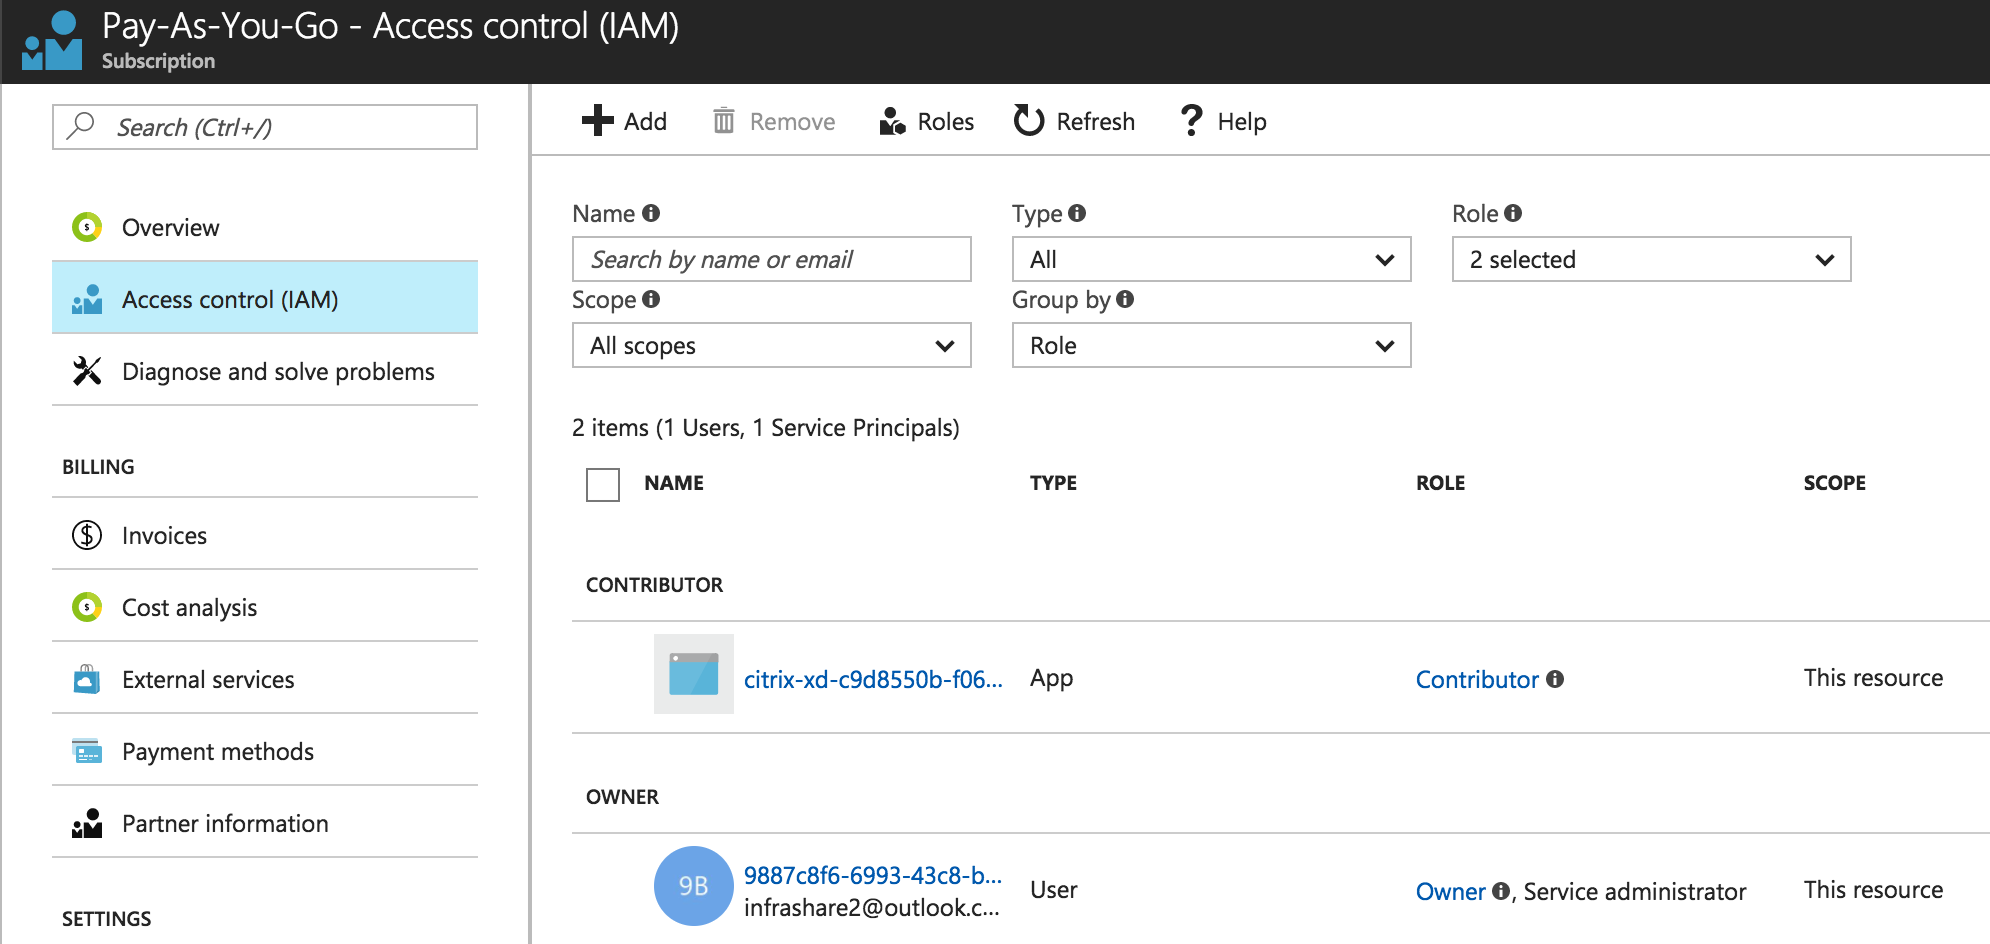
Note: During this process, an extra user will be created on the Azure subscription with Contributor RBAC rights. This account can be found at the Access Control (IAM) menu of the subscription in Azure.
Enter your Azure Administrator credentials

Click on Accept
Confirm that the status Connected in visible, click on Next

Choose your Azure region, this will be used to place your Azure Resources in. Click on Next
Note: Also make sure that the Master Image is placed in this region!
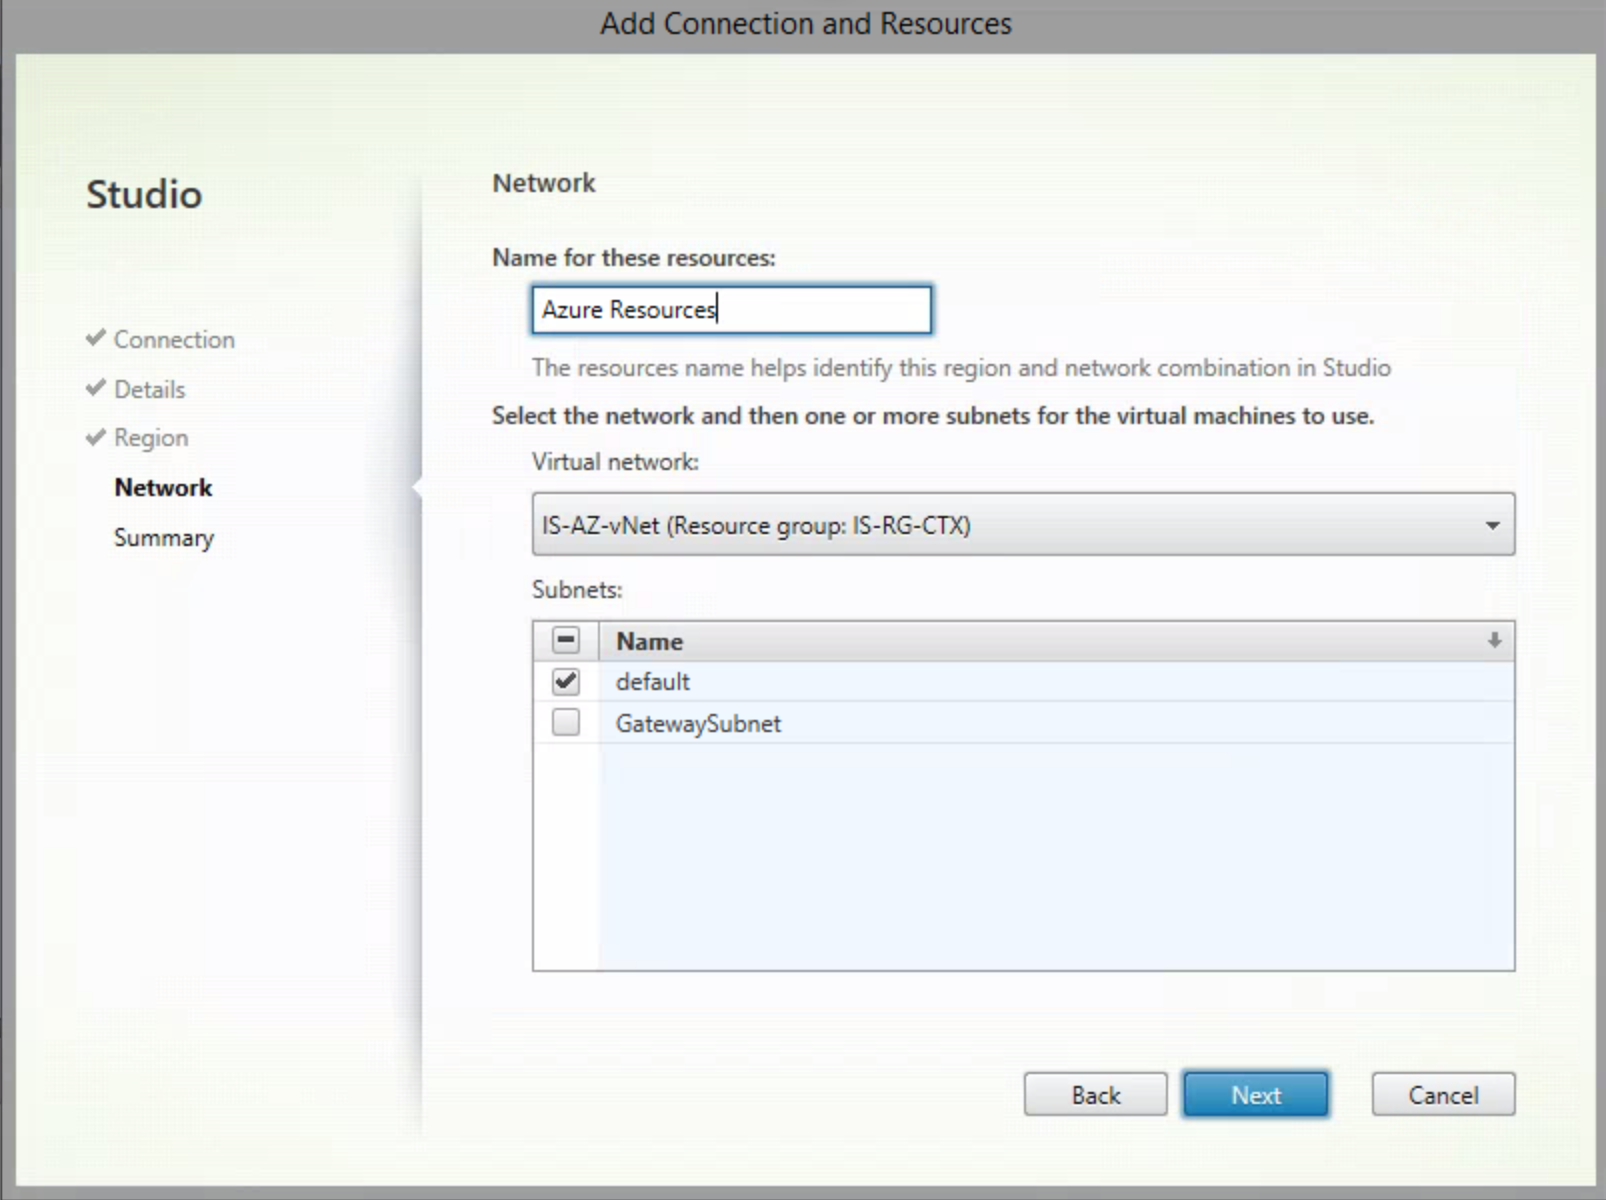
Give in a name for the Resources, such as Azure Resources and select the Azure Virtual Network and Subnet to place your resources in. Click on Next
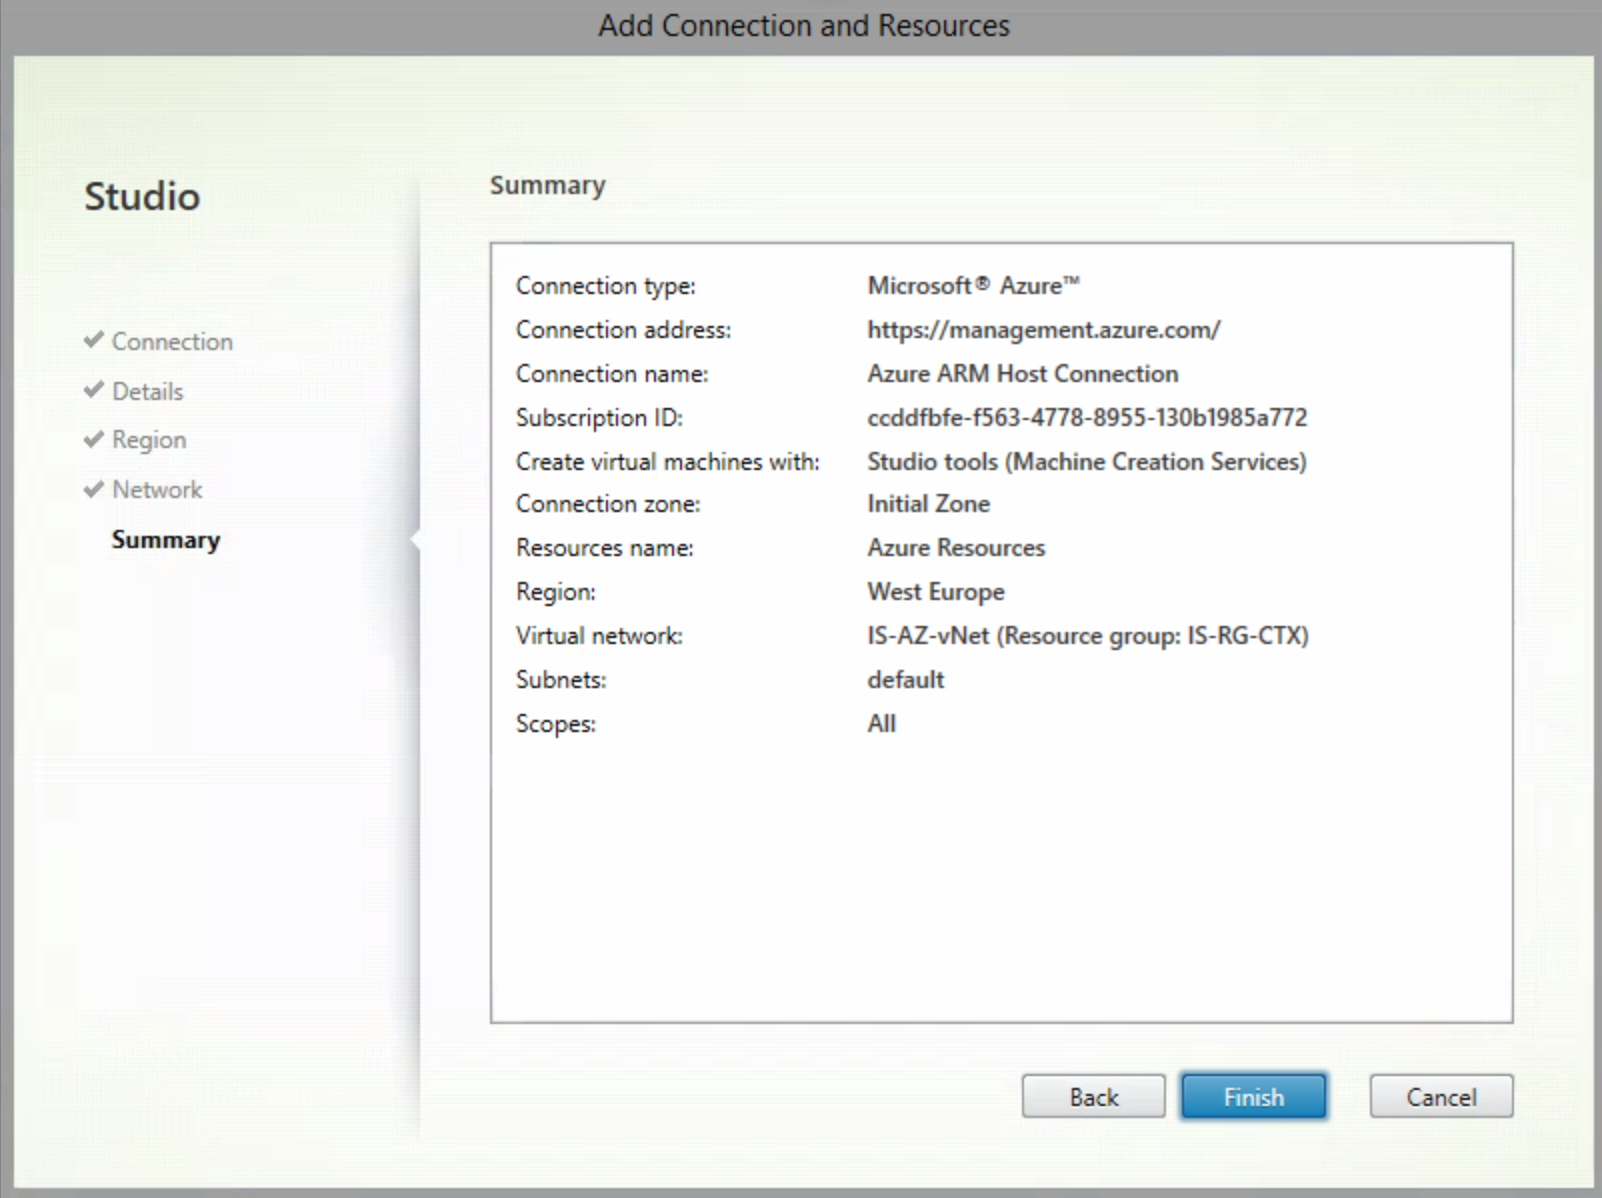
Confirm the settings in the summary and click on Finish
Add the Base image / Create the Machine Catalog
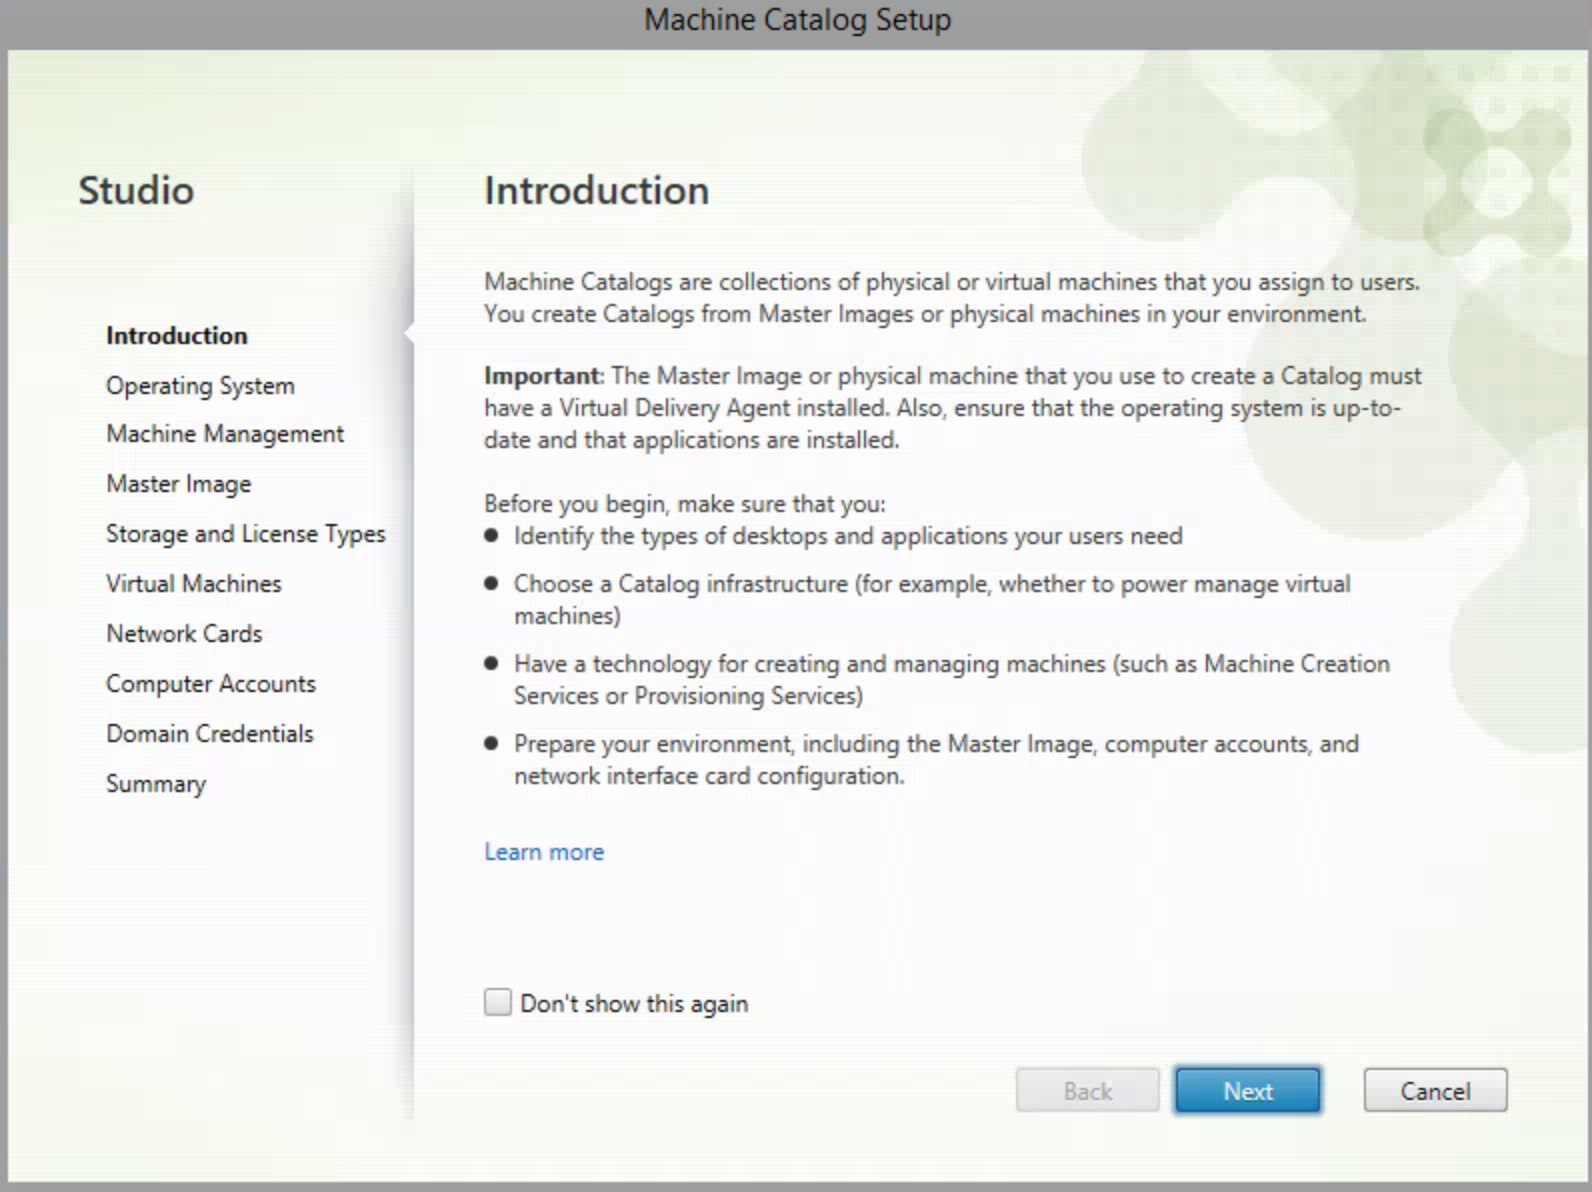
Click in the Studio menu on Machine Catalogs, followed by Create Machine Catalog

Click on Next
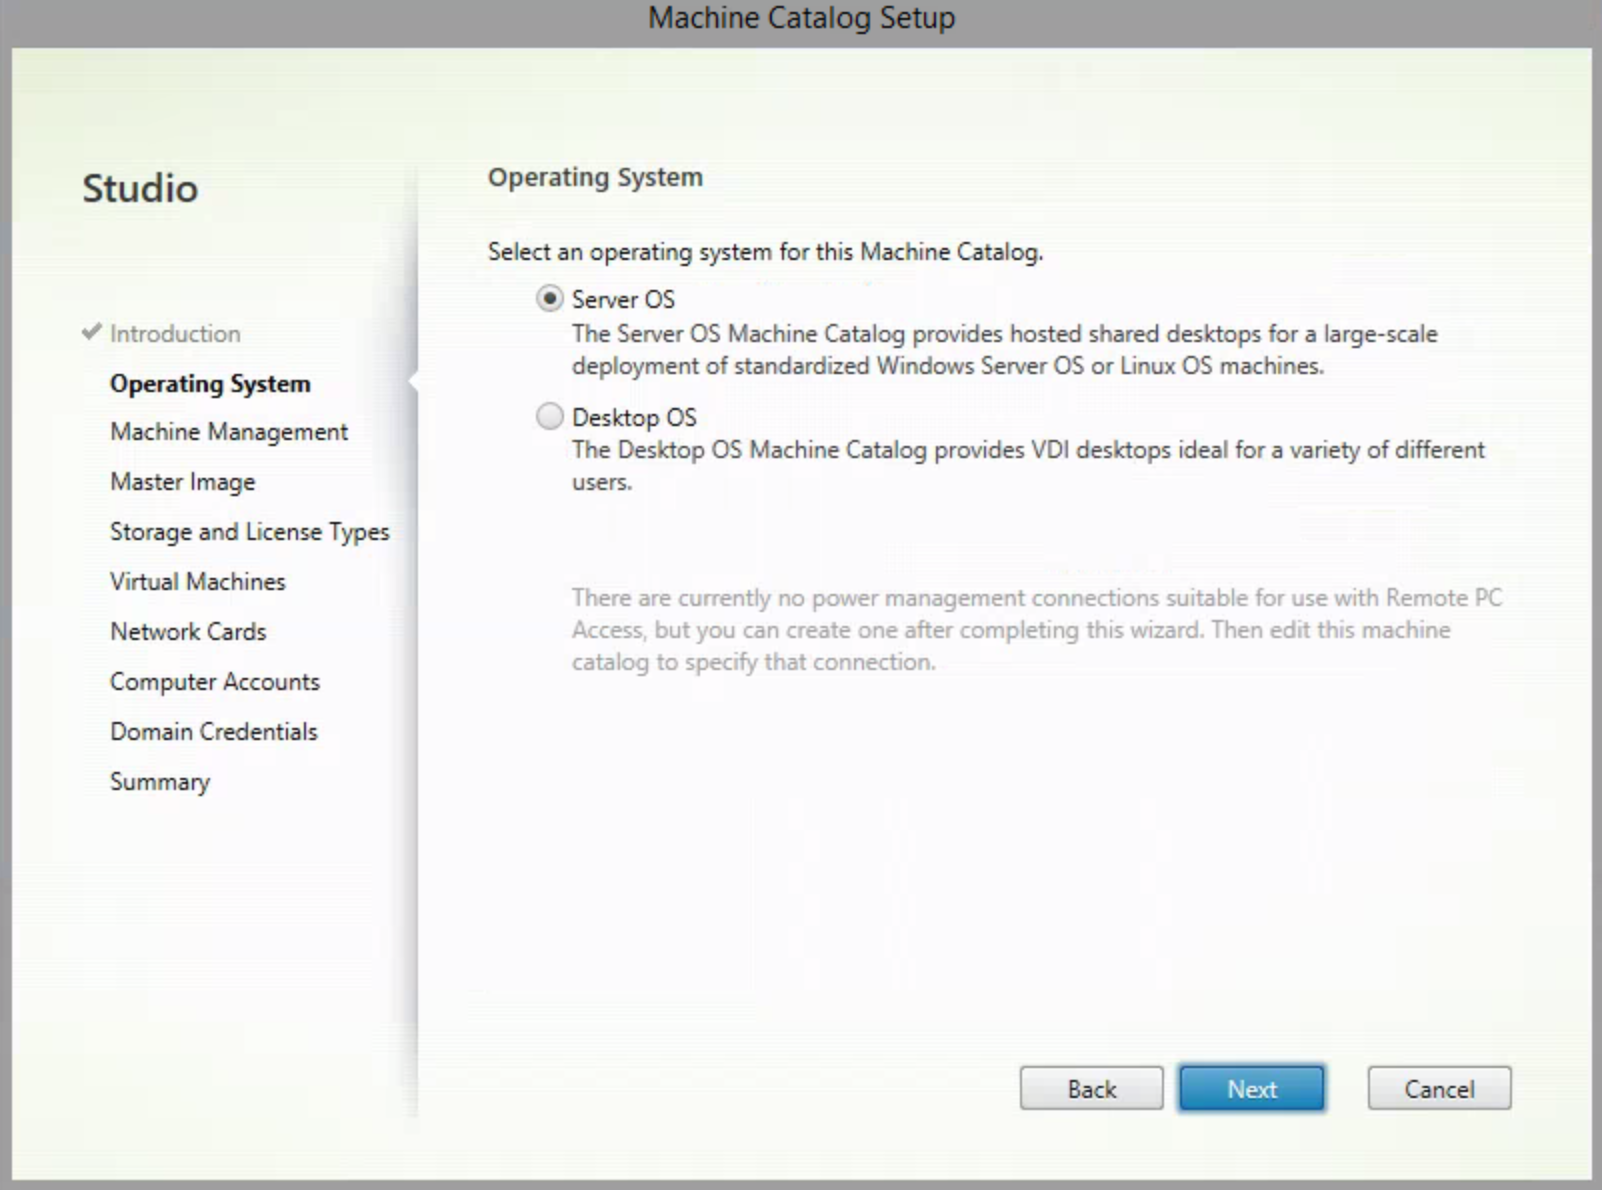
Choose the Operating System of your Base image / resources in Azure. I’ll pick the Server OS. Click on Next
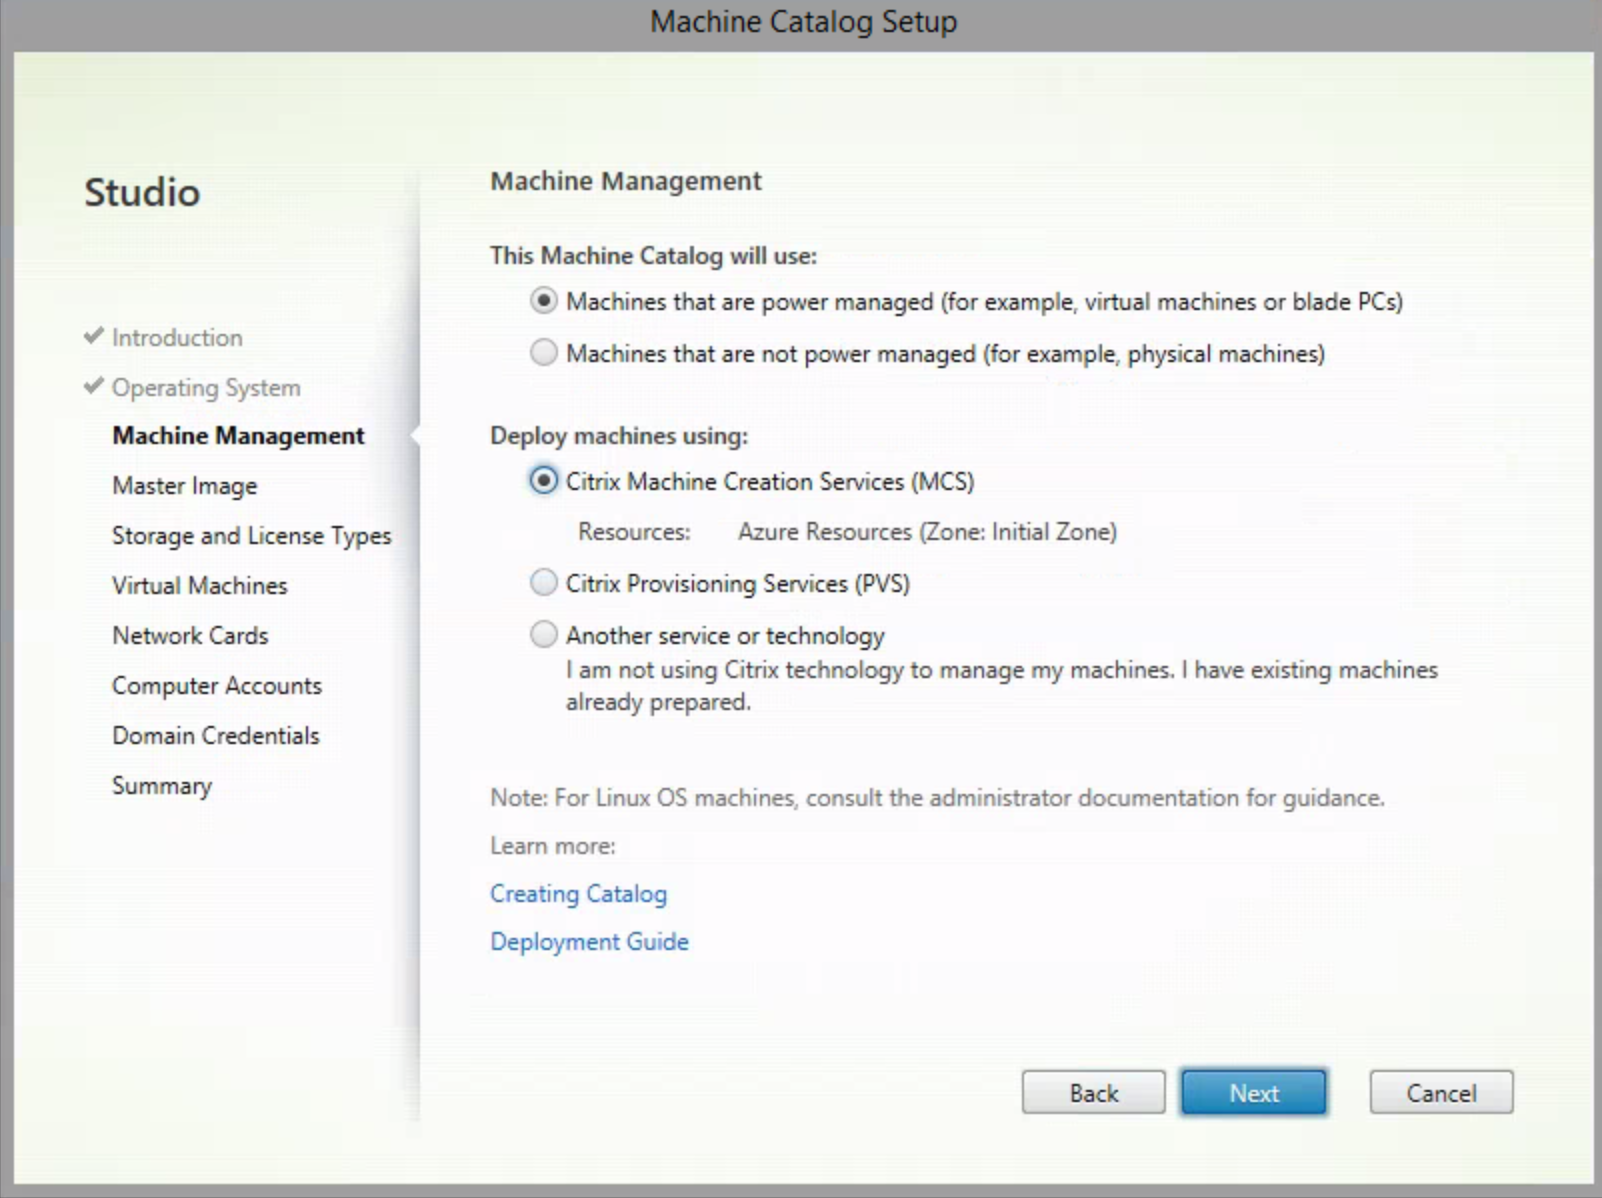
Select the Azure Host Connection (default selected), make sure the settings are as the picture below. Click on Next
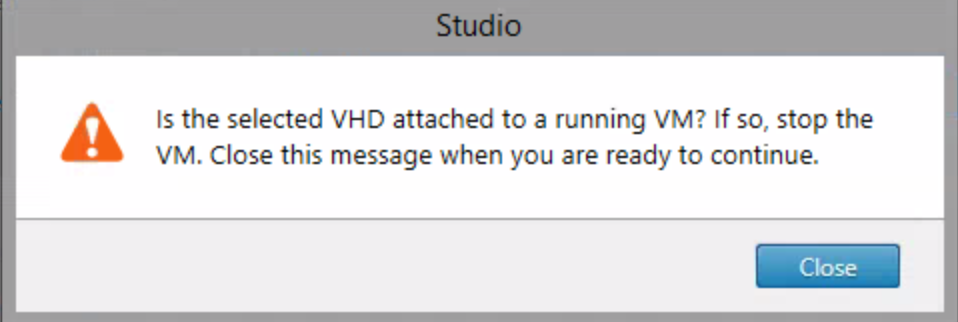
Expand the Azure Resource Group and select the Base image VHD that you want to use as Master Image. Click on Next
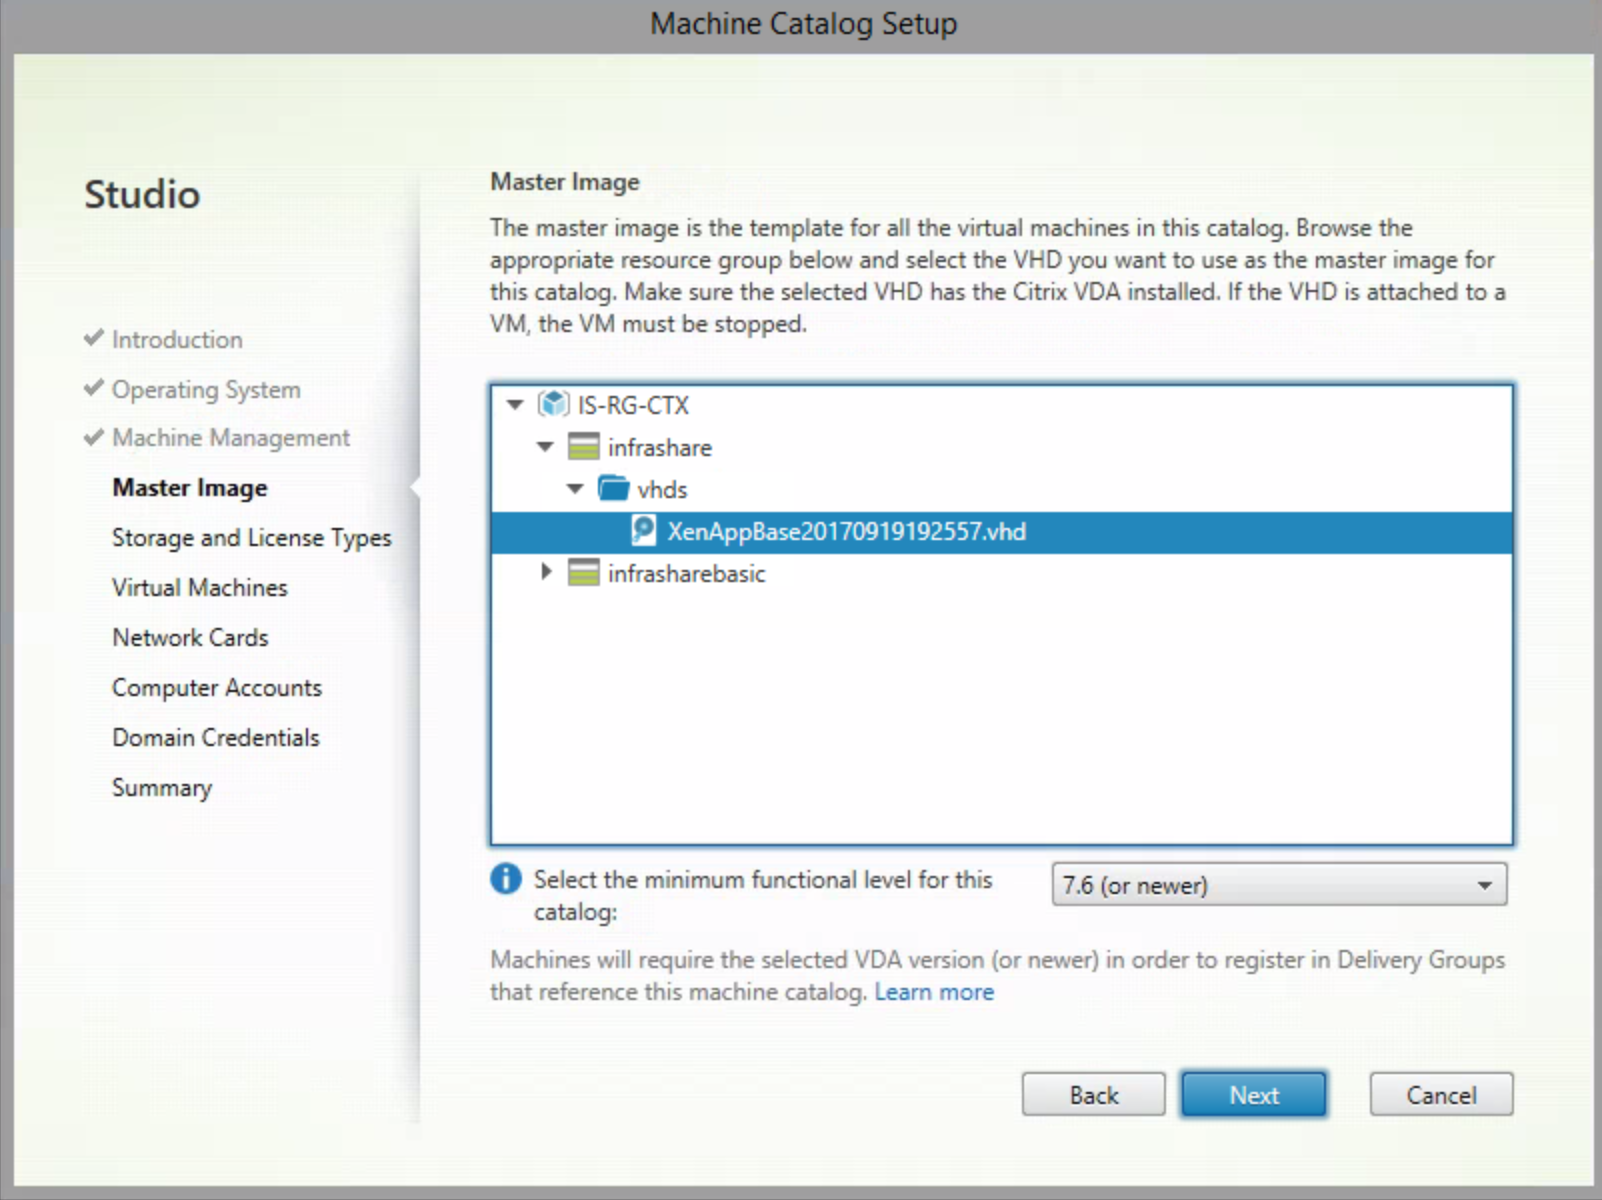
You’ll get a warning, please make sure that the Virtual Machine status is de-allocated in Azure before you continue…
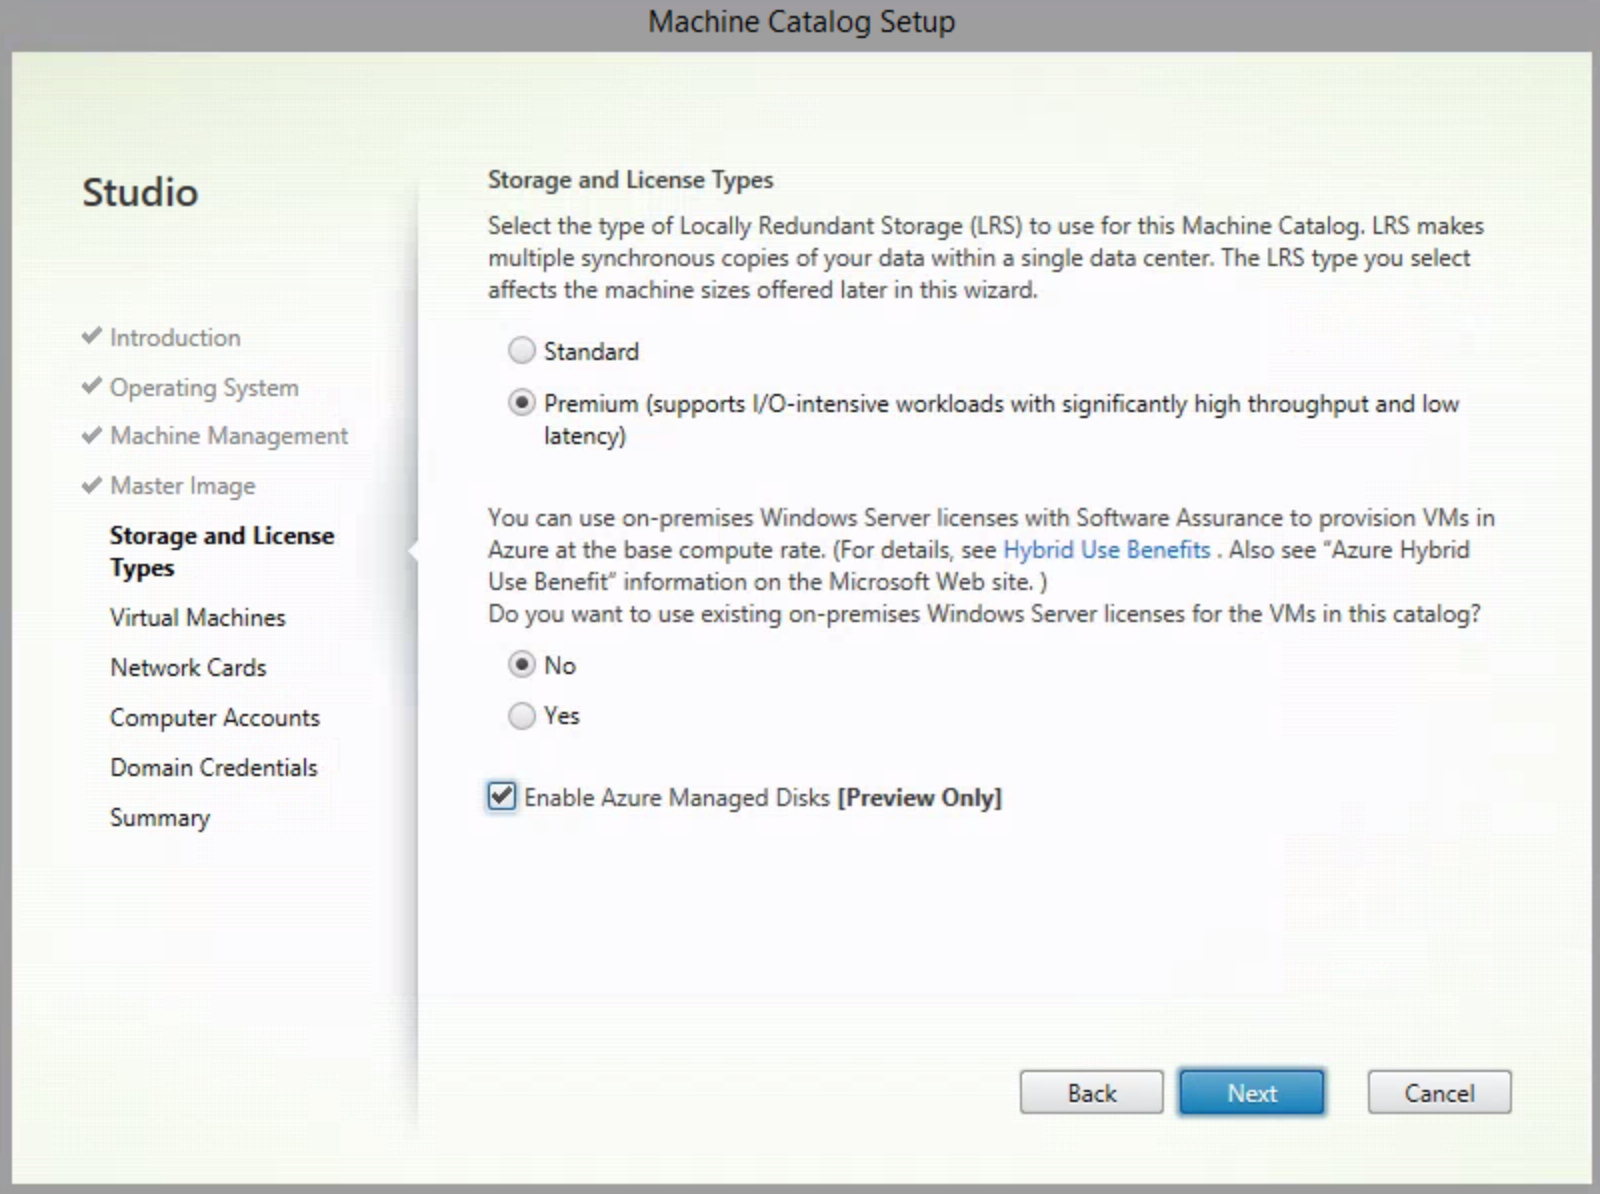
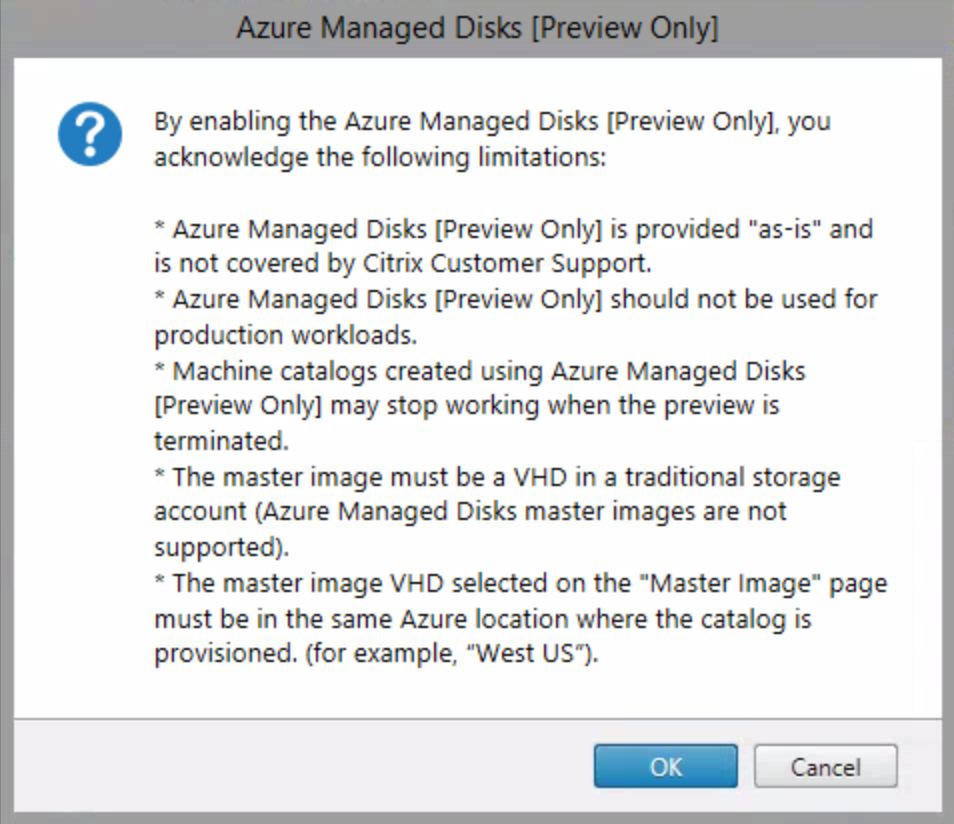
Select the Premium Storage option and Enable the Azure Managed Disks option. Click on Next
Note: As mentioned in the first section of this blog, when u using Azure with an Enterprise Agreement with Software Assurance for your Operating Systems. Then you can use Azure Resources with up to 40% discount. If you have this, select the Yes option

There are some limitations for using Managed Disks in Azure.
Note: Please make sure that the Base Image / Master image Virtual Machine is not a Managed Disk Virtual Machine! This must be a traditional Basic or Premium storage Virtual Machine.
Select the Virtual Machine sizing
Note: Use the Azure Cost Calculator to choose the right Virtual Machine sizing with the highest density and lowest costs – https://costcalculator.azurewebsites.net/costCalculator
You can use the following LoginVSI measurements for Windows Server 2012 R2, just to get an impression of use Density and Costs.

I’ll use the Standard_DS12_v2. Click on Next
Note: This will be the sizing of the XenApp Virtual Machines that are deployed during the MCS Machine Catalog creation process.

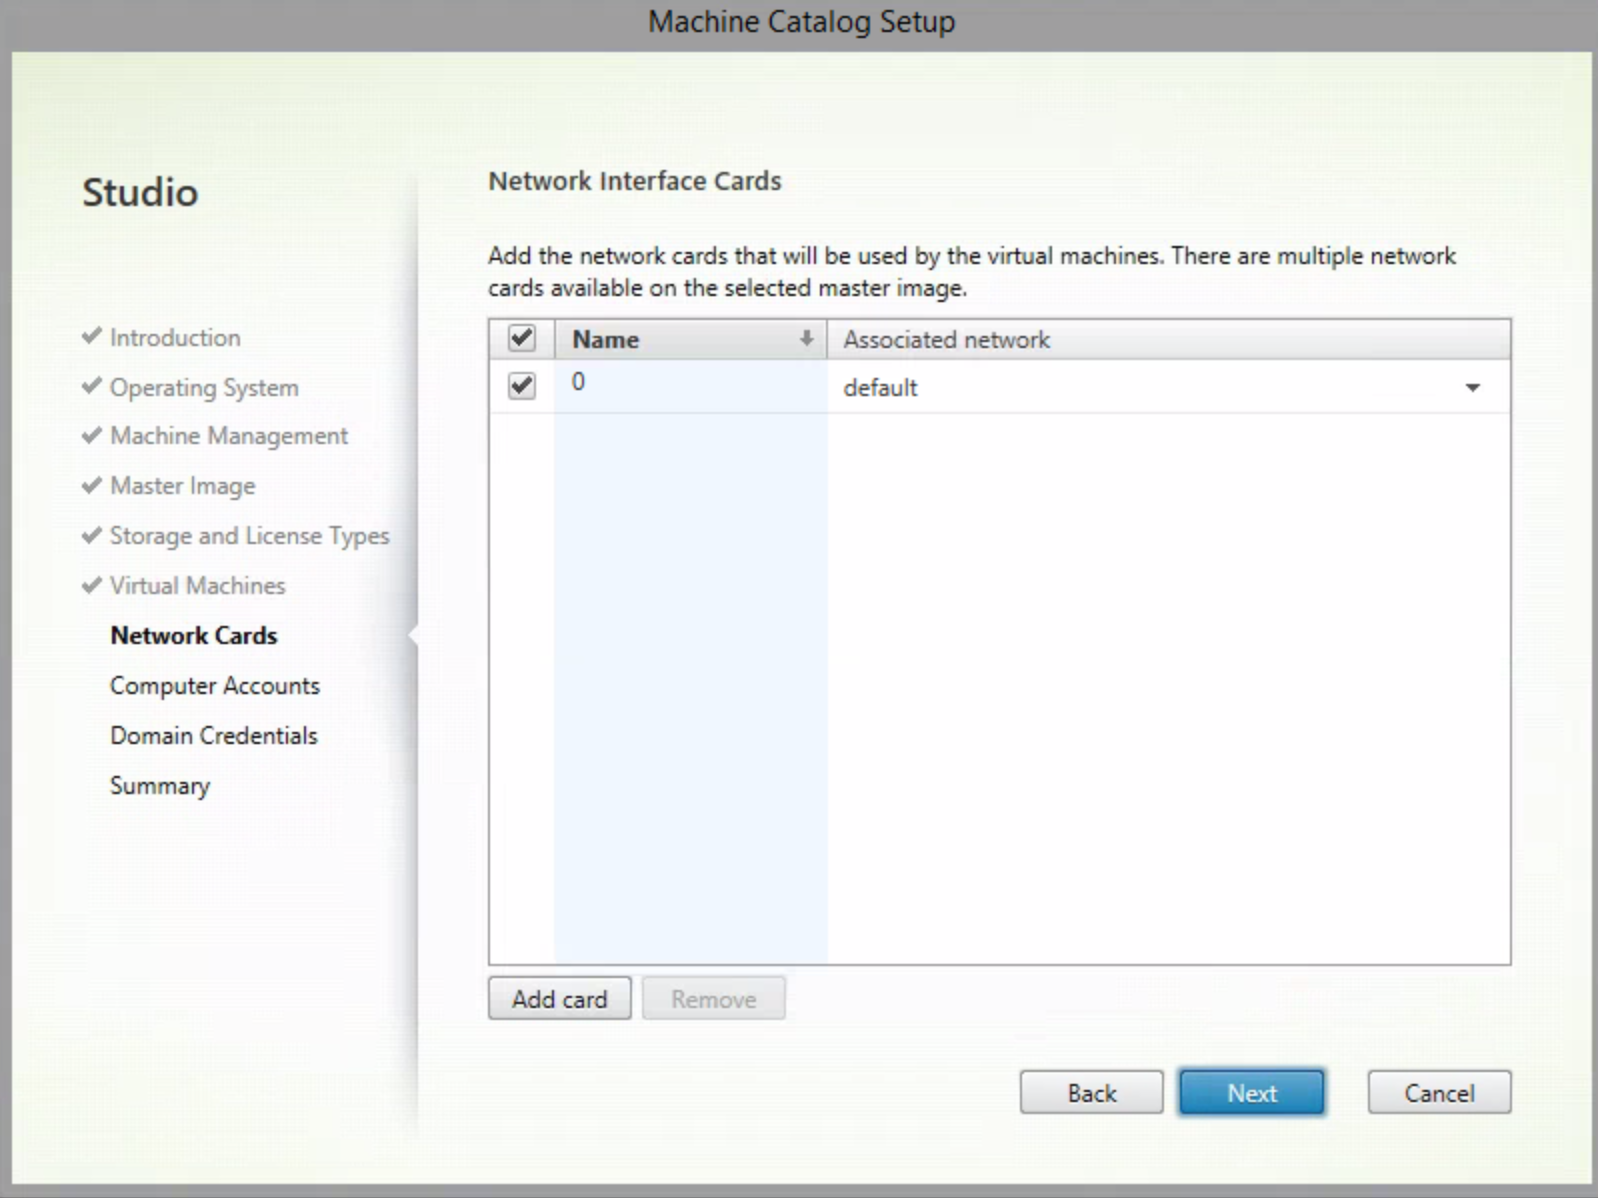
Select the Azure Virtual Network Subnet. Click on Next
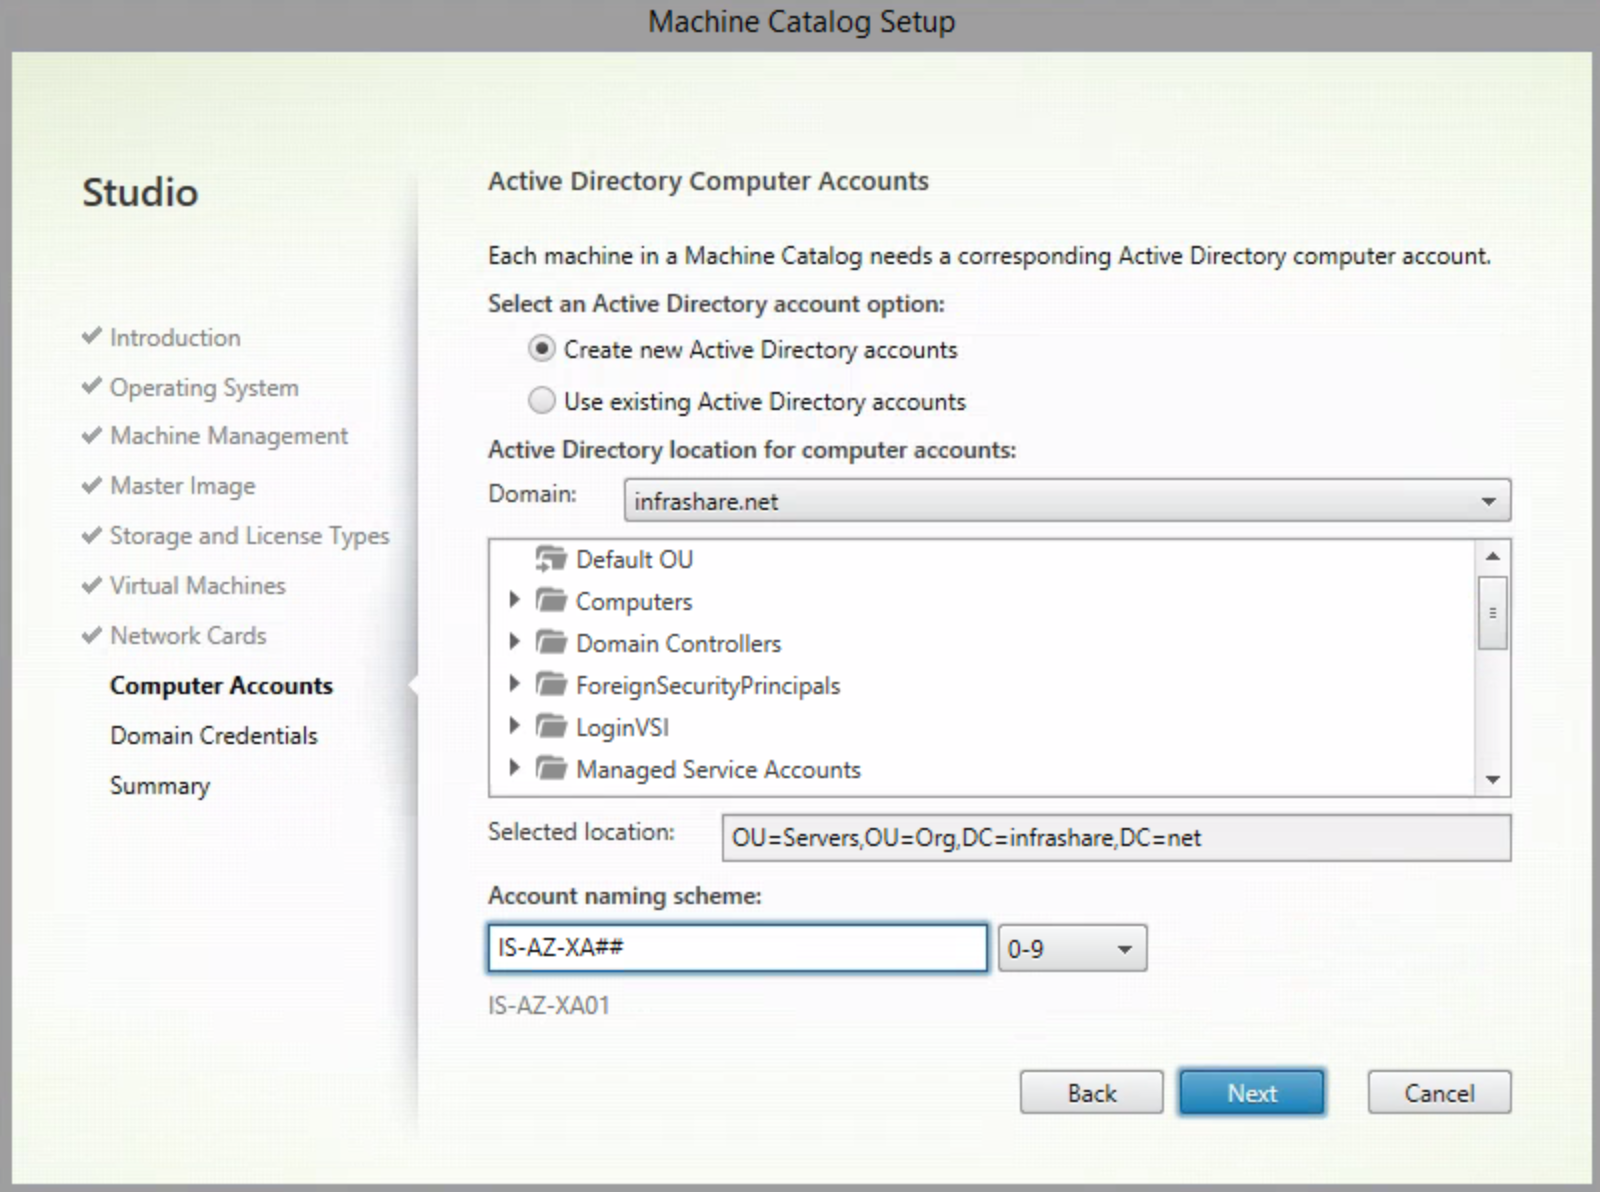
Select the Organizational Unit (OU) to place the resources in and choose for a naming convention. Click on Next
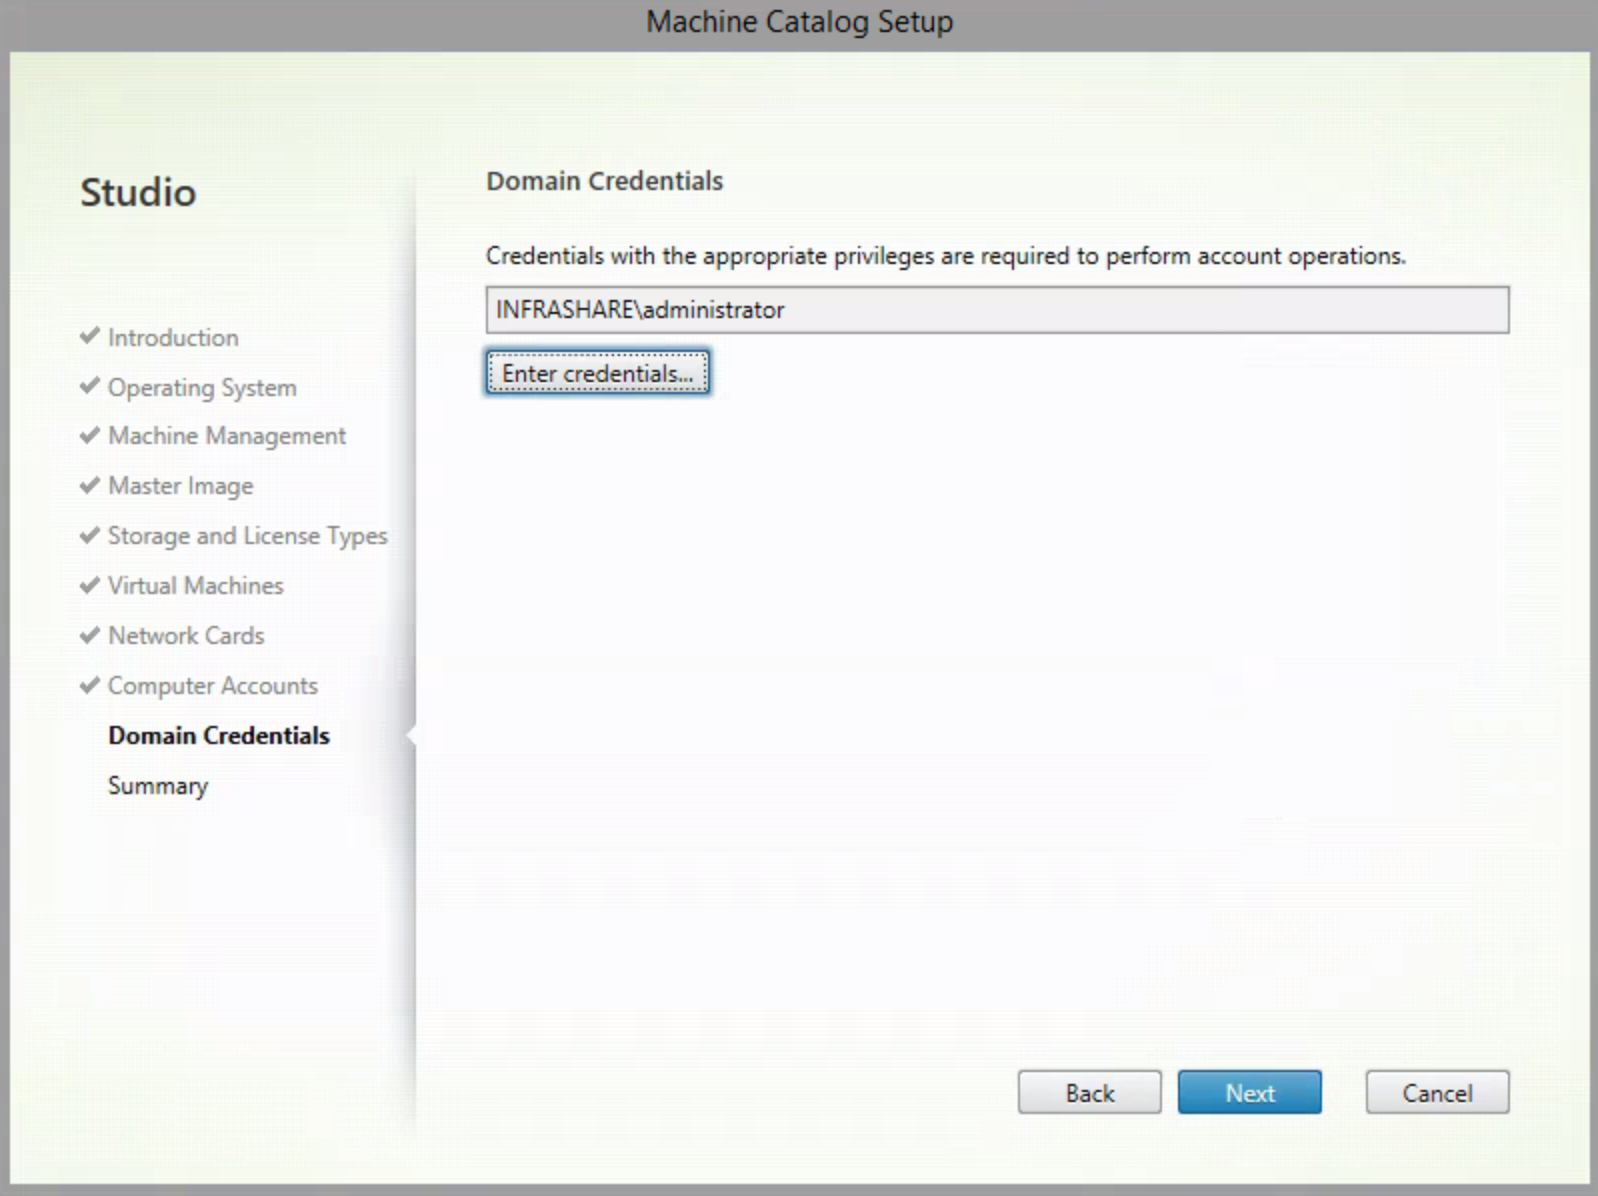
Enter in Domain Administrator credentials, just for providing the Domain Join part of the MCS process. Click on Next
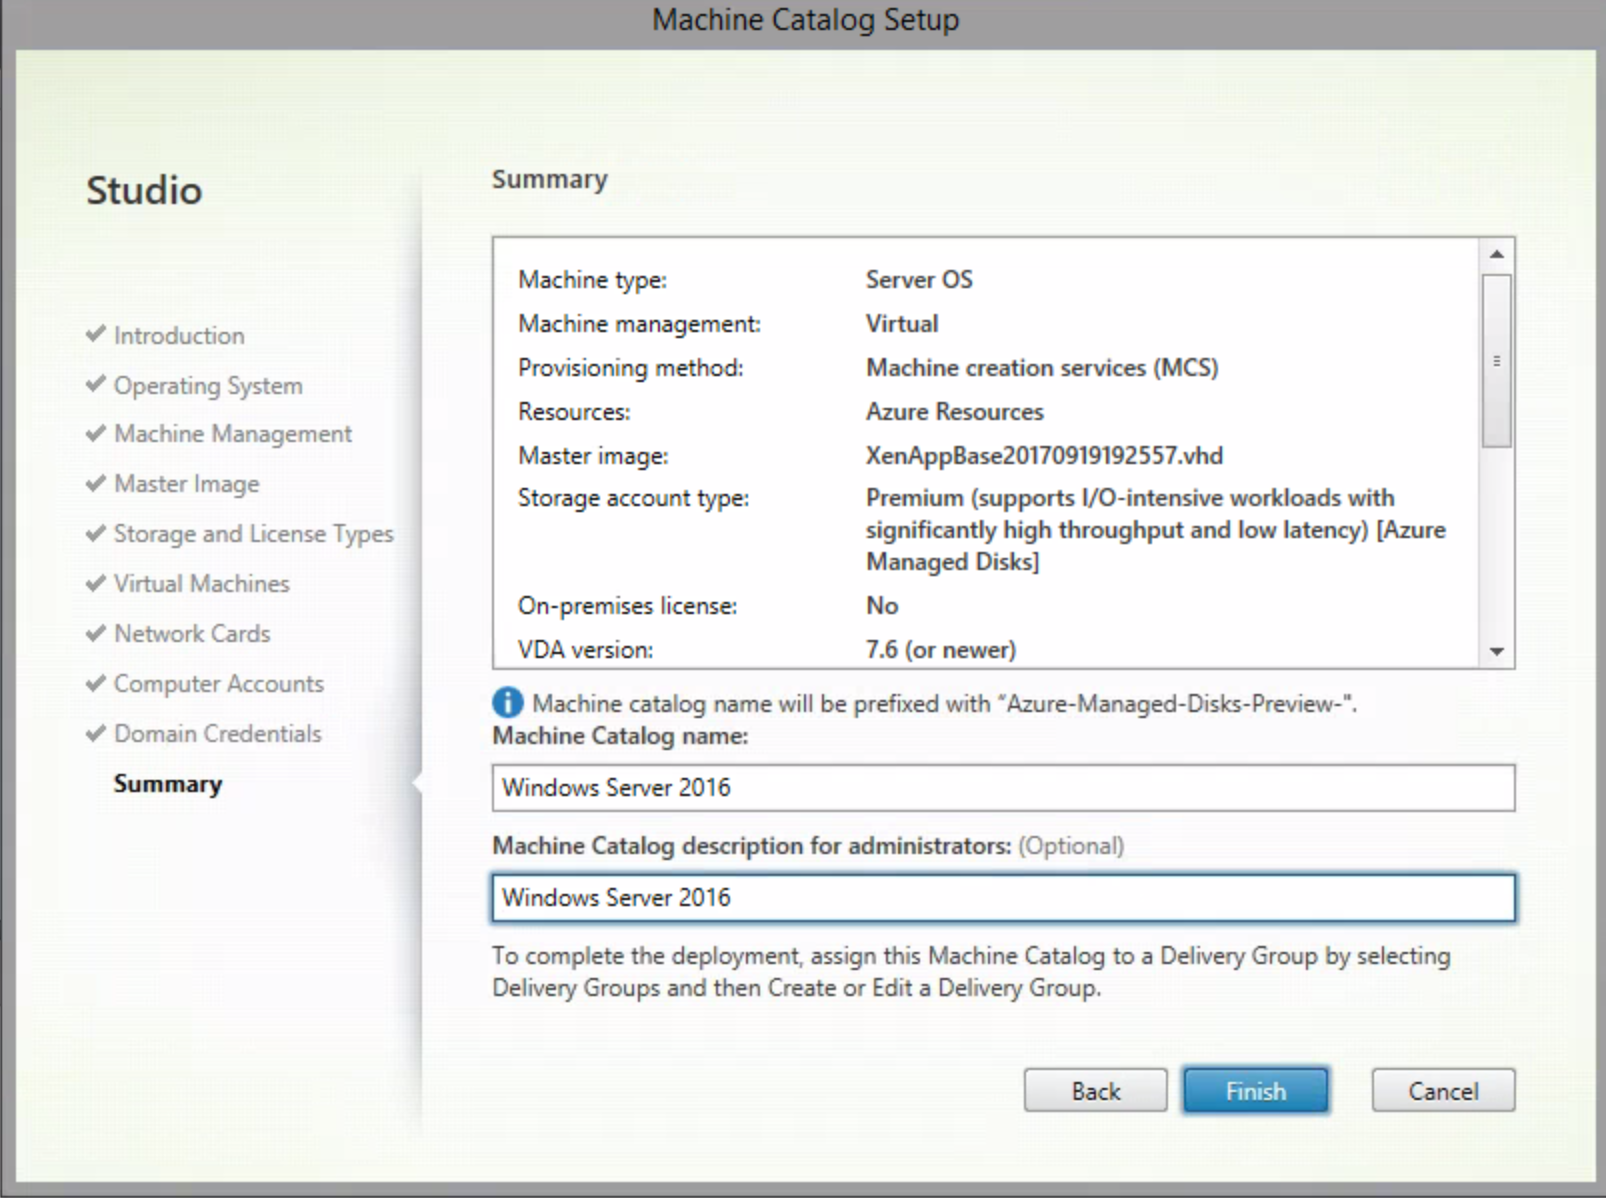
Enter in a name and description for the Machine Catalog. Click on Finish to start the deployment
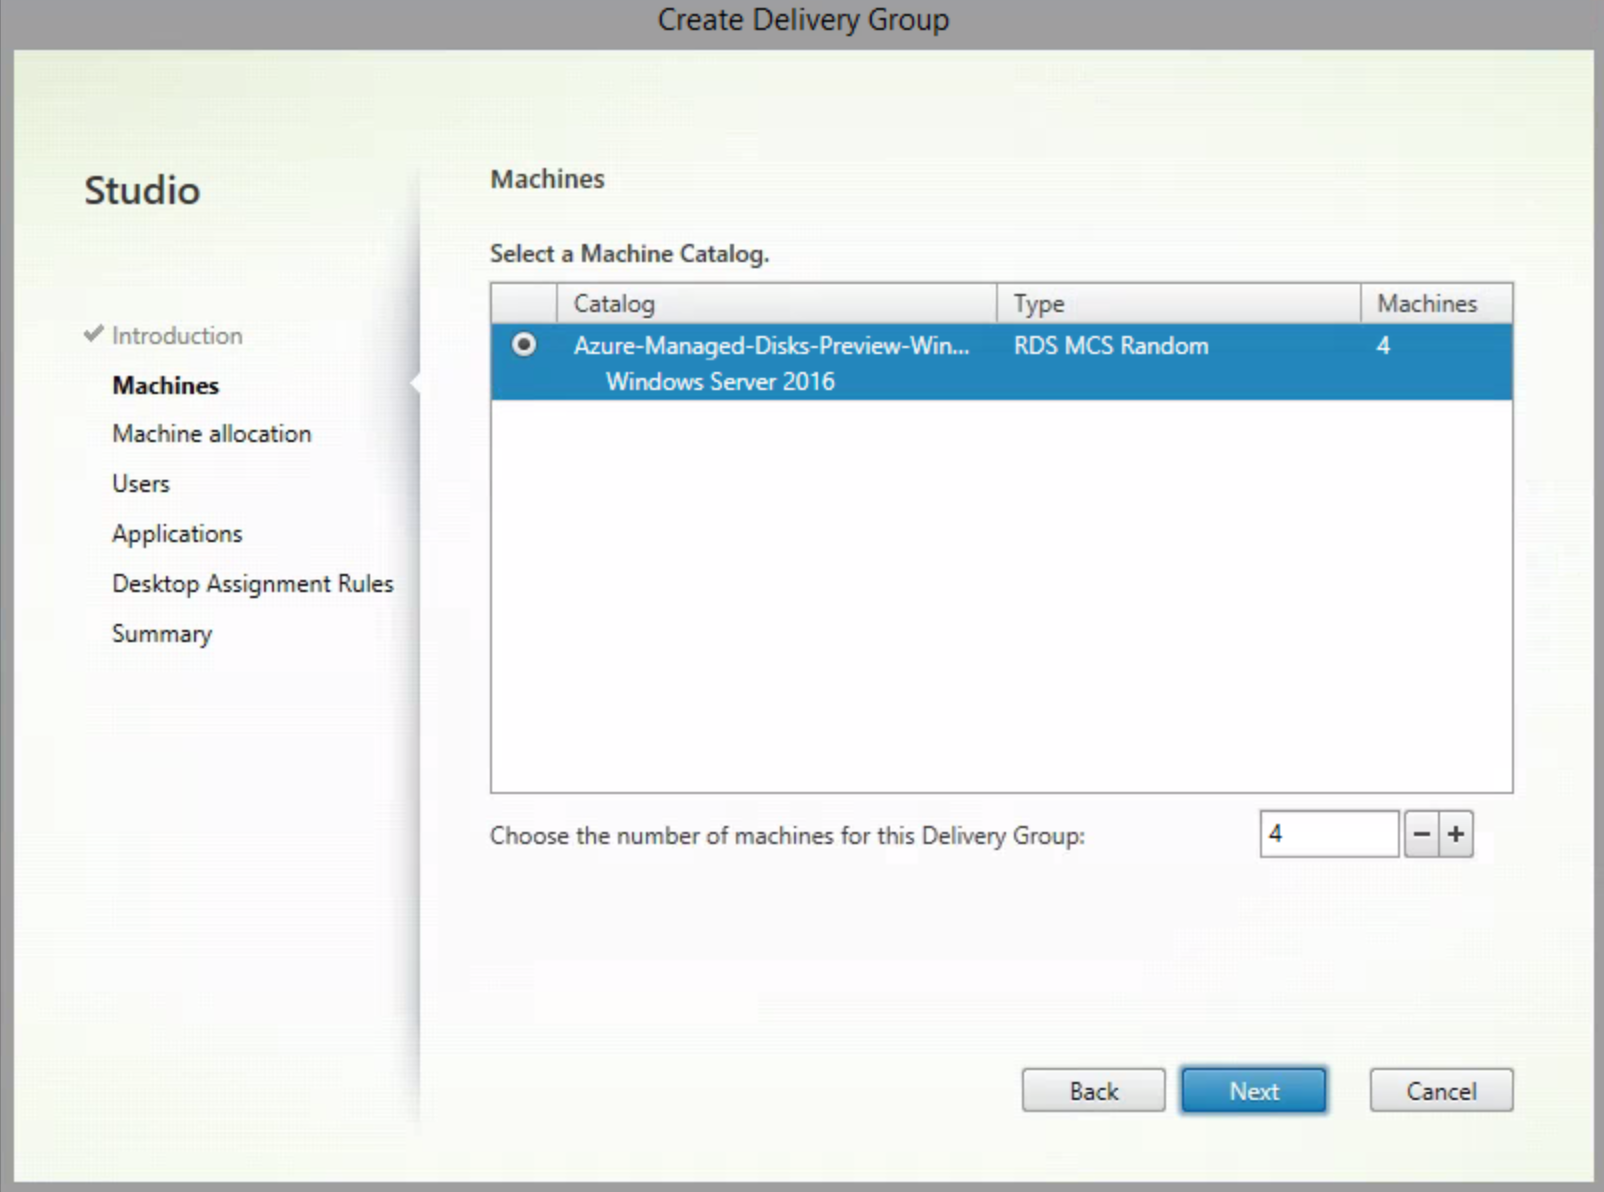
Note: As you can see in the screenshot, because Managed Disks are in PREVIEW. The Machine Catalog name will be listed with the Azure-Managed-Disks-Preview extension.
After the deployment process, you’ll notice that the machines are not existing in Azure Virtual Machines. Just right click on the VM and click on Start, the machines will then be created in Azure for the first time!
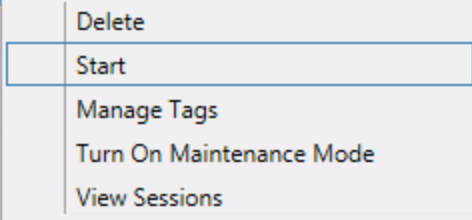

The machine is being created in Azure…

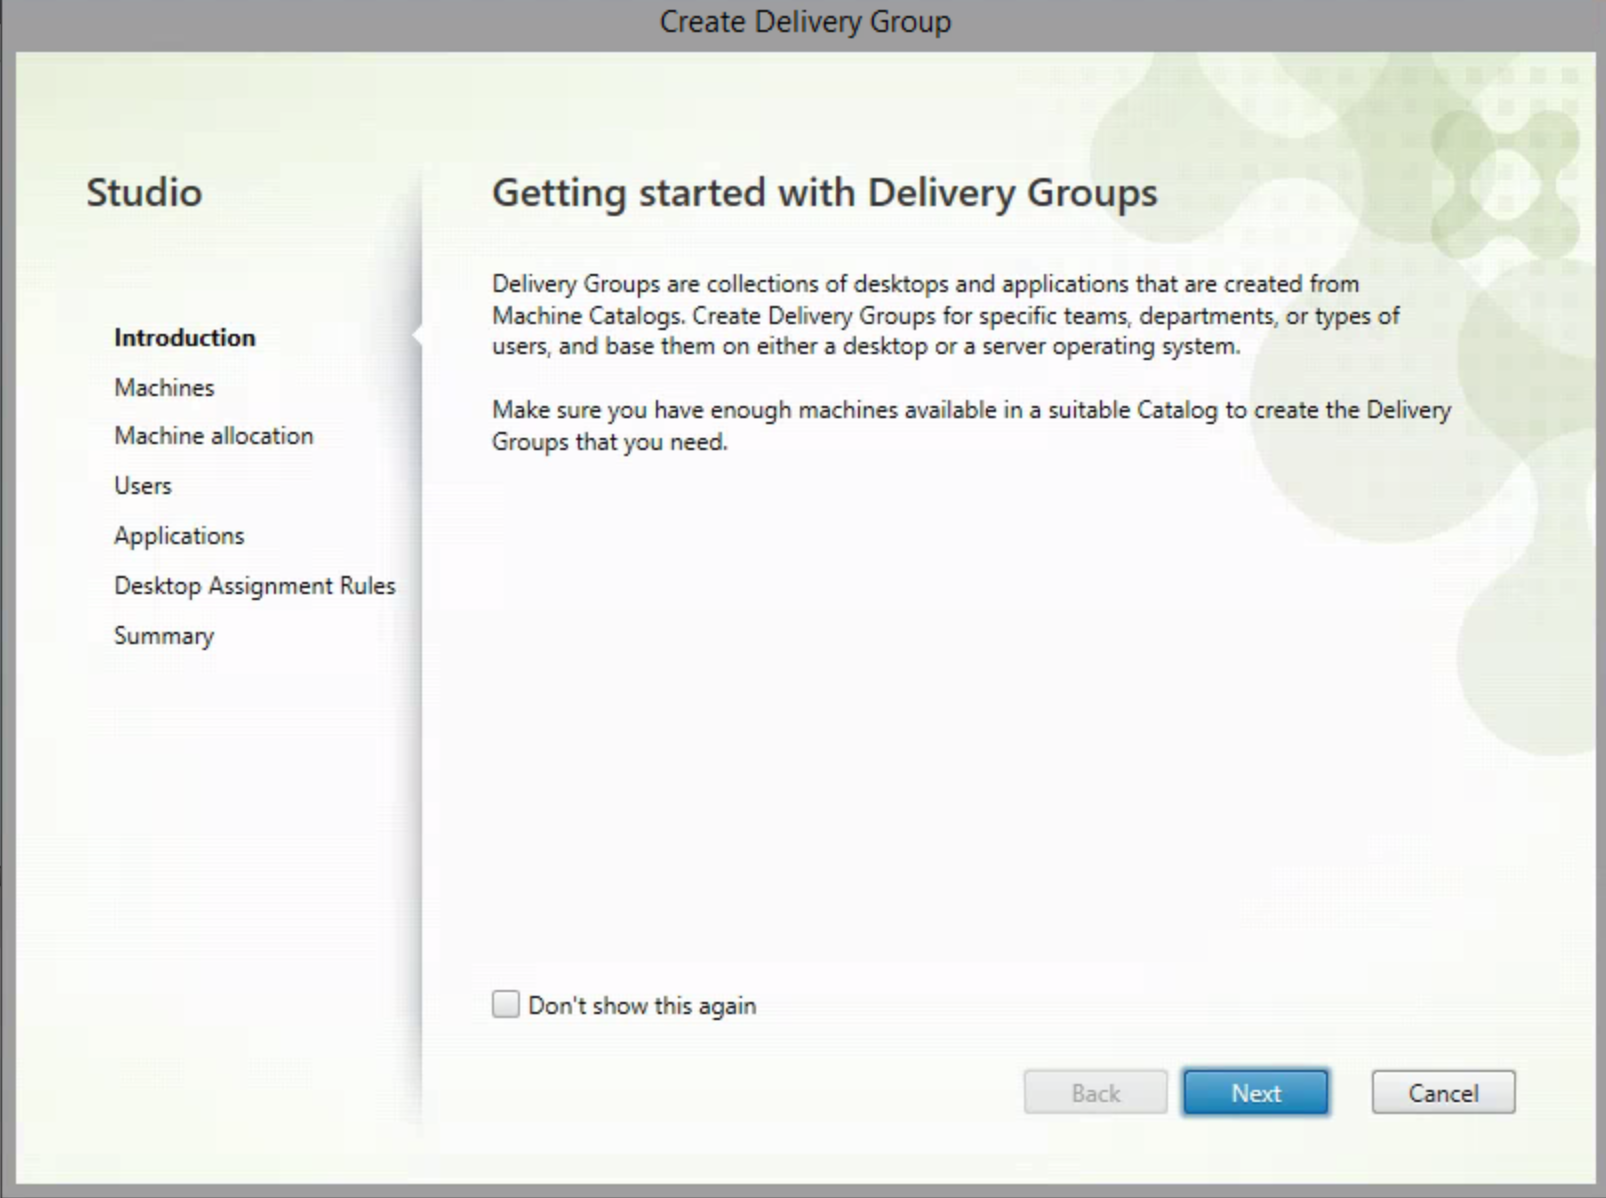
Create the Delivery Group
We now need to add our Machines to a Delivery Group to assign the Desktops and Apps to users and/or Groups.
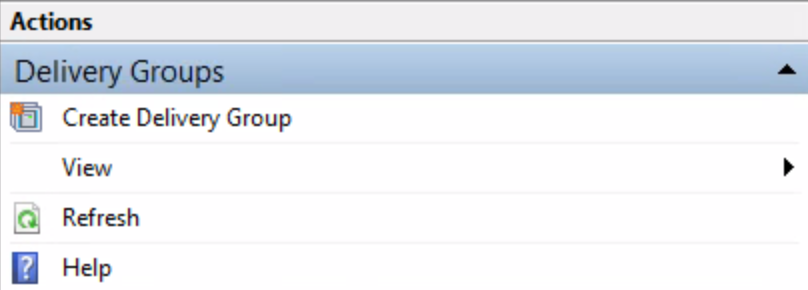
Click in the Studio menu for Delivery Groups
Click on Create Delivery Group
Click on Next
Select the number of machines that you want to add to the Delivery Group. Click on Next
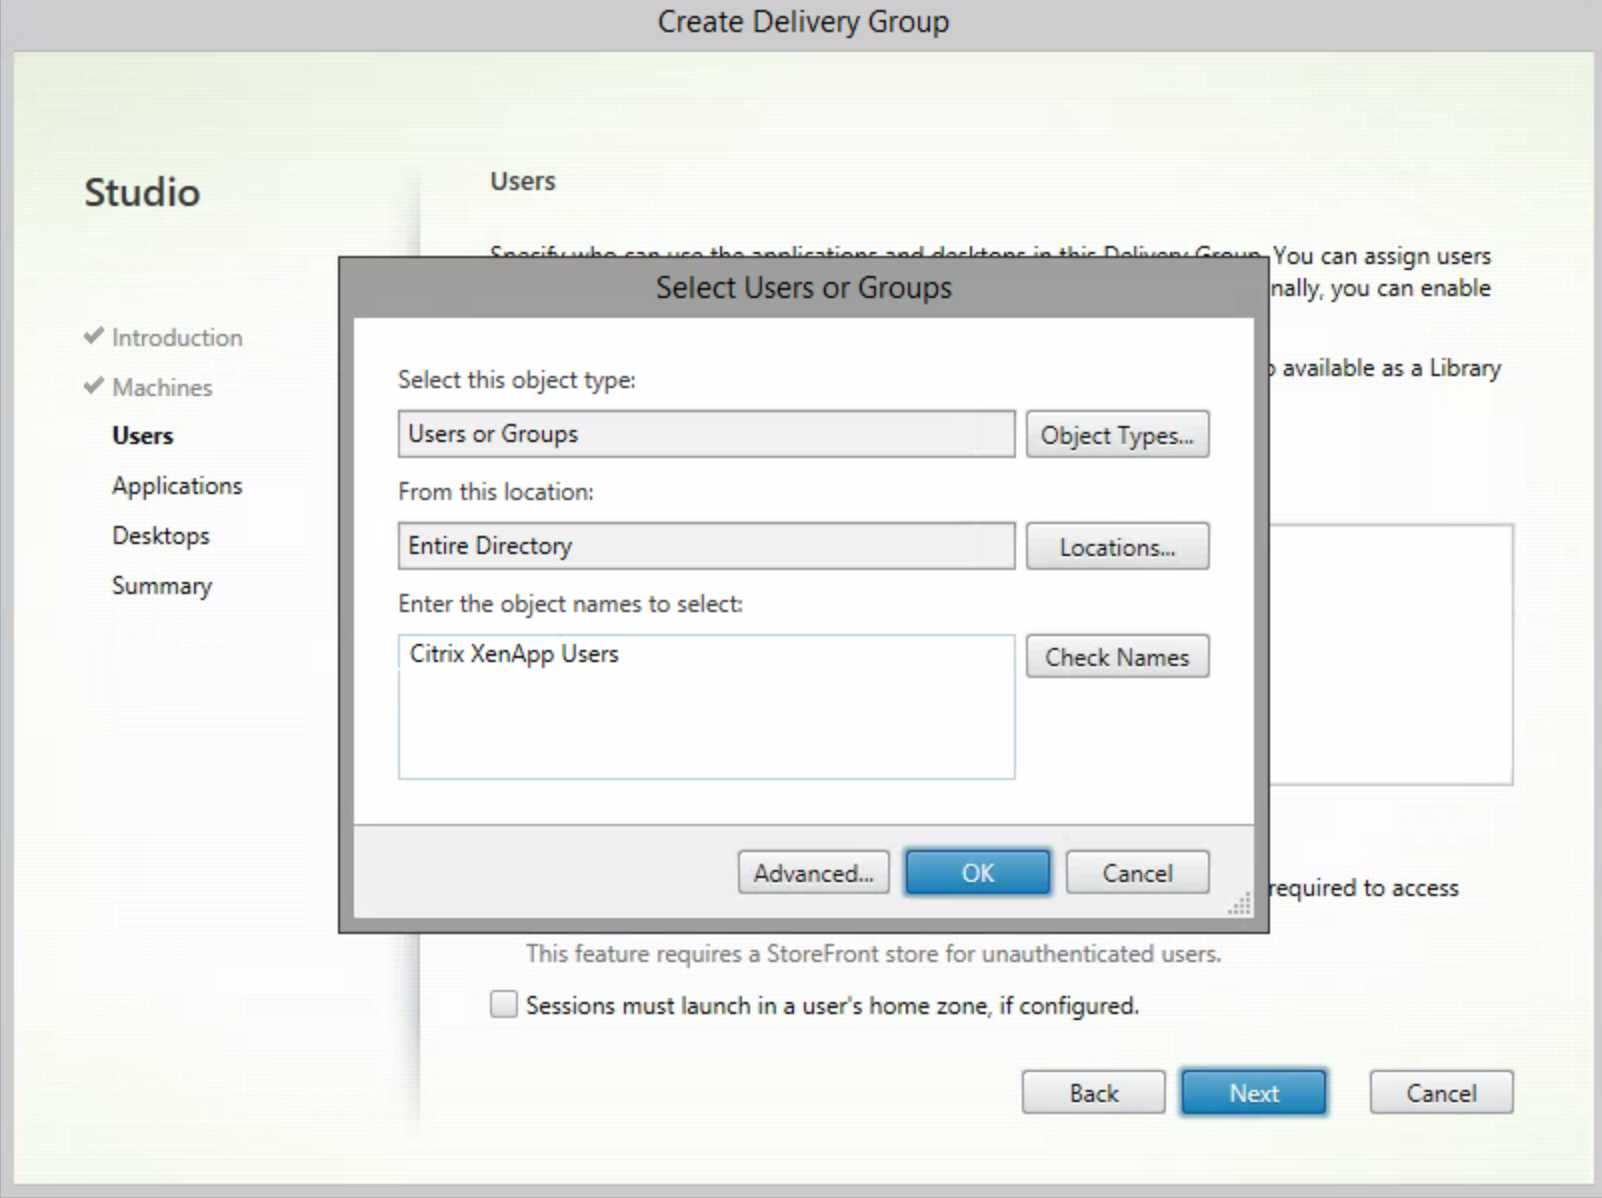
I’ll use an Active Directory group, called Citrix XenApp Users. Click on Ok and Next
Note: With the first option, you have the ability to manage access through the Identity and Access menu in the hamburger menu from the Citrix Cloud.

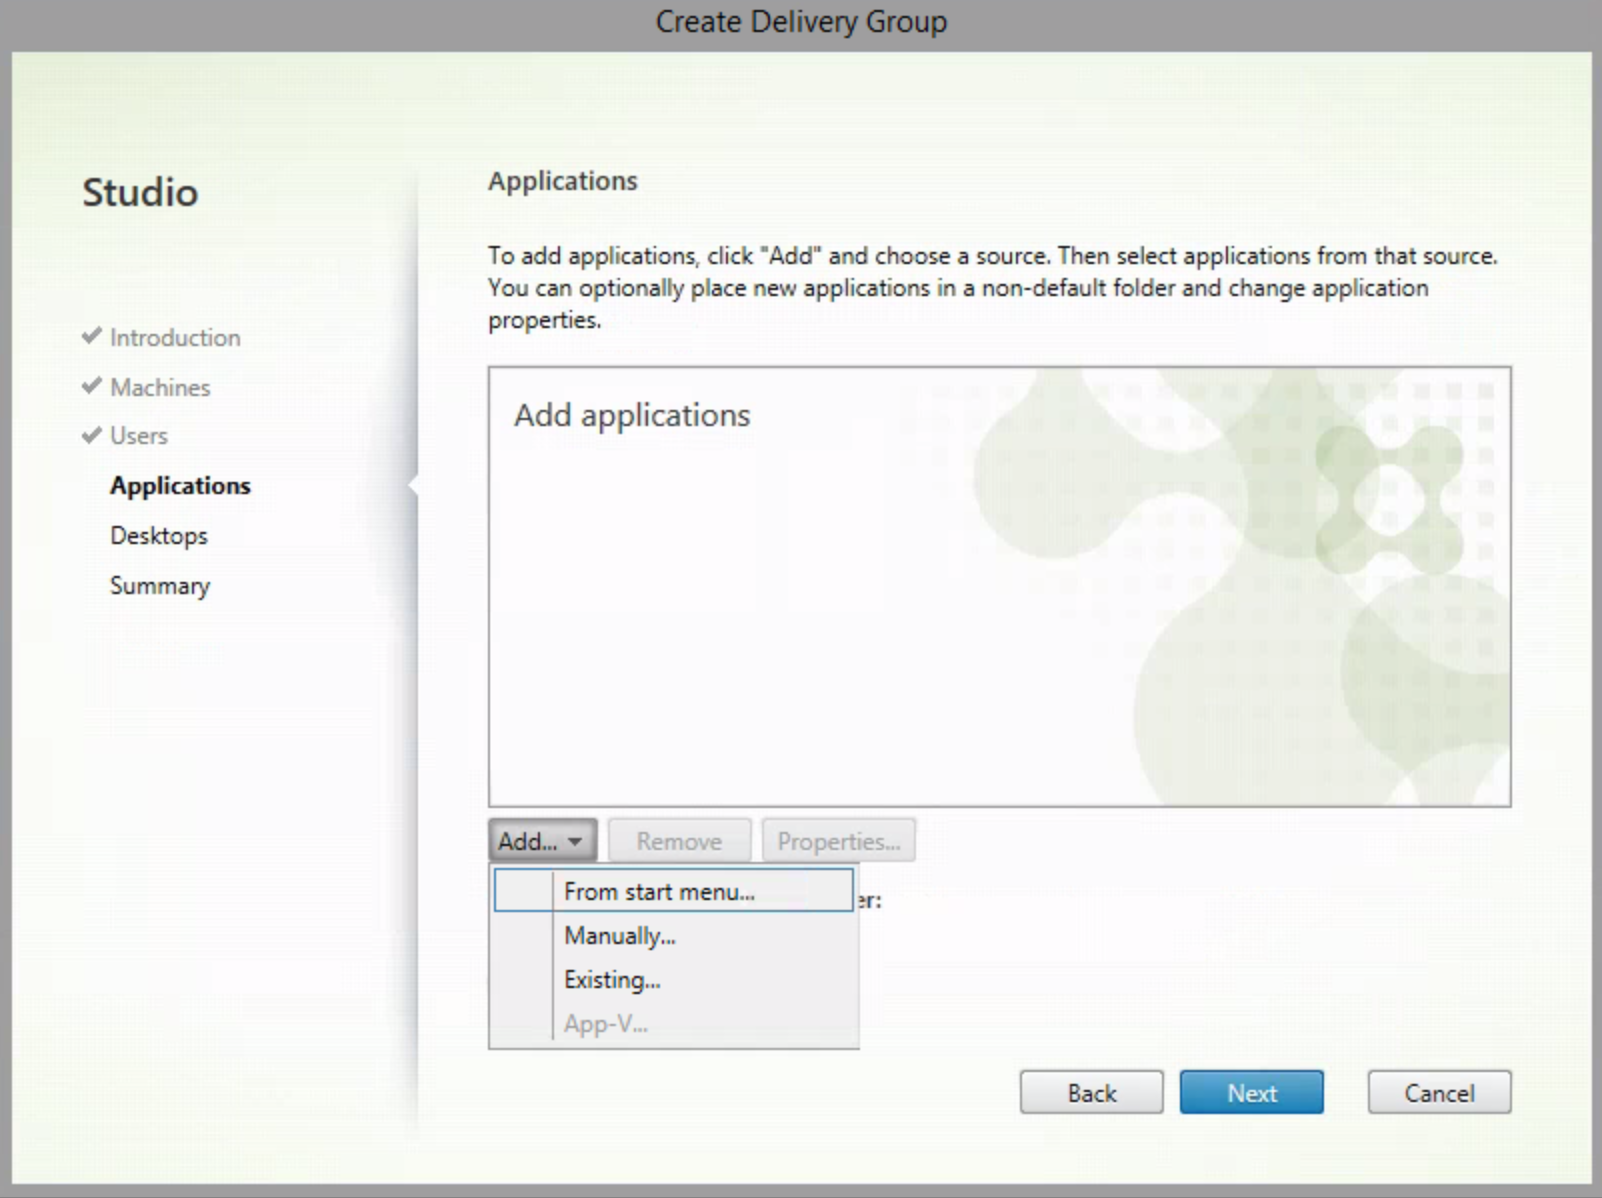
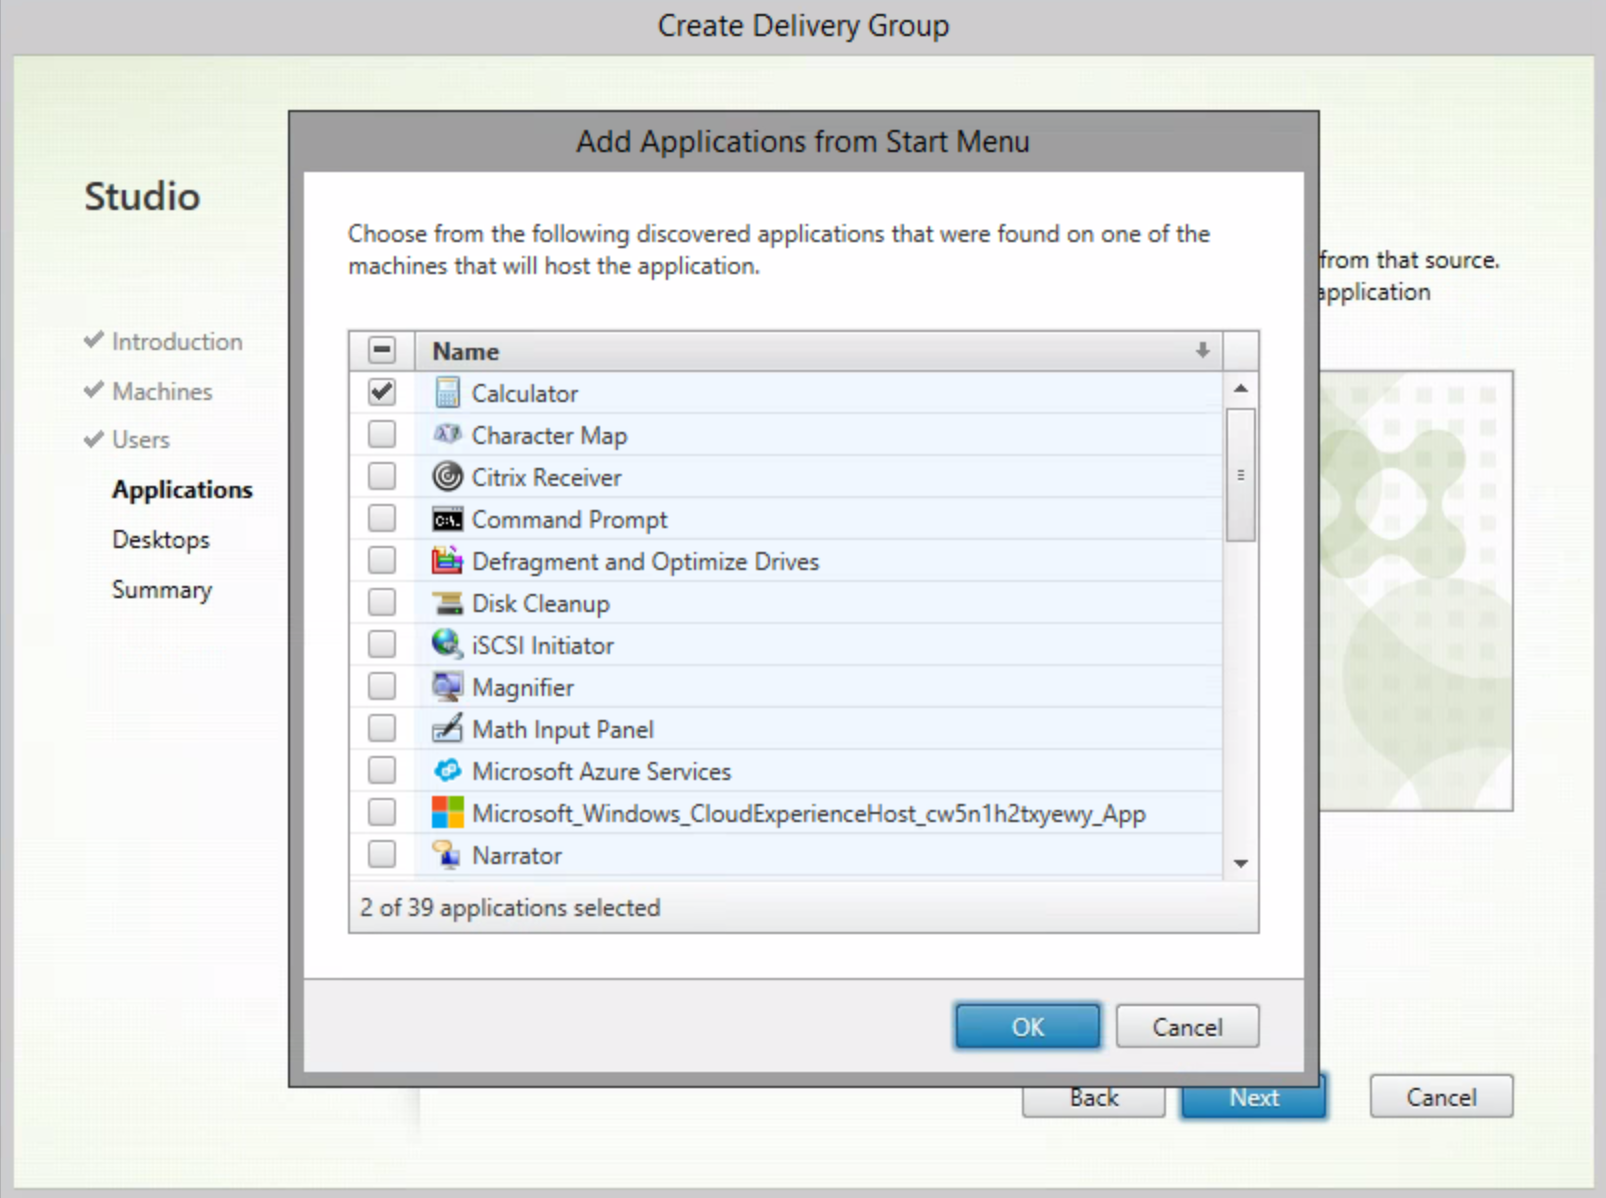
Now we need to add the Published Apps, just click on the Start Menu option to start the discovery process of the installed applications.
Select the Apps and Click Ok and Next
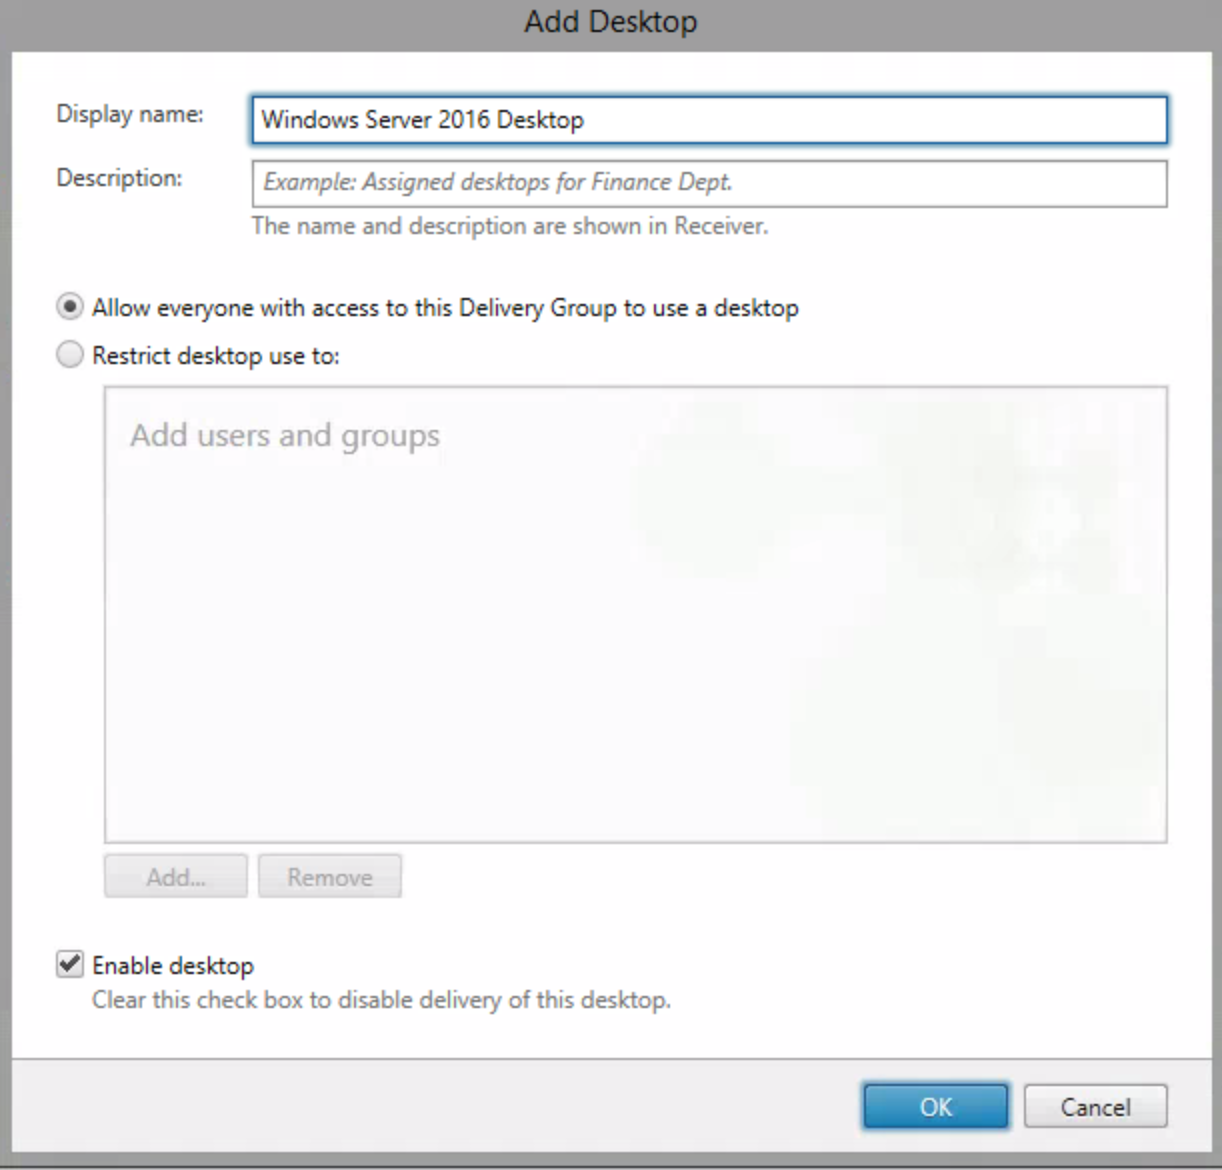
When u want to provide the full desktop, click on Add on the Desktops section. Give in a Name and choose another Group or users to access the Desktop (optional). I’ll choose for the same Group as for the Apps. Click on Ok and Next
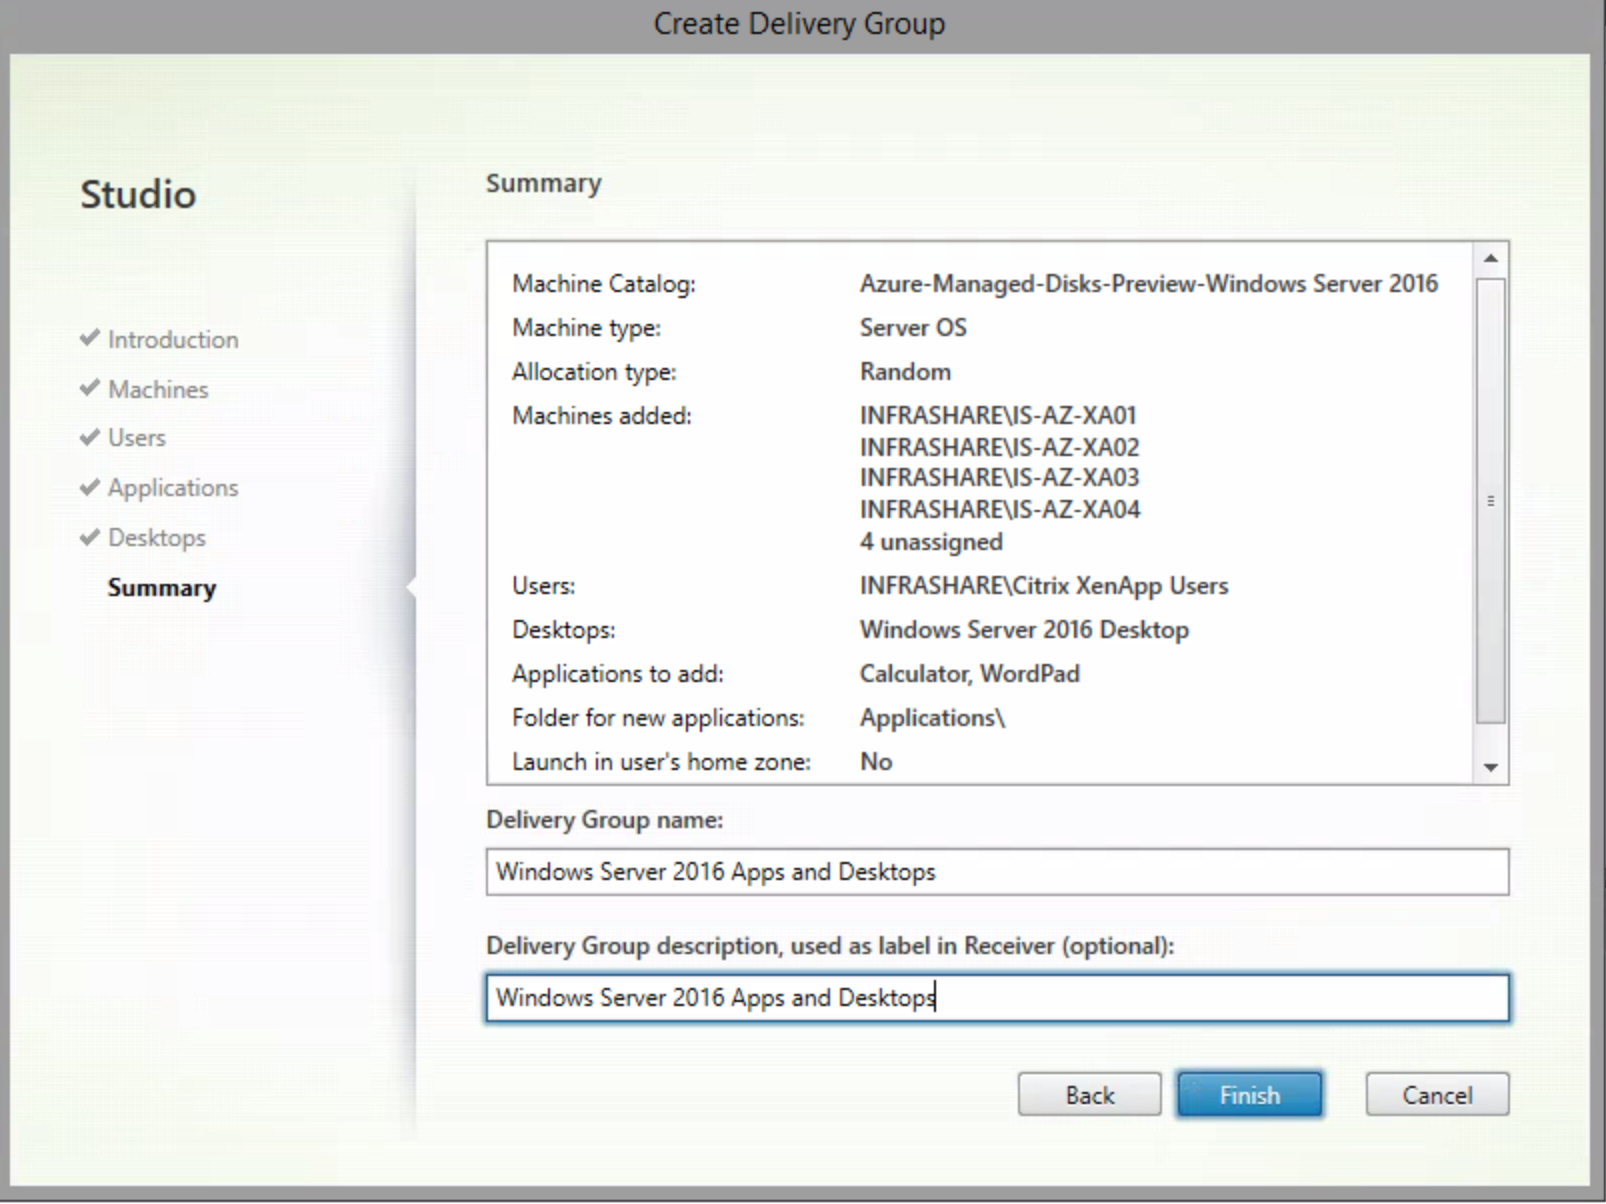
Enter in a name for the Delivery Group and confirm all the settings in the Summary. Click on Finish
Configure Hosted StoreFront
With the XenDesktop Essentials and XenApp and XenDesktop Service, you have the possibility to configure a Hosted StoreFront Web Portal. There is also a possibility to use your own server. To provide the steps for the Hosted StoreFront, please proceed…
Open the Manage tab, followed by Service Delivery
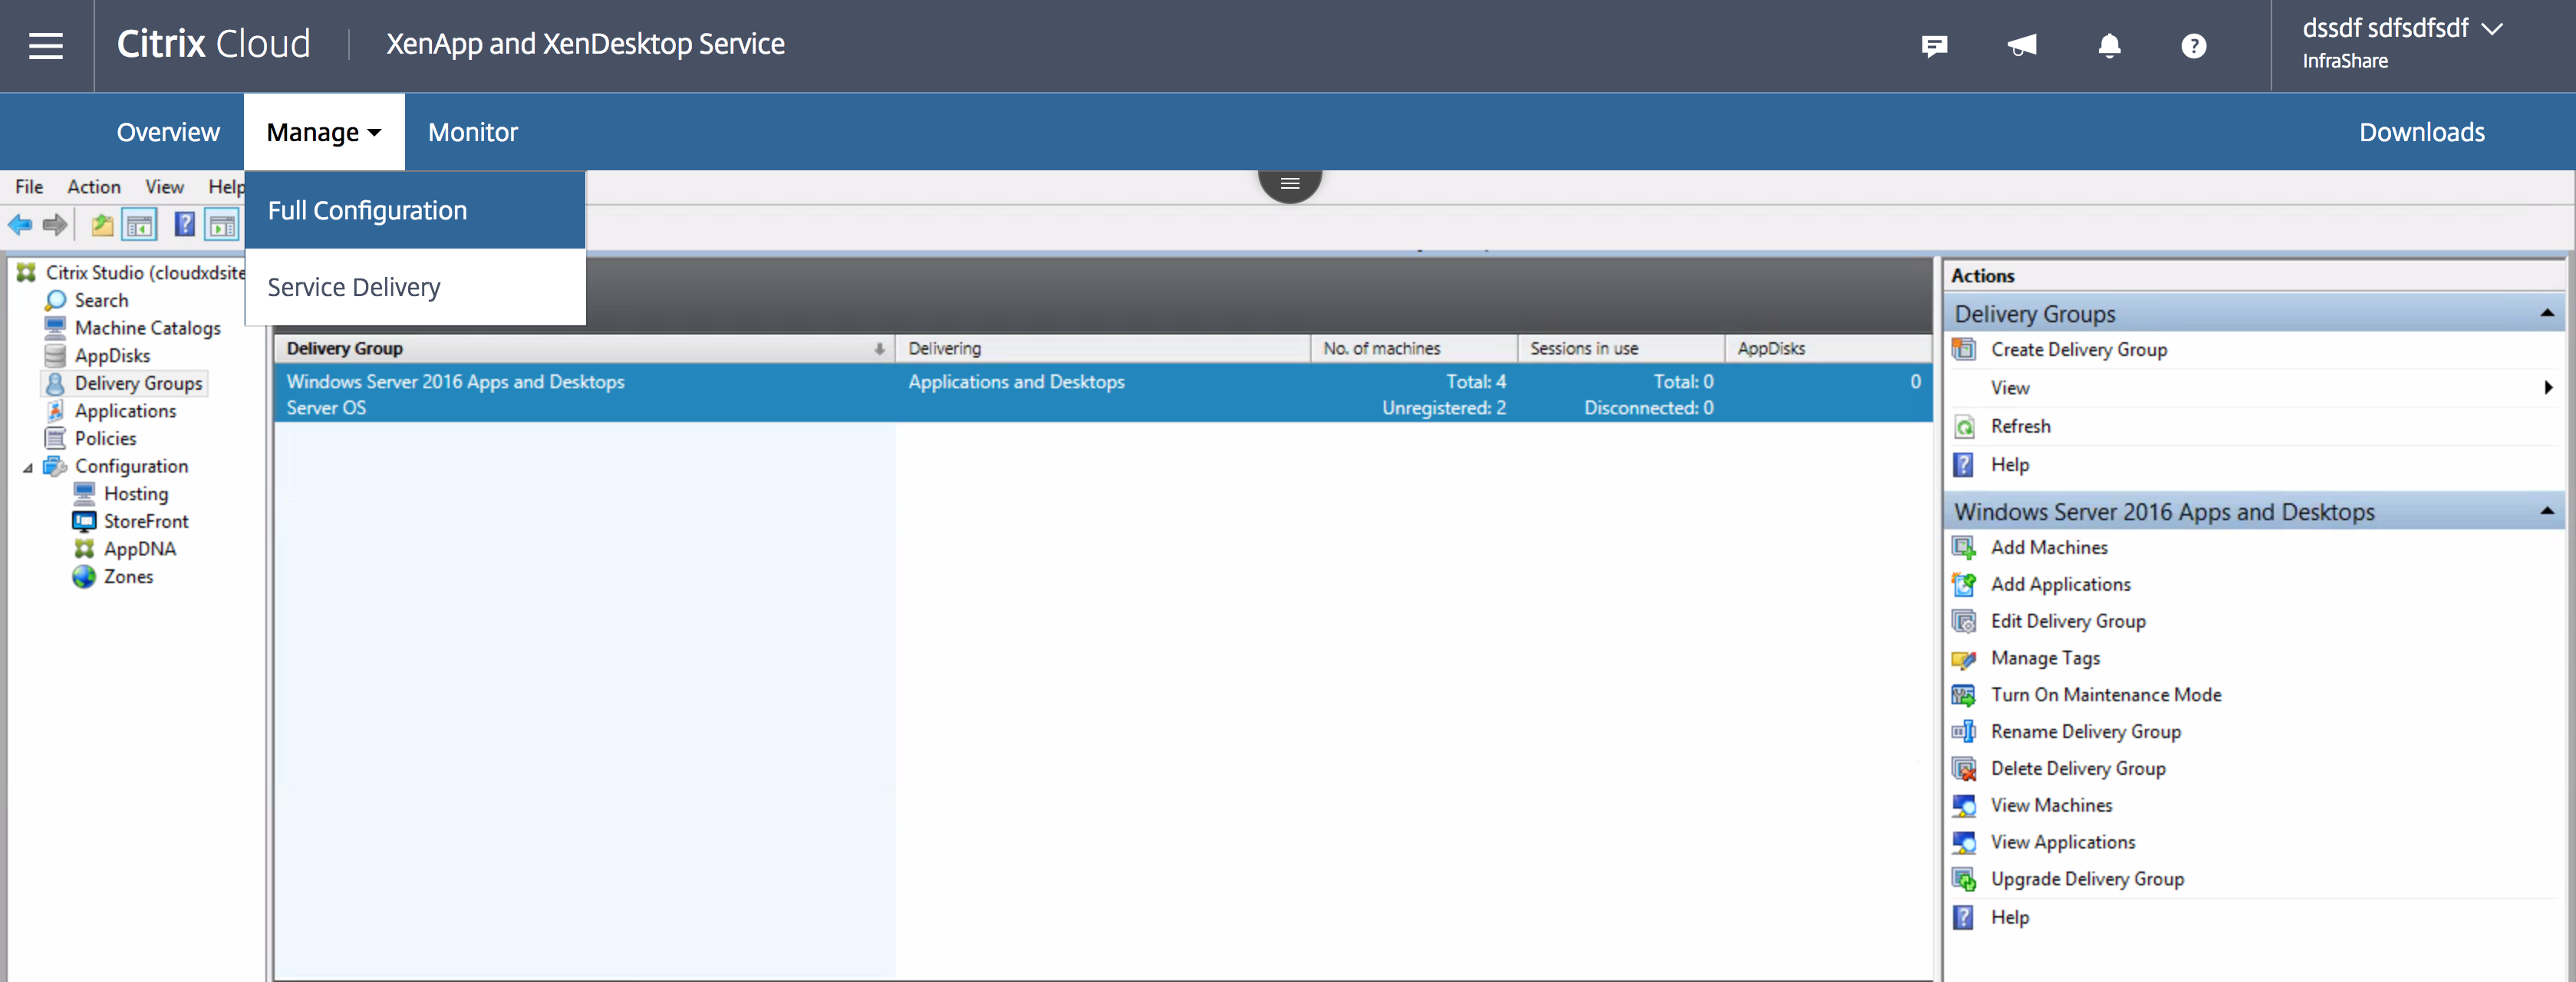
Make sure they – Provide access to your workplace by enabling StoreFront – is on Enabled
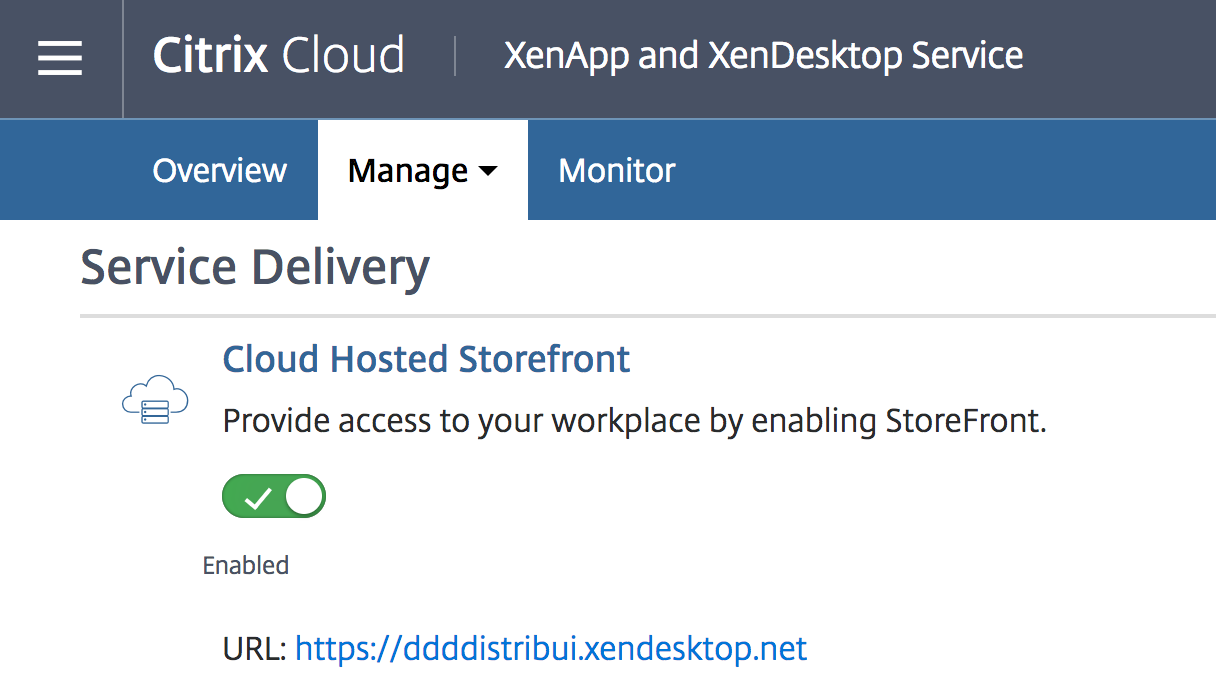
Use the URL: https://organizationame.xendesktop.net and enter it in your browser.
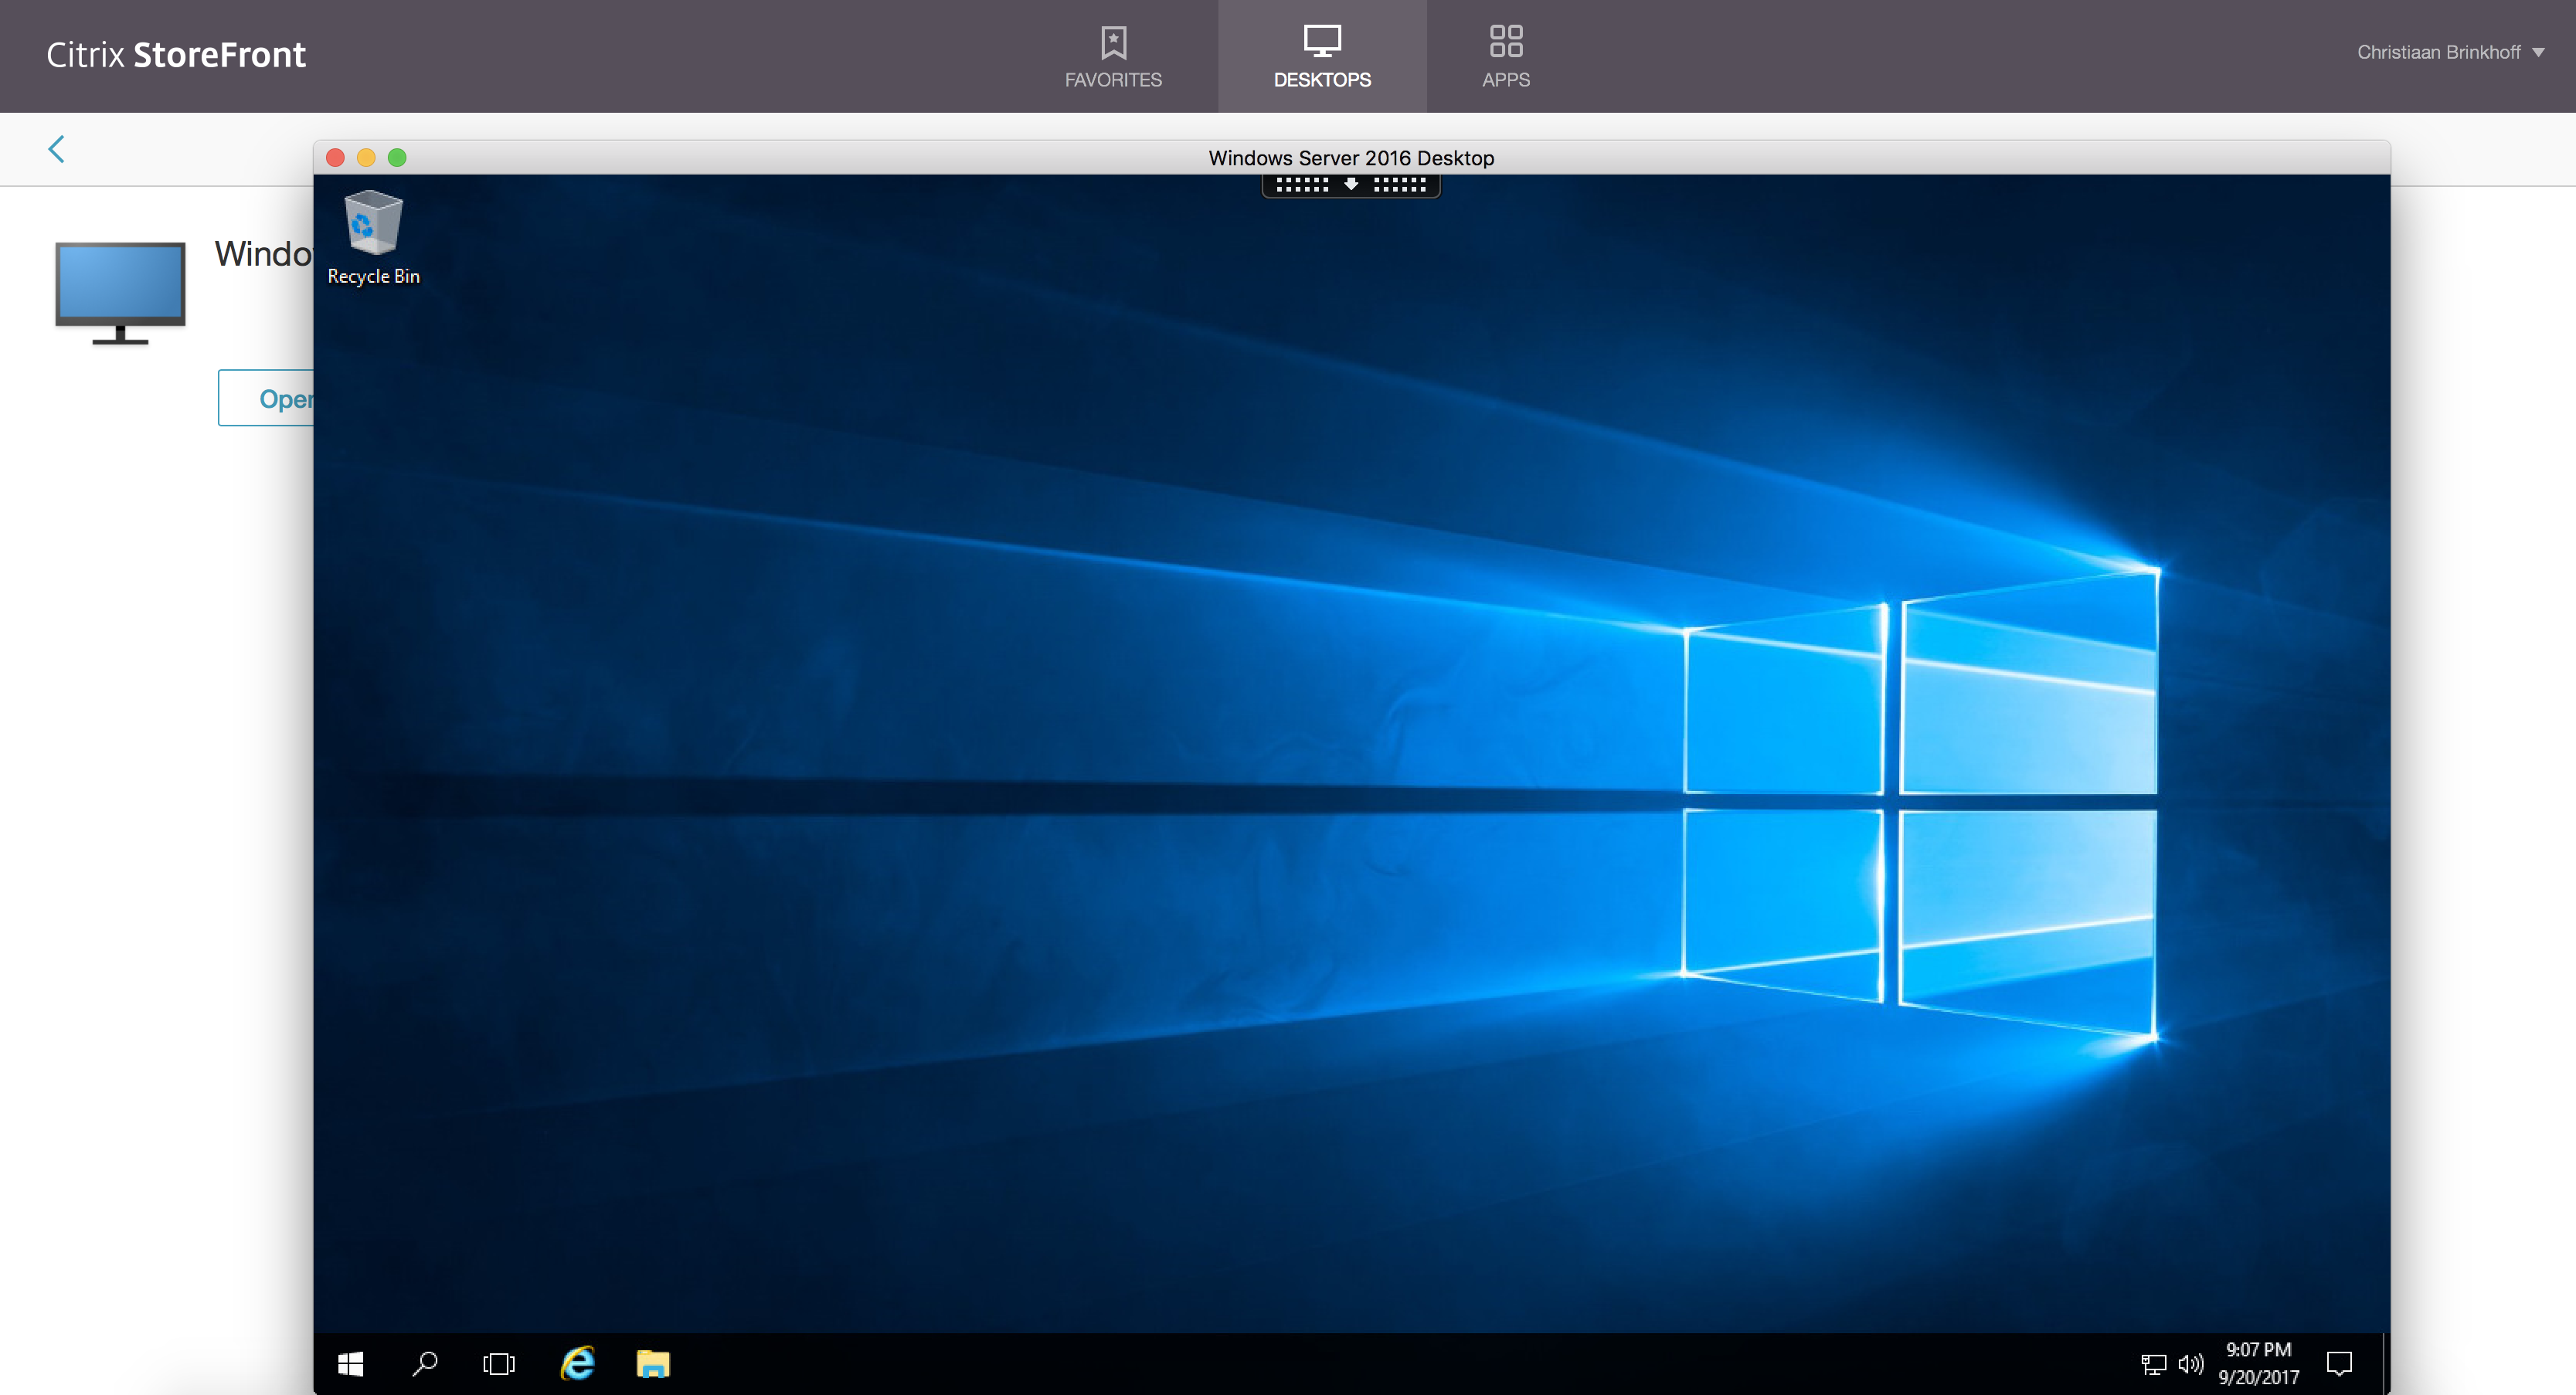
Test your Desktops
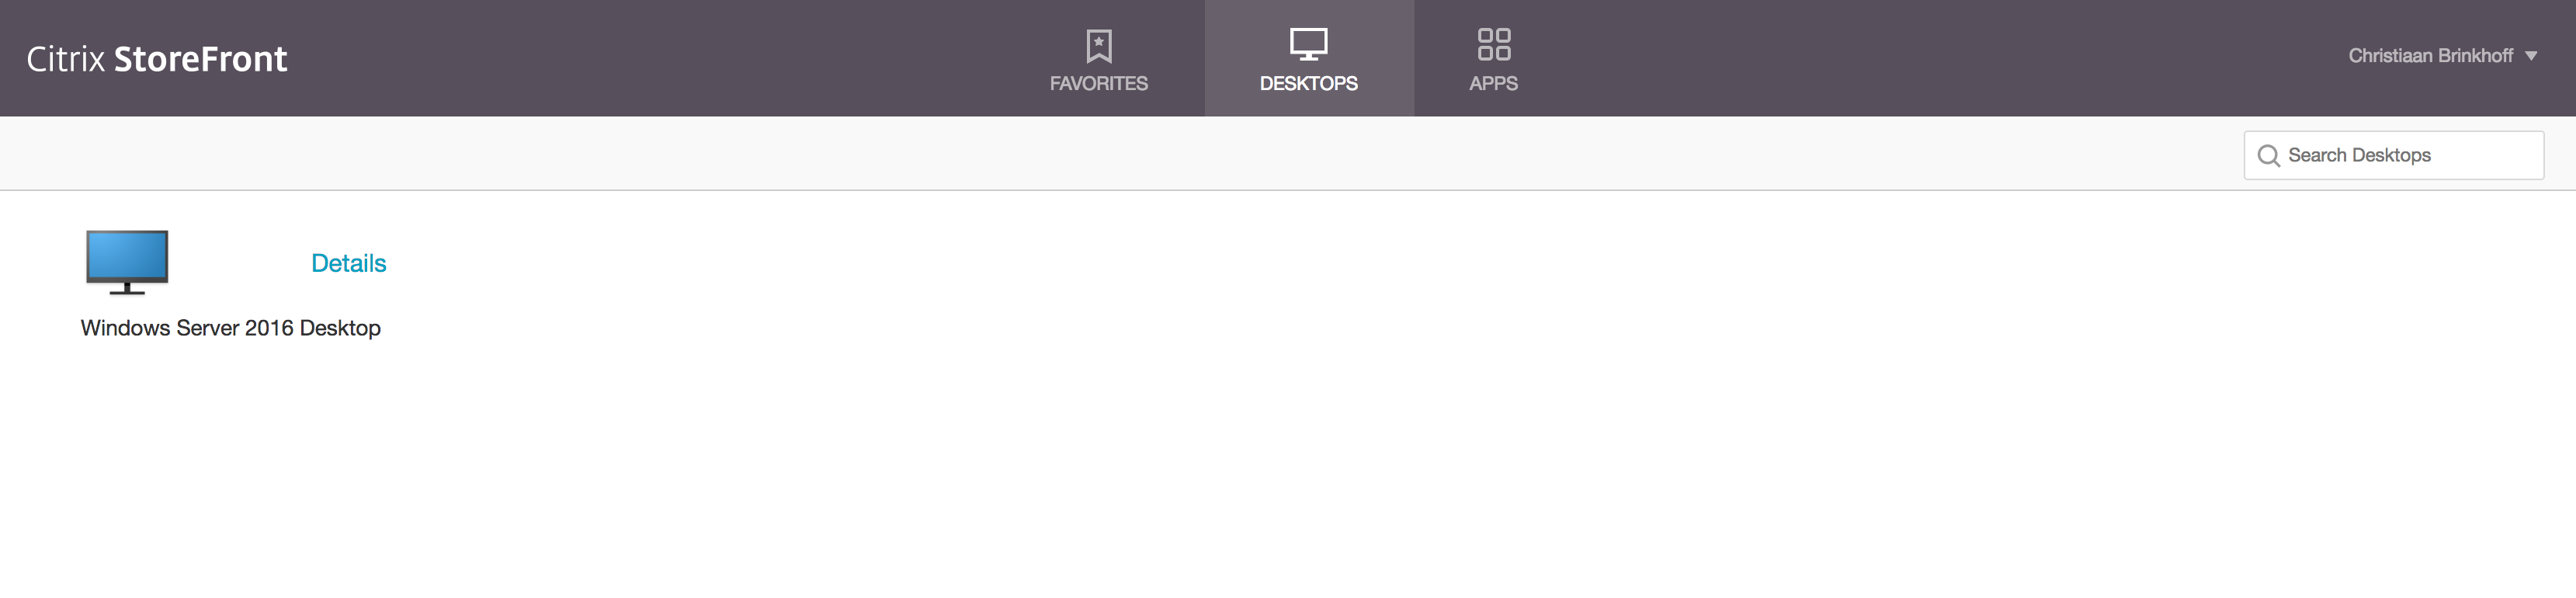
Desktop is working!
Test your Published Applications

Apps are also working!

How to use your own StoreFront server
With the XenDesktop Essentials and XenApp and XenDesktop Service, you also can use your own StoreFront servers to connect to the Citrix Cloud environment.
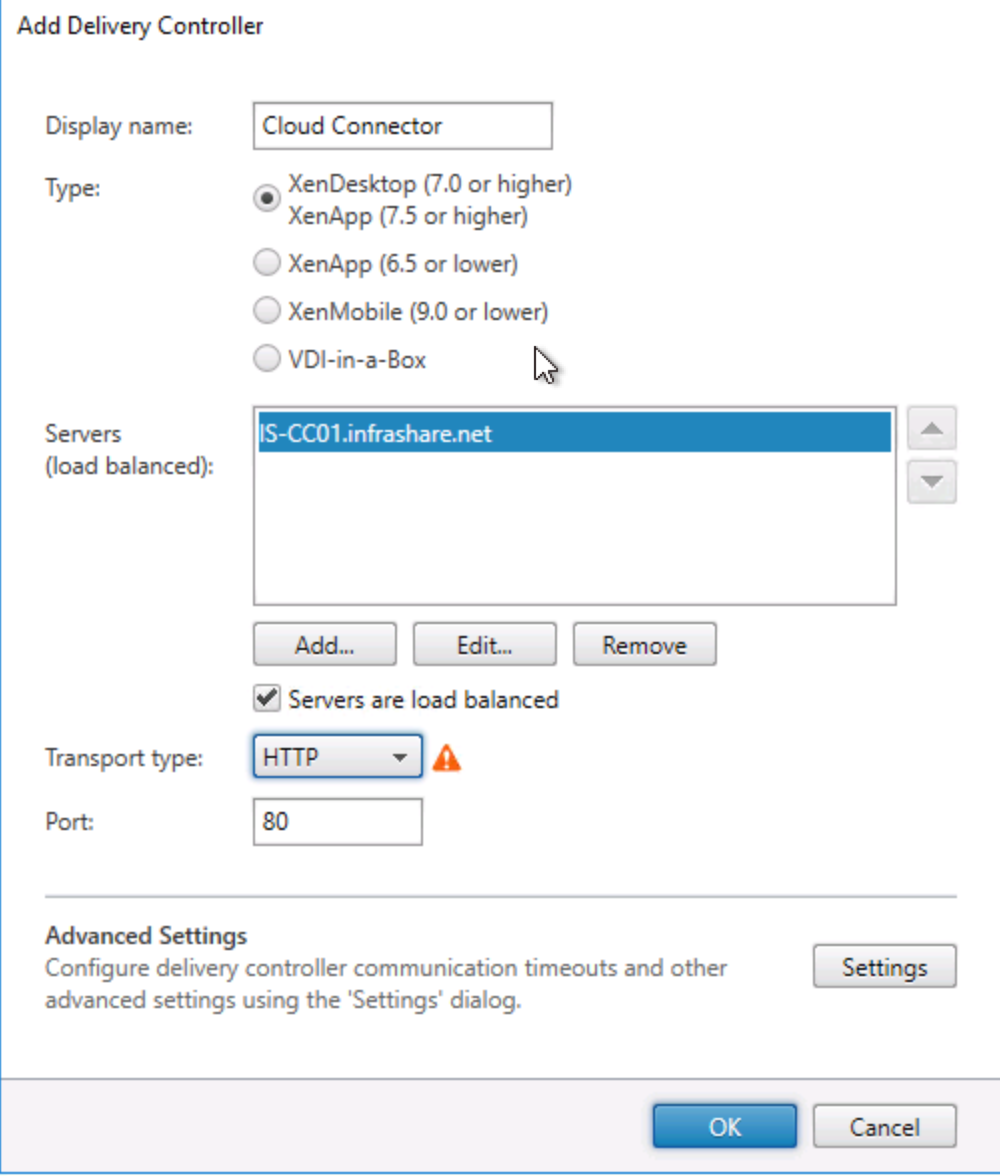
Please perform the initial installation of your StoreFront server(s). The only thing to remember is to use the Citrix Cloud Connector FQDN and Protocol HTTP with port 80 as Delivery Controller configuration.
Extra: When you have a High Availability configuration for the Citrix Cloud Connectors (2 servers), then add the other FQDN of the second Cloud Connector server too.
Note: The StoreFront servers needs to be available in the same subnet as the Citrix Cloud connector servers. If you place them in another Zone or environment, please make sure that you add another resource location, and install the Citrix Cloud Connector server.
Configure NetScaler Gateway-As-a-Service (NGaaS)
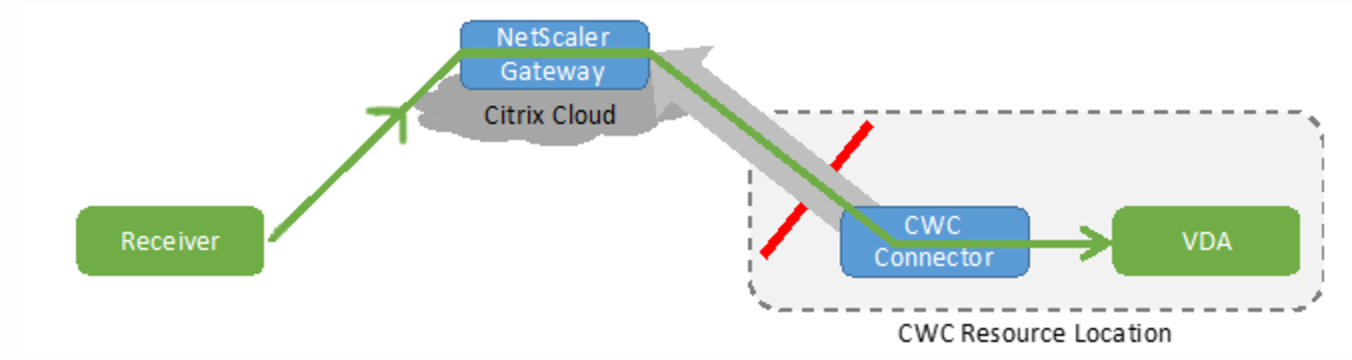
You enable NetScaler Gateway Service in the Citrix Cloud. After enabling the service, users can access their VDAs from outside their network, as shown in the following diagram.
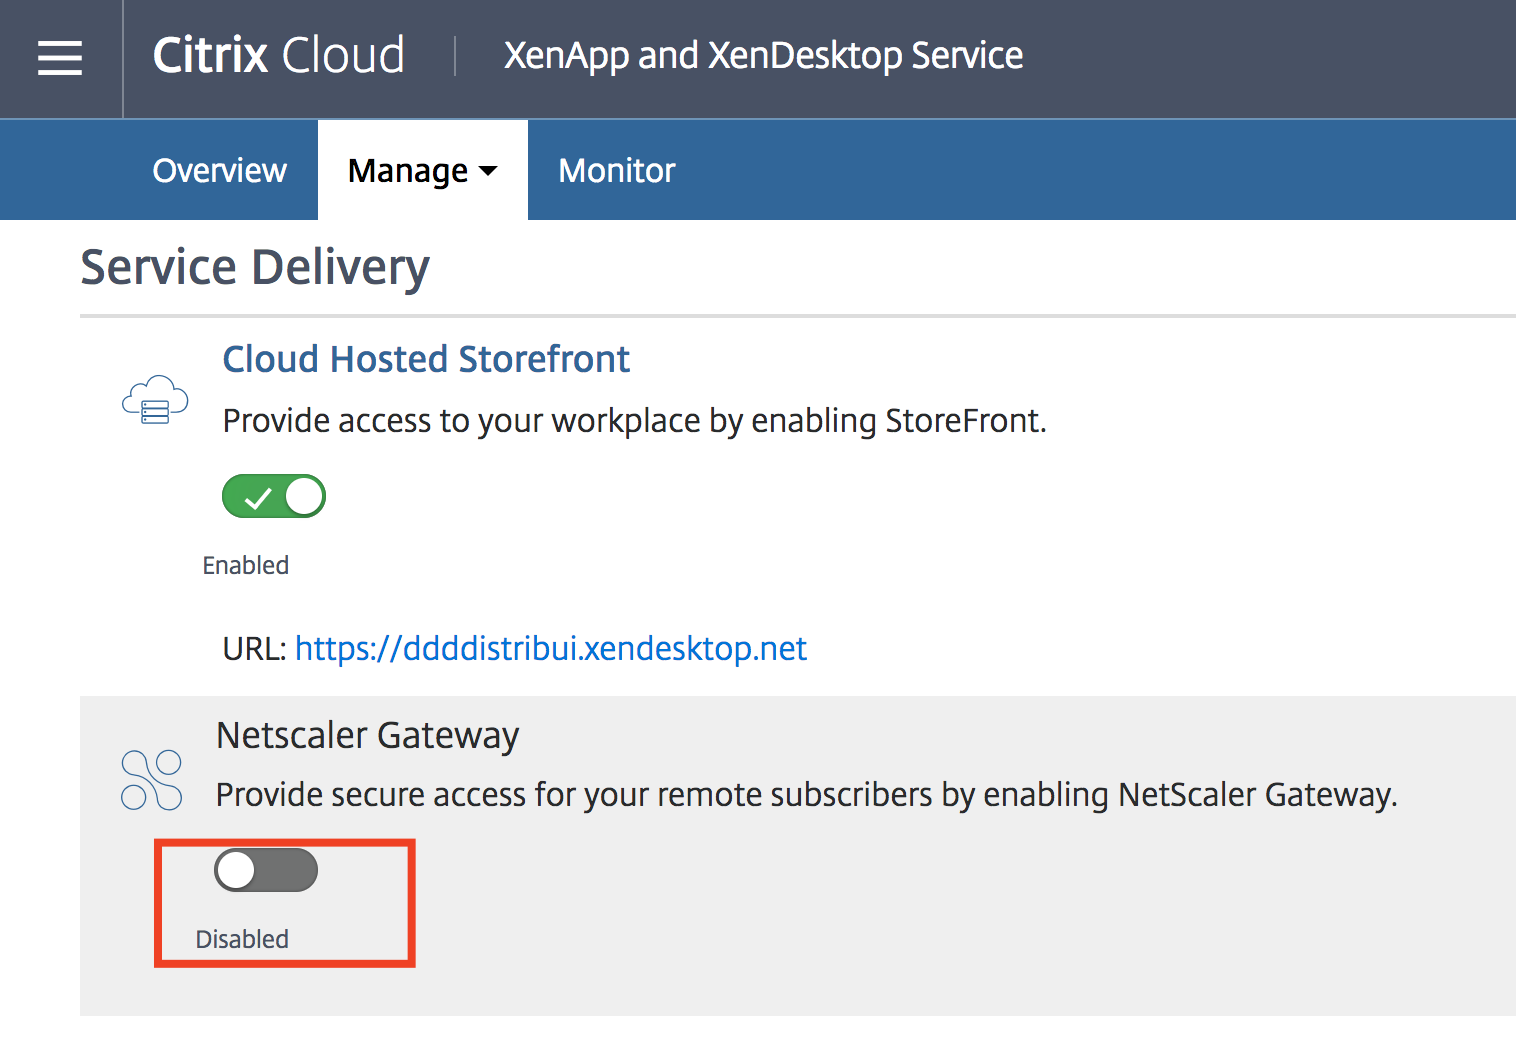
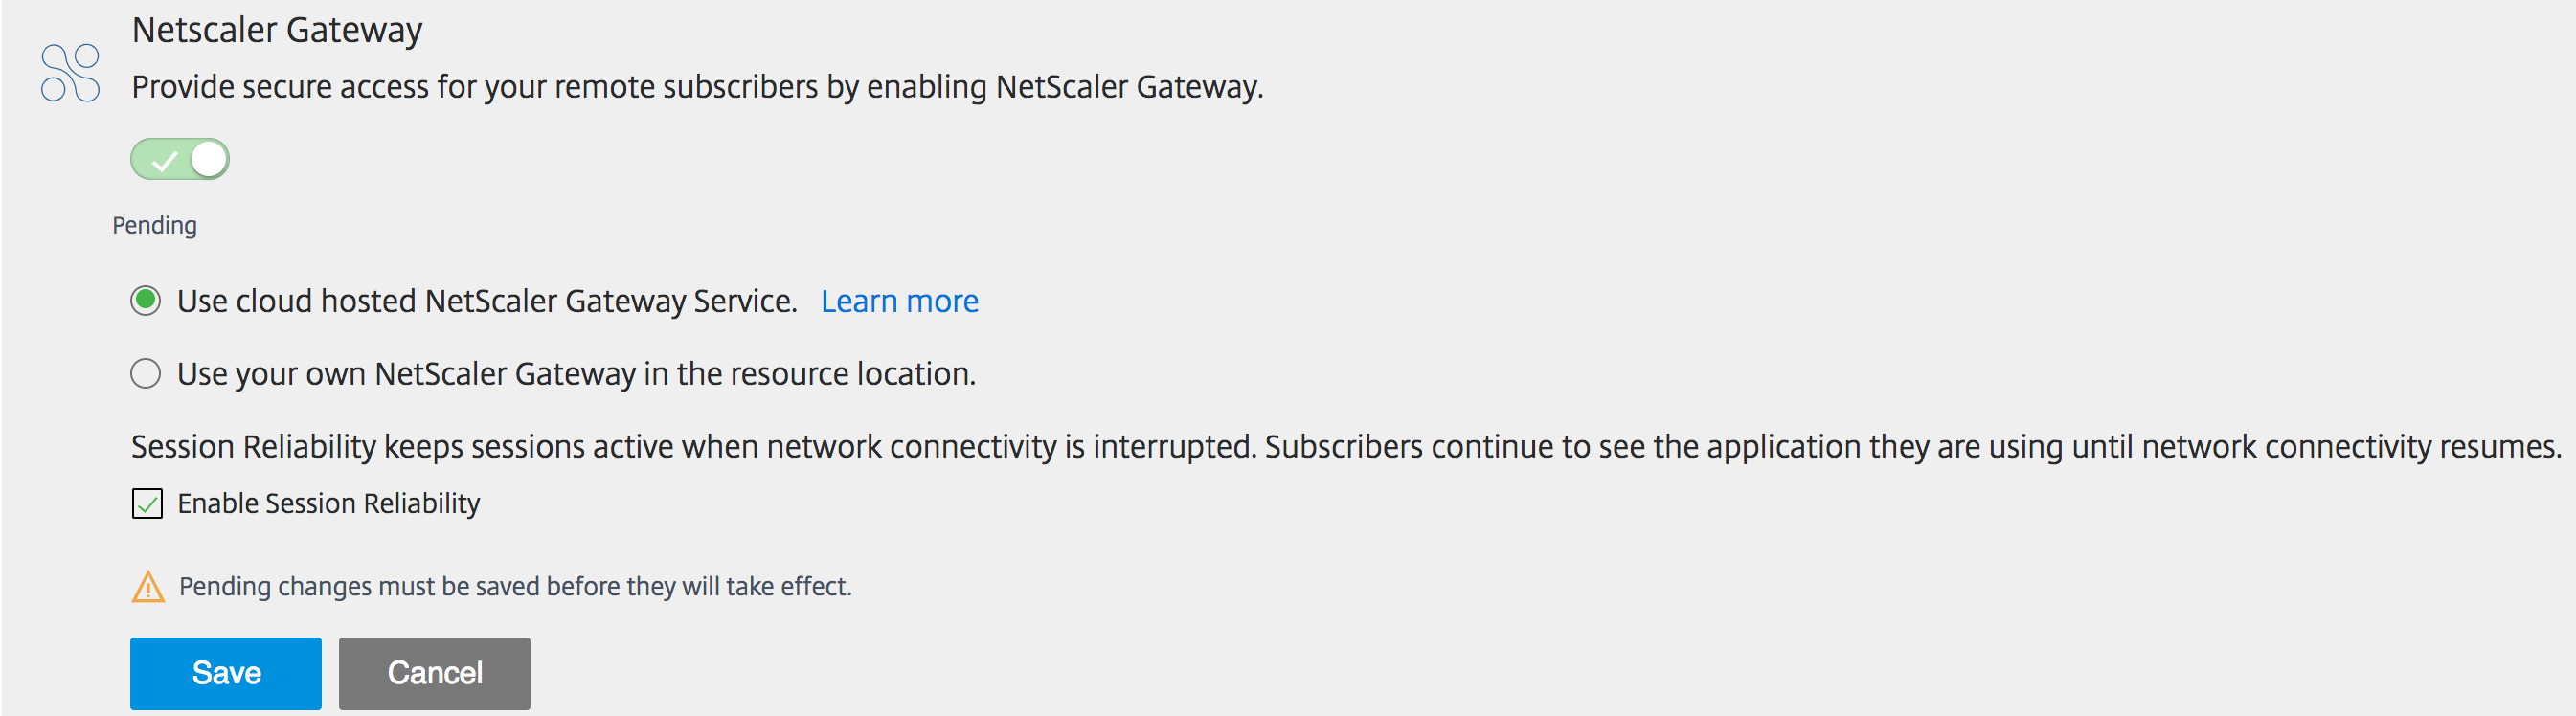
Open again the Service Delivery option in the Manage menu and Enable the – NetScaler Gateway – option, by sliding the button to green
Select the – Use Cloud hosted NetScaler Gateway Service – and ensure that the Session Reliability is activated. Click on Save to start the enrollment.
That’s it for now.
Please check out the article below to configure an own NetScaler and StoreFront when using XenDesktop Essentials or the XenApp and XenDesktop Service!