Learn how to deploy the Remote Desktop (MSRDC) client as Intune Win32 app – via Microsoft Endpoint Manager (MEM) to your physical endpoints clients


Azure Virtual Desktop has been pivotal during this pandemic for a lot of business. Most of our customers are using the Remote Desktop (MSRDC) client for Windows 10 application to access virtual apps and desktops. This gives the most feature-rich integration with your local physical client device.
One of the benefits of your Microsoft 365 E3 (and above) license services is the access to Intune as part of Microsoft Endpoint Manager. Intune has been around for a while and proven to be very successful and easy as a device management service. Let’s bring both benefits together…
You’ll learn in this article how you can publish the Remote Desktop Client Application (MSRDC) to your endpoints via Microsoft Endpoint Manager (Intune).
I’m using the Win32 client instead of the new Windows Store app due to the more overall device redirection support (at the moment of writing).
Table of Contents
Click on the title to jump to that spot in this article:
- What is Microsoft Endpoint Manager?
- Gartner listed Microsoft Endpoint Manager as a Leader
- Auto-update feature
- Screen Capture Protection
- Compare all the types of Clients
- Get new features earlier – join the insiders ring
- Desktops in the Cloud – episode on UX and Clients
- Wrap the AVD client application into a .Intunewin file
- Download the (latest) Remote Desktop Client (MSRDC)
- Configure the App Policy in Microsoft Endpoint Manager
- Assign the application to an (AAD) Group – to enforce deployment
- Verify the application enrollment process
What is Microsoft Endpoint Manager?
Microsoft Endpoint Manager brings all your infrastructure components around Windows 10 and other mobile devices together to manage and maintain you better as part of the modern workplace. Combining the value of Microsoft Intune and Configuration Manager in a single unified platform, it helps you reduce overall complexity, empower end-user productivity, and enhance device security. Combining this with your virtual desktop workloads brings virtual and physical capabilities more together. See below a good quick video summary of the product.
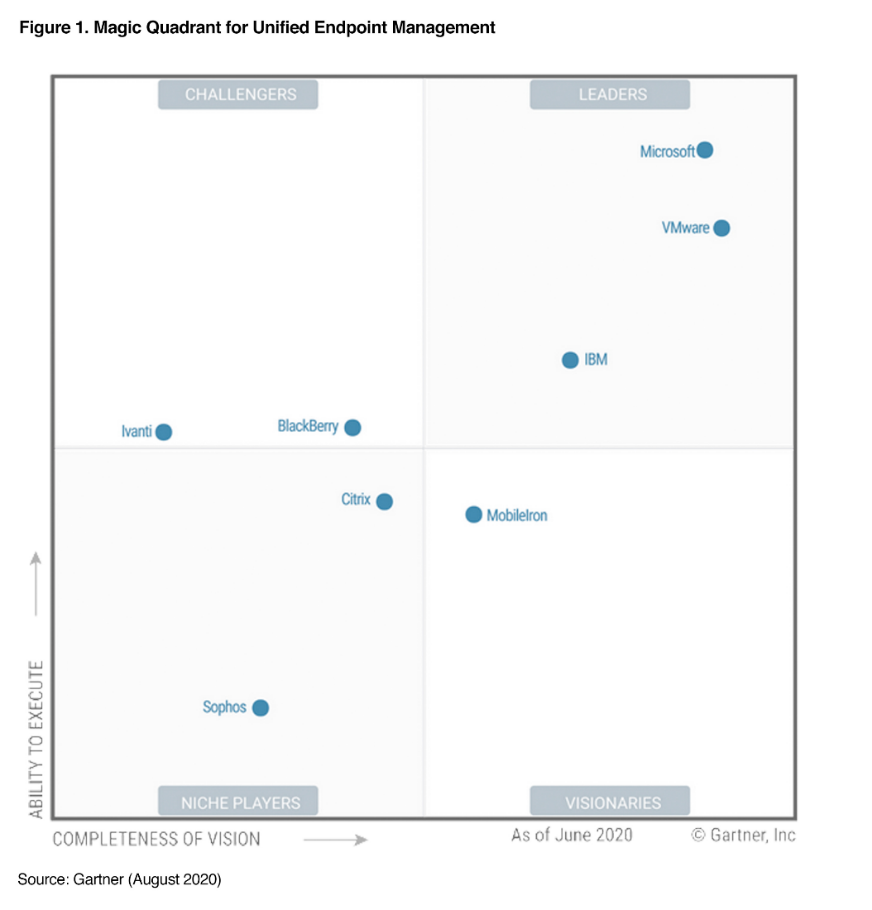
Gartner listed Microsoft Endpoint Manager as a Leader
Gartner does not endorse any vendor, product, or service depicted in its research publications, and does not advise technology users to select only those vendors with the highest ratings or other designation.
Our Microsoft vision:
“A major culture principle within the Microsoft Endpoint Manager team has been to place the ultimate measure of value on usage, and we have built our products accordingly. We extend this principle in our belief that customers choose to run their businesses with the products that offer IT the best combination of value and functionality, and provide the organization with the best user experience.
Our desire is to be an organization that constantly listens to and learns from our customers. Our successes are the result of very concrete changes we’ve made to the way we operate.” By Brad Anderson, CVP Microsoft
Gartner, Magic Quadrant for Unified Endpoint Management, August 11, 2020.
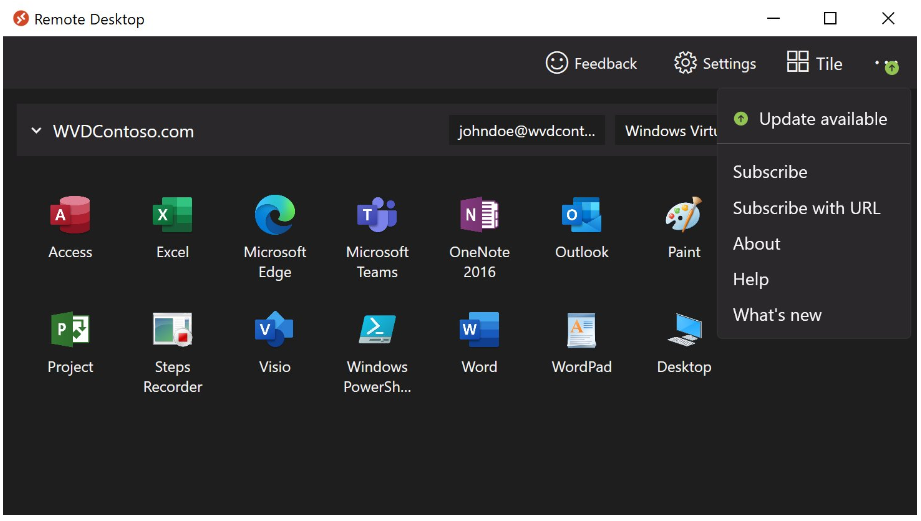
Auto-update feature now available
Since the end of last month, the auto-update feature, which allows the client to install the latest updates automatically has been added to the Remote Desktop (MSRDC) client. This leaves you as IT administrator in a better position to make sure your end-users are consistently updating their client during logoff or at the close of the AVD client as the final action.
Note: The auto-update functionality only works with the per-user (Windows User Profile) installation of the MSRDC client – as it requires rights to do the upgrade.
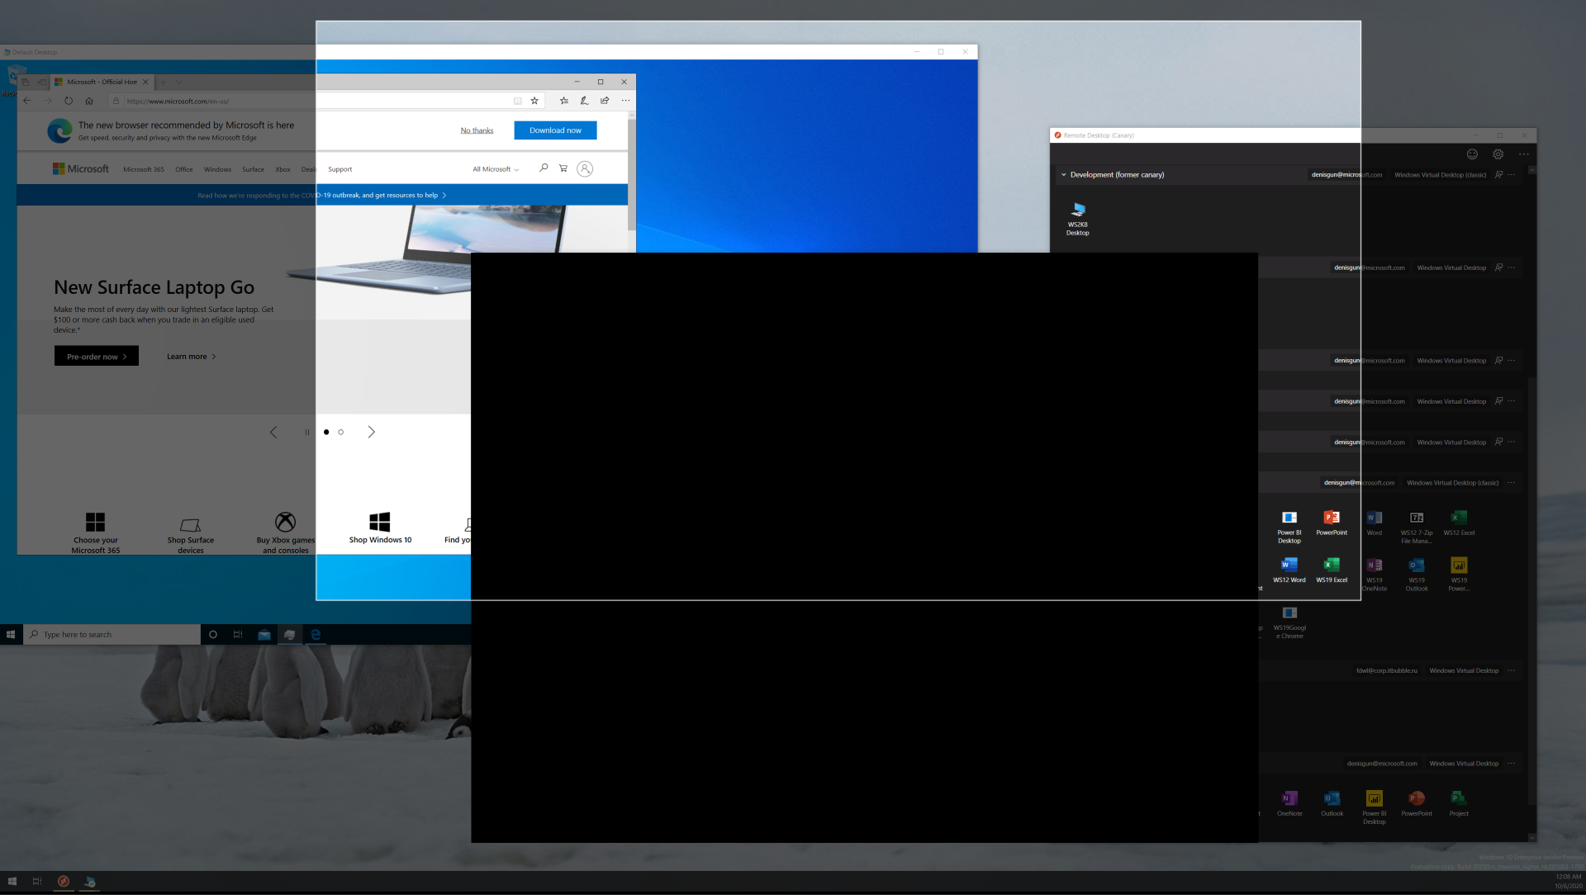
Screen Capture Protection
With the new Screen Capture Protection feature in public preview, customers can easily block the creation of screenshots of the virtual desktop session. For example, if you want to protect all the data from going out of the consolidated virtual desktop session, this feature is definitely something you’d like to add on top of your Conditional Access and Azure MFA rules to enhance the data protection level of your Desktops in the Cloud – as part of Azure Virtual Desktop. See below an example for it works, the desktop session that is completely black is where the Screen Capture Protection feature has been enabled. The feature also works when your desktop session is shared via Teams screen-sharing.
To enable the Screen Capture Protection feature, which I’m explaining here – you only have to run the command below to add the designated registry key to enable the feature – in your image. More info can be found here on Microsoft Docs.
Note: The feature currently only works for full desktop sessions from Windows 10 endpoints, Windows Desktop client, version 1.2.1526 or later is needed and your session hosts – host pool should be active in the validation environment.
reg add "HKLM\SOFTWARE\Policies\Microsoft\Windows NT\Terminal Services" /v fEnableScreenCaptureProtection /t REG_DWORD /d 1
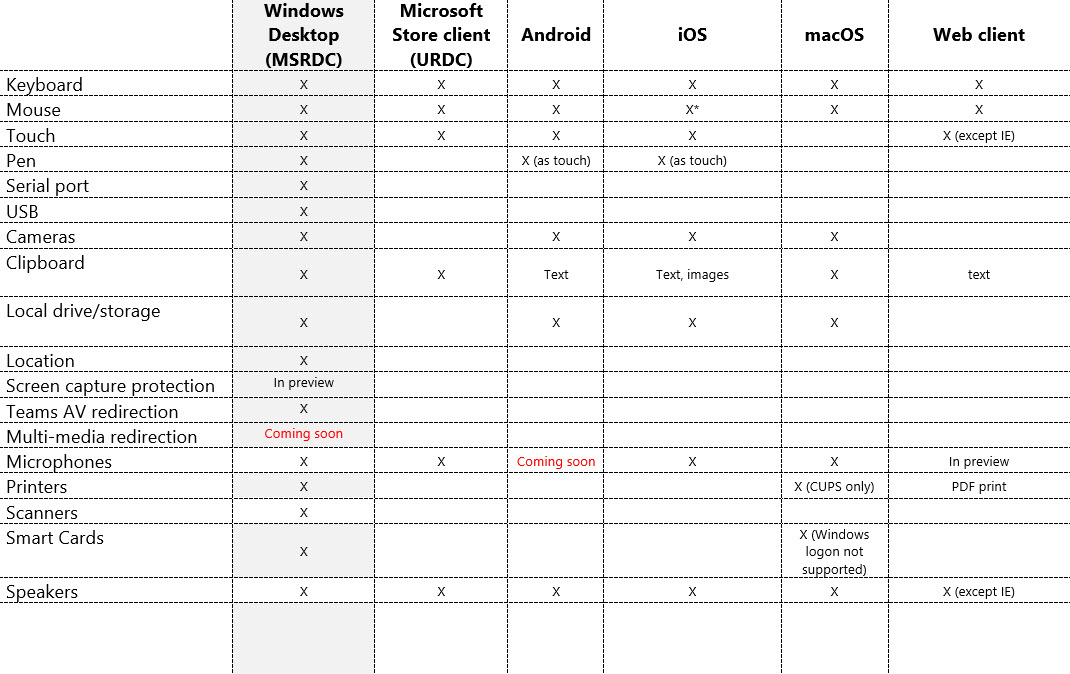
Compare all the types of Clients
Last updated on 31.10.2020. The following tables compare support for the device and other redirections across the different clients. These tables cover the redirections that you can access once in a remote session. We cover the Windows Desktop (MSRDC) in this article. Microphone support for Android is coming soon available as well, stay tuned.
Find the most accurate information on the differences here.
Get new features faster – join the insiders ring
We release new versions of the client two weeks before it goes into the production ring to validate new features – and give customers early access. Customers that are in the Insider ring will receive update notifications automatically whenever updates are ready. More documentation – on what’s new – can be found here.
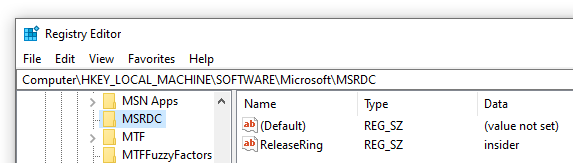
To configure the client for the Insider group, set the following registry information:
- Key: HKLM\Software\Microsoft\MSRDC\Policies
- Type: REG_SZ
- Name: ReleaseRing
- Data: insider
Desktops in the Cloud episode on UX and Clients with Sandeep Patnaik
Not so long ago, Sandeep Patnaik – one of the Program Manager leads of the AVD engineering team that drives experience and clients, was part of one episode. Sandeep explained all the latest updates and showed us some very cool exclusive demo’s that is definitely with the watch for the audience of this blog article. Watch it here below.
Wrap the AVD client application into a .Intunewinfile
Note: Make sure that your physical clients (and your organization) are enrolled into Intune – Microsoft Endpoint Manager.
We are starting the Intune preparation process for the client.
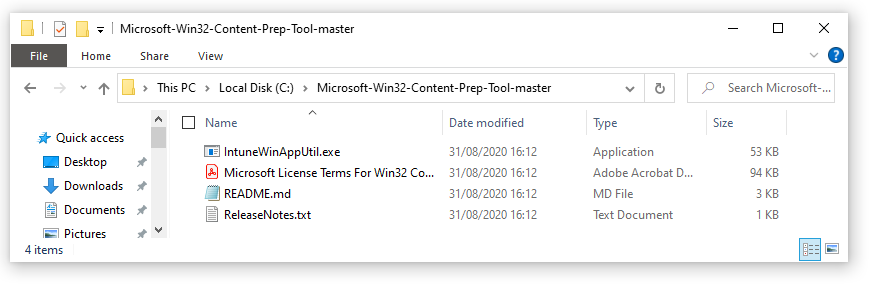
Download the – Microsoft Win32 Content Prep Tool.
https://github.com/Microsoft/Microsoft-Win32-Content-Prep-Tool

Unzip the tool e.g. on the C:\ drive (you could pick a random folder as well)
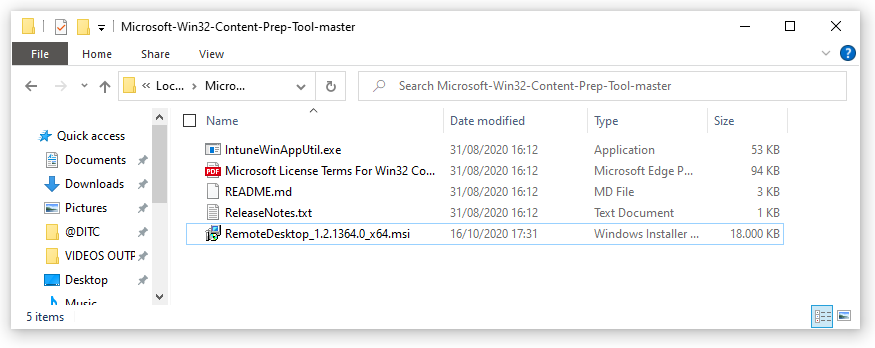
Download the (latest) Remote Desktop Client (MSRDC)
Download the latest Remote Desktop Client here.
Save the MSI in the same folder as the Prep Tool (above)
Note: Learn here what the latest new updates are. The link below always points to the latest client.
Create the Win32 .Intunewin Package
Open PowerShell – and change directory to the Intune Prep tool location e.g. C:\Microsoft-Win32-Content-Prep-Tool-master
Cd “C:\Microsoft-Win32-Content-Prep-Tool-master”

Run .\IntuneWinAppUtil.exe and fill in the following requirements:
- Please specify the source folder: C:\Microsoft-Win32-Content-Prep-Tool-master
- Please specify the setup file: RemoteDesktop_1.2.1364.0_x64.msi
- Please specify the output folder: C:\Microsoft-Win32-Content-Prep-Tool-master
- Do you want to specify catalog folder (Y/N)? N
Note: You can customize the folders as you like. This is just an example.

If everything runs correct, the following creation wizard will start.
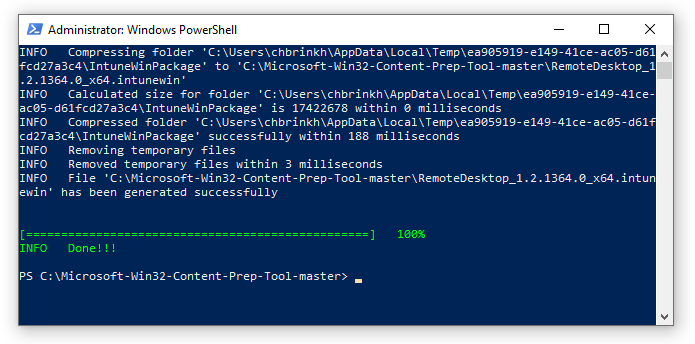
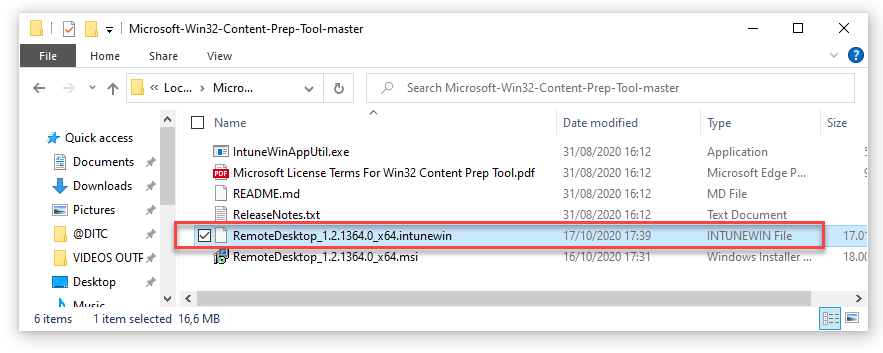
If everything ran successful – you see the .intunewim file listed in the folder. We can now switch to Microsoft Endpoint Manager.
Configure the App Policy in Microsoft Endpoint Manager
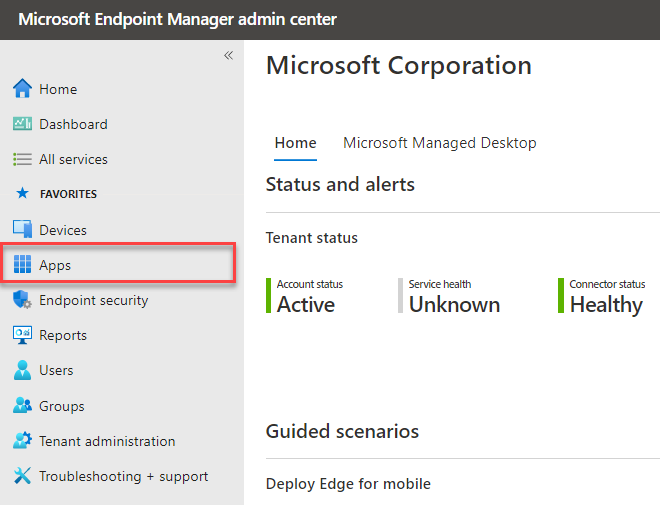
Go to endpoint.microsoft.com – to continue in the Microsoft Endpoint Manager admin center
Go to Apps
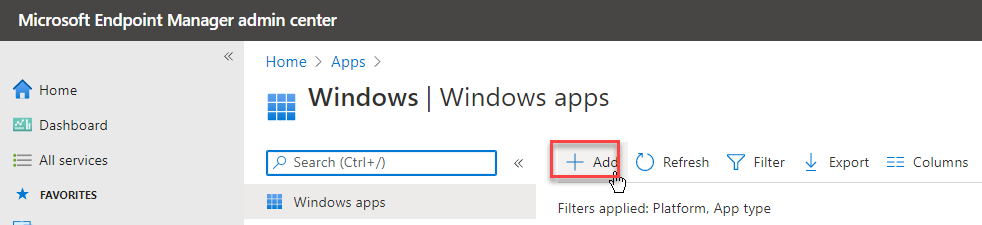
Click on Windows

Click on Add
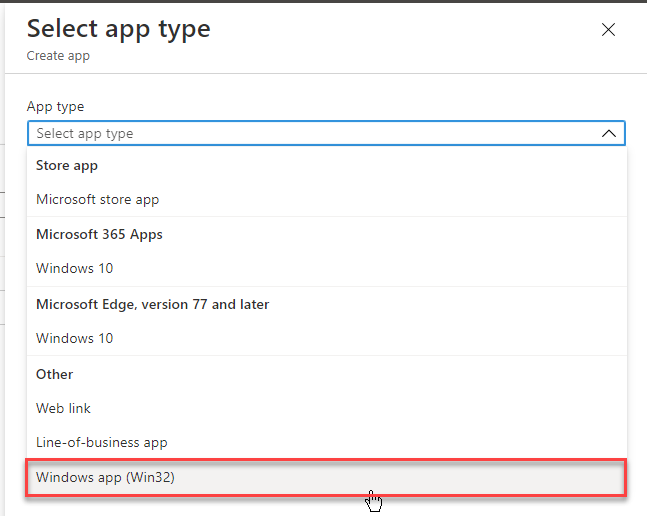
Select Windows app (Win32)
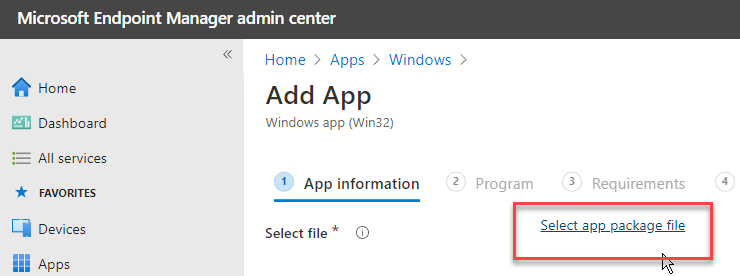
Click on – Select app package file
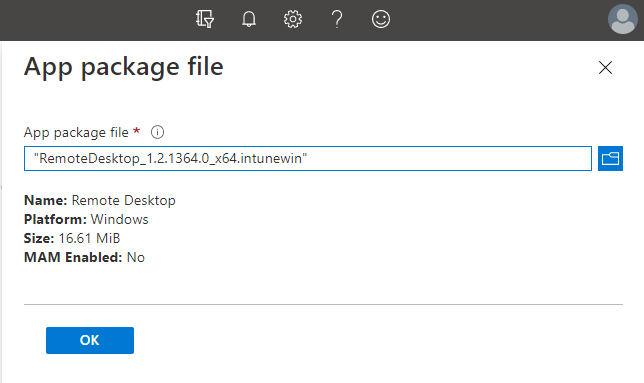
Browse and Select the earlier created .Intunewim package file, which includes the Remote Desktop (MSRDC) – AVD Client
Click on Ok
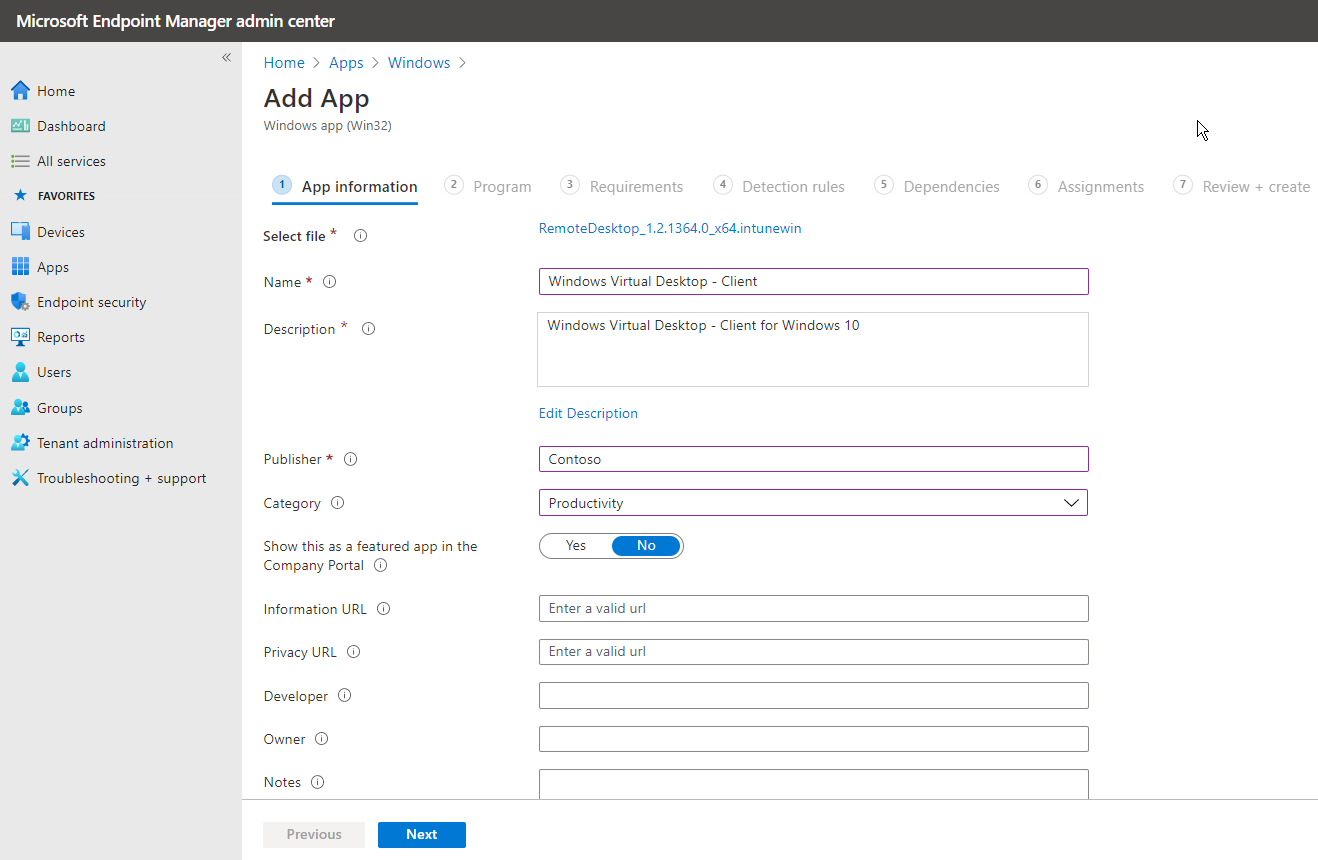
On the next screen – you can customize the name of the app. I’m going to name it Azure Virtual Desktop – Client.
Optional: Make sure to set the following setting to yes; Show this as a featured app in the Company Portal – if you want to allow end-users to install the app themselves also via the Company Portal. Featured apps are prominently placed in Company Portal so that users can quickly get to them.

Change the Logo of app the App
Click on Next
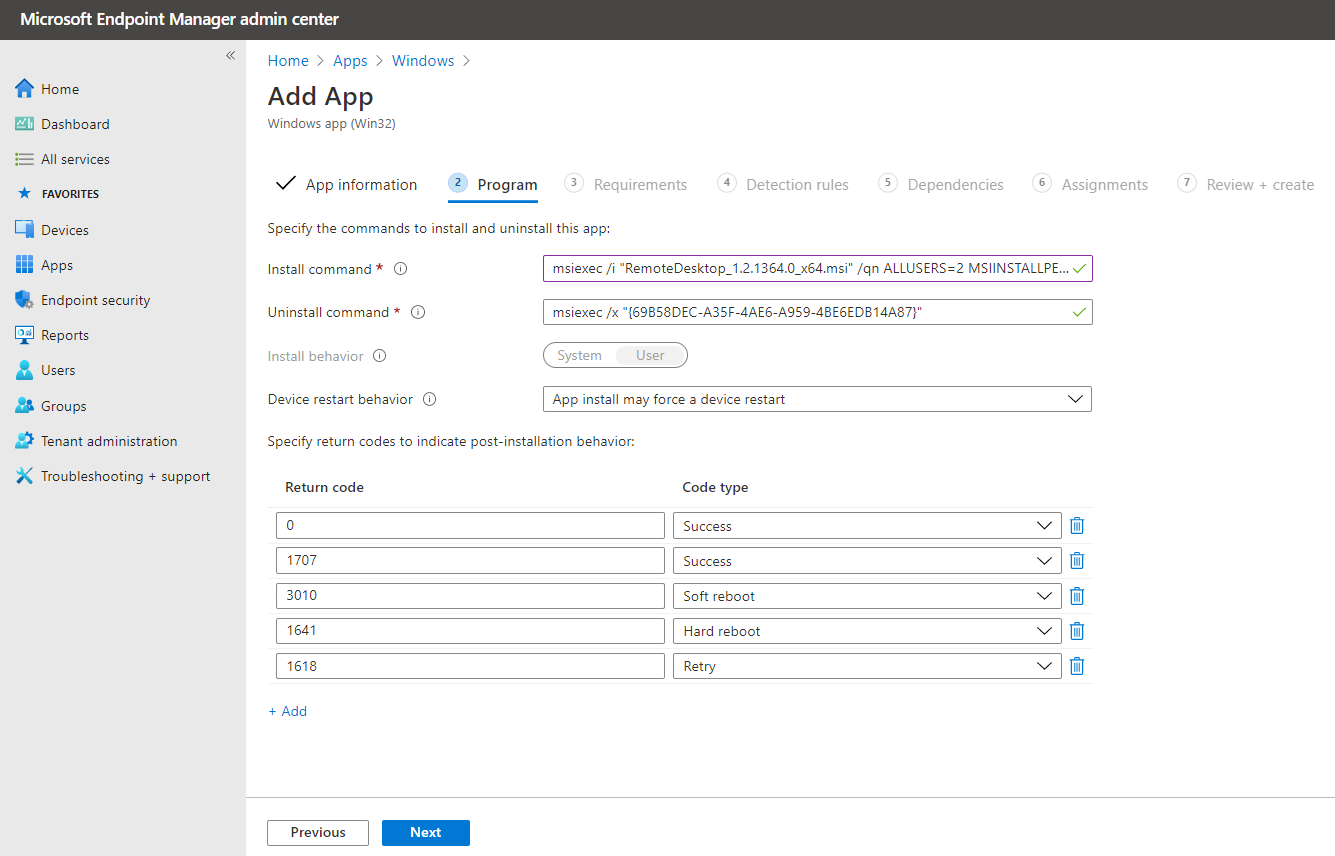
Configure the silent install commands
msiexec /i "RemoteDesktop_1.2.1364.0_x64.msi" /qn ALLUSERS=2 MSIINSTALLPERUSER=1
Note: If you want to install the app per-device, please use the ALLUSERS=1 parameter and remove the MSIINSTALLPERUSER=1 parameter.
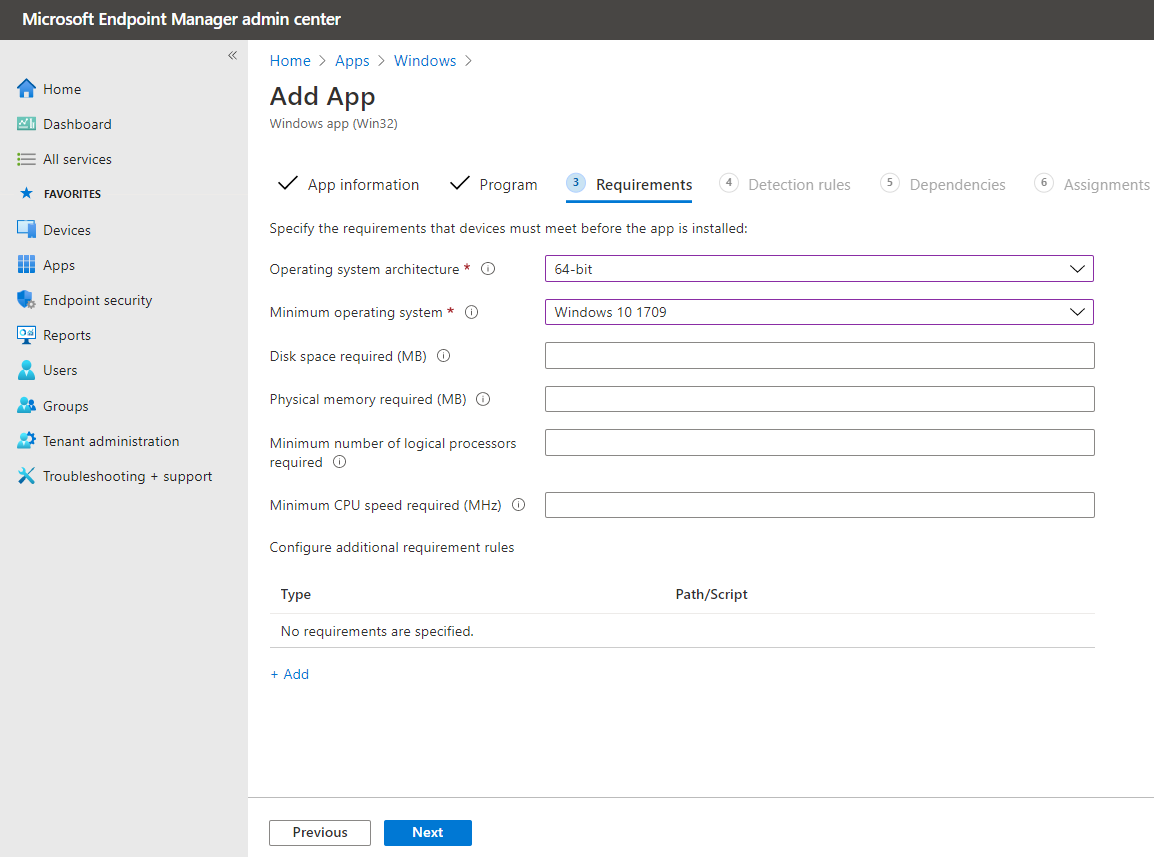
Give in the minimum app requirements
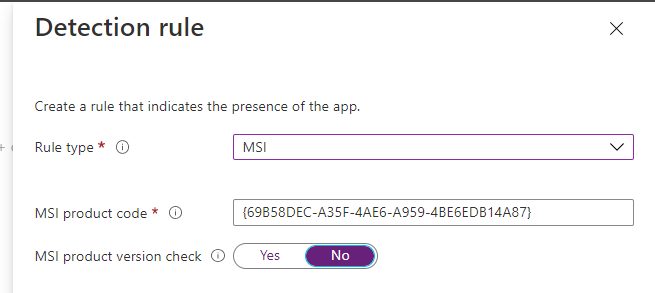
Create the detection rule – based on Manually configure…

Select MSI – to detect based on the MSI Product Code of the MSI to see if the app is already installed on the Endpoint.
Click on Ok
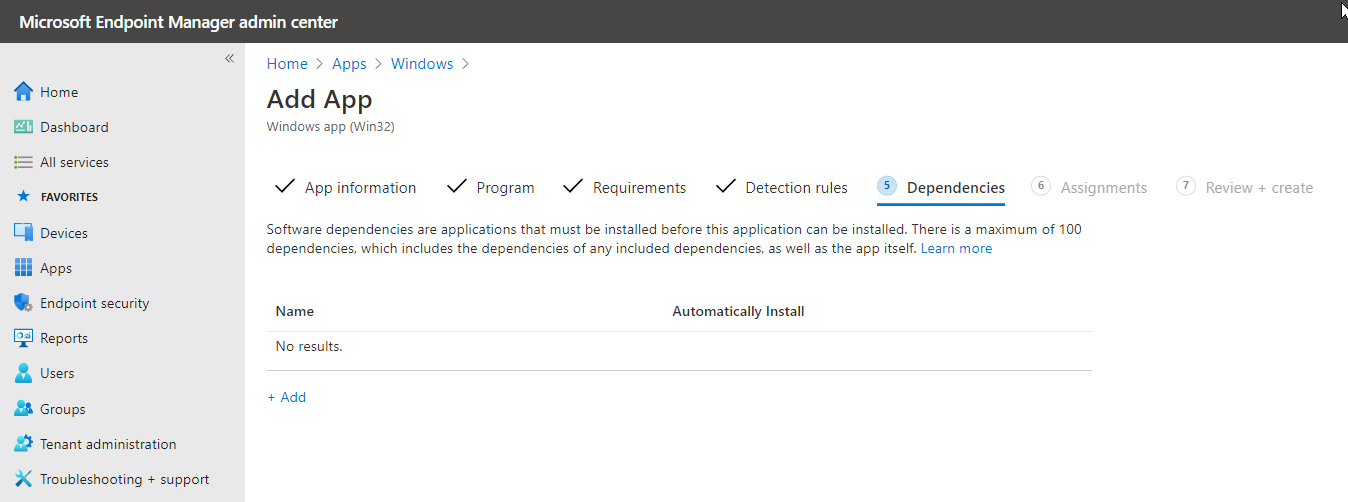
We can skip dependencies. Click Next
Assign the application to an (AAD) Group – to enforce deployment
Now we have to assign the App to either an Azure AD Group or all users. I’m going to assign this app to my pre-created AAD group Christiaan.
Click on Select and Next
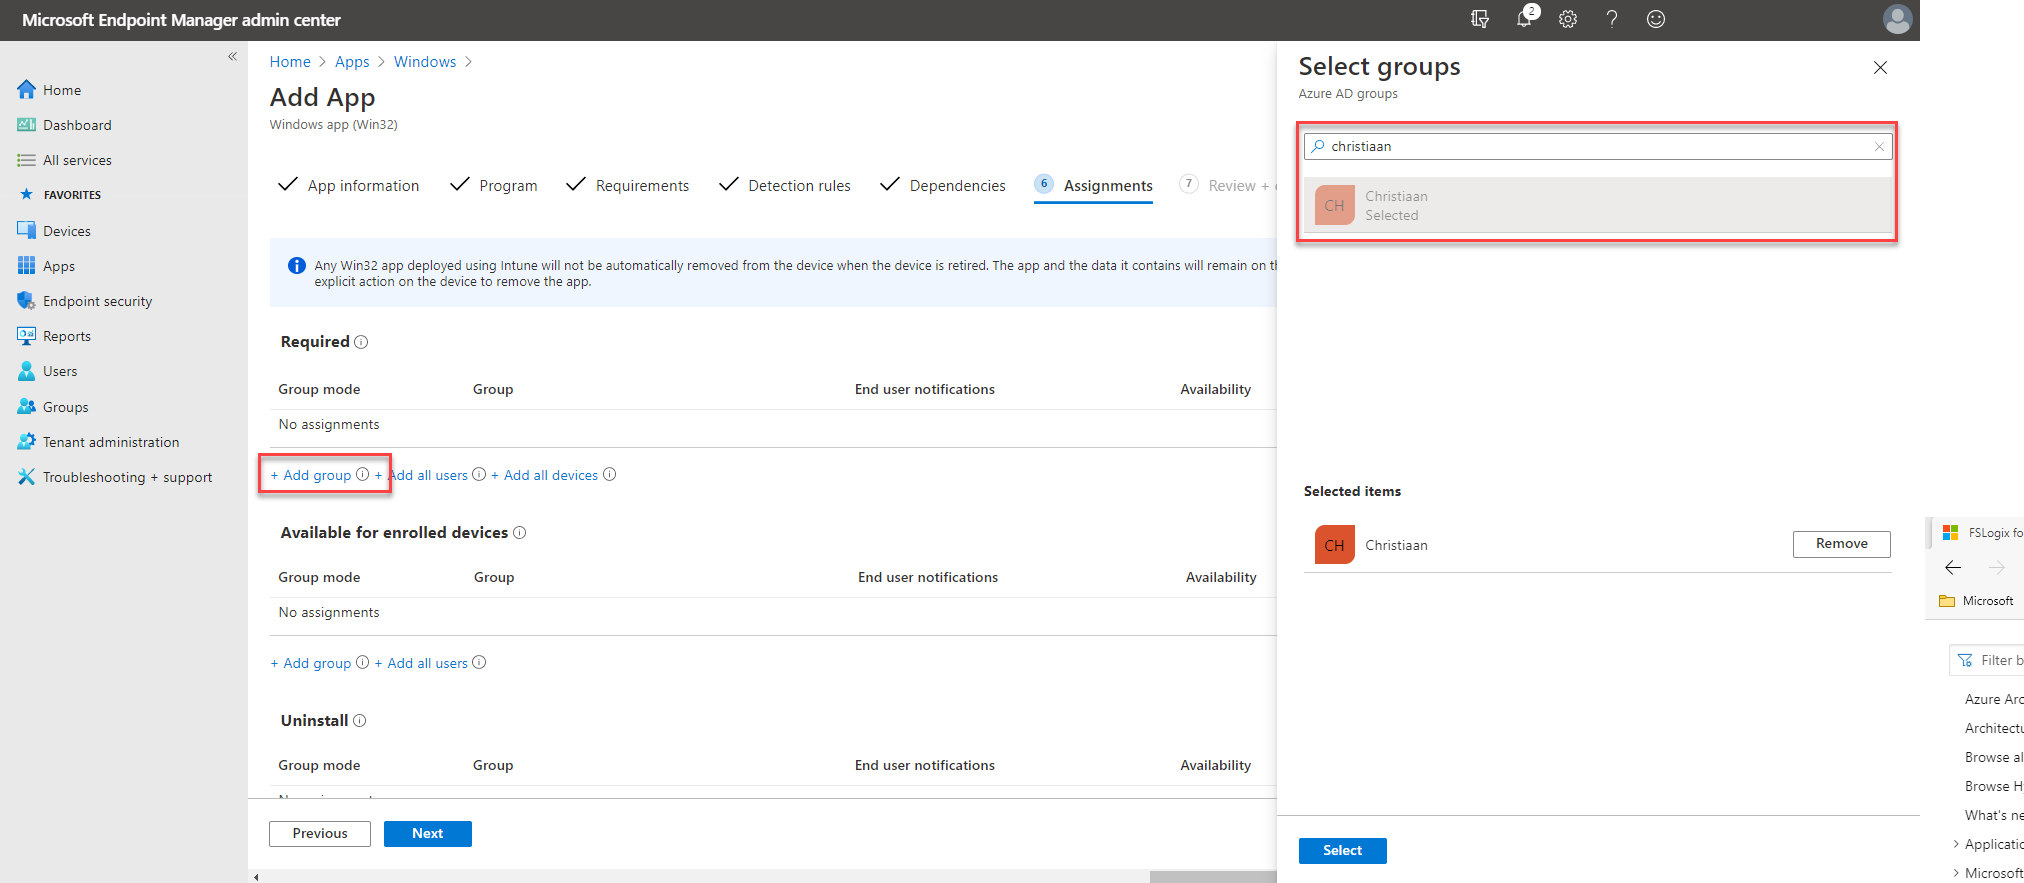
Optional: You could also add other filters, such as based on compliant enrolled devices.

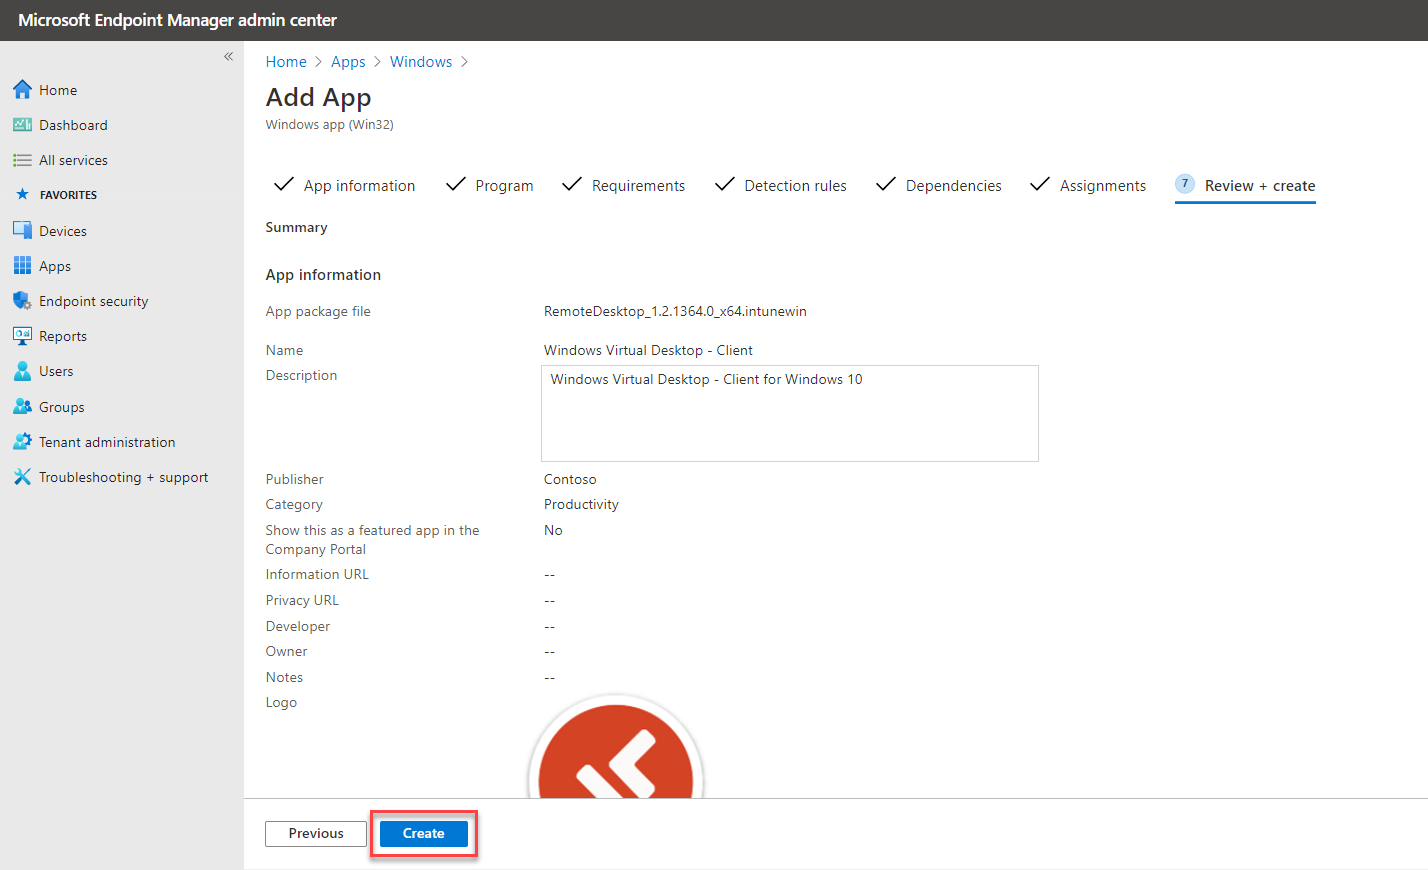
We’re ready! Click on Create
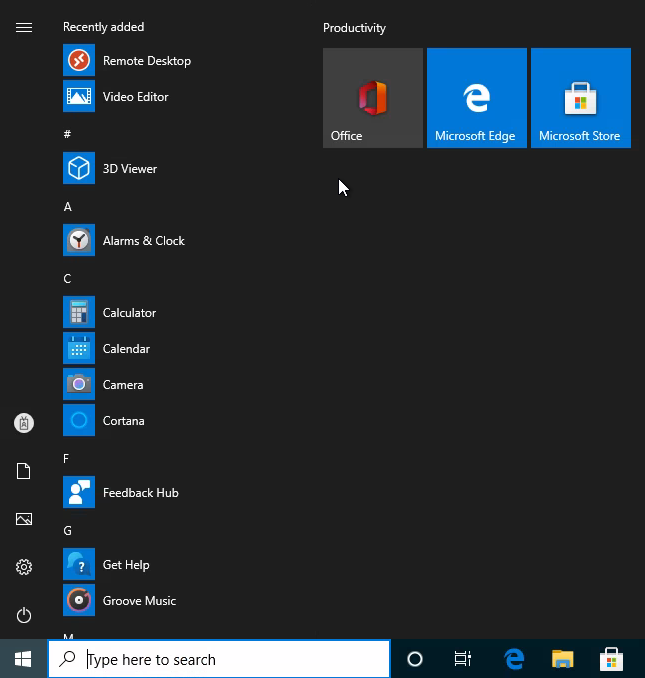
Verify the application enrollment process

The application will now be pushed to all the endpoints of users that are part of the AAD Group filter.

And as a newly available app in the start menu.
Click – as end-user – on Subscribe and Log in with your Azure AD credentials
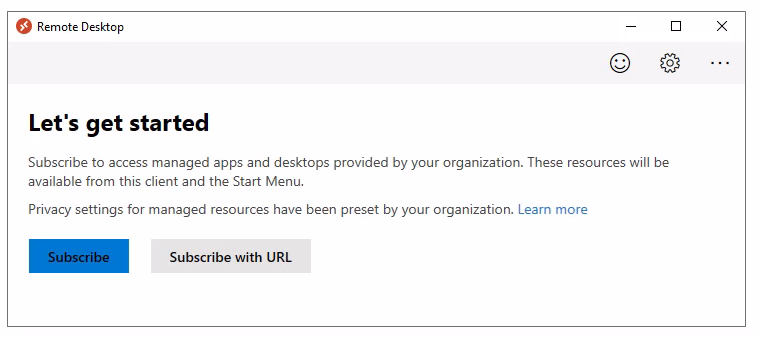
And you’re ready to use your virtual apps and/or desktops running on Azure!

Thank you for stopping by!