Using Azure MFA as Citrix ADC – NetScaler RADIUS using the new NPS Extension


Last week, Alex Simons (Director of PM) from the Microsoft Identity Division team did a great Azure Active Directory – MFA feature announcement on Twitter.

The big news that came out was that Azure MFA won’t require a fully on-premises MFA server installation anymore, what is great news! Microsoft says that this new feature was one of the top requests that they received from many customers, what improves that Microsoft definitely listens to their customers these days! Read the official Microsoft announcement here.
The new feature will give us more flexibility, and makes it easier to perform MFA implementations at the customer site with a minimum of impact on resources! The feature is also included in the MFA user license, so when you already have this AD Premium, MFA single or EMS license activated on your tenant, then u can use this feature without making extra costs.
“For every lock, there is someone out there trying to pick it or break in.” – David Bernstein
Nowadays more and more companies are migration their services to Office365, and most of them already use Azure MFA for securing their SharePoint, Exchange Online or OneDrive services. What makes it for most users a bit more complicated and confusing, when users must use different, physical or software token methods to provide external access, for other services like Citrix remote access. This will now be over, after reading this article you will be able to configure an MFA RADIUS server for your NetScaler device, in just a few simple configuration steps!
One authentication method to rule them all! Let’s integrate even more services into the Microsoft Azure Cloud!
How does it work?
As said, the on-premises MFA server was required. This dedicated MFA server can now be replaced by an NPS server (Network Policy Server Role), they must be installed on one of your on-premises servers. Microsoft provides an MFA – NPS Extension that automatically (pre-config) adds cloud-based MFA authentication support to your NPS – RADIUS clients – settings. With this extension, you can add phone call, SMS, or phone app verification to your existing authentication environment.
When a user initiates an authentication request, by entering his domain credentials on the NetScaler external logon page, the NetScaler server reacts and send the RADIUS authentication request to the NPS server. The NPS server then connects to your on-premises Active Directory server to check the primary authentication request, if successful, the request is going back to the NPS, and through the installed NPS extensions the MFA request will be sent to Azure cloud-based to perform the secondary authentication. Once it receives the response, and when the MFA succeeds, it completes the authentication request by providing the NPS server with security tokens that include an MFA claim issued by Azure STS. Your Citrix desktops will be shown to you, and you are good to go!
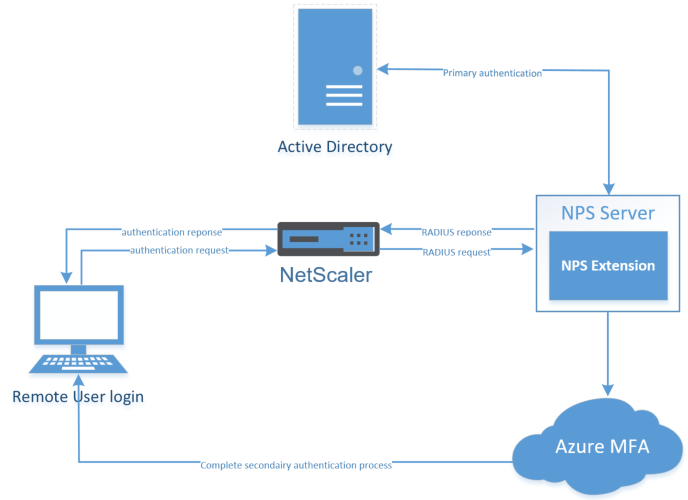
Table of Contents
Click on the title to get forwarded in the article:
- Activate Azure MFA in Azure
- Configure the NetScaler RADIUS Authentication Policy
- Test the remote login request
- Troubleshooting
Requirements
-
- Azure Active Directory subscription
- Azure AD Connect software (Active Directory must be in sync with AzureAD)
- Azure AD Premium license – EMS+ or MFA single license
- On-premises NPS server (at least Server 2008 R2 SP1 or higher)
- On-premises Active Directory
- Mobile phone
- NetScaler 11.1 (can be older of course, I used 11.1 for this article)
- NetScaler Platform, Standard, Enterprise or Platinum license
- Pre-configured NetScaler Gateway setup
In case you haven’t got any Azure Active Directory, or Azure Active Directory sync connect (AADC) setup in your environment, please start doing this first. As said in the requirements section, this is a pre-requirement (check out this article, for setup doing this).
If you have setup these – Azure MFA is not activated out-of-the-box, so we first need to activate this feature in the Office365 license portal.
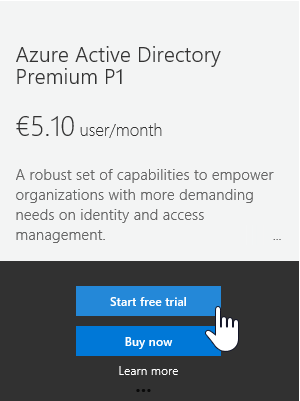
Note: To proceed this step, the AD Premium license or MFA lossless must be activated on your tenant/subscription. You can make use of the 30 day trial of AD Premium, for testing purposes.
Step 1: login to the Microsoft Azure portal – https://portal.azure.com – and start the Azure Active Directory – Resource option
![]()
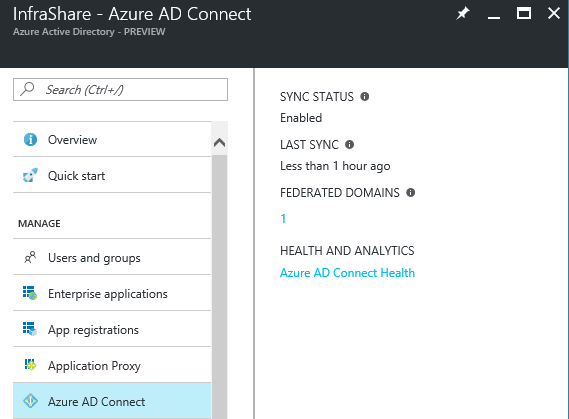
Step 2: Check if your Directory sync works properly to proceed to step 3, click on Azure AD Connect and check if the Sync status is on Enabled and the last sync is on less than 1 hour ago.
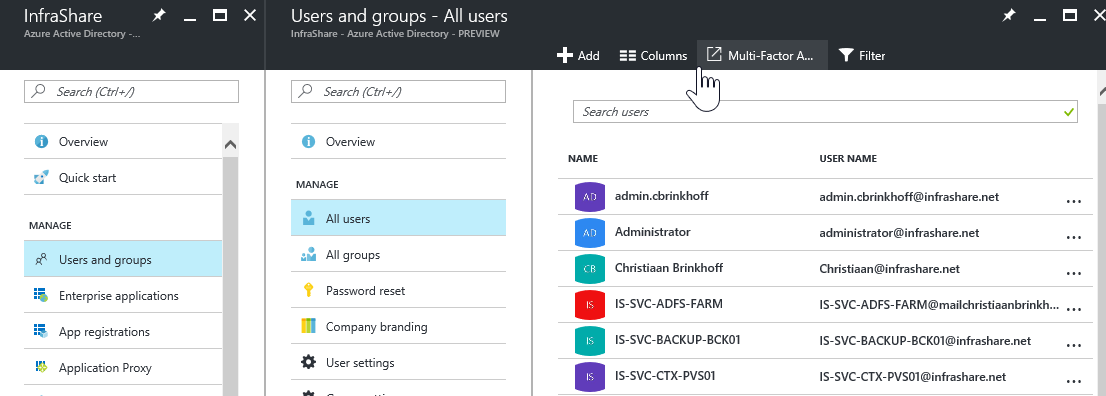
Step 3: Afterwards we need to activate the actual license on the users, to do so, click on Users and groups – All Users and click on the Multi-Factor A.. button
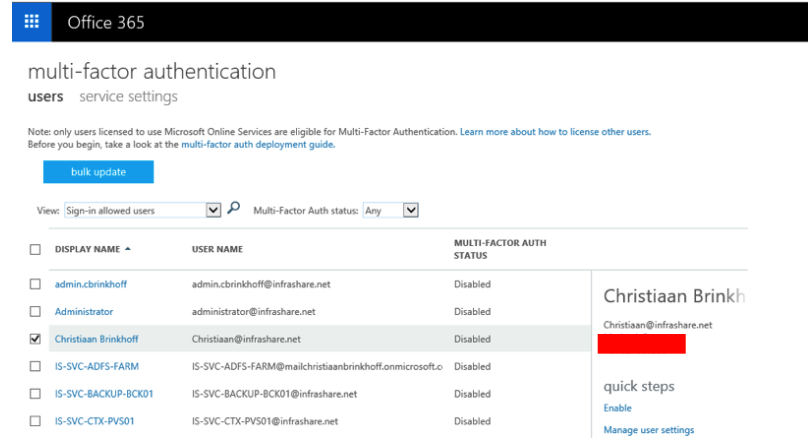
Step 4: Select the user(s) that must be activated with Azure MFA and press on Enable
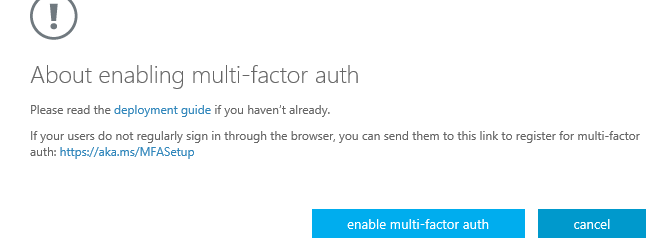
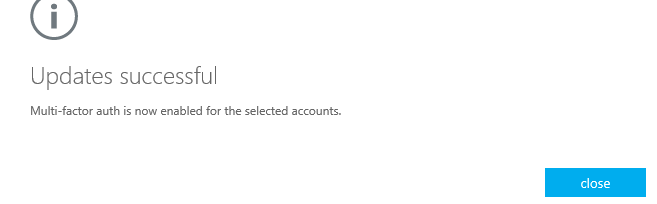
Confirm the activation by click on the – Enable multi-factor auth – button
MFA is successfully activated for that account(s)
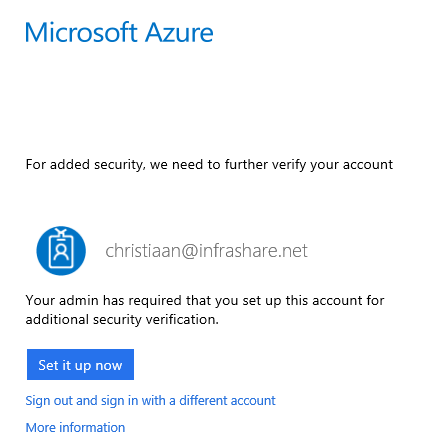
Step 5: When you now try to logon to Azure(portal.office.com / portal.azure.com), with the MFA pre-activated account, you will be prompt to proceed how you want to authentication second (phone or App), click on the – Set it up now – button to proceed these steps
Note: Users must proceed these steps first before they can make use of Azure MFA for Citrix NetScaler
Step 6: I use the Mobile App method – select the Use verification code – and click on the – set up – button to proceed

Step 7: Download the Microsoft Authenticator App on your mobile device and setup your work account, these steps are straight forward. Afterwards the camera will be activated an asks for an QR code

Step 8: Scan the QR code that is being showed on your screen, when your account is added in the app, click on the Done button
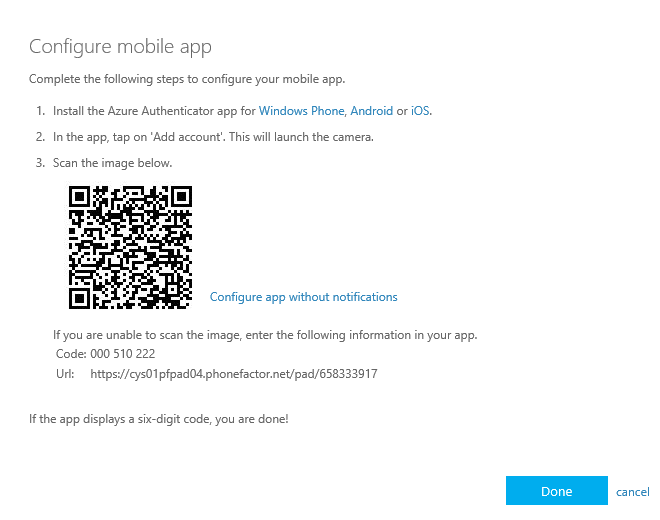
The activation is being checked…
![]()
When all steps went ok, this confirmation text shows up
![]()
Step 9: Click on the contact me button to confirm the App authentication setup
Step 10: Open the Mobile App an click on verify.
Step 11: The setup of an alternative authentication method, in case you lose your phone, is asking for configure your phone number. Enter the number that you want to use
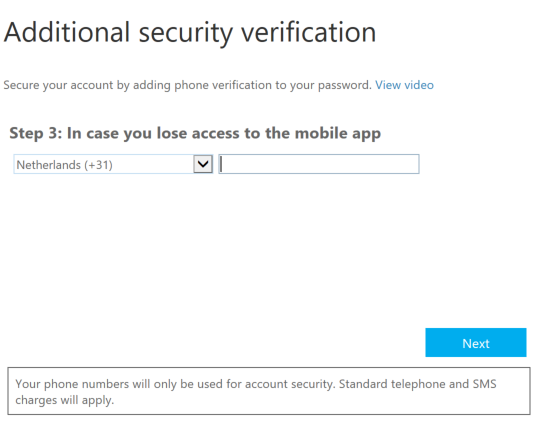
Click on Done
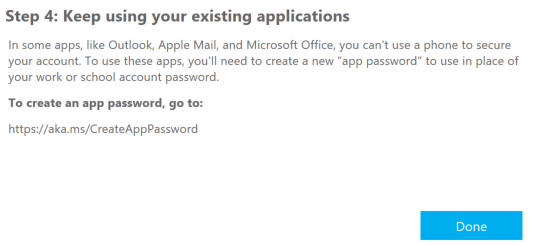
The account pre-setup is now all set, now proceed to the NPS configuration part
The new MFA authentication method will take place on the Network Policy Role feathure, so for this reason we need to activate one server in our site with this role. I will setup the NPS role on my Windows Server 2012 R2 – Active Directory Server. You can do this on your own separate server, this is not an requirement…
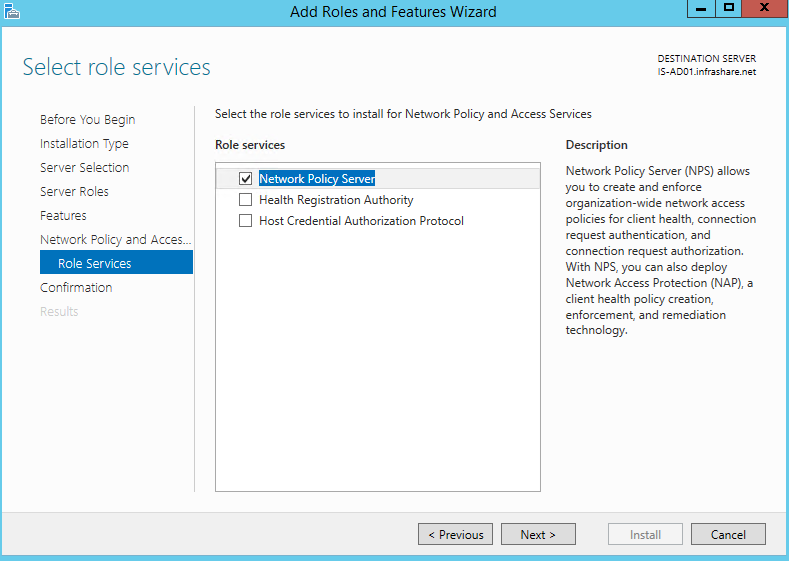
Step 9: Install the NPS Role on the server, by selecting the – Network Policy and Access Services – role, make sure the Network Policy Server role Service is selected and confirm the installation
Step 10:Before we start to NPS configuration, we need to Install the following 2 packages on the NPS server:
Microsoft Visual Studio 2013 C++ Redistributable (64 bits)
Microsoft Azure Active Directory Module for Windows PowerShell (AdministrationConfig-V1.1.166.0-GA.msi)
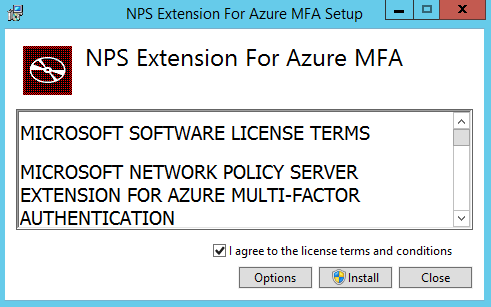
Step 11: Now we need to download and install the NPS MFA Extension on the NPS server

Step 12: Accept the license terms and conditions and click on Install
The setup is now processing…
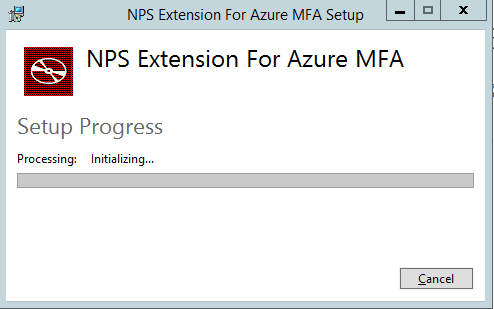
Step 13: Click on the Close button if the Setup was successful

Step 14: Now we need to open an PowerShell prompt as administrator – change the default directory location to C:\Program Files\Microsoft\AzureMfa\Config and run the following script – AzureMfaNpsExtnConfigSetup.ps1

Step 15: The setup now asks for the tenant ID of your Azure Active Directory subscription.
![]()
This is not your tenant name, but the Directory ID that can be found in the Azure portal under the Properties of your Azure Active Directory Service, click on the copy button to set it under your clipboard
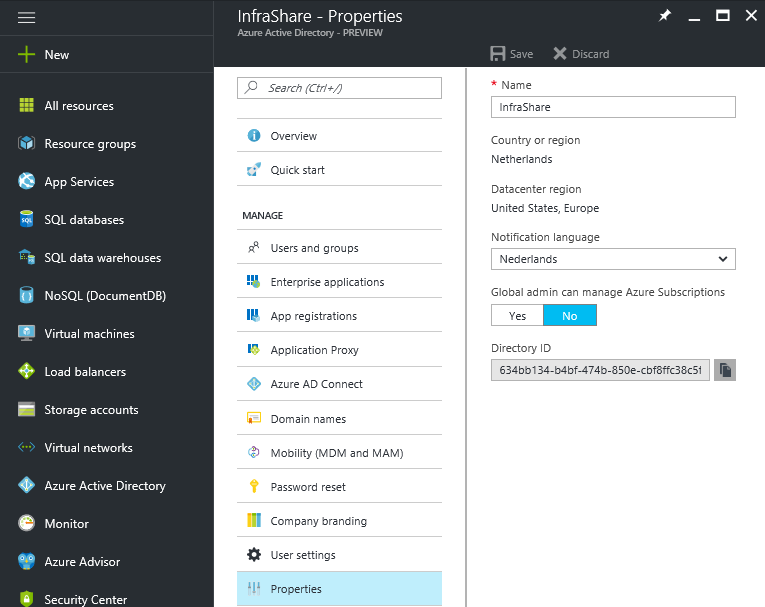
Step 16: Paste the Directory ID in the PowerShell prompt and click on Enter

Step 17: You now need to sign in with your Azure AD administrator (global administrator/co-administrator) credentials – click on Sign in when finished

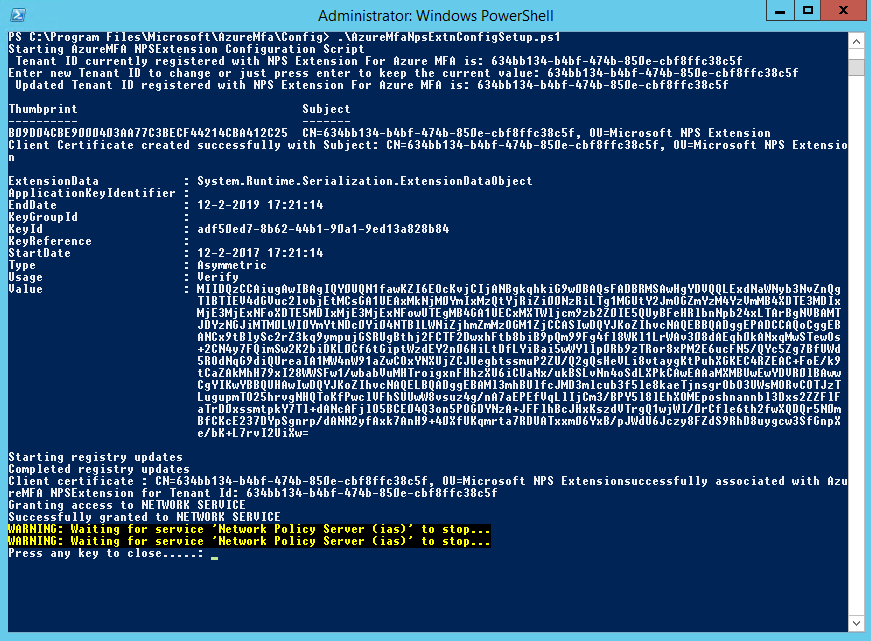
Step 18: The script now starts running, when all the steps proceeded correctly, the screen must be like this – click on random key afterwards to close the PowerShell prompt
The script performs the following steps:
– Create a self-signed certificate.
– Associate the public key of the certificate to the service principal on Azure AD.
– Store the cert in the local machine cert store.
– Grant access to the certificate’s private key to Network User.
– Restart the NPS.
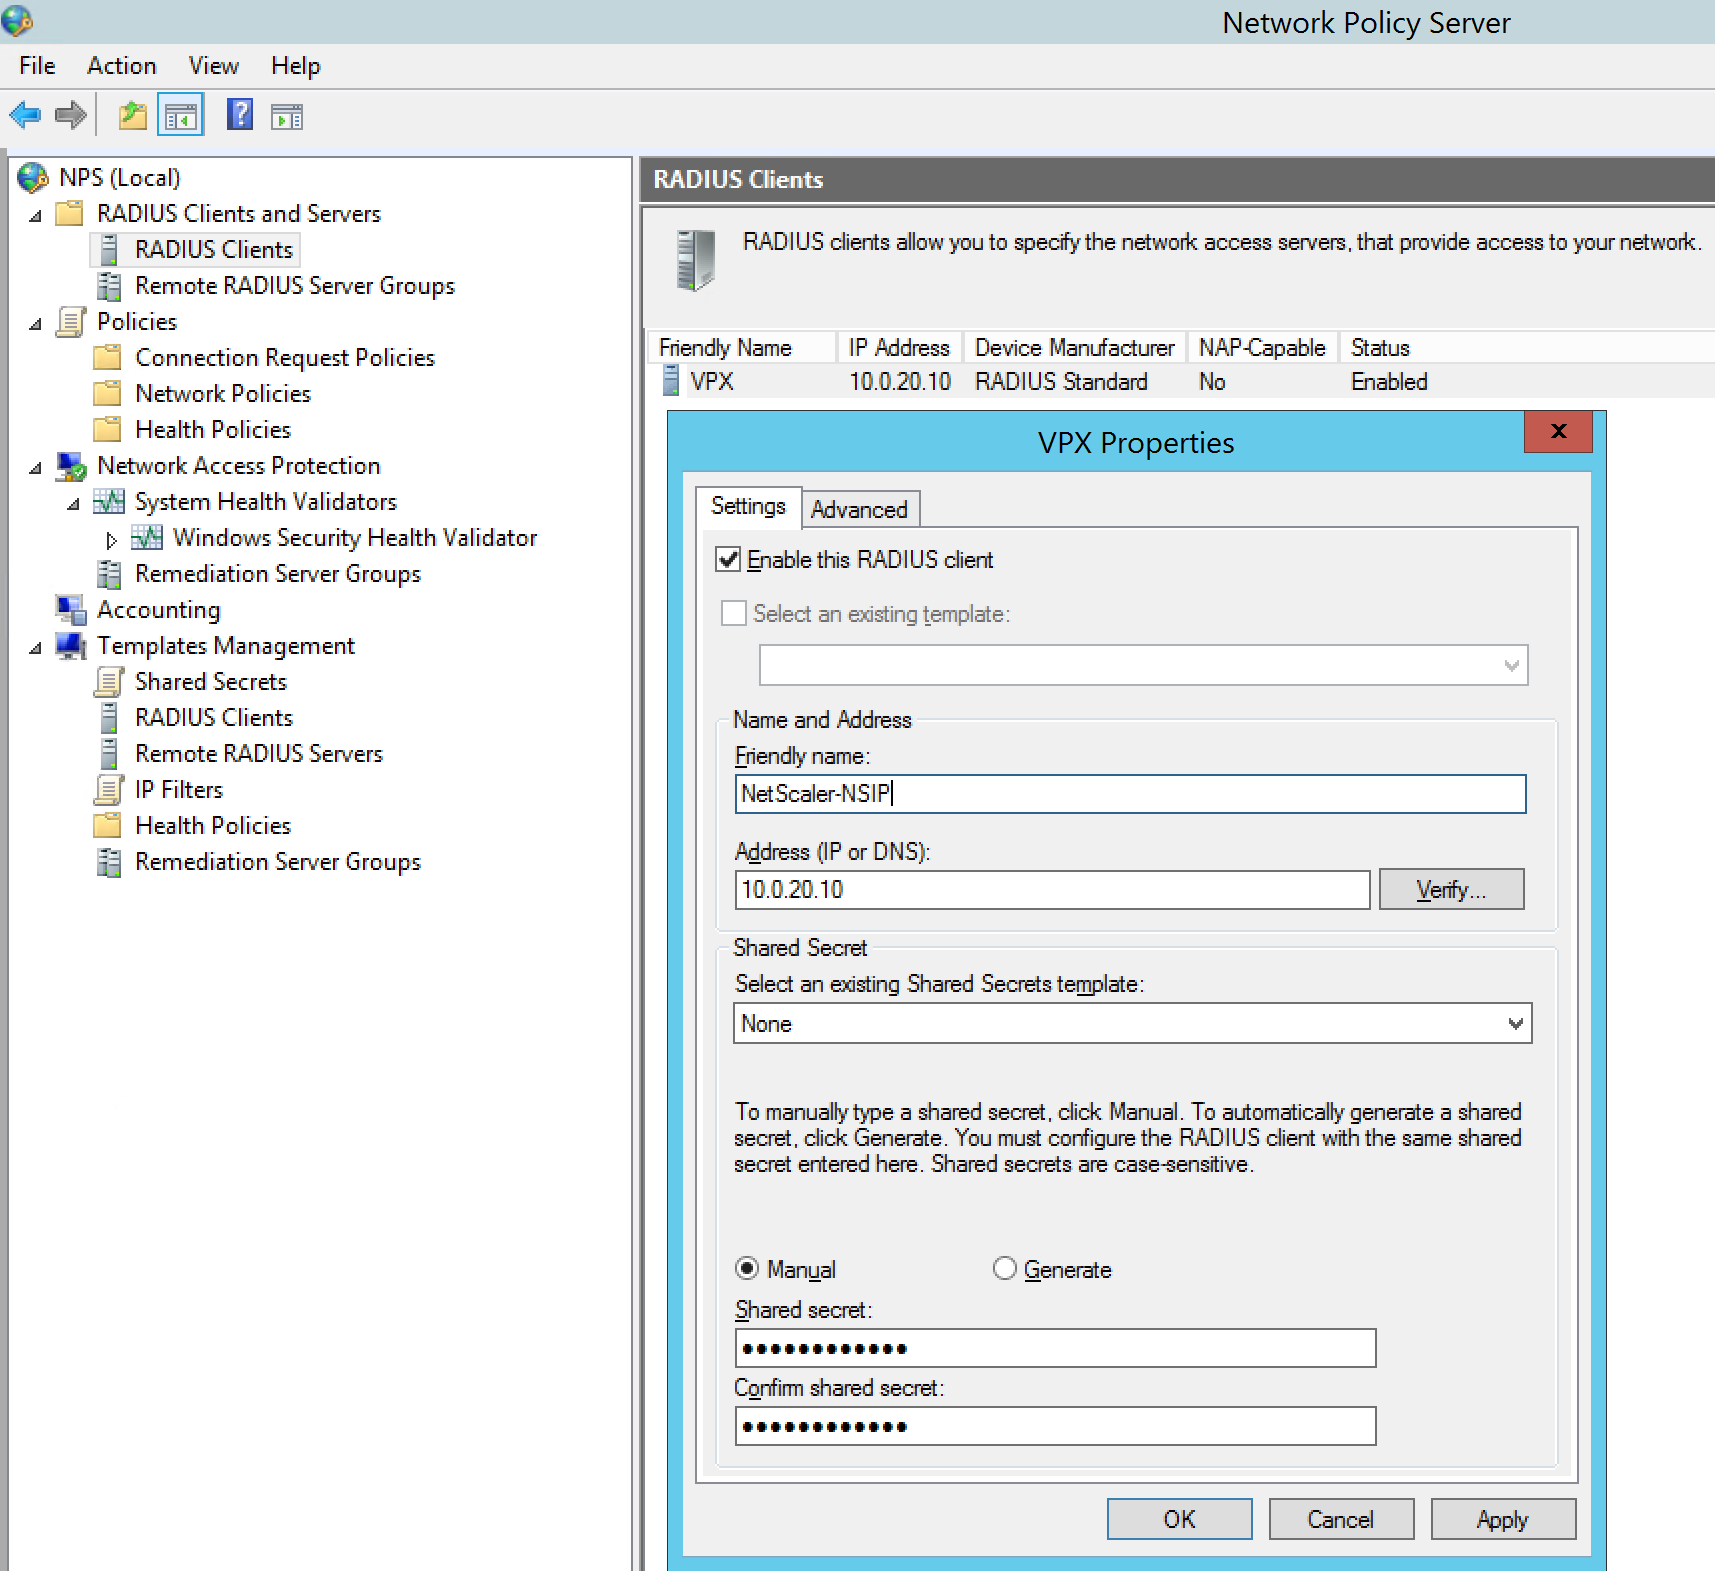
Step 19: Open the Network Policy Server Console and start adding the RADIUS client like picture below, the IP address must be the NSIP of your NetScaler device – enter a random Shared secret and save it for a few steps later, when we need to match these in de NetScaler RADIUS Policy
Note: Make sure that your NSIP network can interact with the NPS server!
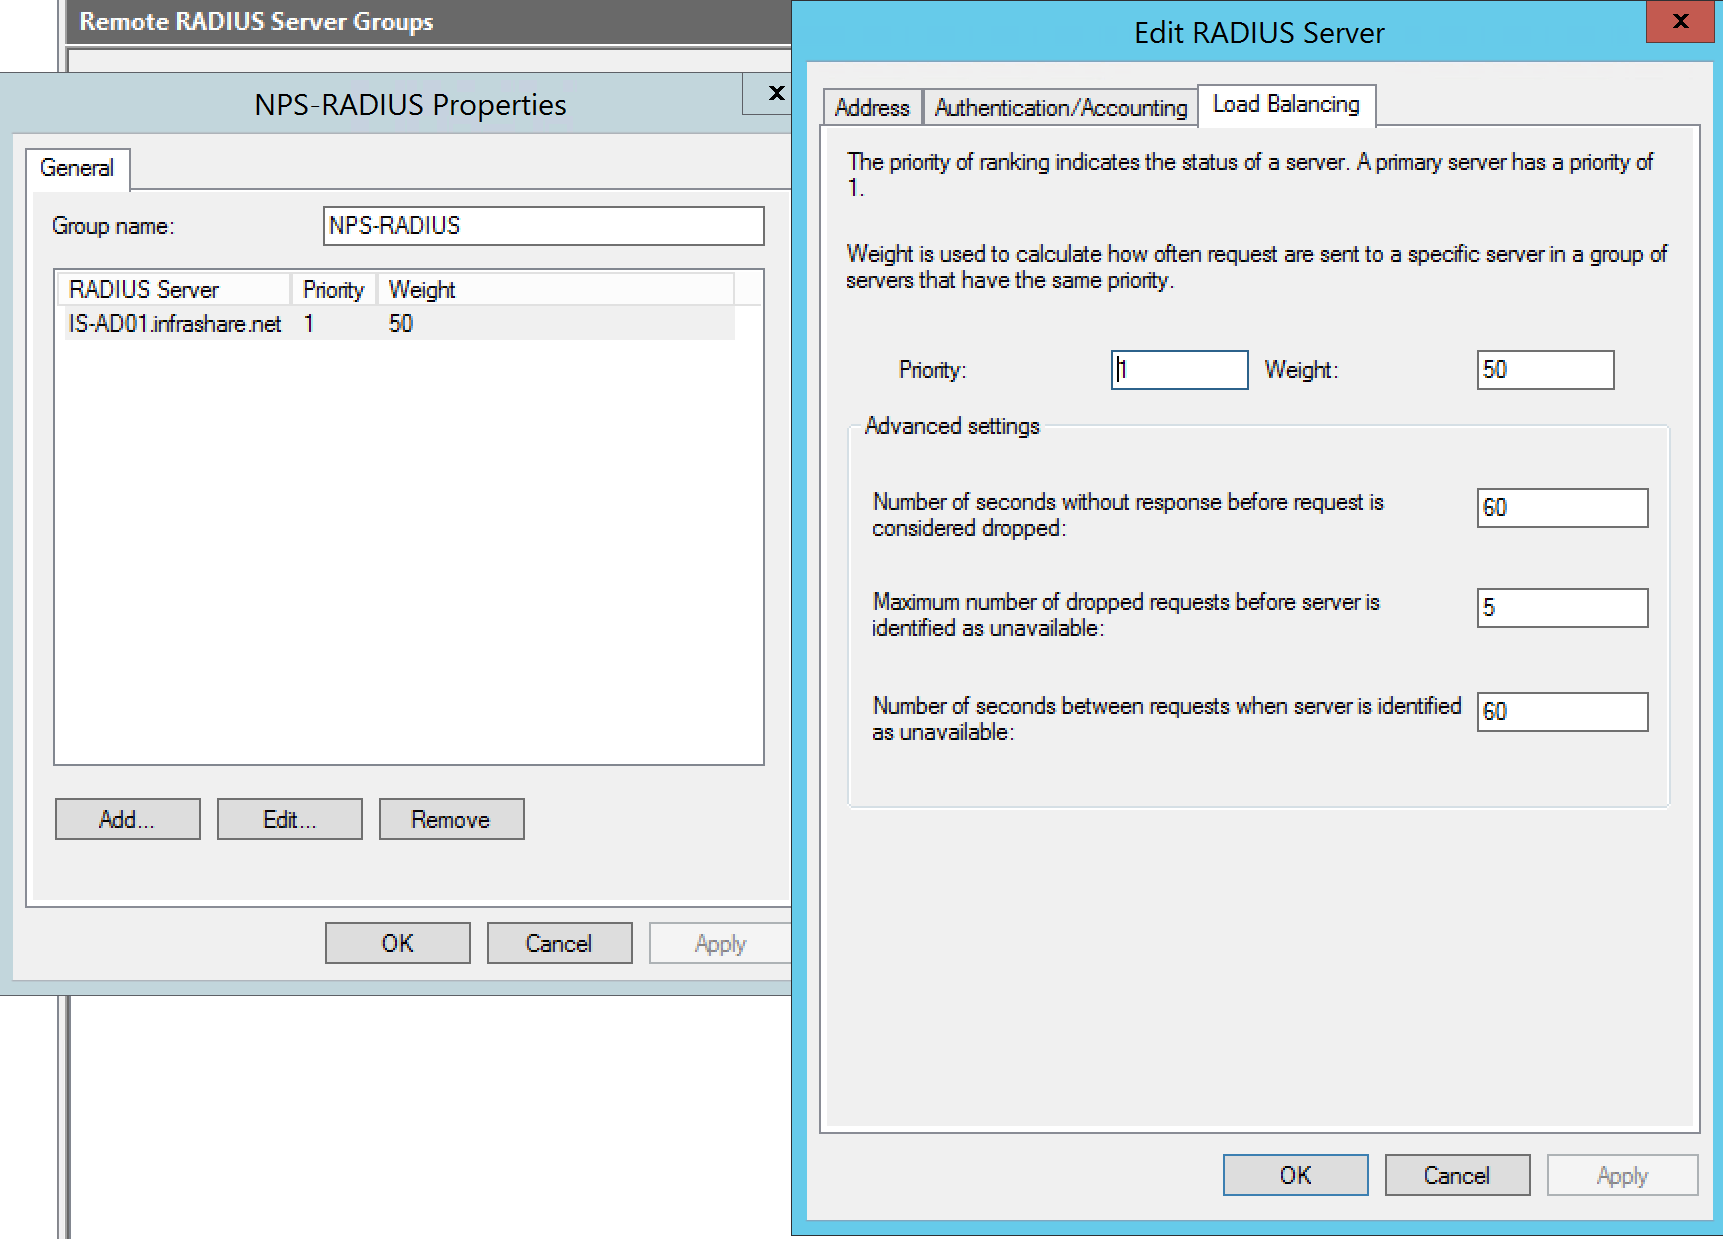
Step 20: Add a – Remote Radius Server Group – with the RADIUS server address of your NPS server, you can choose your own name, click on Ok when finished

Step 21: Click on the Edit button – open tab Load Balancing –and take over the settings from the picture below;
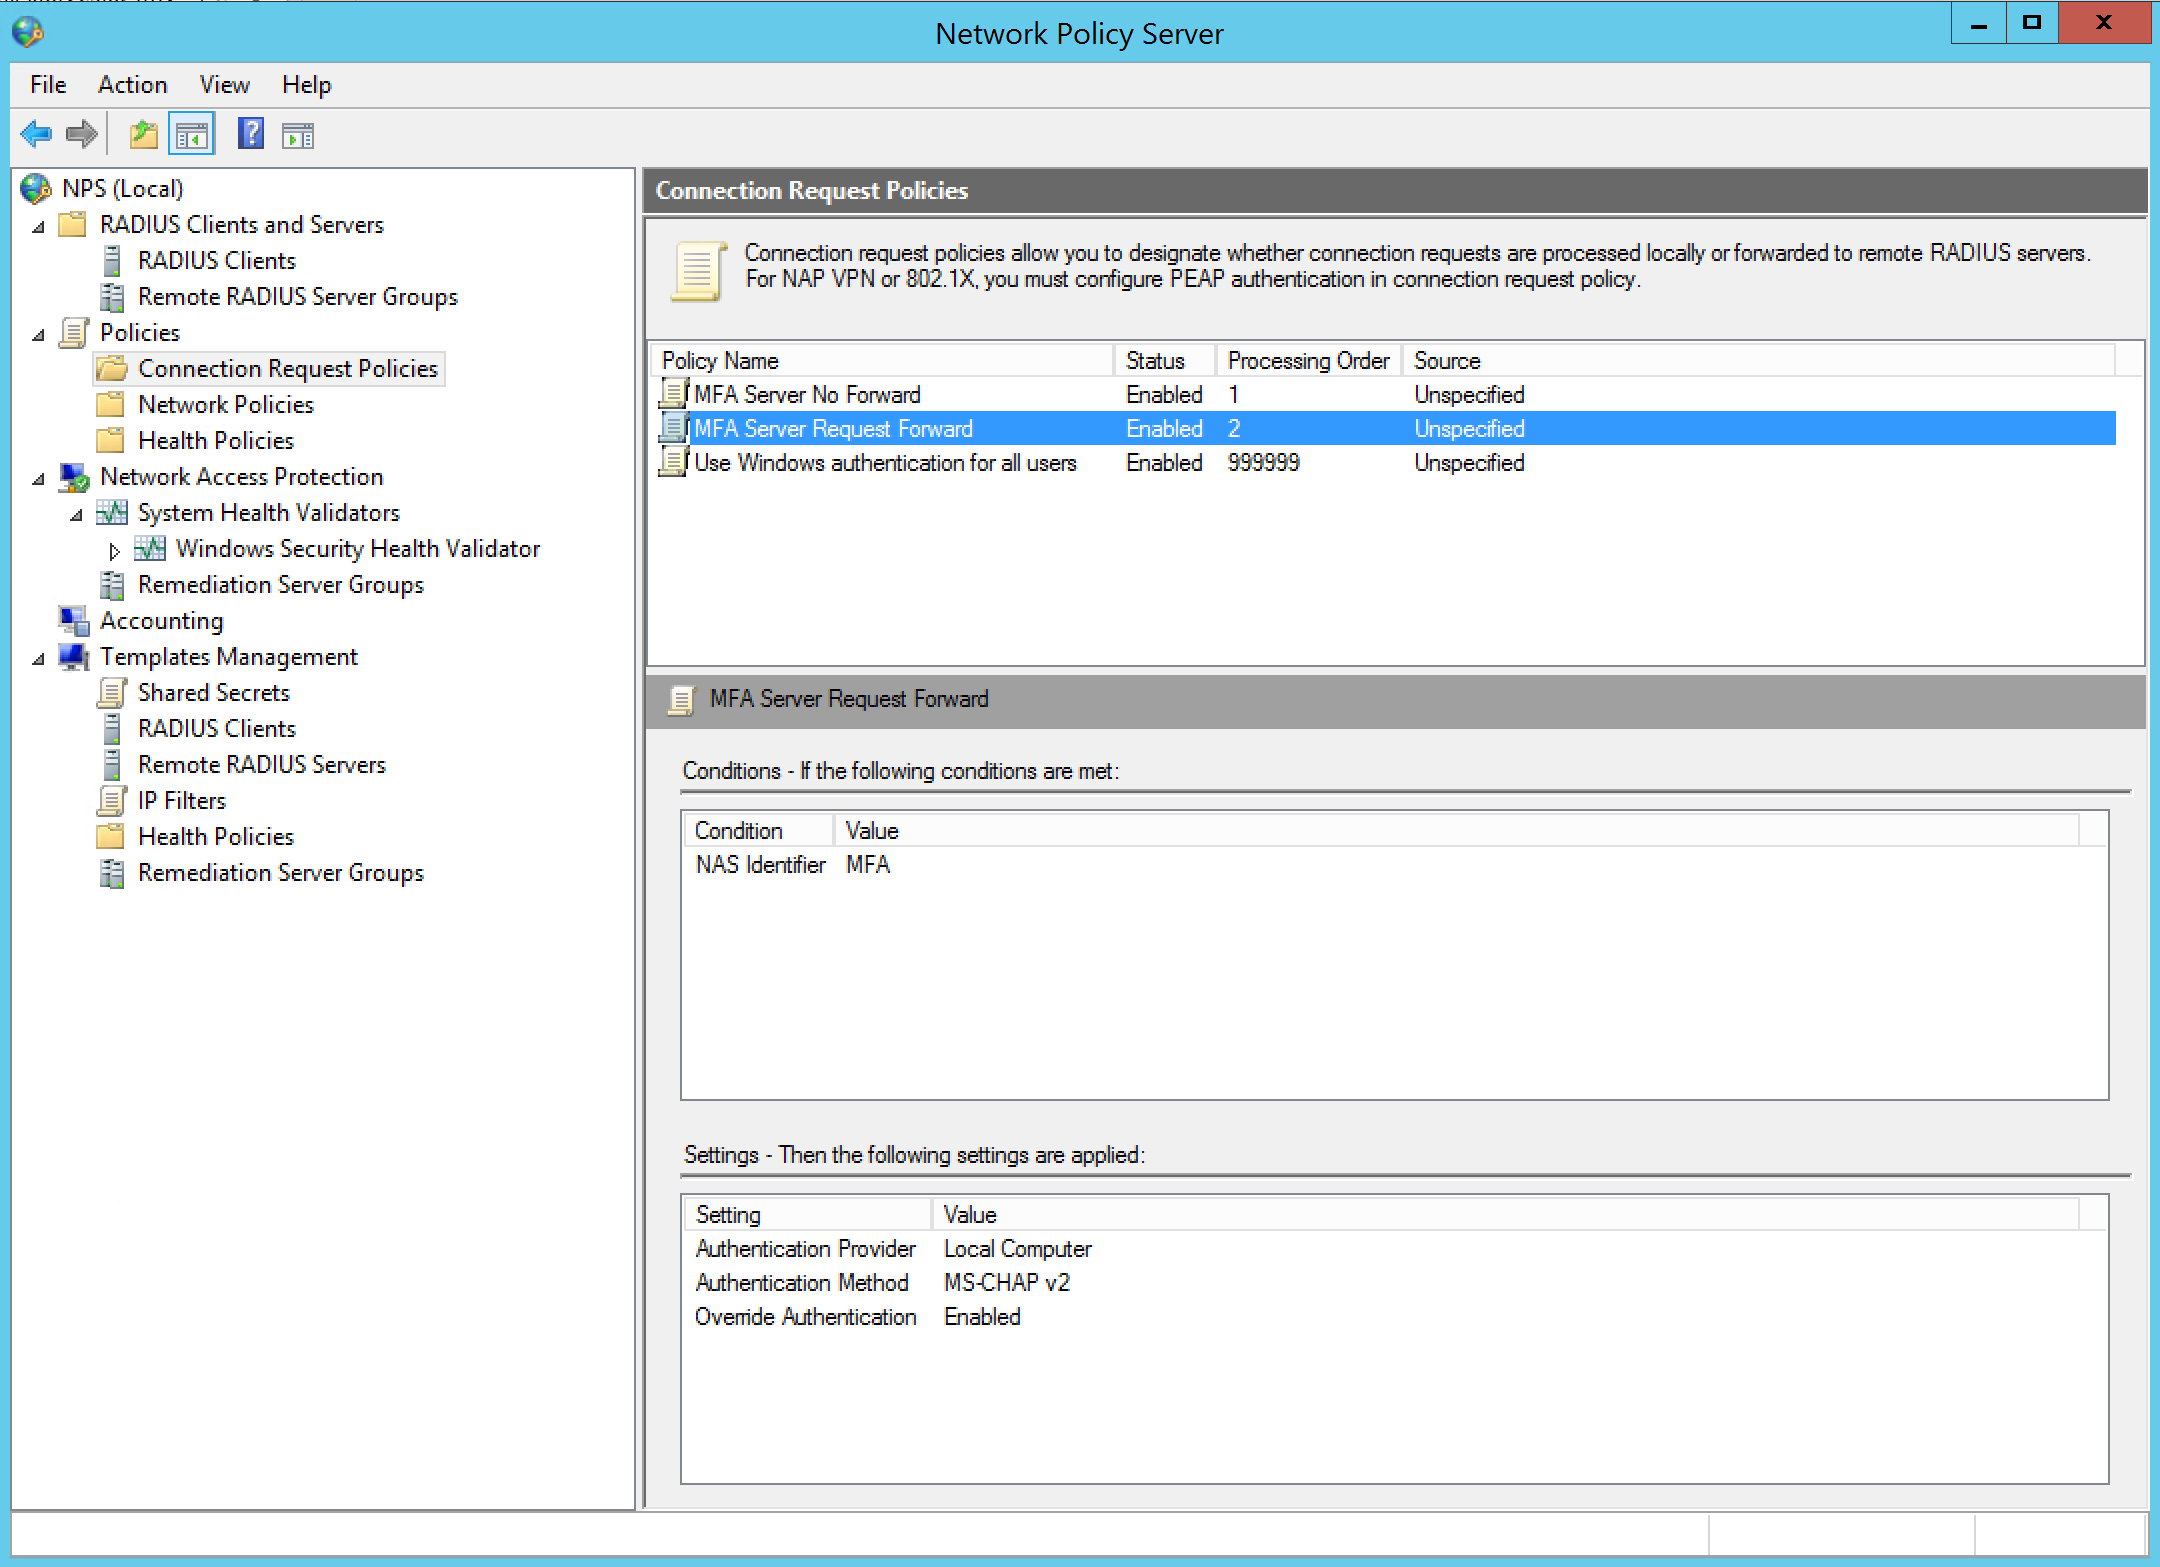
Step 22: Now we need to add 2 Connection request policy’s, first add the – MFA Server No Forward – policy, unspecified source, with the NetScaler NSIP as client IPv4 condition and MS-CHAP v2 as authentication method.

Step 23: Now add the second request policy, name – MFA Server Request Forward –unspecified source, activate the NAS Identifier condition with – MFA – as value and again MS-CHAPv2 as authentication method
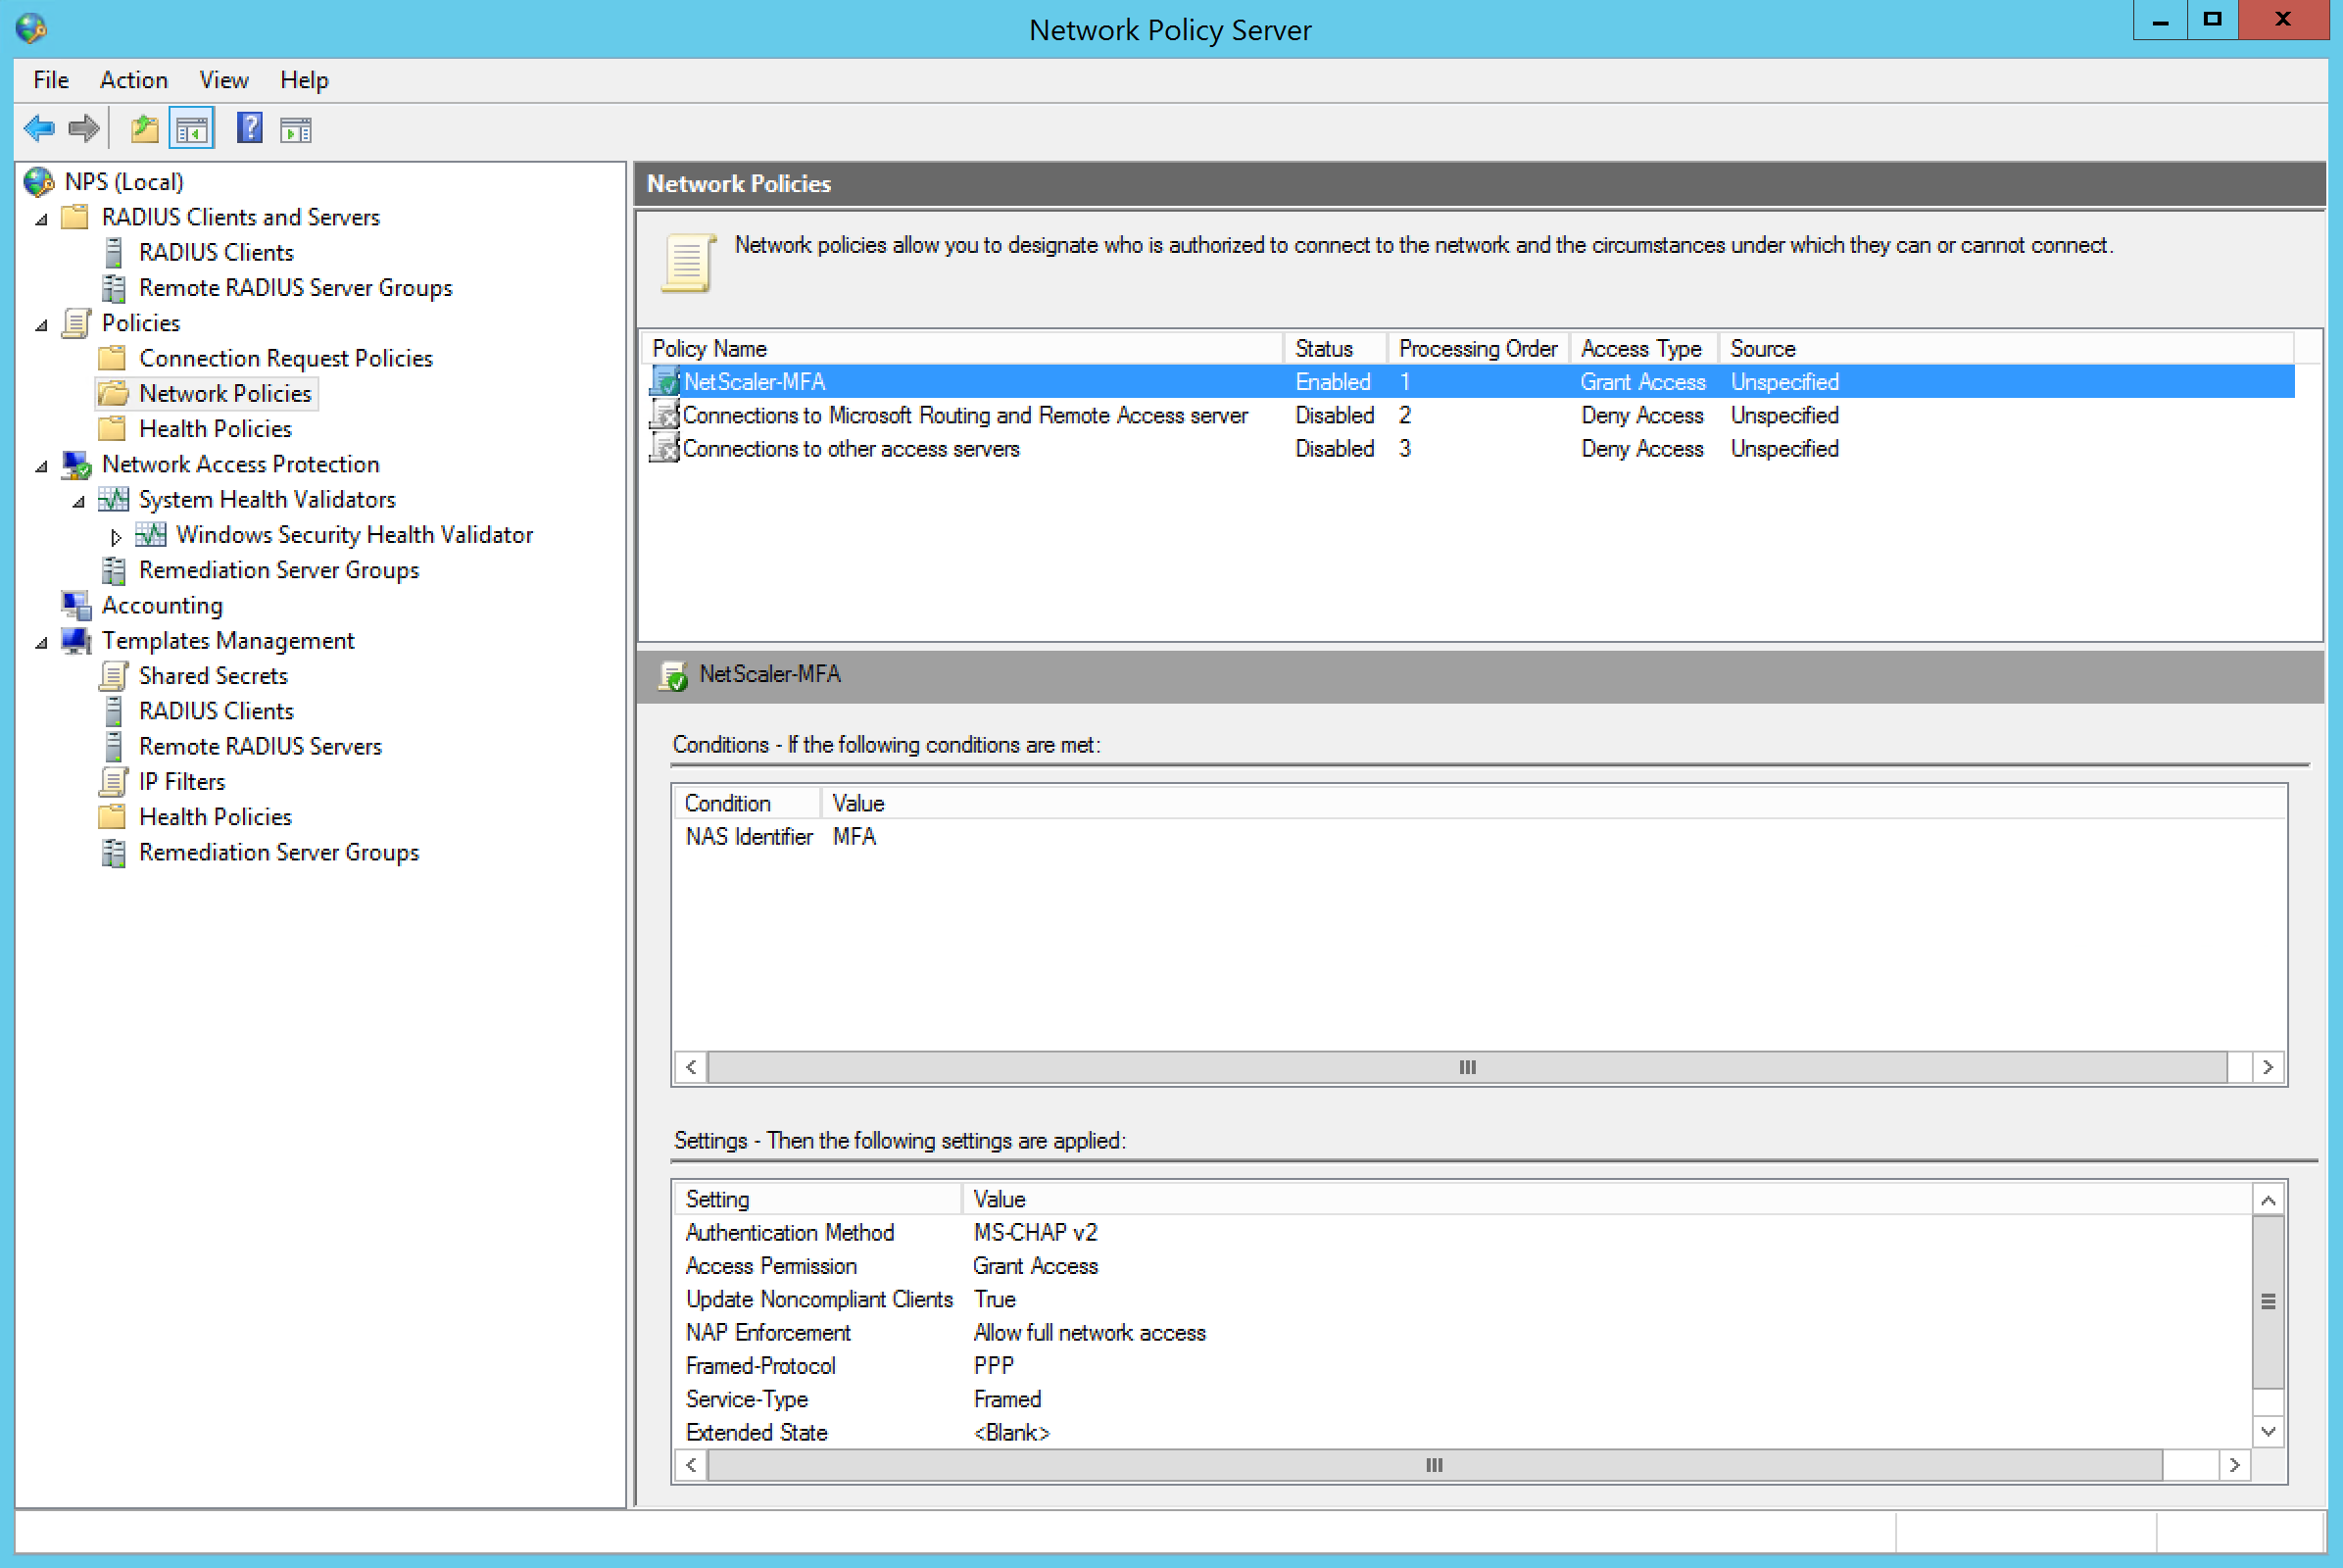
Step 24: Now we need to create an Network Policy, but we need to disable or delete the default policy’s first
![]()
Step 25: Create an new Network Policy, name it something like – NetScaler-MFA – source – unspecified activate the condition NAS identifier value – MFA – and again MS-CHAP v2 as authentication method. All the other settings are pre-defined and can be left default.
Place the newly created policy at level 1 in process order
Configure the NetScaler RADIUS Authentication Policy
Note: I first thought that I need to change my primary LDAP authentication policy from sAMAccountName to UserPrincipalName, as required in the official Microsoft note, so I tested both of them and I can confirm that both methods work great!
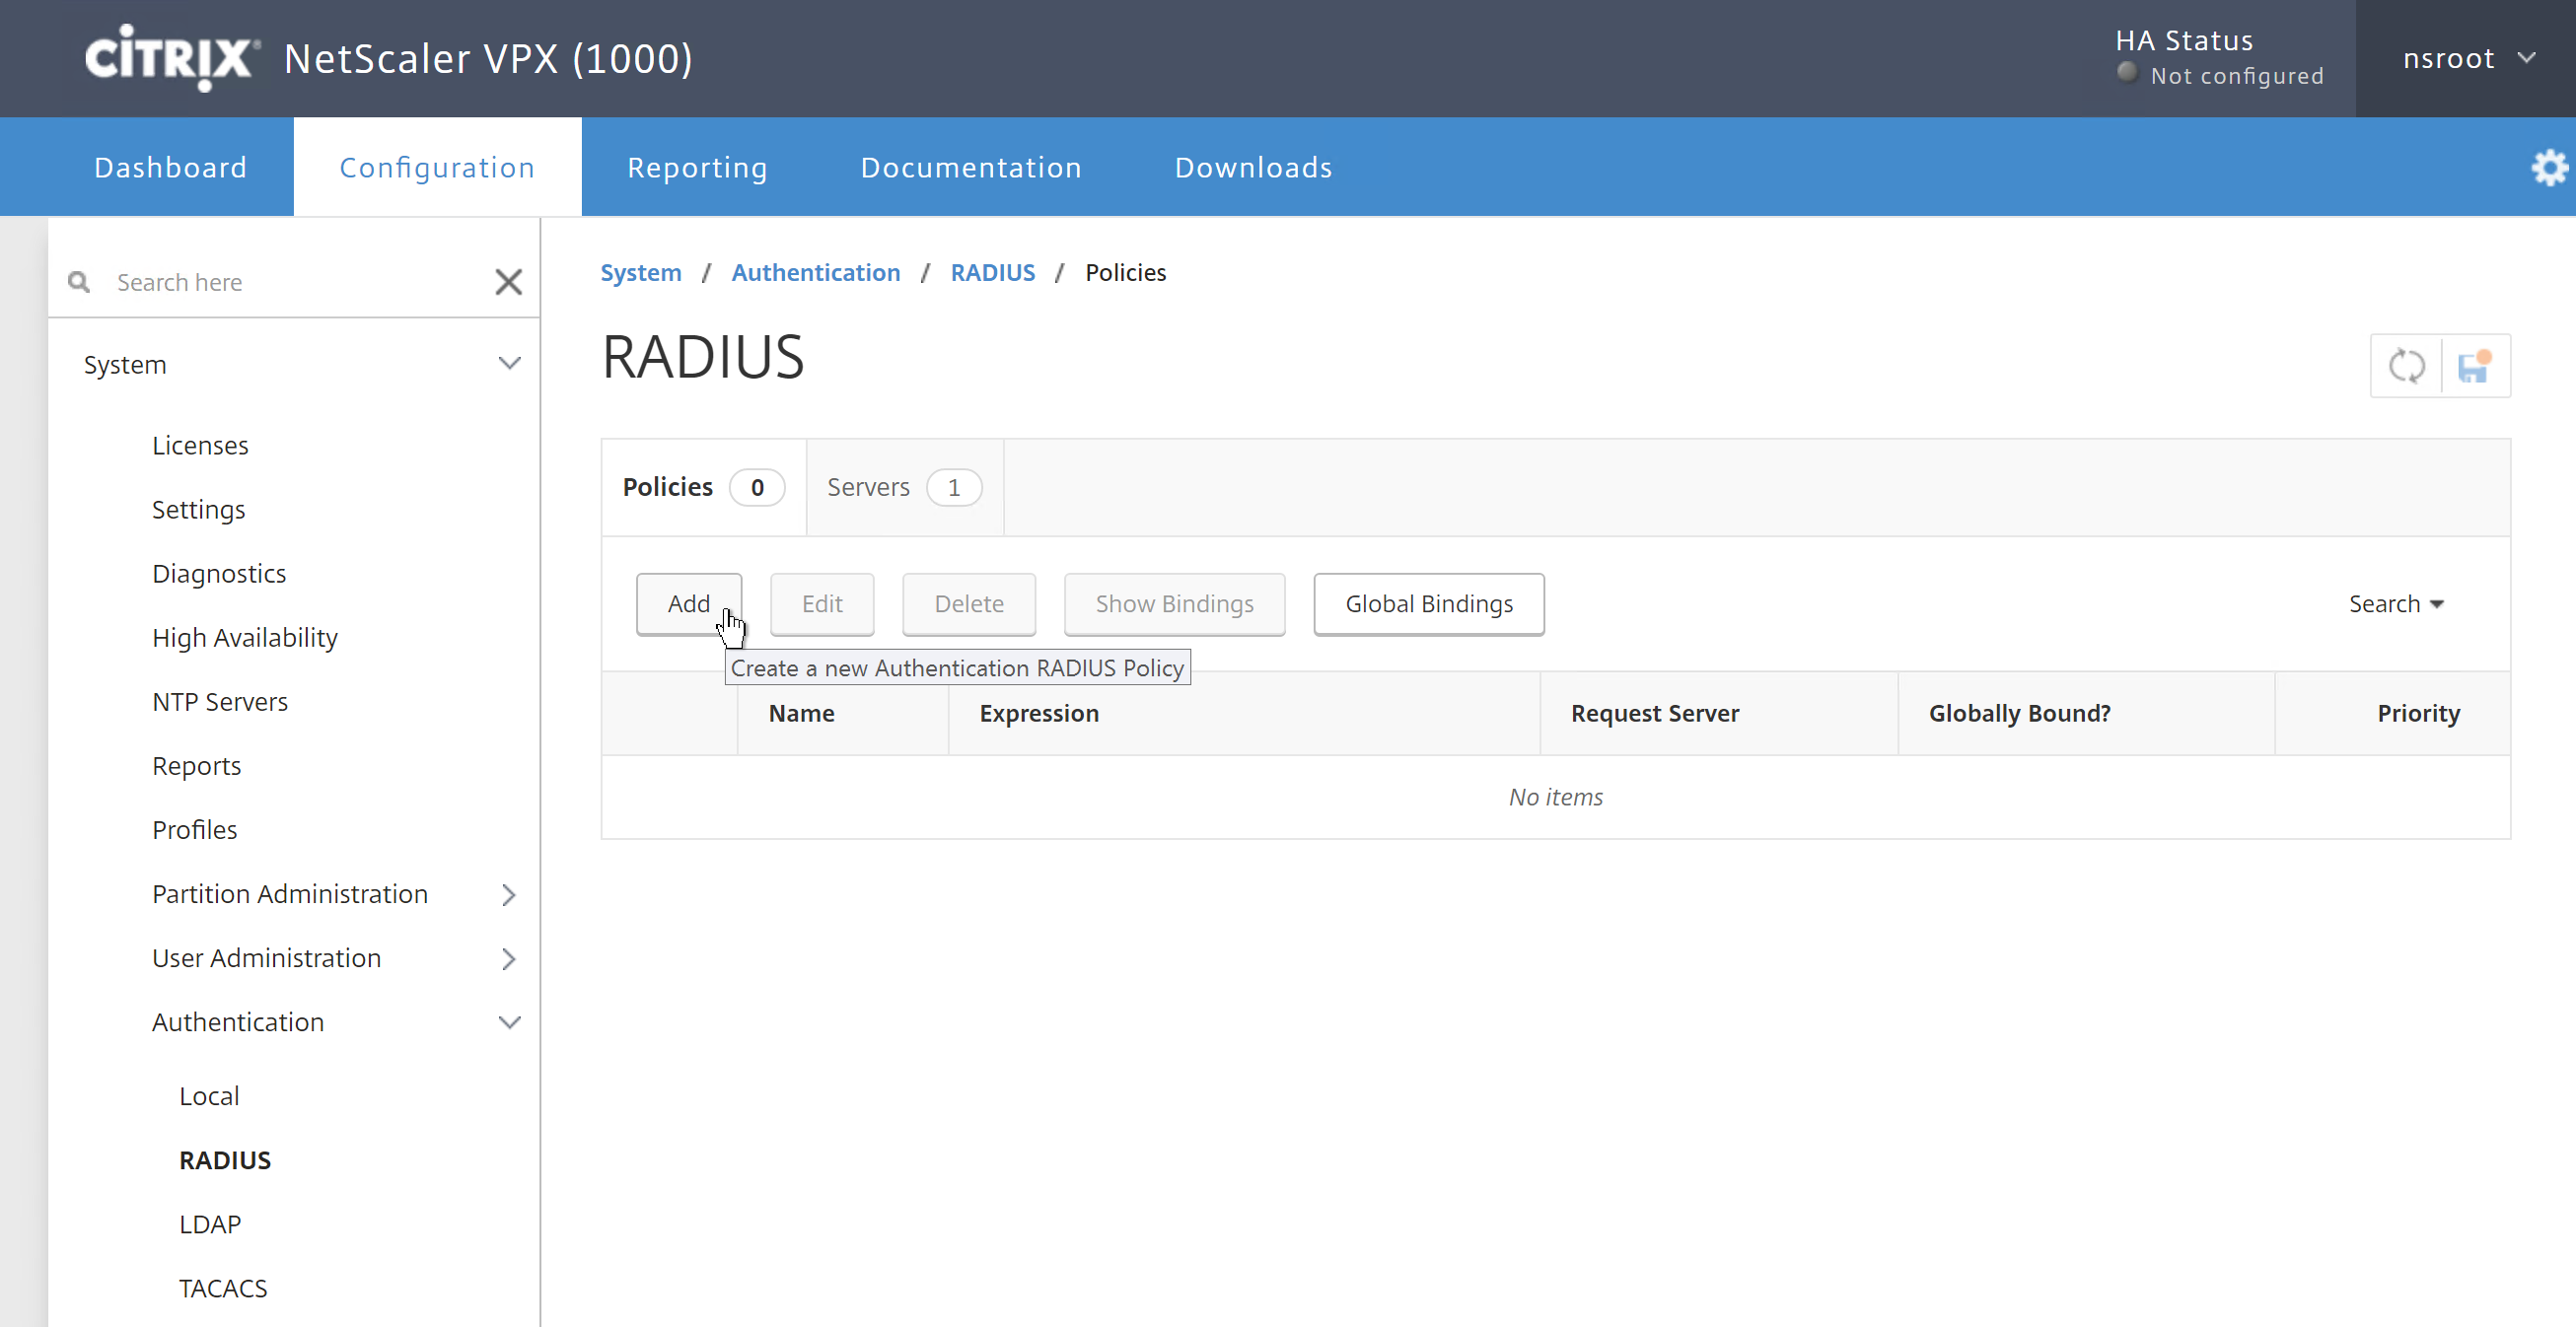
Step 26: Log on to your NetScaler device and go in the left menu to System -> Authentication -> RADIUS and click on Add
Step 27: Give in an name for the authentication policy, I uses – auth_radius_mfa – enter the – ns_true expression – select/add your Radius NPS server and press on the pencil icon to configure the RADIUS settings

Step 28: Enter your RADIUS (NPS) server IP, port 1812 (default) the secret key that we defined earlier in step 19 and change the Time-Out setting on 10 seconds – click on more
Note: We change the time-out to 10 seconds, because the Azure authenticator app must approve the request at that moment, the default 3 seconds are way to short. You can set this up higher if you want to create more time to approve the request in the Authenticator app
When you choose for Phone Call authentication – the time-out settings must be set to a minimum of 30 sec. this is required to setup the call

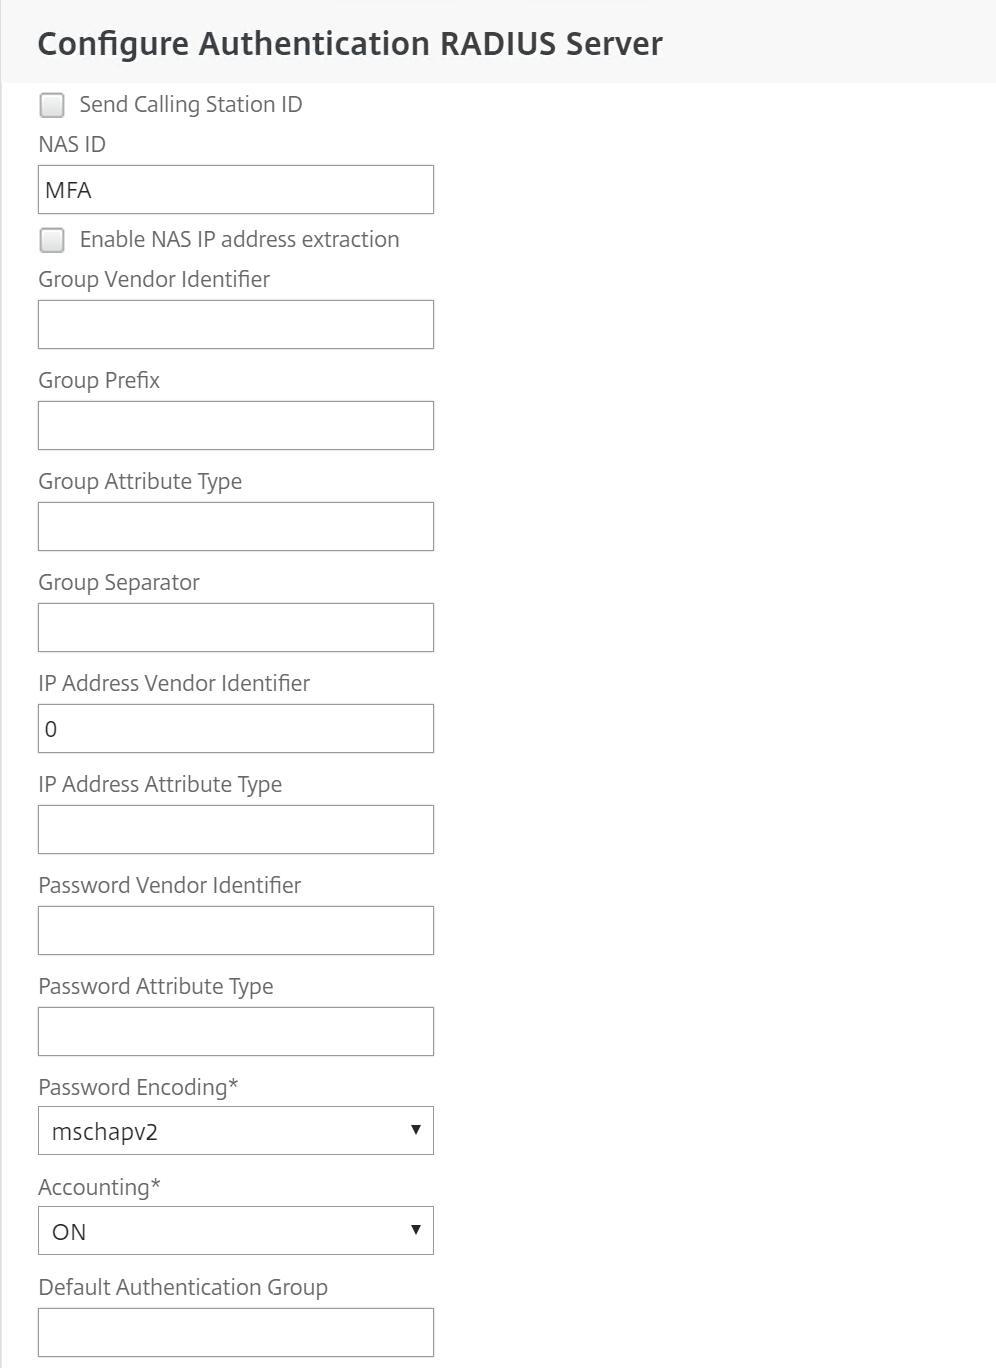
Step 29: Now we need to enter the NAS ID value – MFA – that we defined earlier and change the password encoding to – mschapv2 – click on Ok and create to save the settings and create the new RADIUS policy
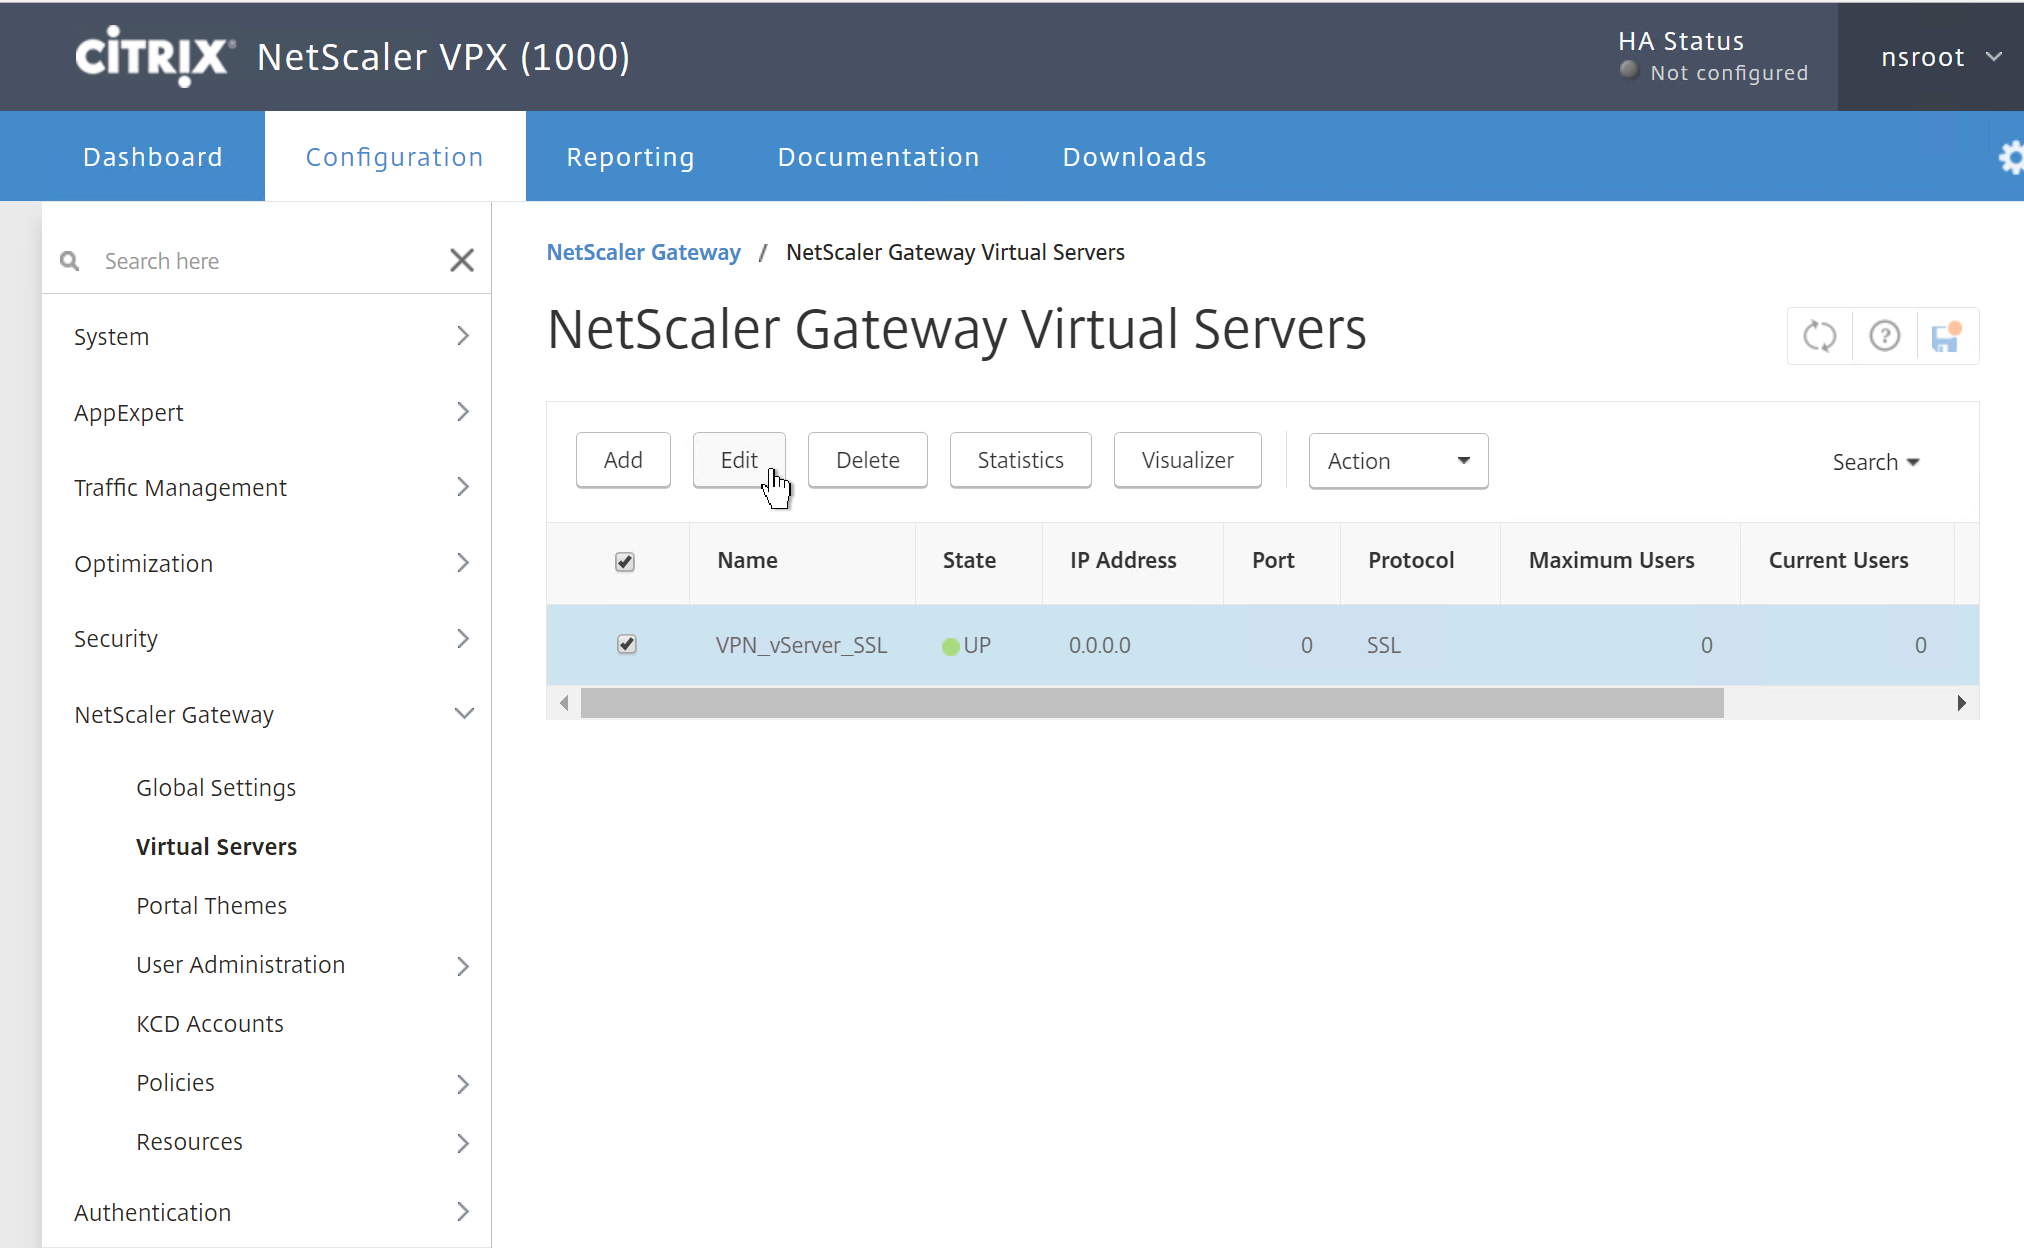
Step 30: Now we need to attach the new policy to an existing VPN vServer configuration. I will be using my ICA Proxy vServer for that. Go in the NetScaler menu to NetScaler Gateway -> Virtual Servers, select your vServer and click on Edit
Step 31: Click on the + button next to – Basic Authentication

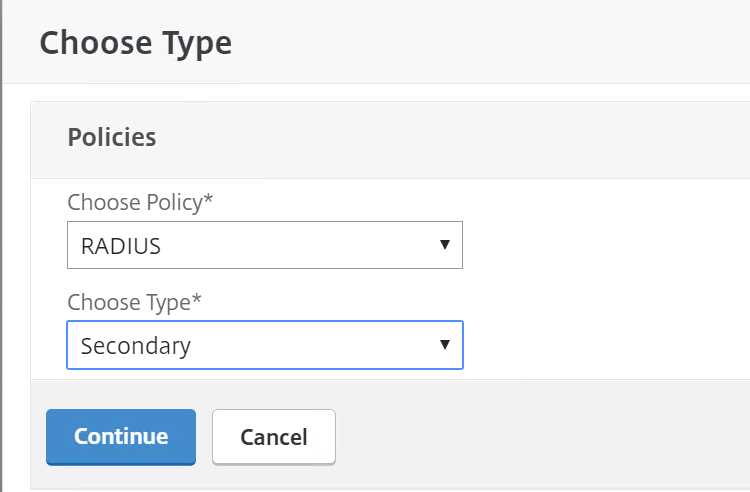
Step 32: Select RADIUS and Secondary as policy, click on Continue
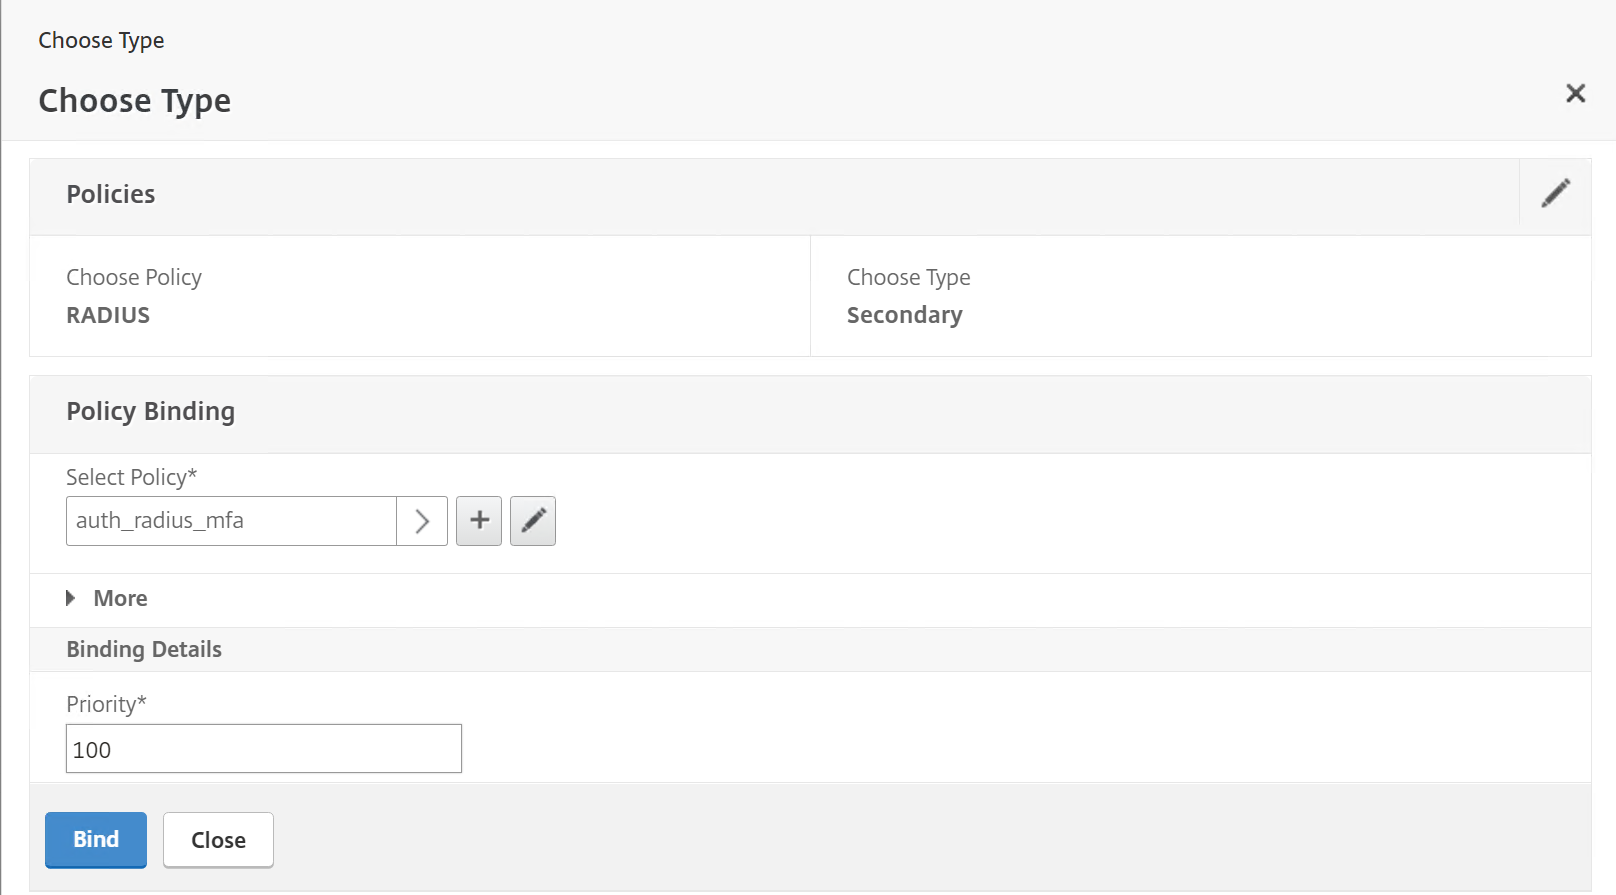
Step 33: Select the just created RADIUS policy – auth_radius_mfa – and click on Bind
Step 34: Click on the Done button at the end of the VPN vServer screen to confirm your RADIUS settings.
Remove second Password 2 text field
At this moment, the secondary authentication text field has no function anymore. To avoid confusions, we must remove the secondary (password 2) authentication field. You can do this by following steps.
Step 35: We first need to create a Rewrite Action, go in the menu to AppExpert -> Rewrite -> Action and click on Add

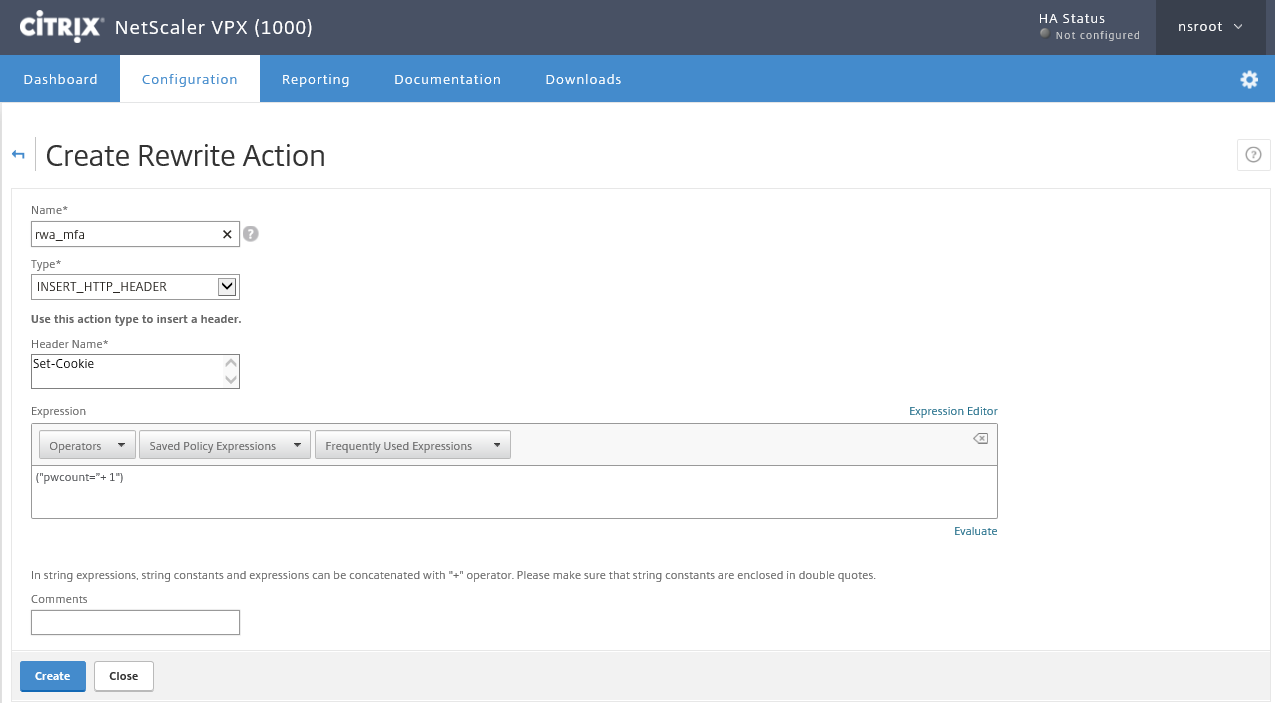
Step 36: Name the action with the same info like the picture below, click on Create afterward
Type: INSERT_HTTP_HEADER Header Name: Set-Cookie
Expression: ("pwcount=+ "1")
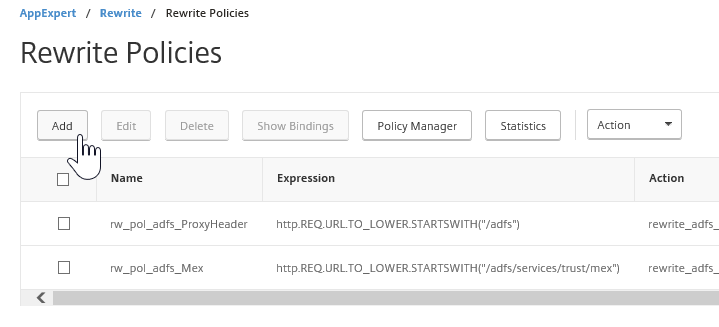
Step 37: Now we need to create the Rewrite policy, in the same menu we choose for Policies and then Add
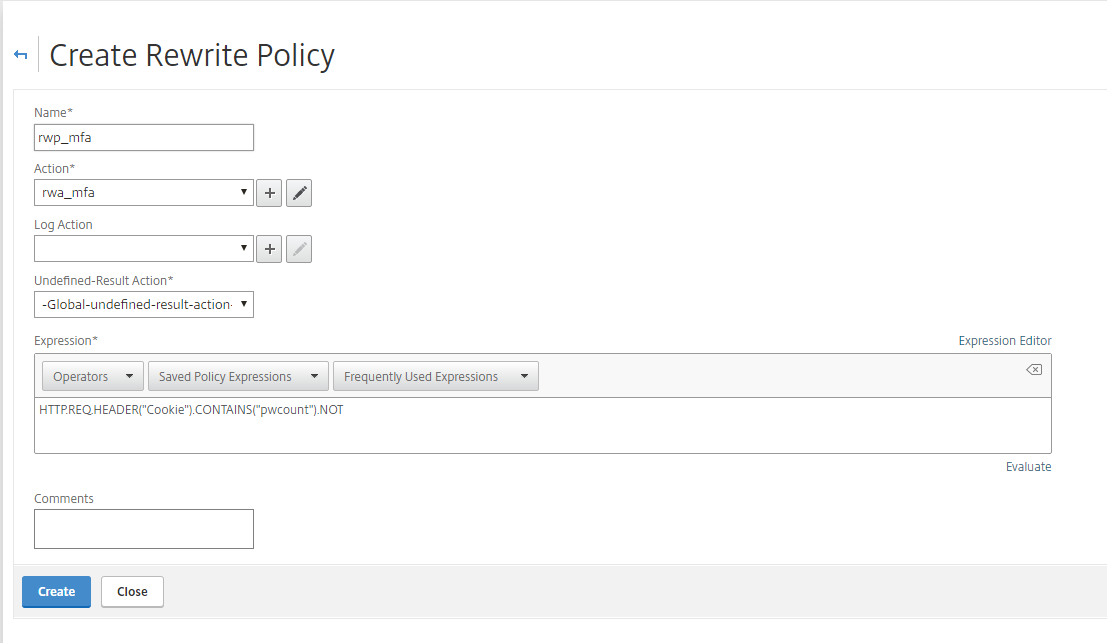
Step 38: Name the policy and fill in the info like picture below, click on create to save
Action: Select the rewrite action which you created Undefined Result Action: -Global undefined result action
Expression: HTTP.REQ.HEADER("Cookie").CONTAINS("pwcount").NOT
Step 39: Now we need to attach the new Rewrite policy to the VPN vServer. Go again in the menu to NetScaler Gateway -> Virtual Servers, select your vServer and click on the Edit button
Step 40: Scroll down to Policies and press the + to attach

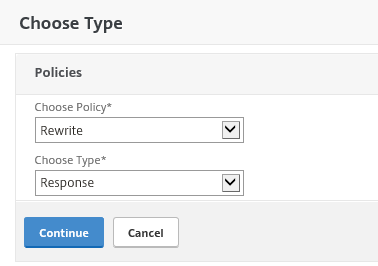
Step 41: Choose for Rewrite and Response, click continue
Step 42: Select the Rewrite policy and click on Bind – the policy will now be applied to your VPN vServer
Simon Gottschlag wrote an great article to remove the secondary password field for the new RfWebUI theme, find it over here.
Step 43: Open your NetScaler portal and enter your username and domain password – the password 2 field is gone! Click on Log On
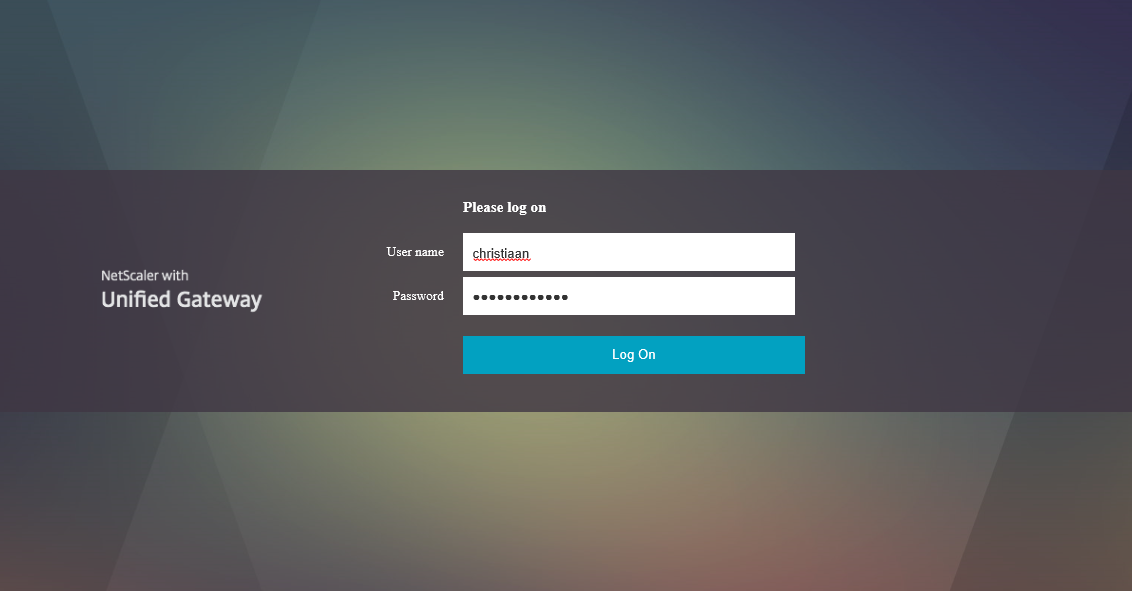
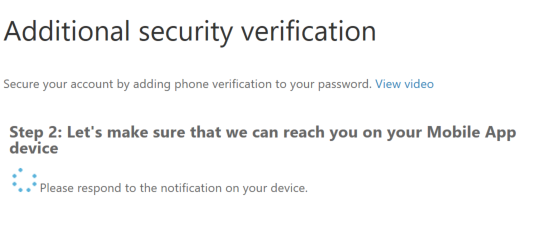
Authentication is in progress…
![]()
Step 44: You now must receive an notification. Open the Azure Authentication app on your Mobile Phone to see if there is an notification message on the screen, and yes there is! Push on verify…
Note: You have 10 seconds to verify the request – remember the RADIUS time-out settings? Now you know the reason…
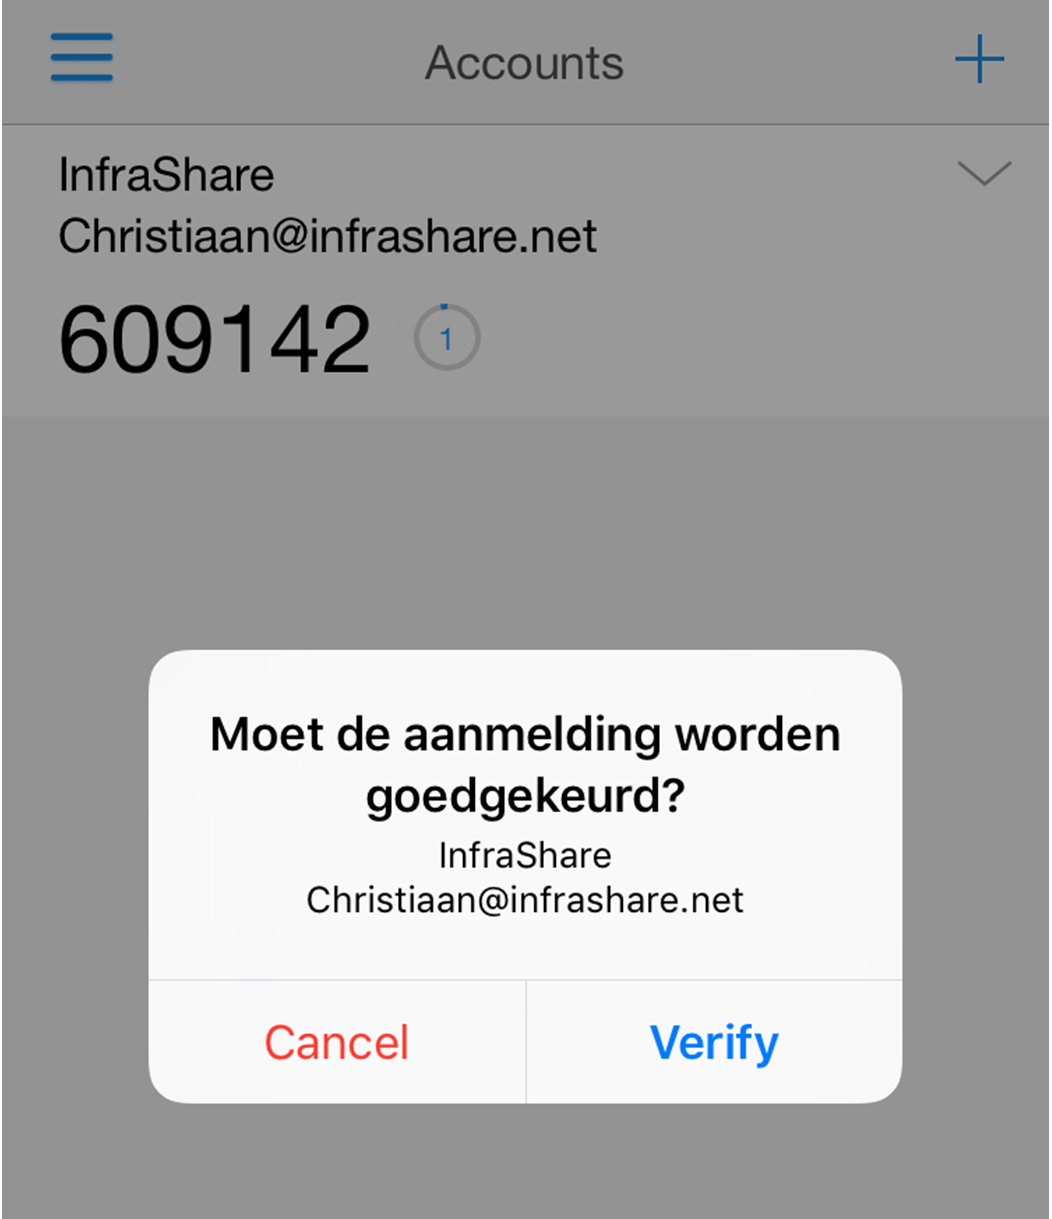
If your phone is locked, the authentication app even send out an message to your lockscreen of your phone or Apple watch!

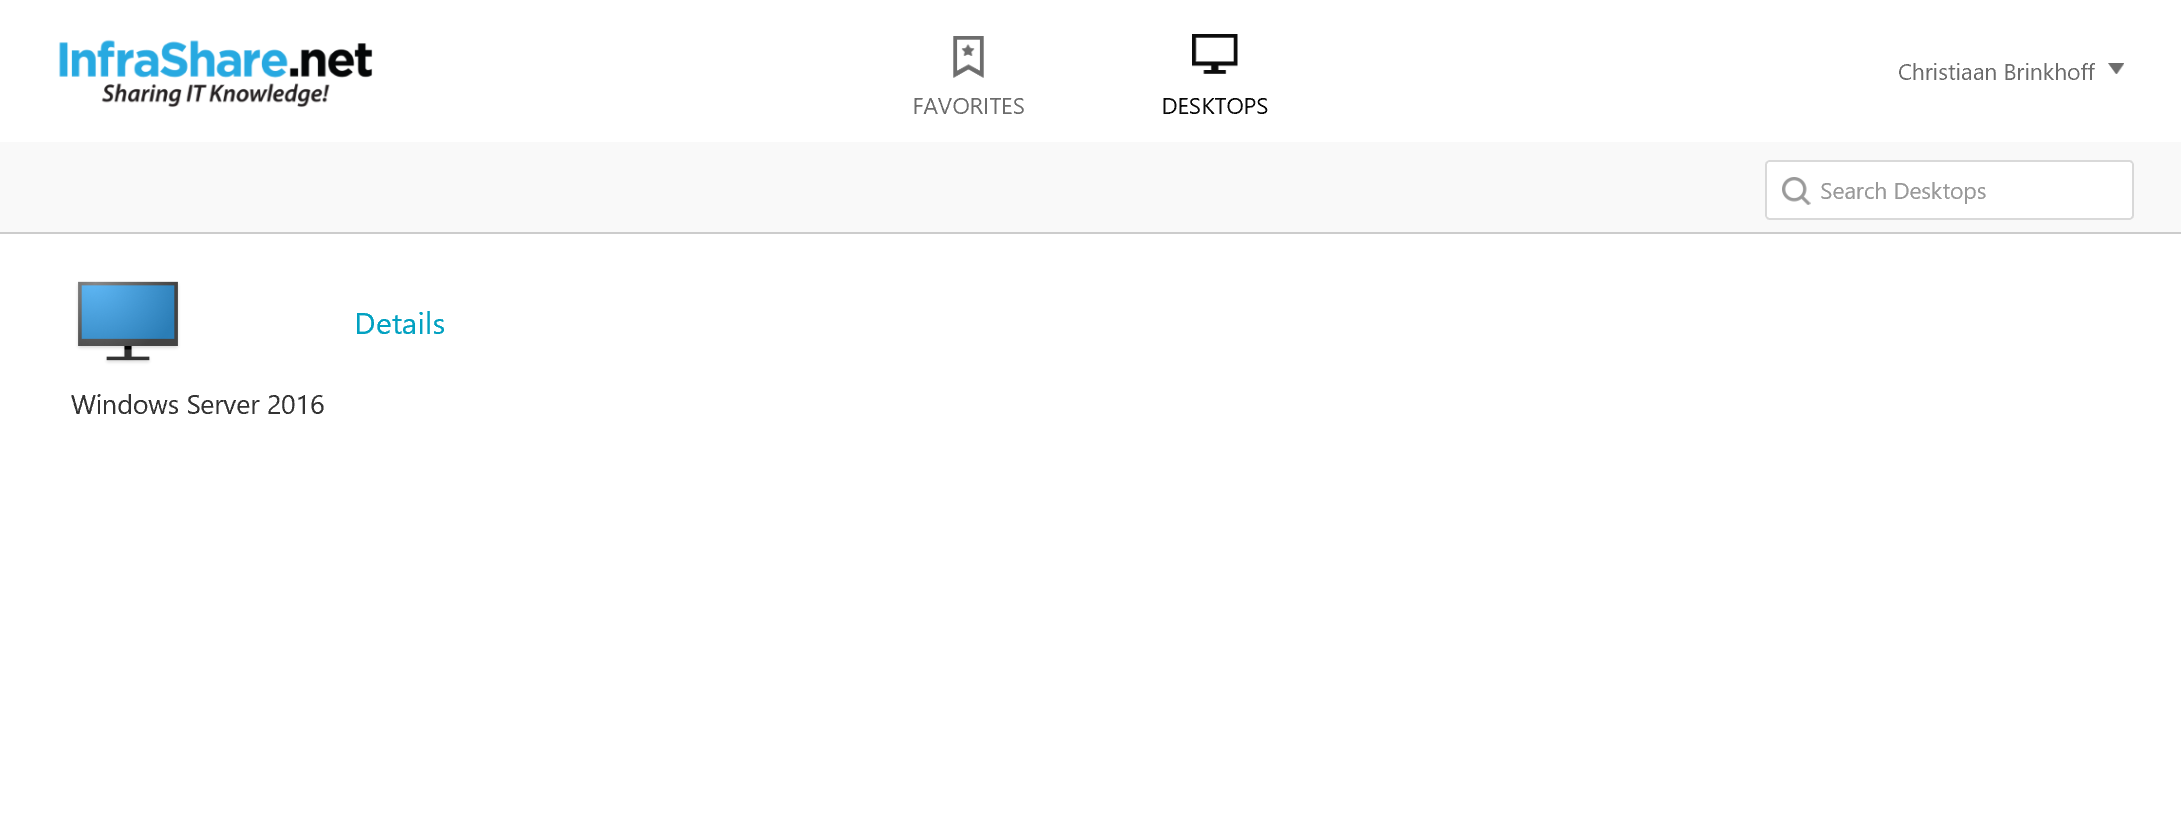
Step 45: And the RADIUS authentication did his work! We are now logged on to the StoreFront portal!
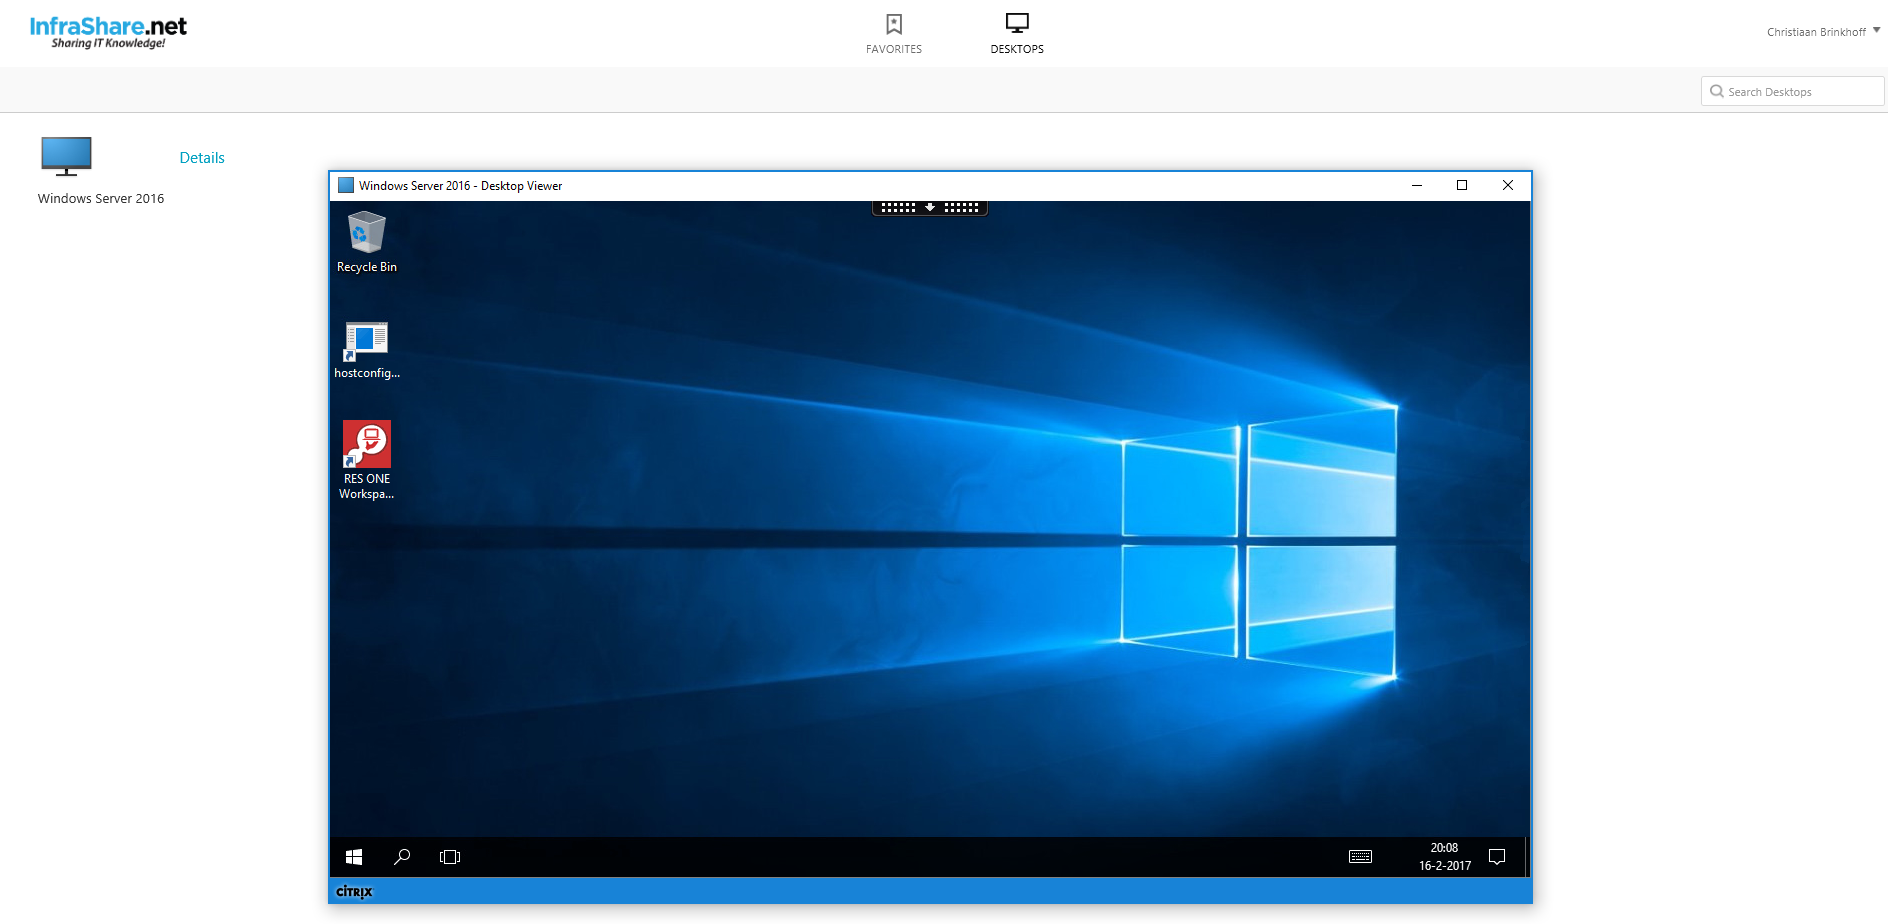
And even the desktop is launching properly!
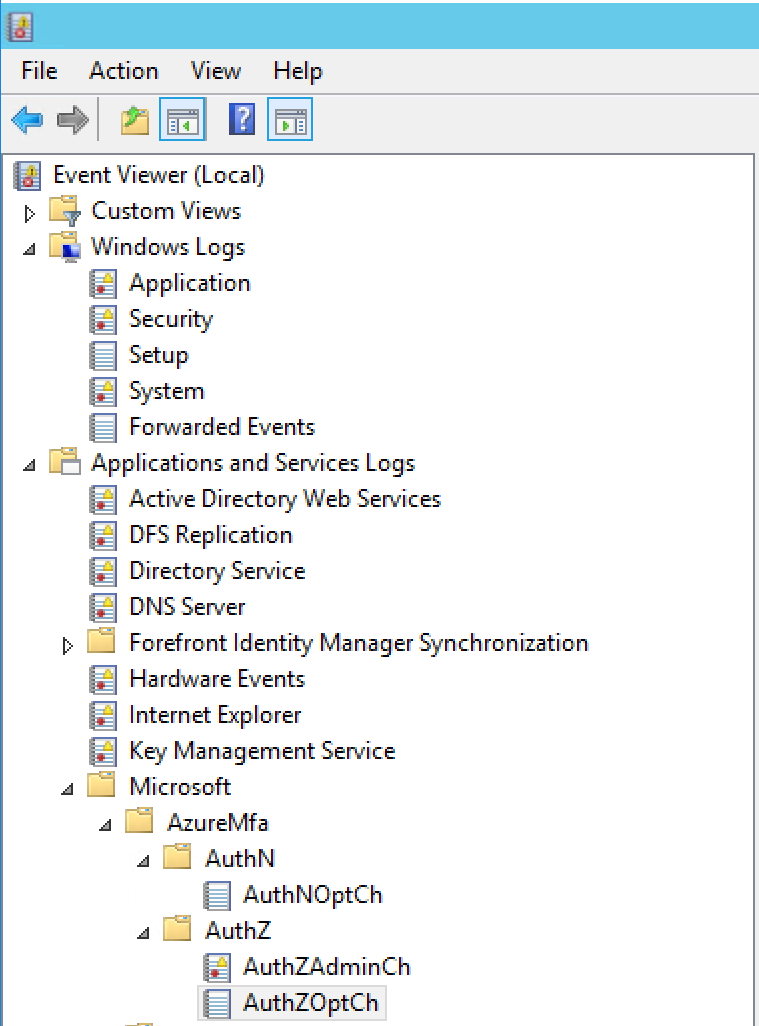
- When the NPS Extension is installed, there will be added an AzureMfa entry in your eventlogs menu of your NPS server. All the NPS authentication request will be listed in authZOptCh.
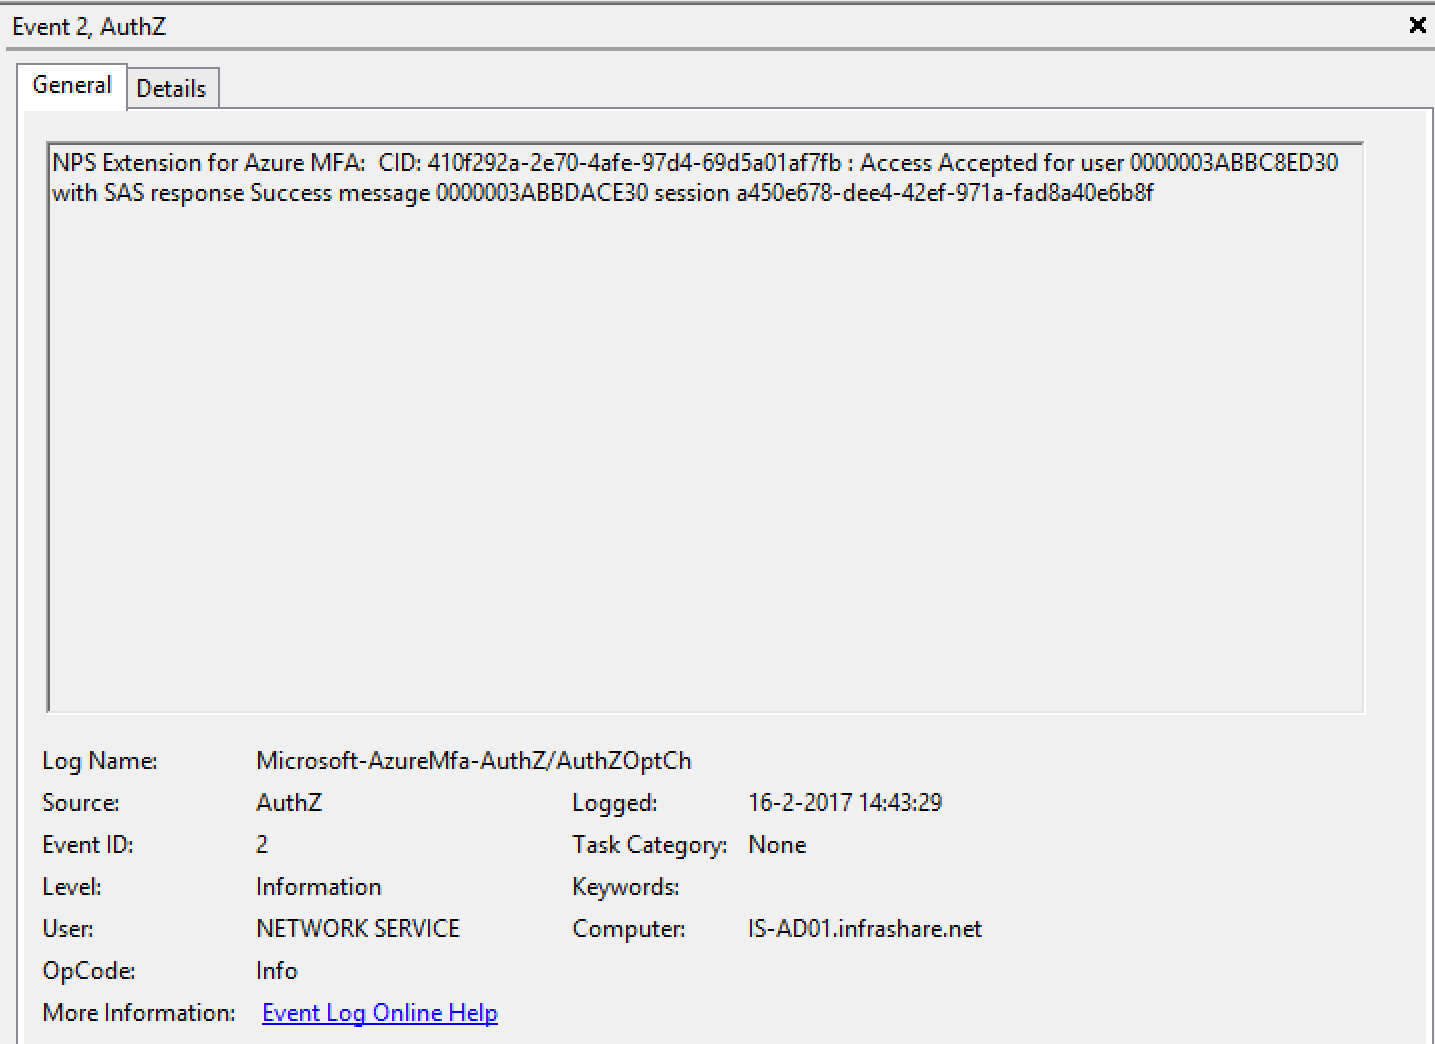
2. When an successful login takes place, the following information event must be logged:
If you have more questions, please feel free to leave an comment at the bottom of this article