

Learn how to increase the security level of your Azure Virtual Desktop environment (e.g. Windows Client) with Azure MFA and Conditional Access


One of the major benefits of using desktop virtualization is security. Publish your virtual apps and desktops workloads easily from a centralized environment with the benefit of not leaving data footprint on your endpoint and consolidate network traffic encrypted from one central location.
“99.9 % of hacked accounts didn’t use MFA” – Director of Identity Security, Microsoft
Azure Virtual Desktop includes assets to take your virtual desktop environment easily to a higher level of security. As control-plane service, AVD holds all your “traditional” VDI infrastructure components as Platform-as-a-Service offering – and on top of that, the Microsoft 365 licensing model will offer you all the extra built-in security capabilities (e.g. Azure AD Premium, Azure MFA and Conditional Access) to secure your virtual desktop environment.
The easiness to activate Azure MFA and gain access based on Conditional Access is as easy it can be. It will decrease the percentage of being hacked with 99,9% (source) and adds the benefits of simplifying your management layer as top layer for your operations. Long story short, combine this all together and your new virtual workspace on Azure is ready to serve your user session – in a secure fashion!
In this article you’ll learn how to configure Azure MFA for the Azure Virtual Desktop Windows 10 client after the user is being inactive via the Azure AD – Conditional – Sign-in frequency – configuration setting, including some tips and tricks on whitelisting based on trusted locations and compliant AADJ devices. The default setting in a rolling AAD – Application window is 90 days, i.e. users will be asked to re-authenticate on the first attempt to access a resource after being inactive on their machine for 90 days or longer. This article sets this to a lower limit (e.g. 1 hour) and forces MFA because of that.
Table of Contents
Click on the title to jump to that spot in this article:
What about licensing?
Azure MFA is possible to use with Azure AD free, every time an authentication request is made. However, you don’t have the granular controls via Conditional Access. In addition to the Azure Virtual Desktop licensing requirements, you’ll need one of the following SKUs for conditional access and Azure MFA:
-
-
- Microsoft 365 E3 or E5
- Azure AD P1 or P2
- Azure AD P2 includes risk-based conditional access
- Enterprise Mobility + Security (EM+S) E3 / E5
- EM+S E5 includes risk-based conditional access
-
Learn here more about licensing specifically for the use of Conditional Access – and this article on Azure Virtual Desktop licensing requirements.
How to activate Azure MFA for your Azure AD accounts
Open the Azure Portal
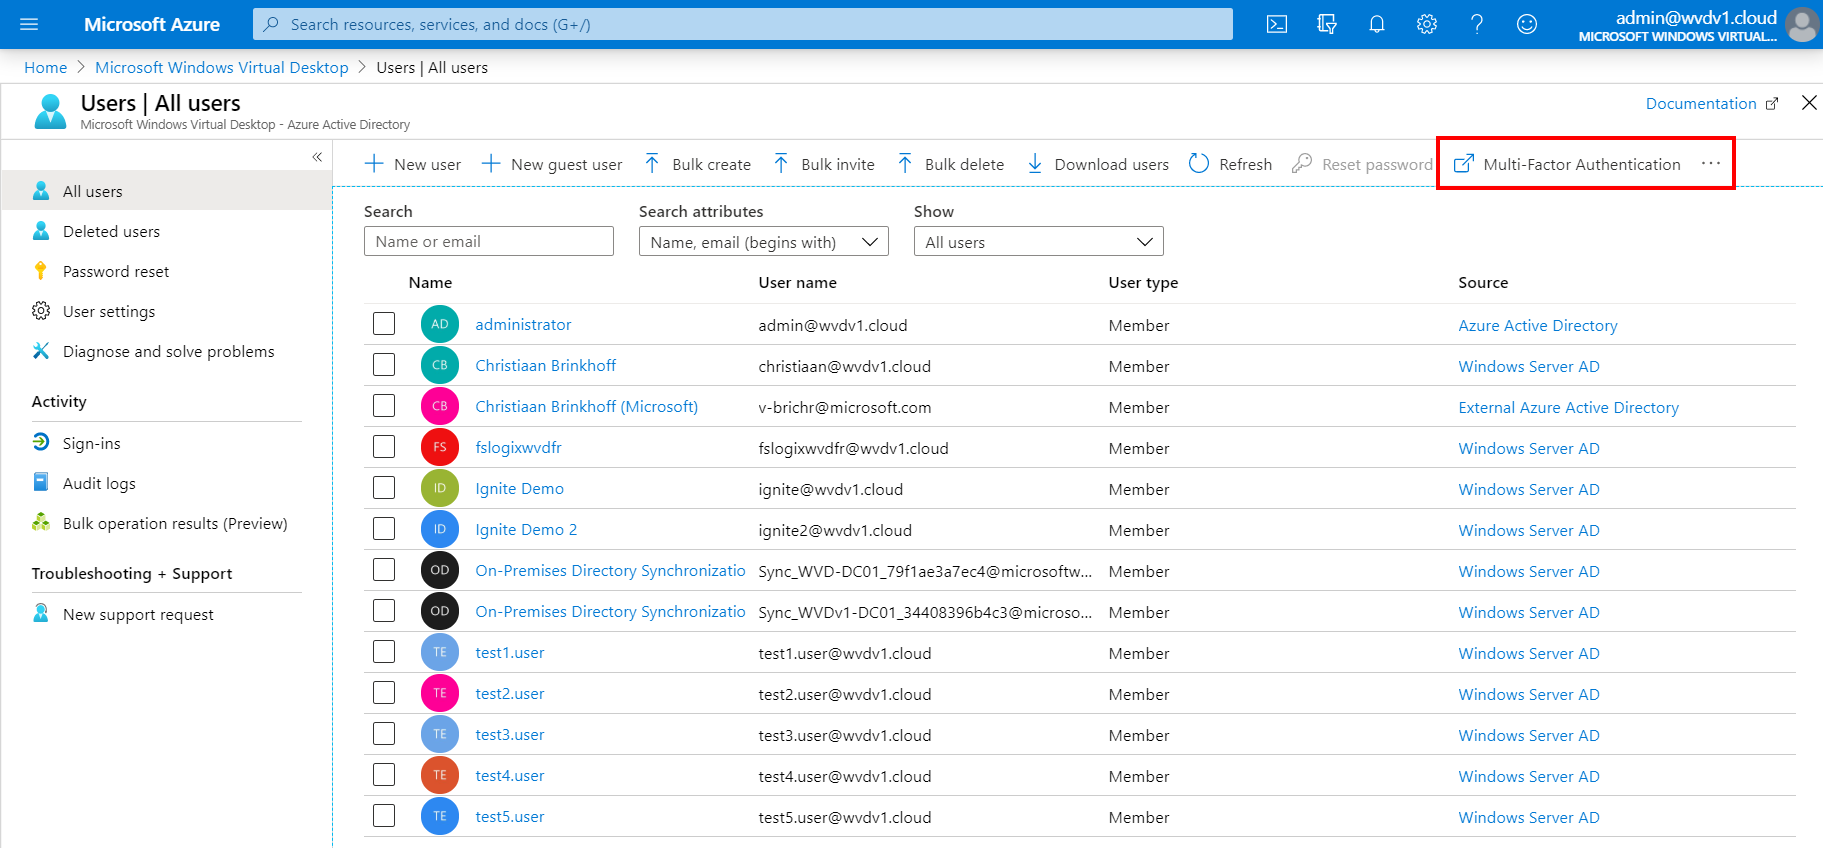
Open the All users menu of Azure Active Directory
Click on Multi-Factor Authentication
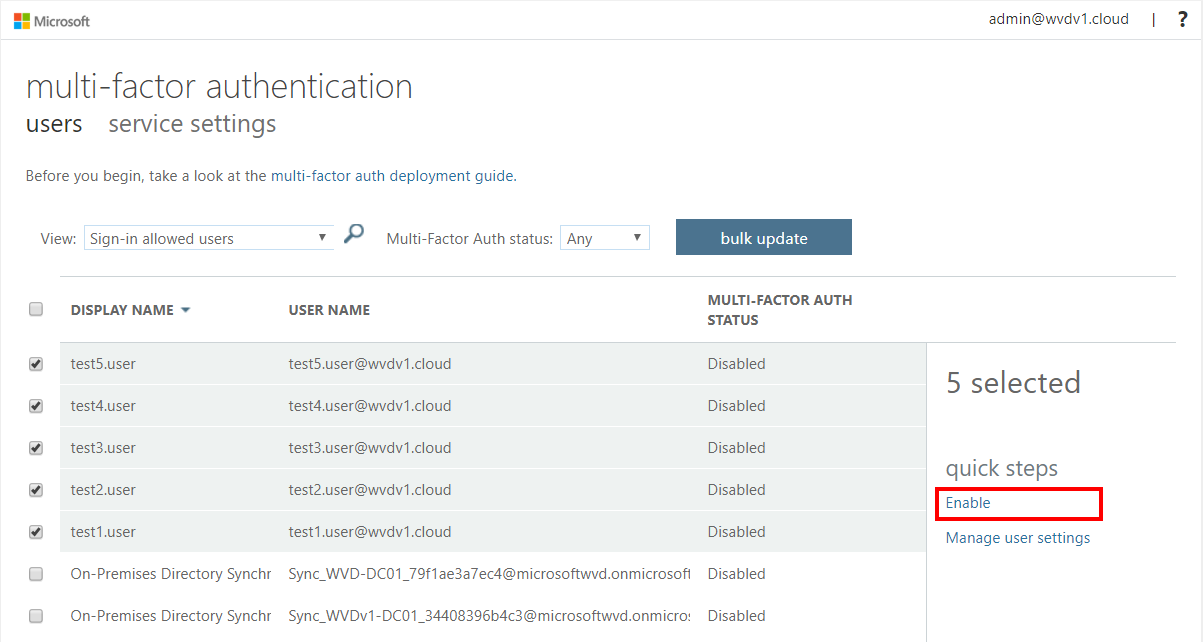
Select your user accounts, click on Enable (MFA)
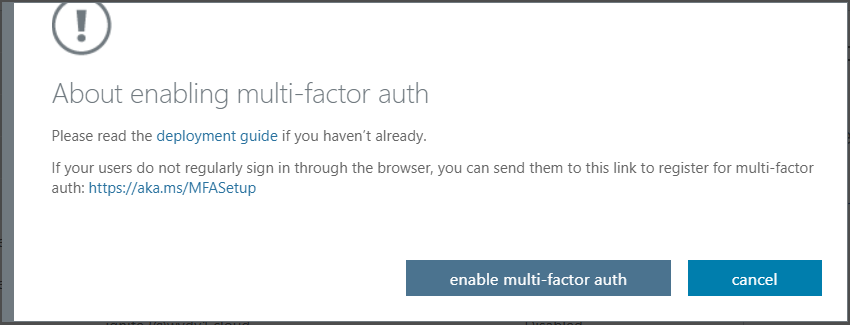
Click on enable multi-factor auth to confirm the enablement
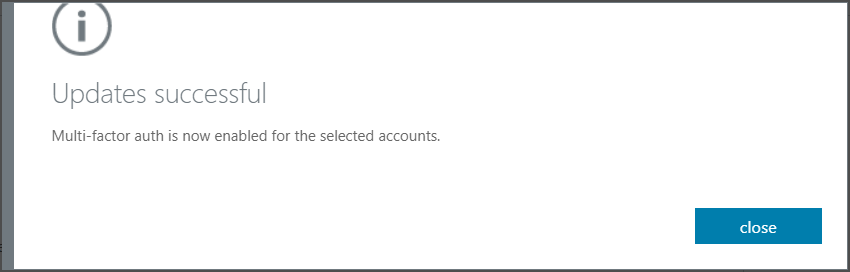
Azure MFA is now activated
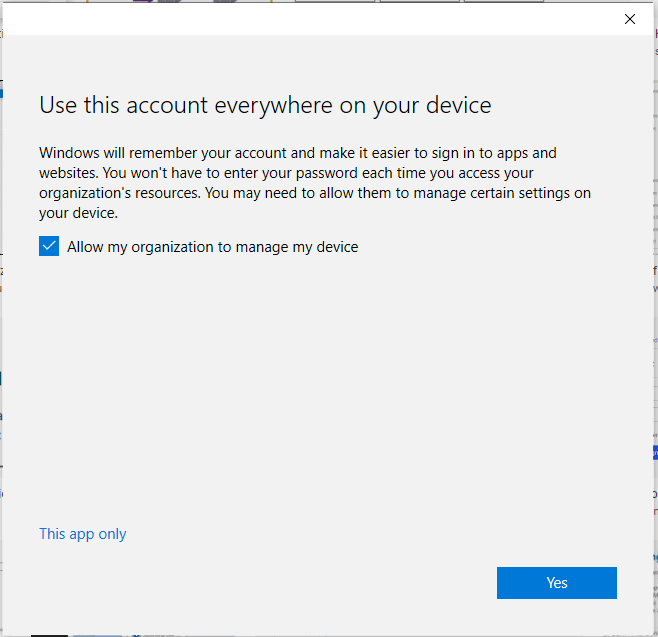
The next time the user logs on to Azure Virtual Desktop – the following wizard will open. Make sure to inform your users about this.
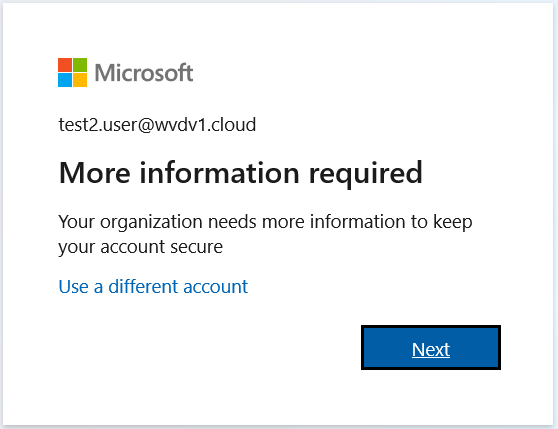
This is an initial process and fairly easy. The following video goes in-depth over all the steps.
How to enforce Azure MFA for the Azure Virtual Desktop – Windows Client via the sign-in frequency setting
The Azure Virtual Desktop – Windows Client gives you the best integration possible with your local endpoint. Remote Apps and Session Desktop will integrate directly in the start menu and e.g. USB devices, local disks and Smartcard redirection works flawlessly.
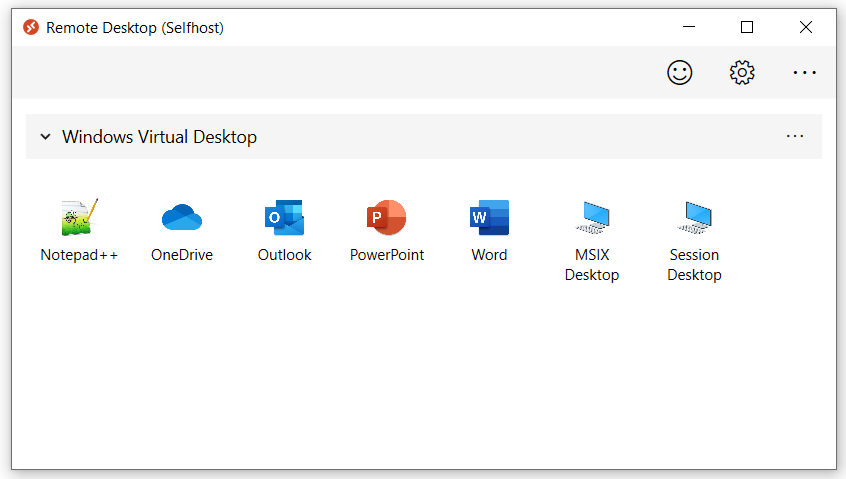
However, when you configure your Azure Virtual Desktop account into the Windows Client. During the first logon it asks for your username, password and Azure MFA. The second time it will remember your token from your Azure AD Enterprise Application – and when you click on – remember me – users can logon after a reboot without the need to enter in credentials again (see below picture).
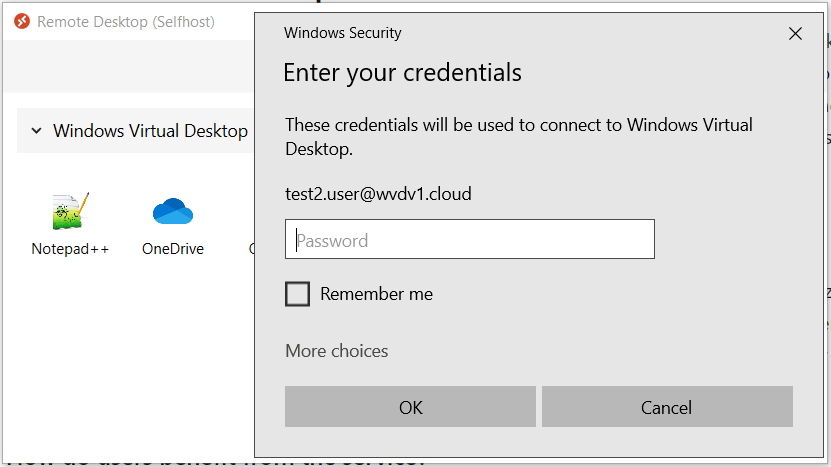
In some scenario’s this could be beneficial, however, in enterprise use-cases or a non-corporate device – you definitely want to keep asking for Azure MFA (the second screen, to enter in your credentials for the second time will be remembers as long as you change your password). The steps below explain how you can solve this by using the Opt-in Conditional Access policy setting for Azure Virtual Desktop.
Pre-step: Make sure to create one Azure AD group named e.g. AVD – MFA Users and make your users a group member to filter the rule based on AAD group membership.
Switch back to the Azure Portal
Open (again) Azure Active Directory
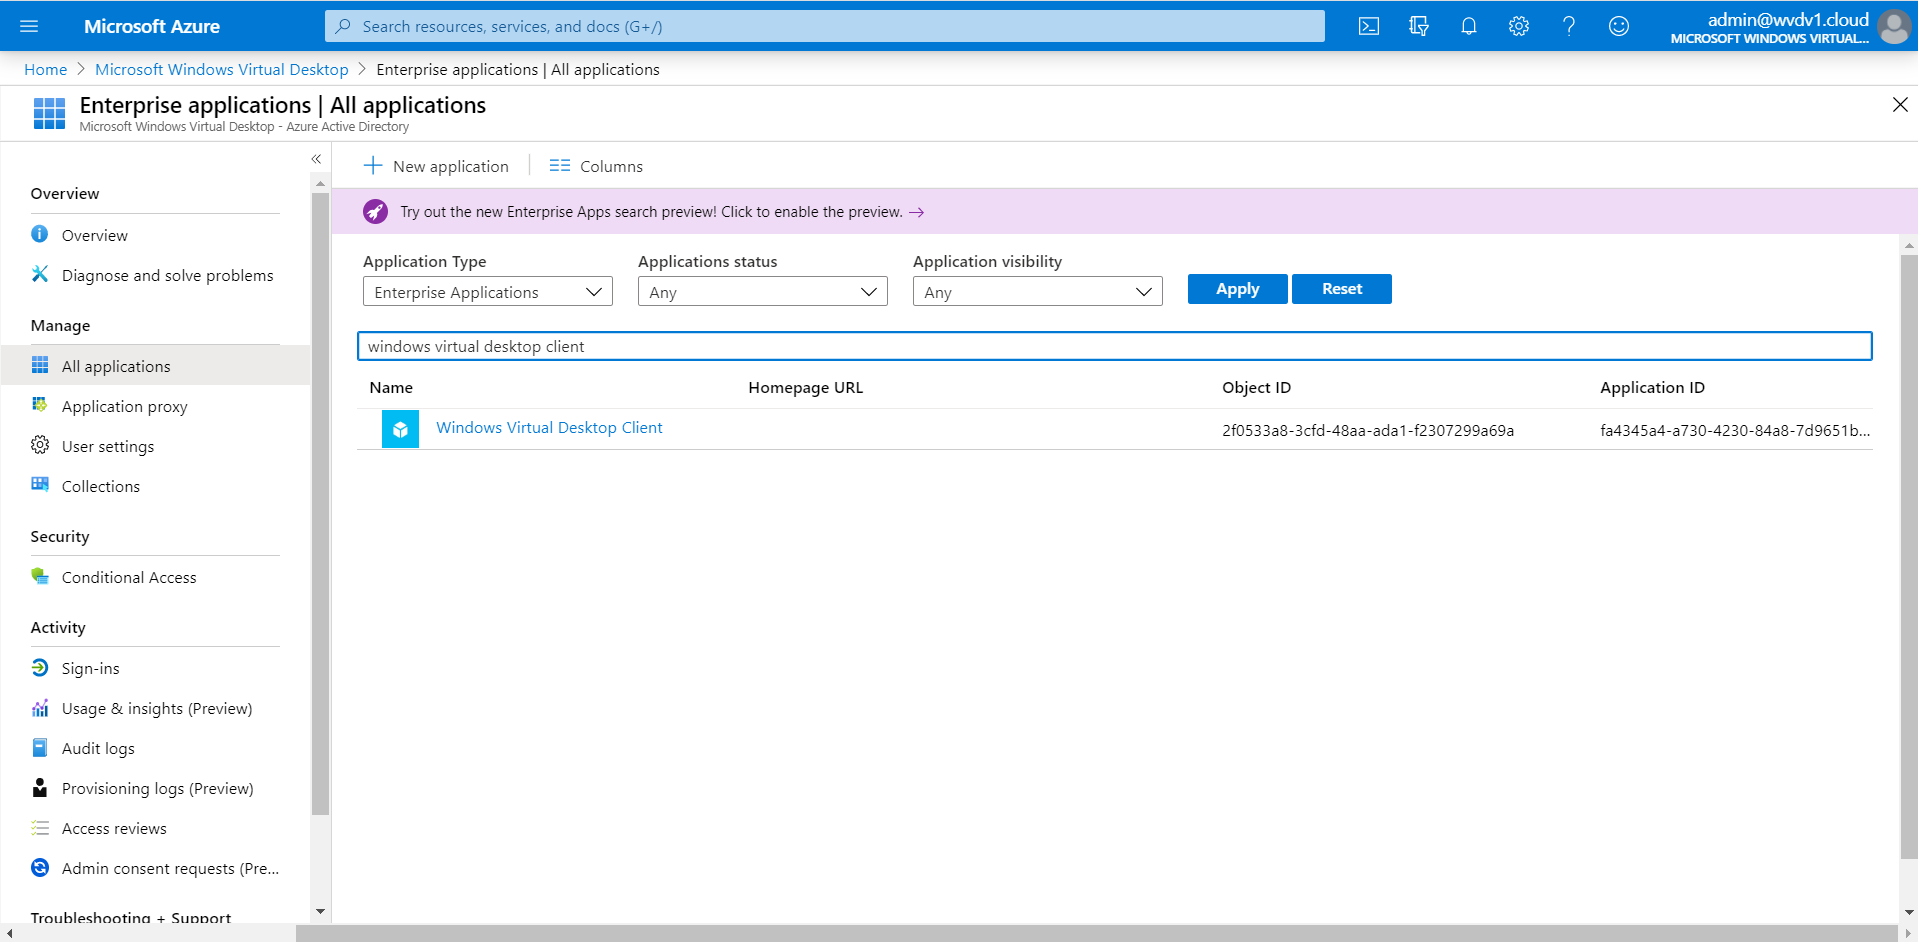
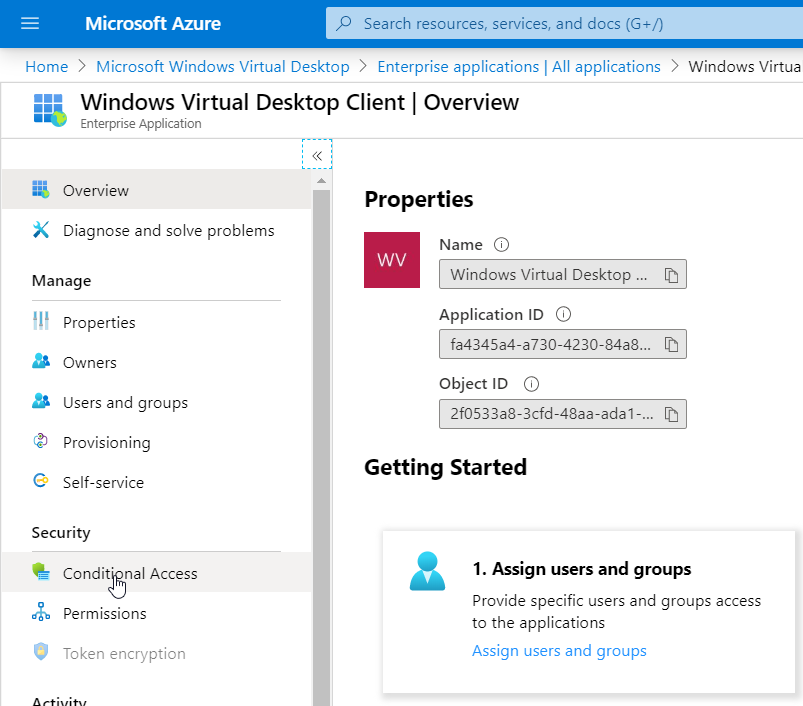
Go to Enterprise Applications and search/click on Azure Virtual Desktop Client
Click on Conditional Access
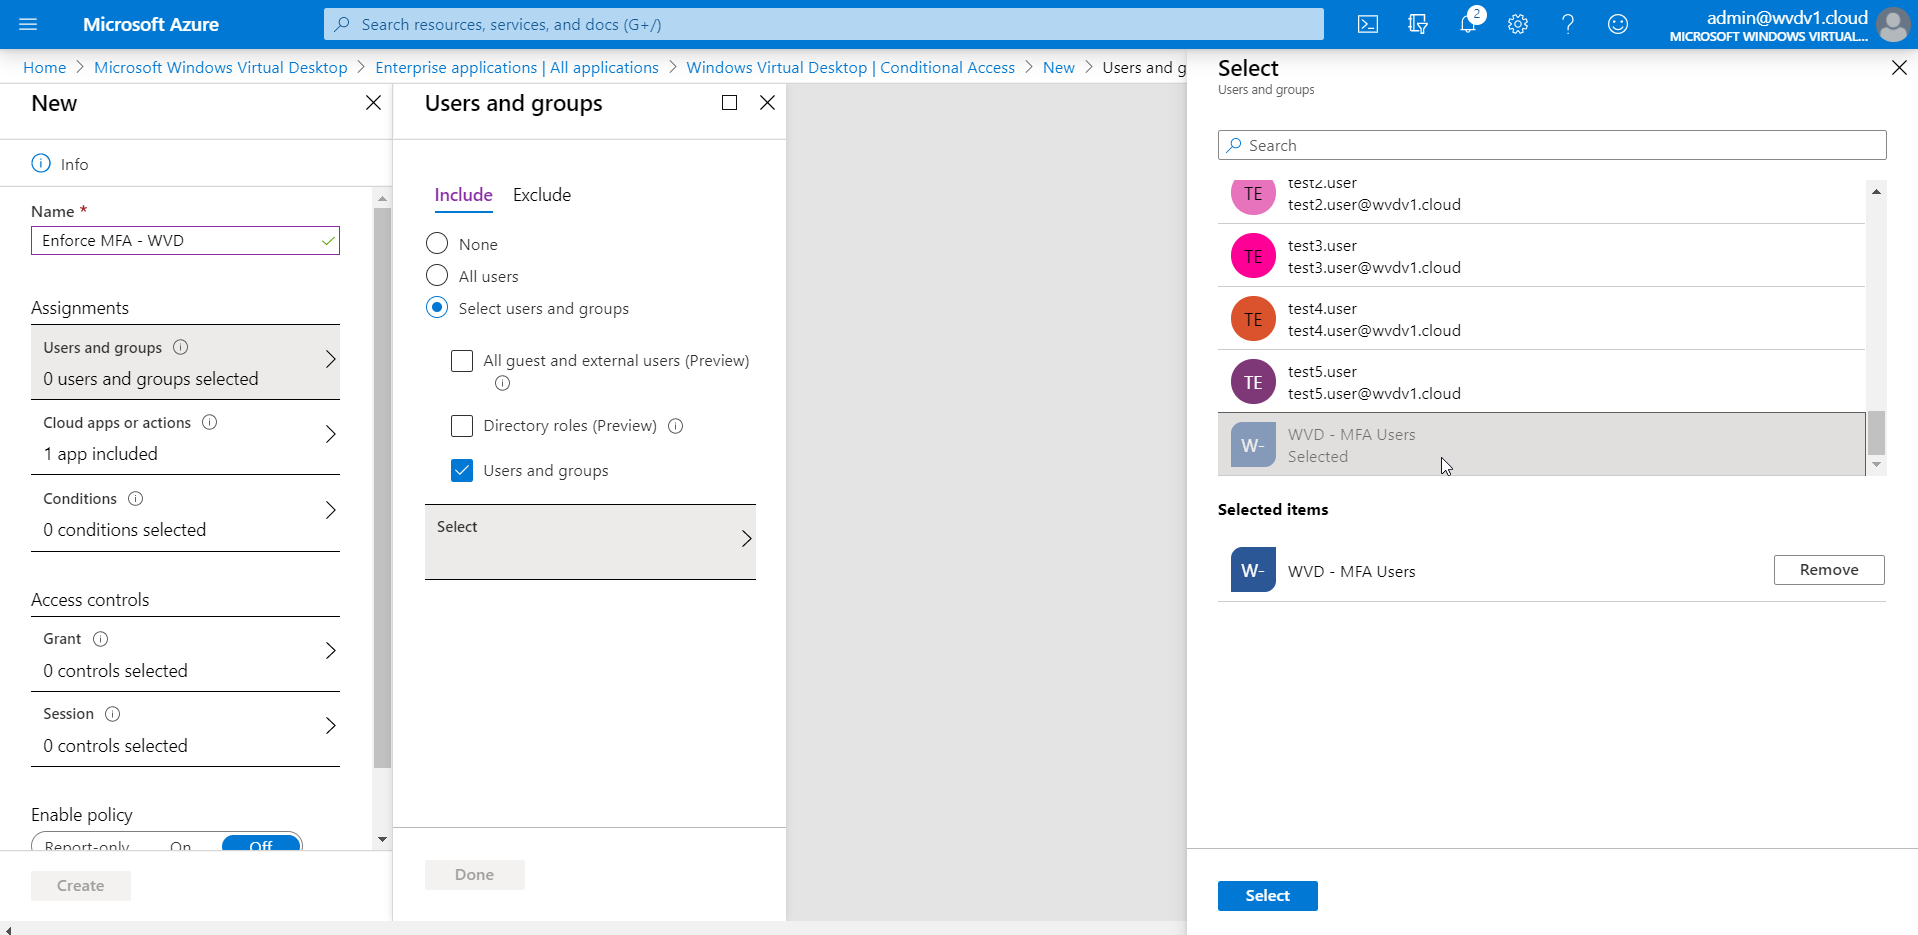
Click on + New policy

Give in a name for the Rule – select the – AVD – MFA Users – group that you created earlier.
Click on Select followed by Done
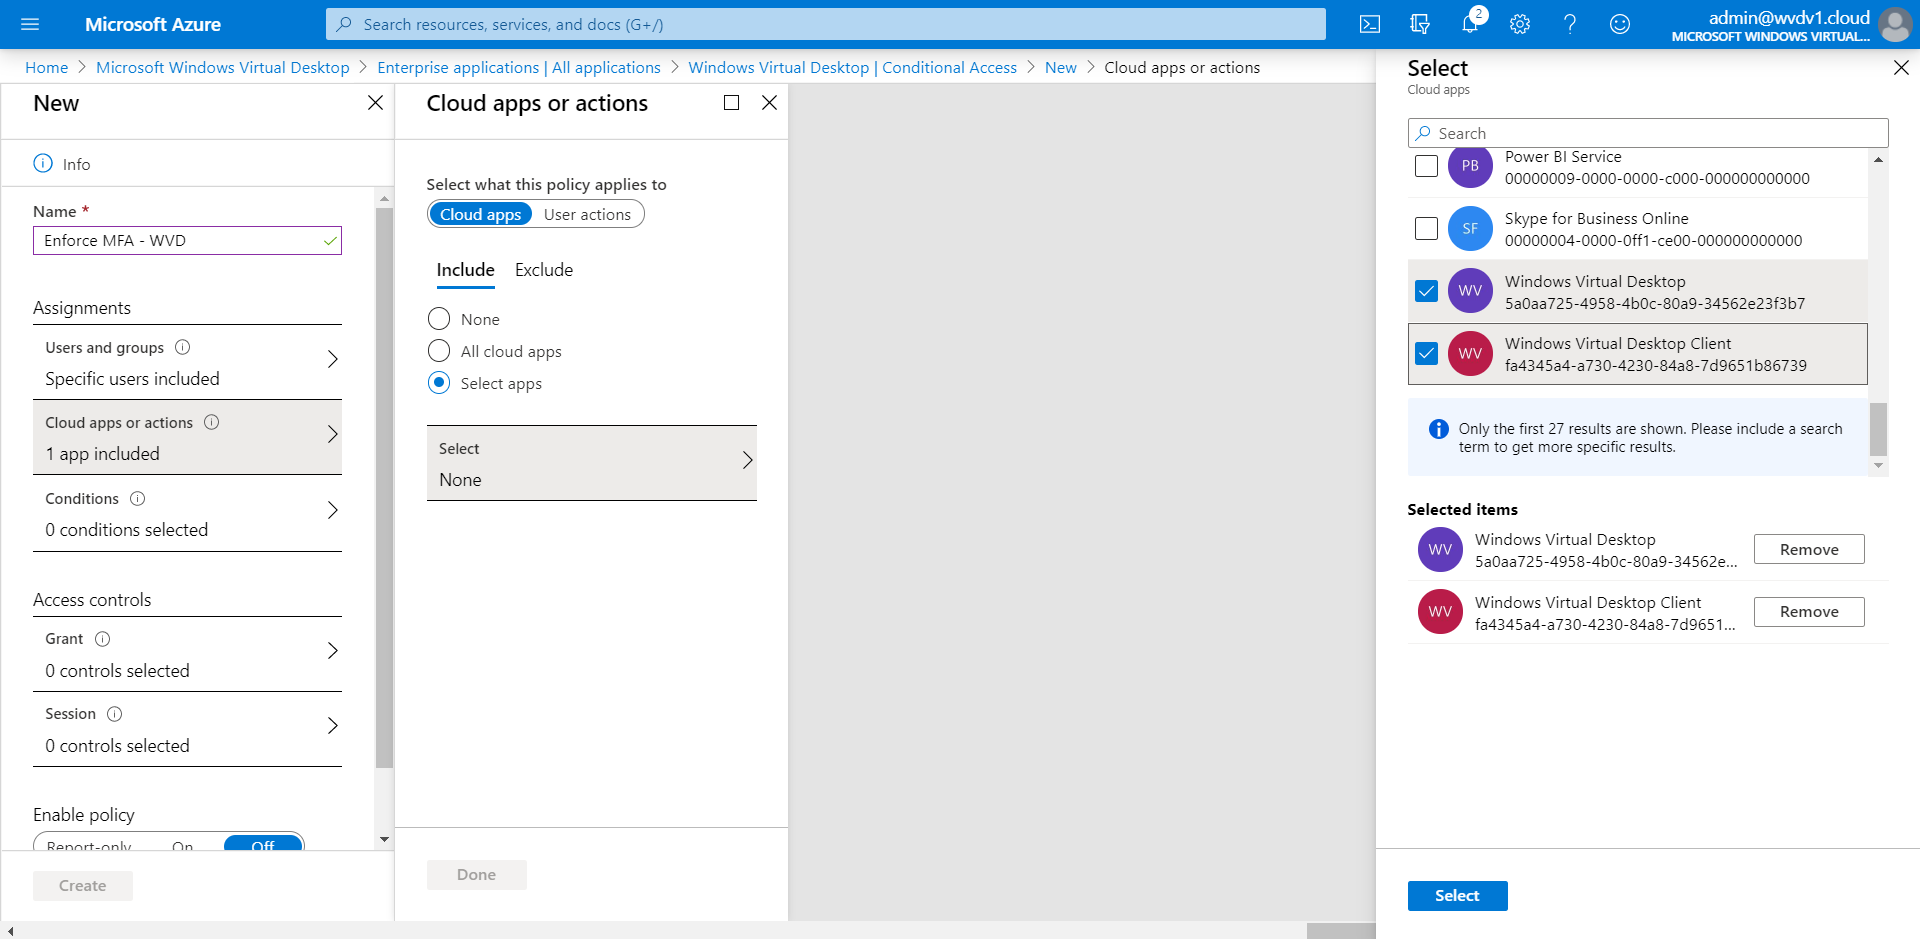
Open your Cloud Apps or actions.
Make sure to select both the Azure Virtual Desktop – and client – Enterprise Applications.
Click on Select and Done
If you’re using Azure Virtual Desktop (classic), choose these two apps:
- Azure Virtual Desktop (App ID 5a0aa725-4958-4b0c-80a9-34562e23f3b7)
- Azure Virtual Desktop Client (App ID fa4345a4-a730-4230-84a8-7d9651b86739)
If you’re using Azure Virtual Desktop (ARM-based), choose these two apps instead:
- Azure Virtual Desktop (App ID 9cdead84-a844-4324-93f2-b2e6bb768d07)
- Azure Virtual Desktop Client (App ID a85cf173-4192-42f8-81fa-777a763e6e2c)
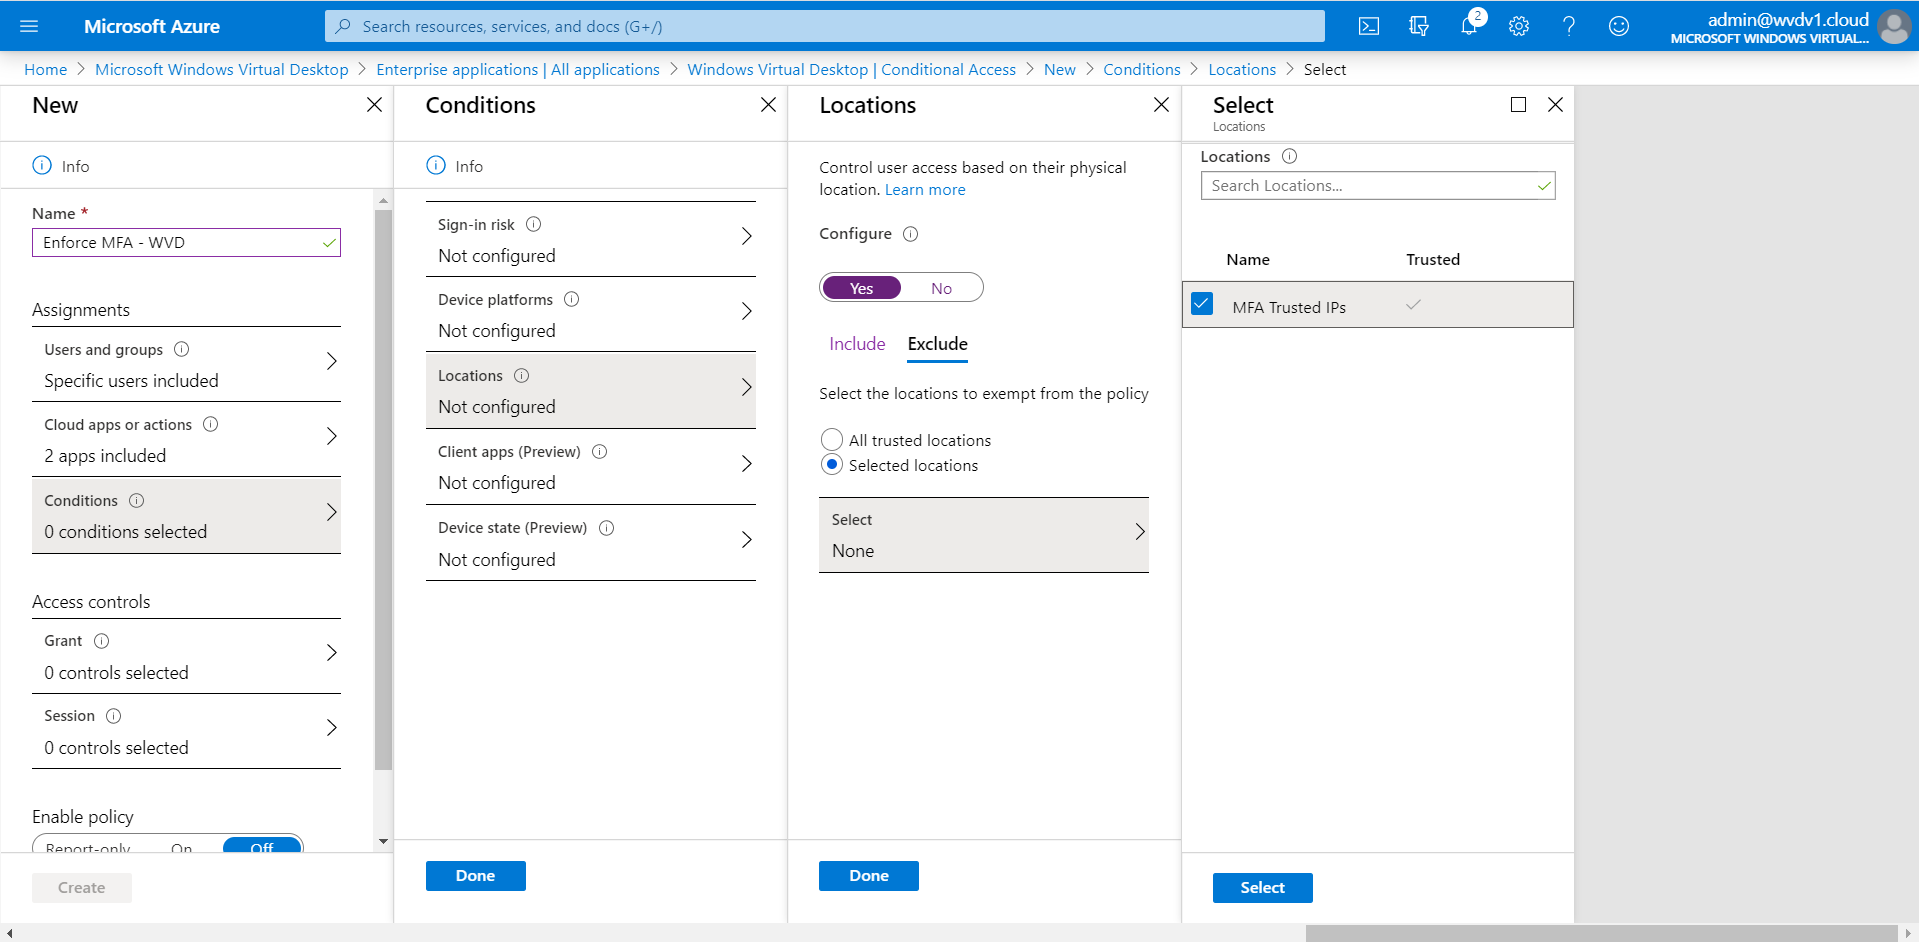
Optional: Whitelist users from MFA enforcement based on (trusted IPs) Named Locations
There is also the option to create conditions to filter out this rule based on your company’s public IP address. The result is that your users (working on trusted locations) can access your Azure Virtual Desktop environment with only the username and password. Once they switch back to another network e.g. from home – Azure MFA will prompt again.
Enter in all your (public) IP addresses that you want to whitelist from Azure MFA enforcement – in the – trusted ips – section. Learn here more on MFA – location filtering.
Note: The following setting will also apply to the Azure Virtual Desktop – HTML5 RDWeb environment (aka.ms/AVDWeb).
Select MFA Trusted IPs
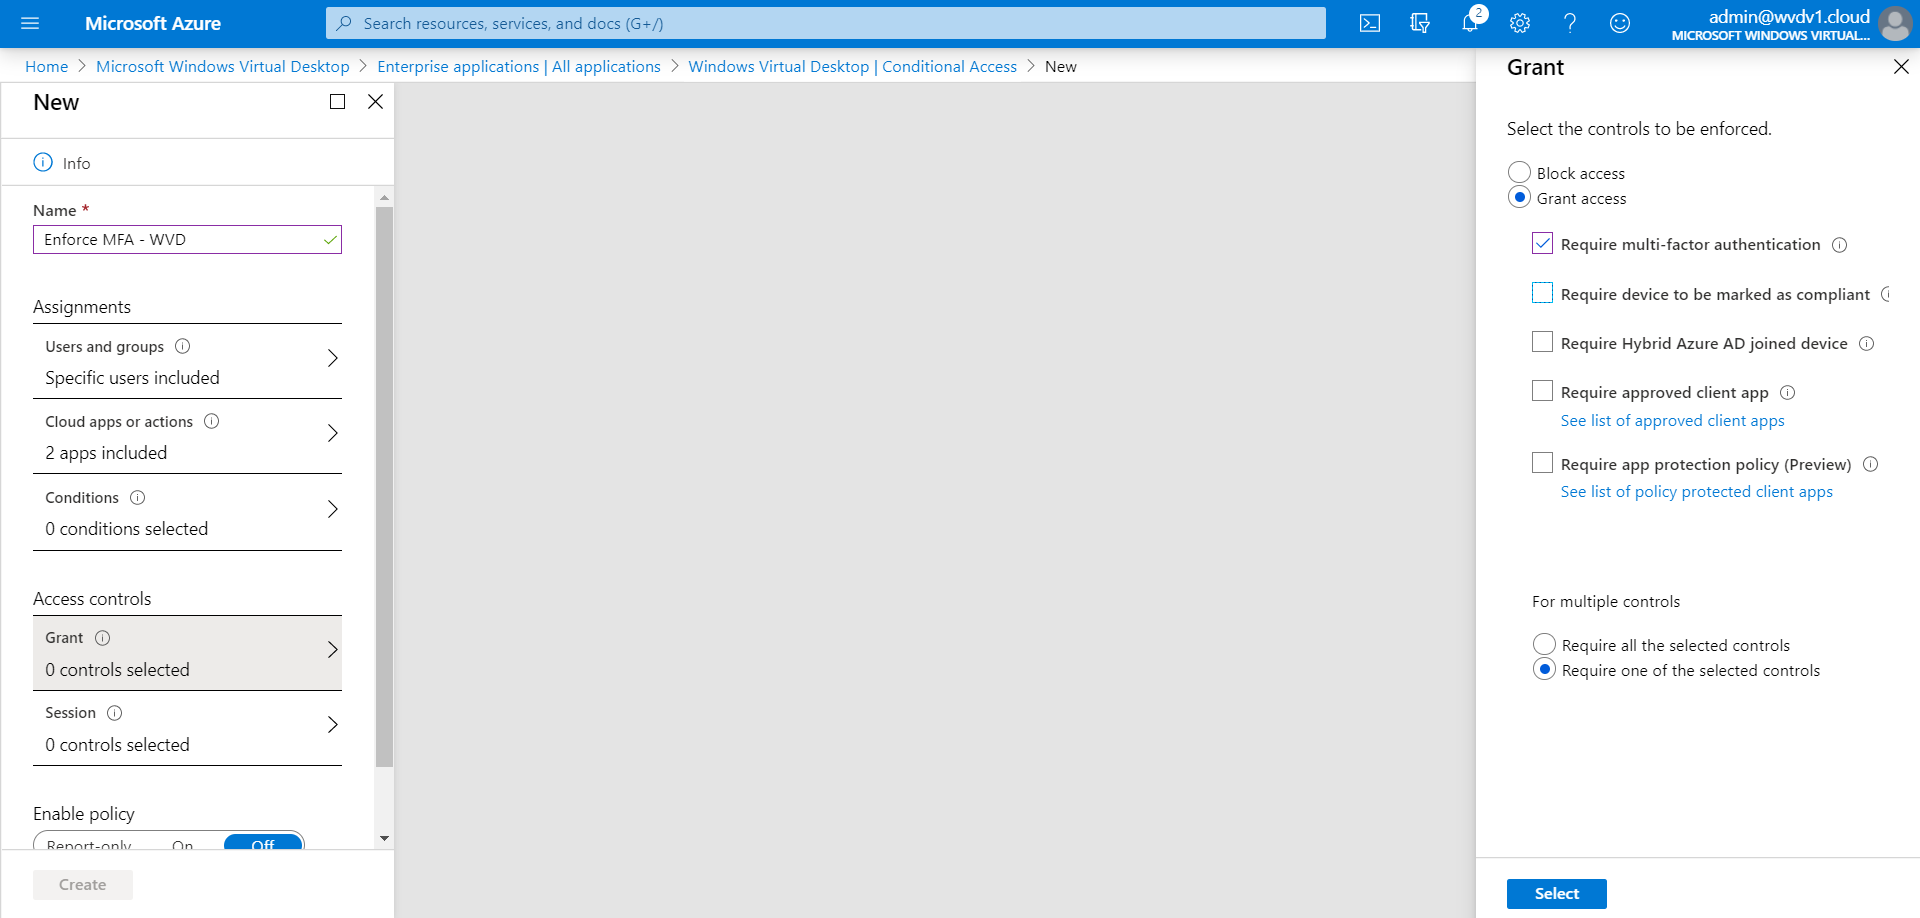
Select (at least) – Require multi-factor authentication – and – require one of the selected controls.
Click on Select and Done
Click on Grant
Active the Require multi-factor authentication setting
Tip: If some of your users in your organization run the Azure Virtual Desktop – Windows Client from an Azure AD Domain Joined (AADJ) compliant computer account (Intune managed) and don’t want to enforce MFA for those users – please activate then as well the – Require device to be marked as compliant – to avoid this for AADJ compliant devices.
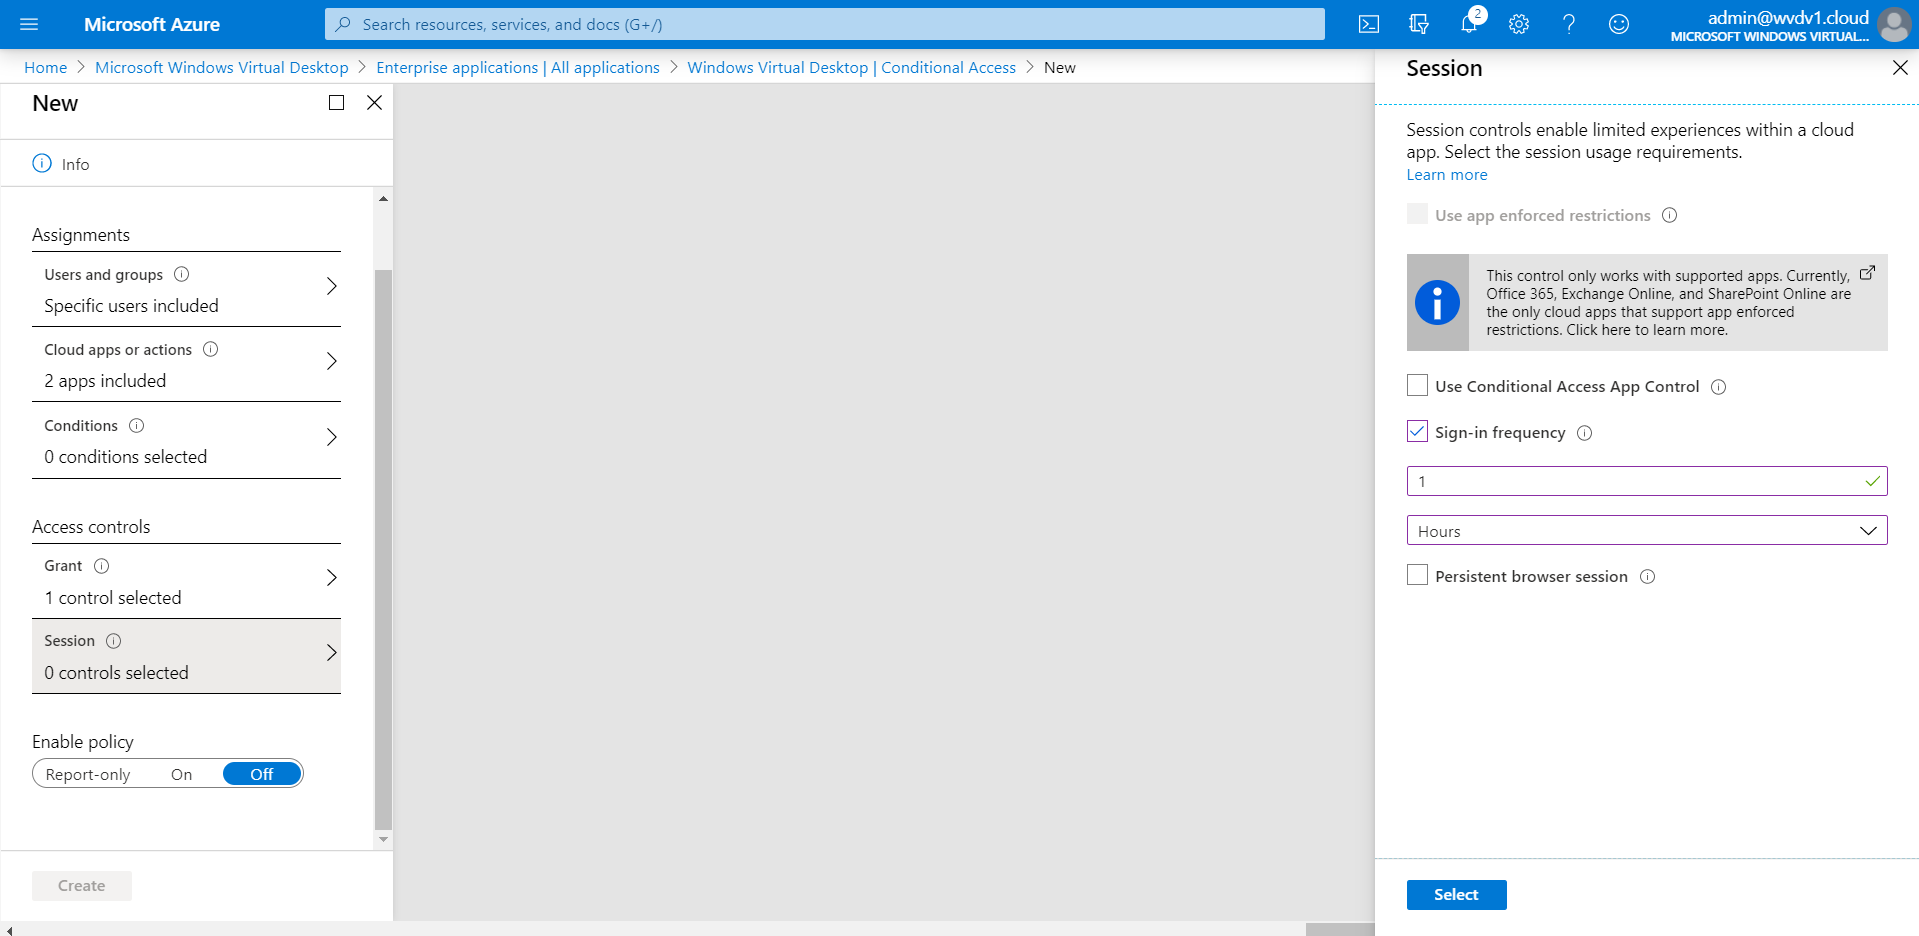
Click on Session
Activate the Sign-in frequency setting – set it on – 1 Hours.
Note: Active sessions to your Azure Virtual Desktop environment will continue to work. However, if you disconnect or logoff – you will need to provide MFA again after 60 minutes. You can set it to 1 day to extent this time-out. It’s what you prefer – and what aligns with your security policy!
The default setting is 90 days, i.e. users will be asked to re-authenticate on the first attempt to access a resource after being inactive on their machine for 90 days or longer. 1 Hour is the lowest amount you can configure to enforce/overrule this setting.
Enable the Policy
Confirm the settings – click on Create

The Conditional Access rule is created – let’s test the rule!

Prevent users from AAD device registration
Enable the following registry to block your users from adding additional work accounts to your corporate domain joined, Azure AD joined, or hybrid Azure AD joined Windows 10 devices. This policy can also be used to block domain-joined machines from inadvertently getting Azure AD registered with the same user account.
HKLM\SOFTWARE\Policies\Microsoft\Windows\WorkplaceJoin, "BlockAADWorkplaceJoin"=dword:00000001
Test the result – demo video
After 1 hour – Azure MFA is being asked again – after starting my session desktop via the Windows Client. See the exhibit below how this looks from an end-user perspective.